Being an author is impressive. But being an author of TWO books is VERY impressive.
So let’s just agree that Nicole Miyuki Santo, the author of By Hand: The Art of Modern Lettering AND The Kids Book of Hand Lettering is VERY, VERY impressive.
And as if that wasn’t enough, Nicole is also a graphic designer, an illustrator and a teacher. Yup, the woman is a powerhouse.
In this week’s interview, Nicole invited your tiny crafters to follow along, and went over three different projects that incorporated lettering and crafting for kids. All of the projects can be found in her book, The Kids Book of Hand Lettering!
The links below may be affiliate links where appropriate. This means that your purchase through these links may result in a few cents in payment to me, to support creating further resources like this one! That being said, I will never suggest supplies that I do not personally use and fully recommend.
The book is for children ages 9-12, but if your child is crafty they are sure to enjoy the book at any age. The lessons are broken down into small lettering lesson followed by a project that highlights the skills they just learned.
You can watch the video here and follow along with Nicole or continue for a step by step guide on creating your very own banner!
DIY: Decorative Banner
The very first project in interview (and as it happens, in the book) is a fun decorative banner! It’s the perfect project for a special occasion (such as a birthday or holiday) or for everyday decor in your kids room (like their name over their bed). Needless to say this quick project can be done on any regular day and doesn’t require a special occasion.
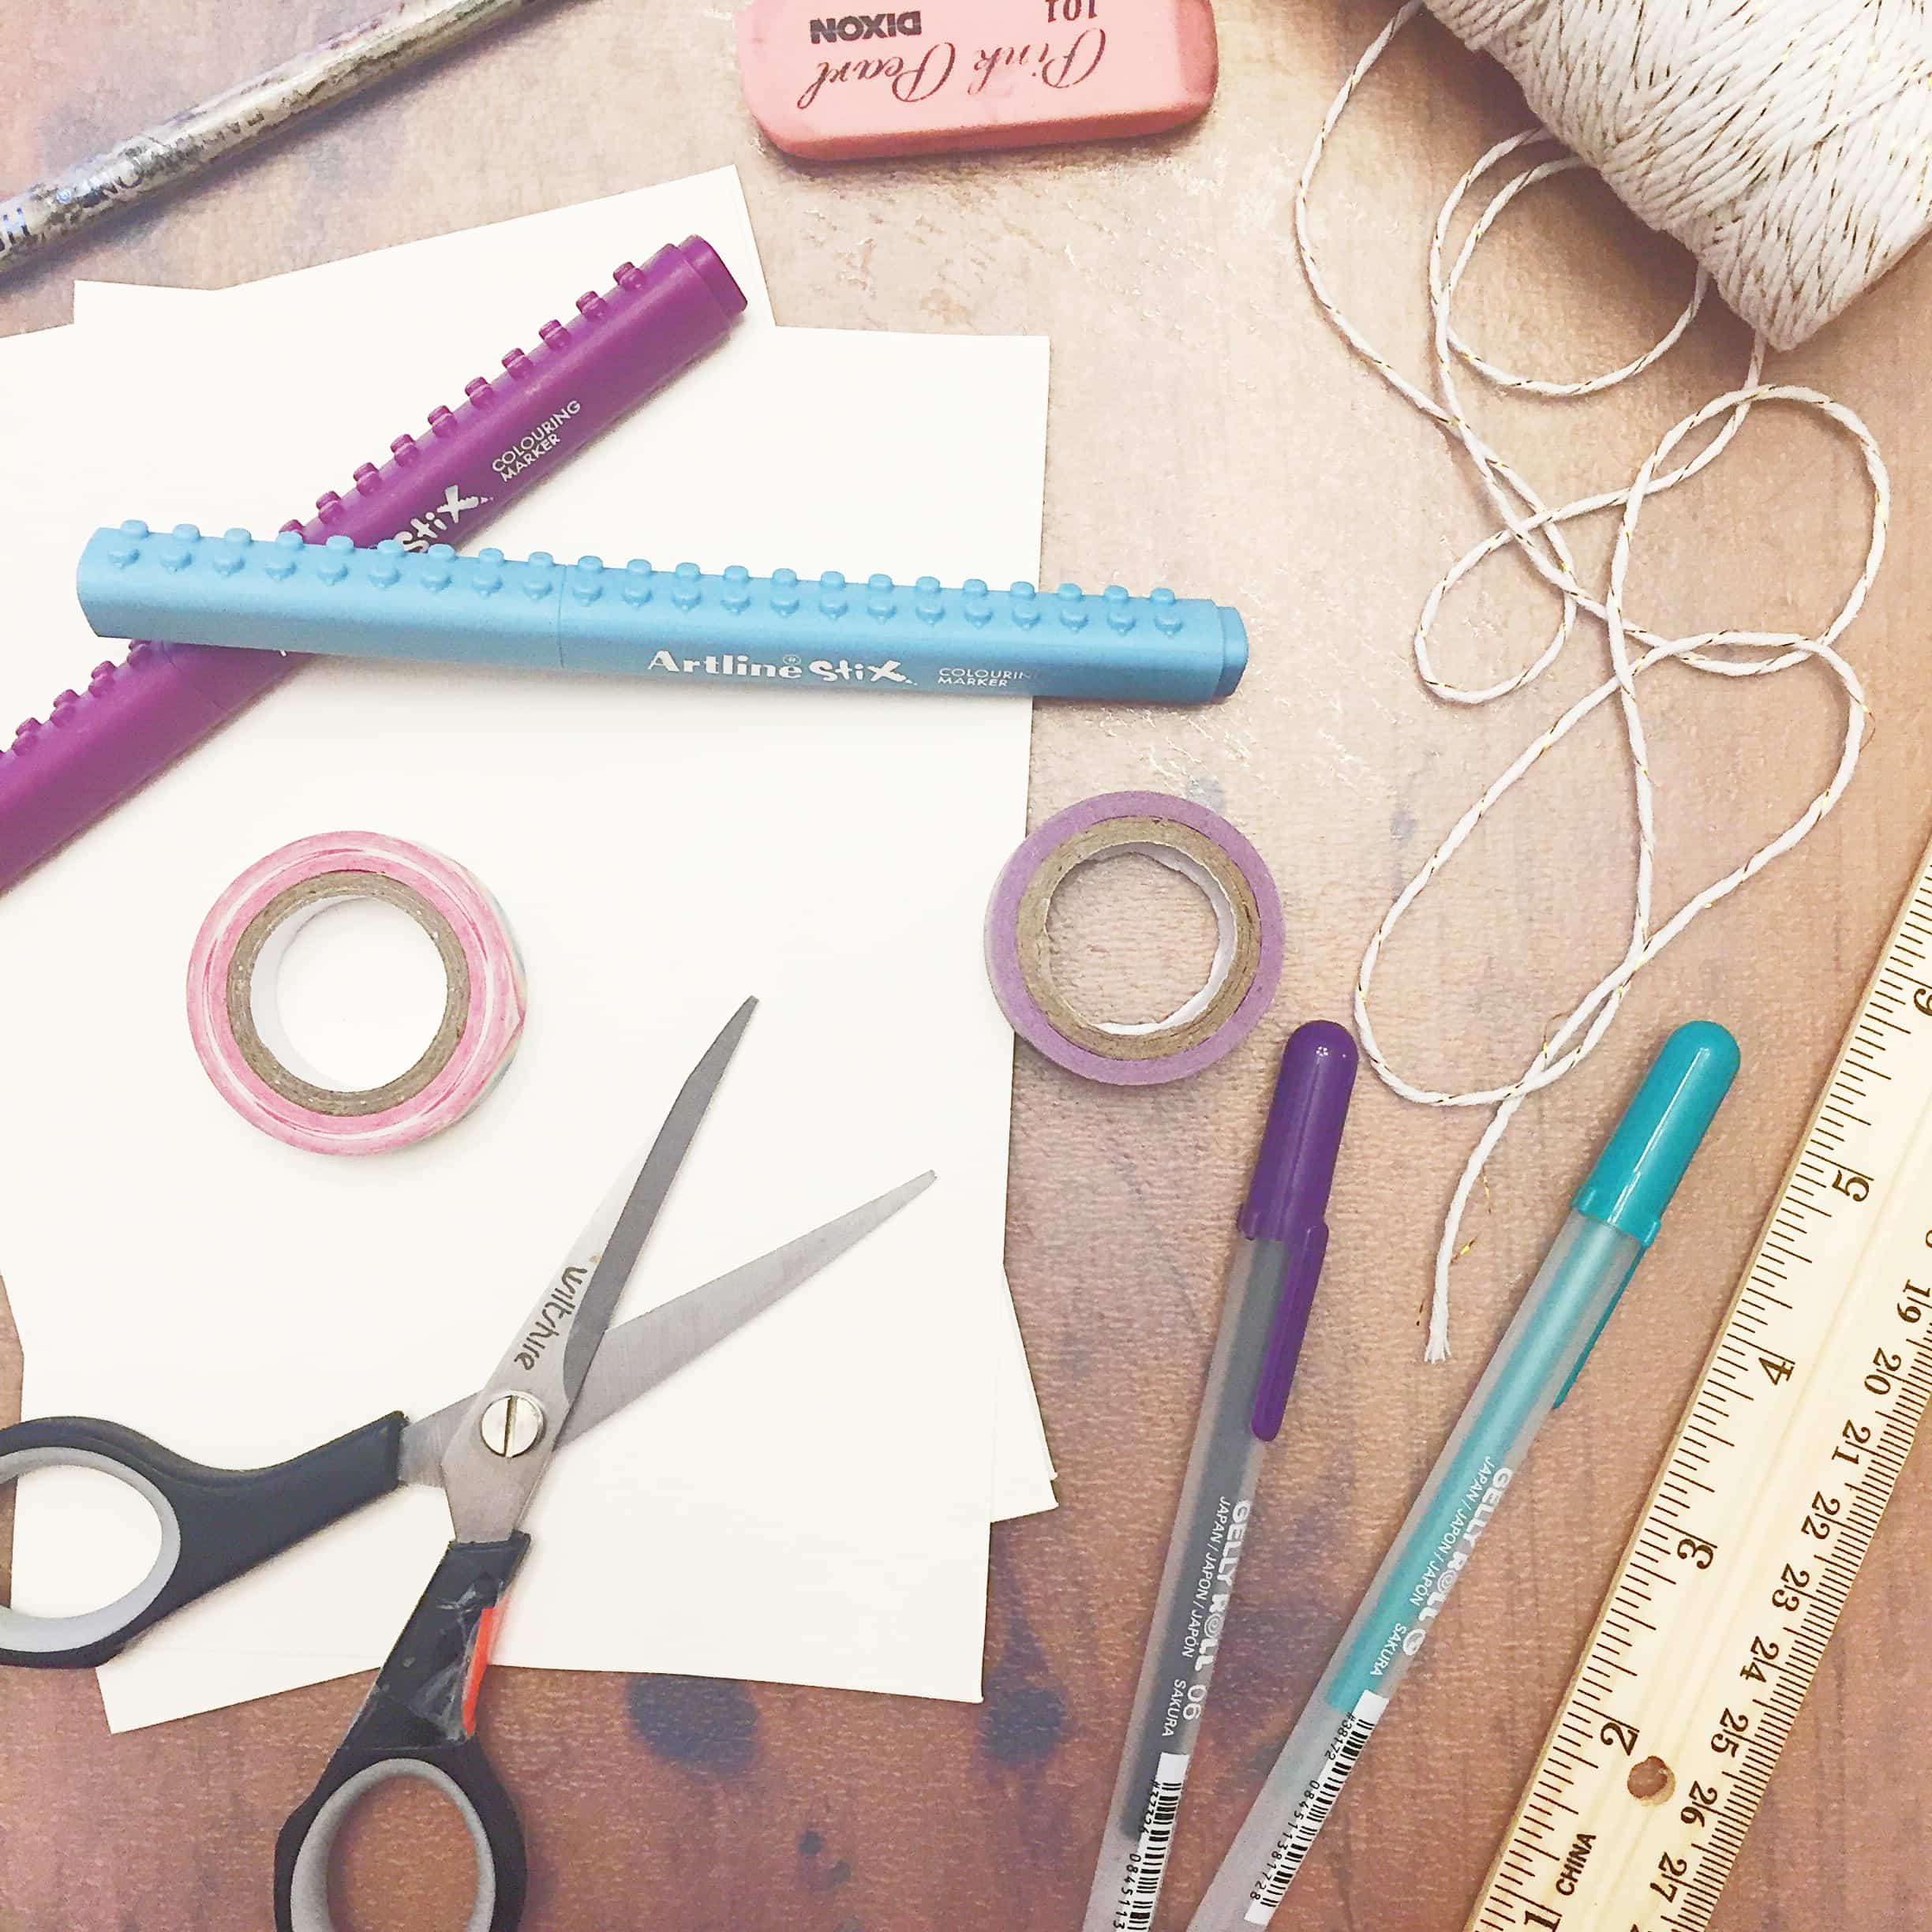
Here is what you’ll need:
Markers – Crayola Supertip markers are affordable and easily found
Craft Paper
Scissors
String
Optional:
A hole punch – You can also use a pencil or cut small holes with scissors
Steps:
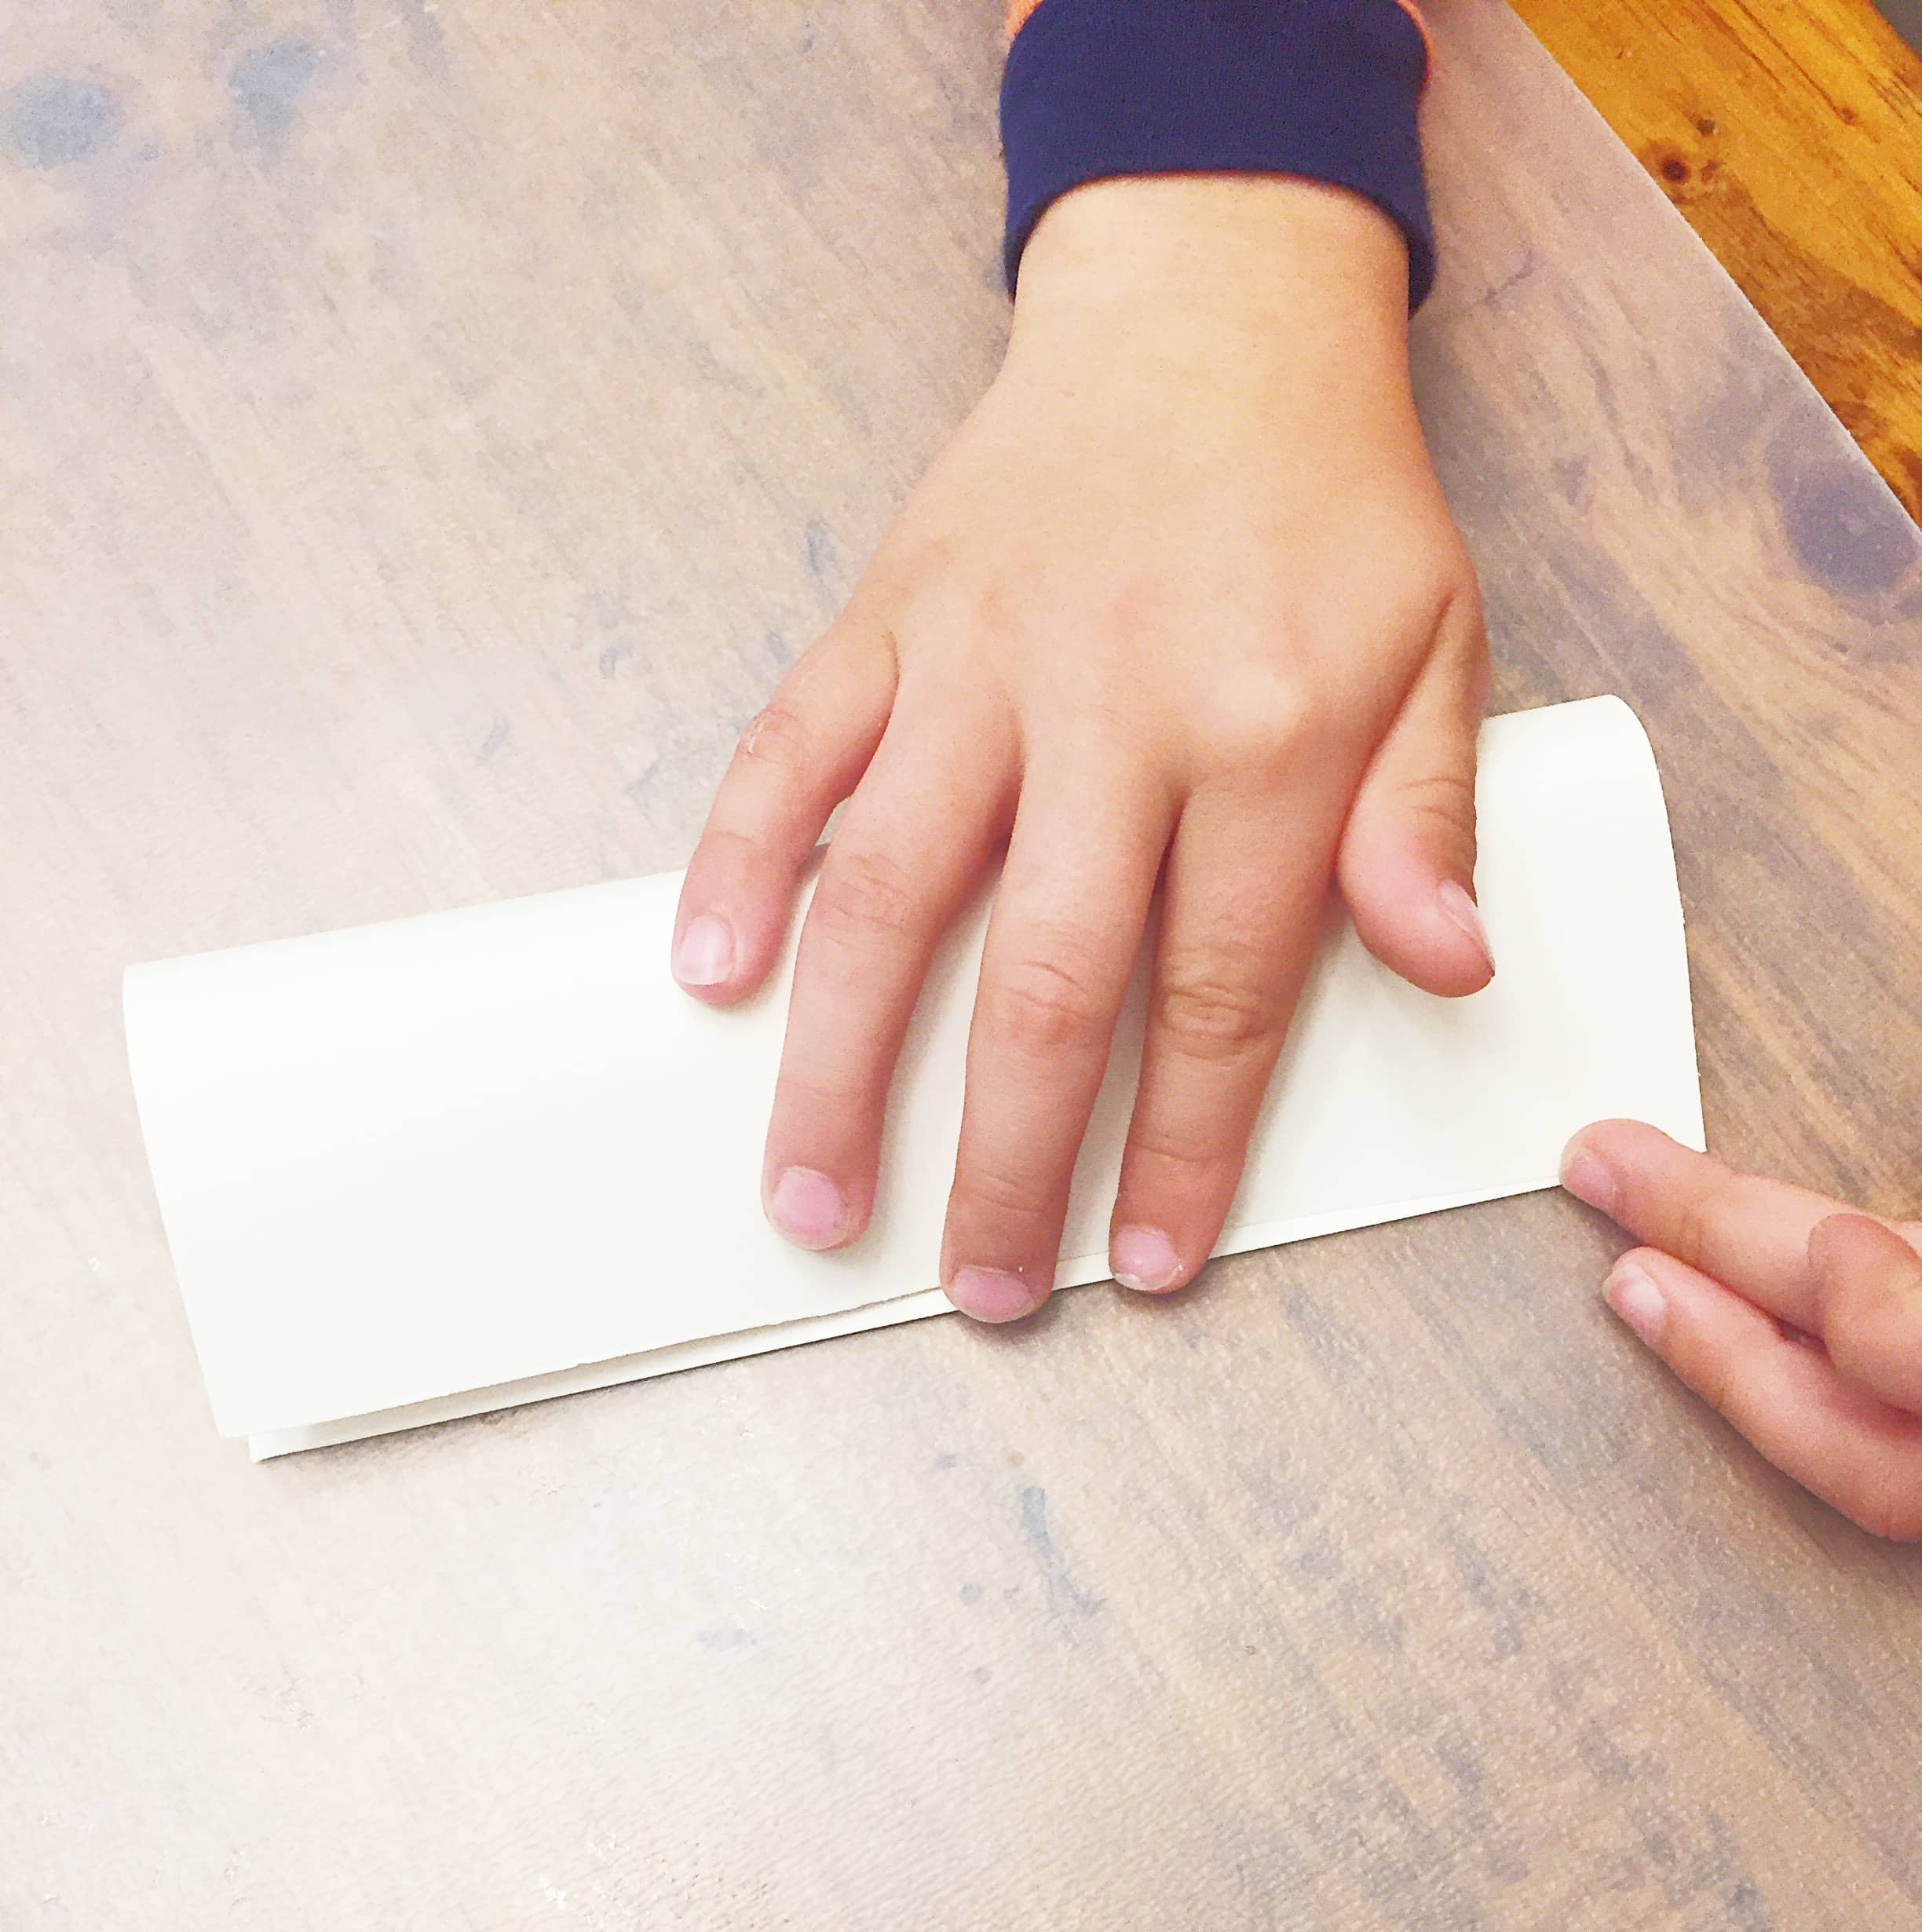
Step 1: First thing you’ll need to do is to make your banner stencil. Grab a piece of paper or card the size you’ll want each flag to be and fold it in half lengthwise.
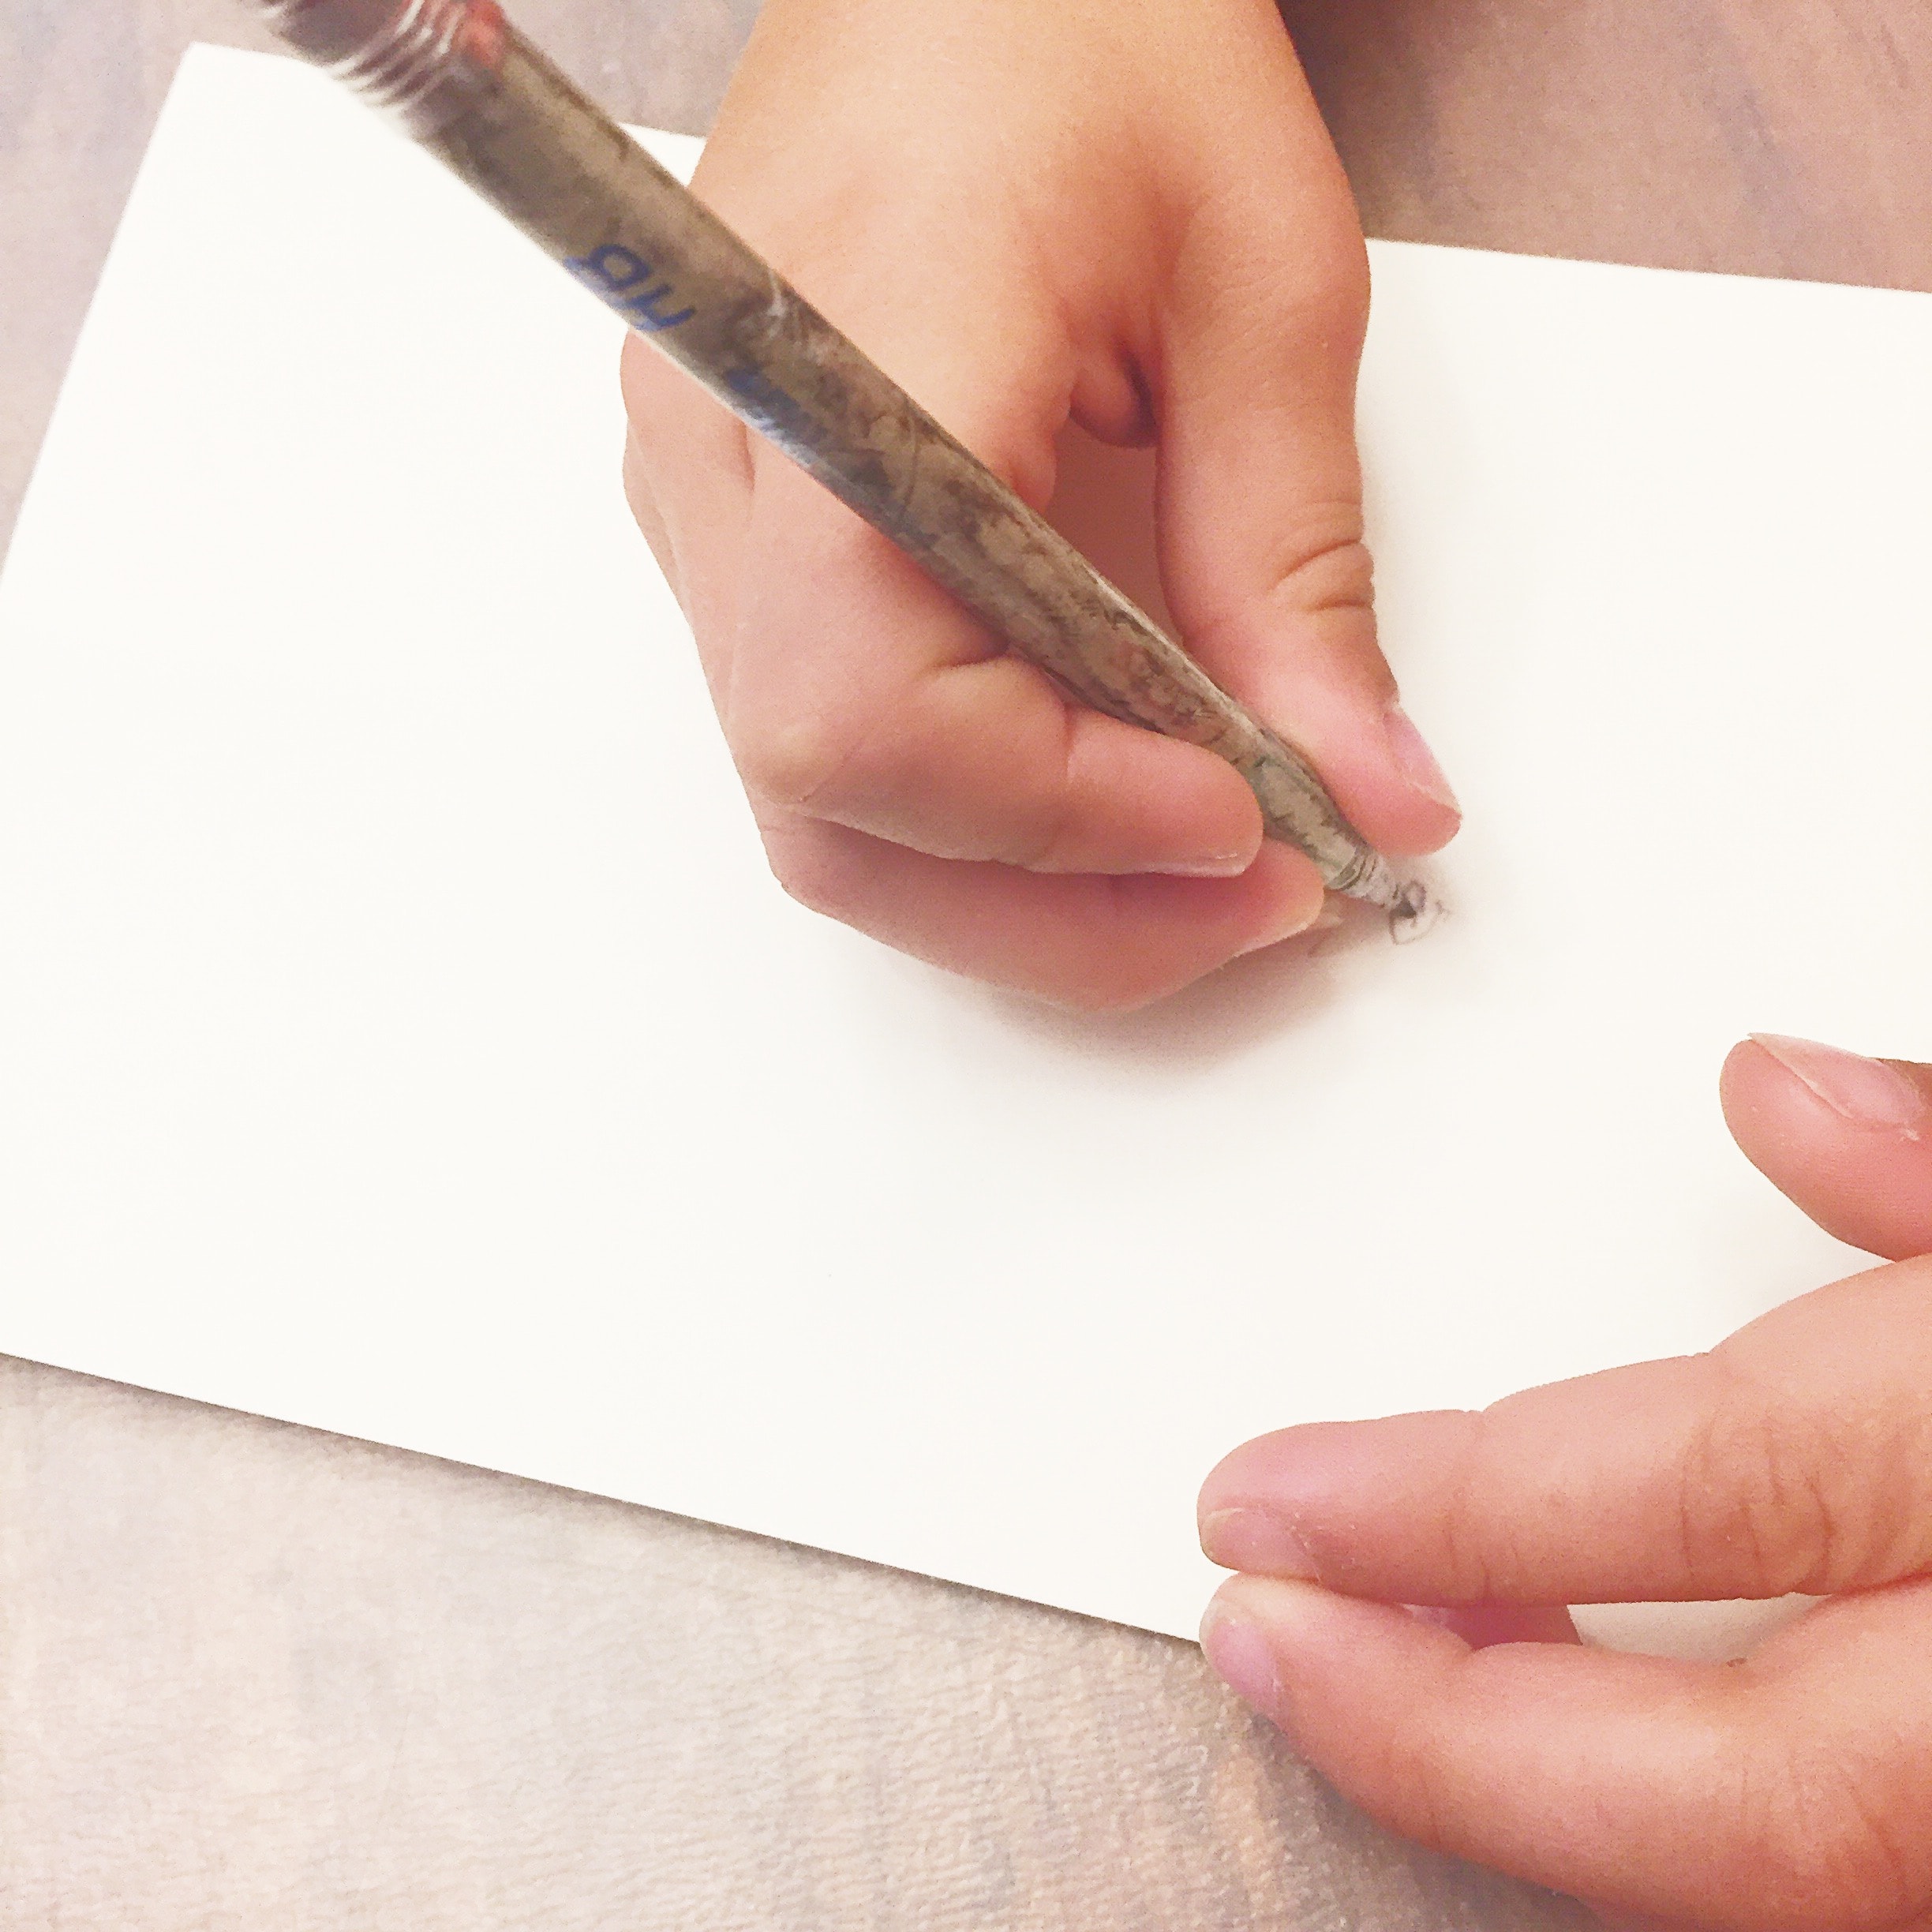
Step 2: Open the folded paper/card and make a small mark about ¼ up the fold (from the bottom).
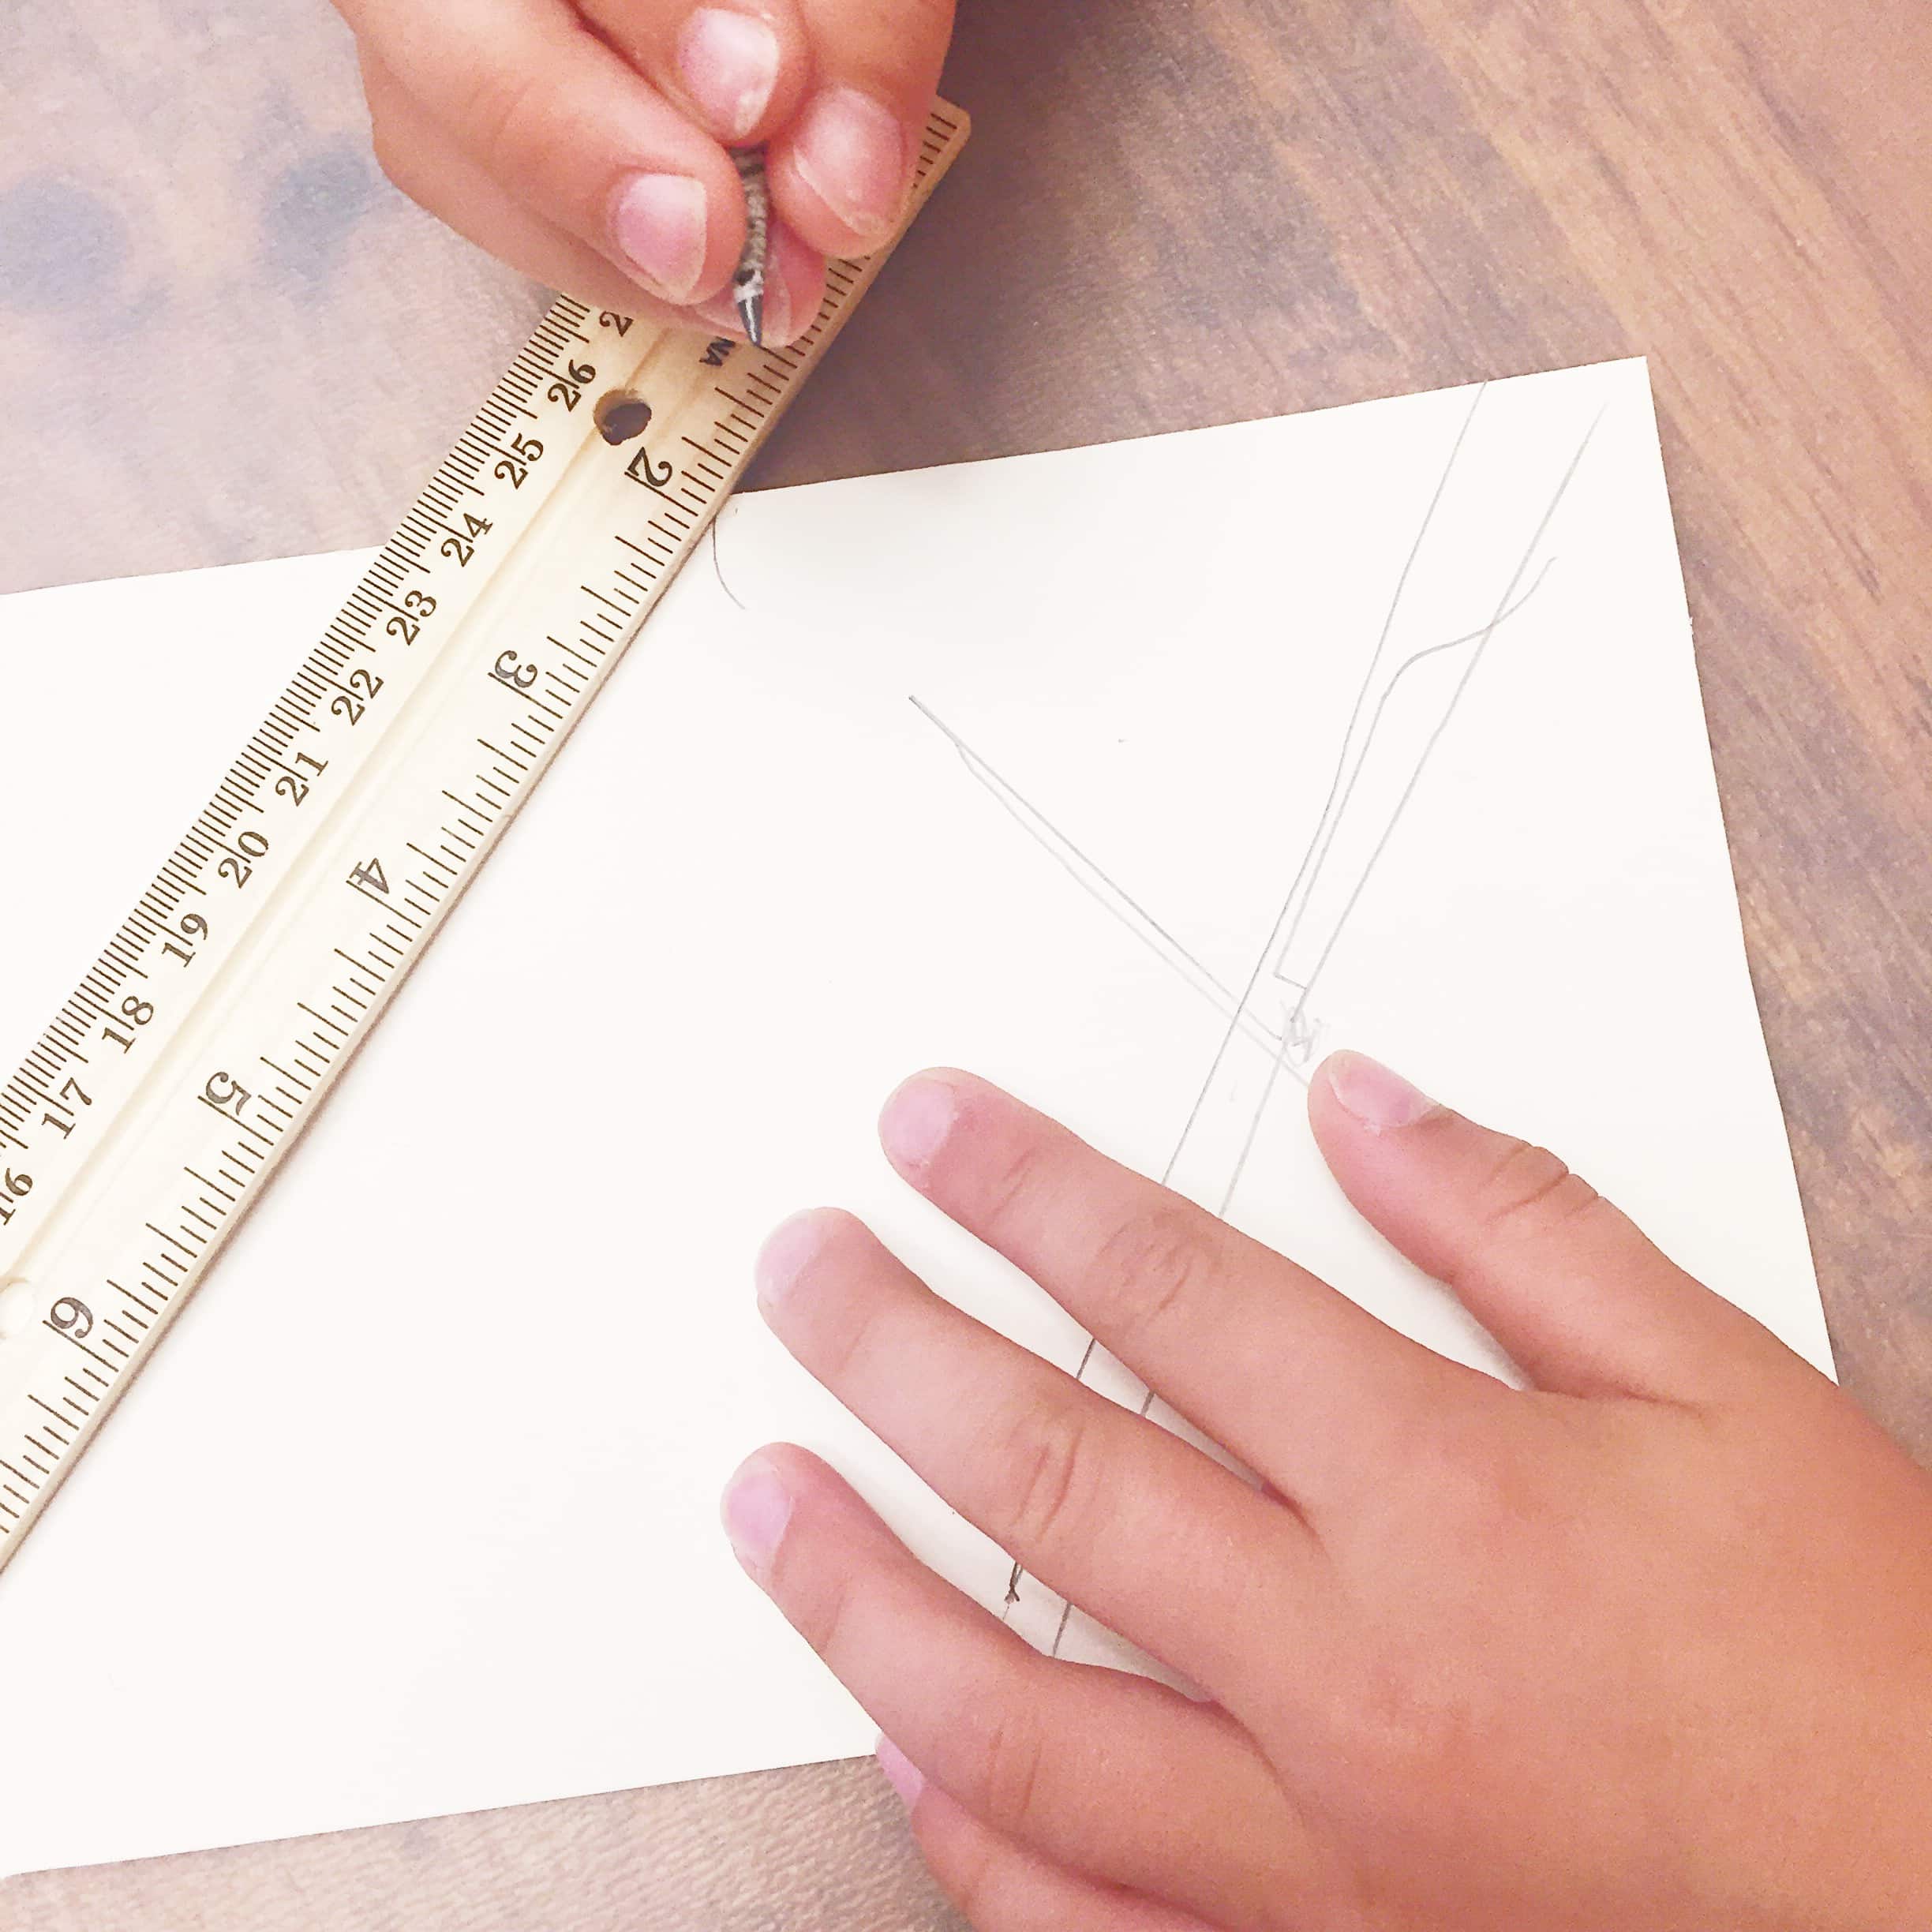
Step 3: Draw two lines from each bottom corner and meet the them at ¼ mark in the centre to make a small triangle.
Step 4: Grab your scissors and cut out the small triangle. You are left with the stencil you will use to create each individual banner.
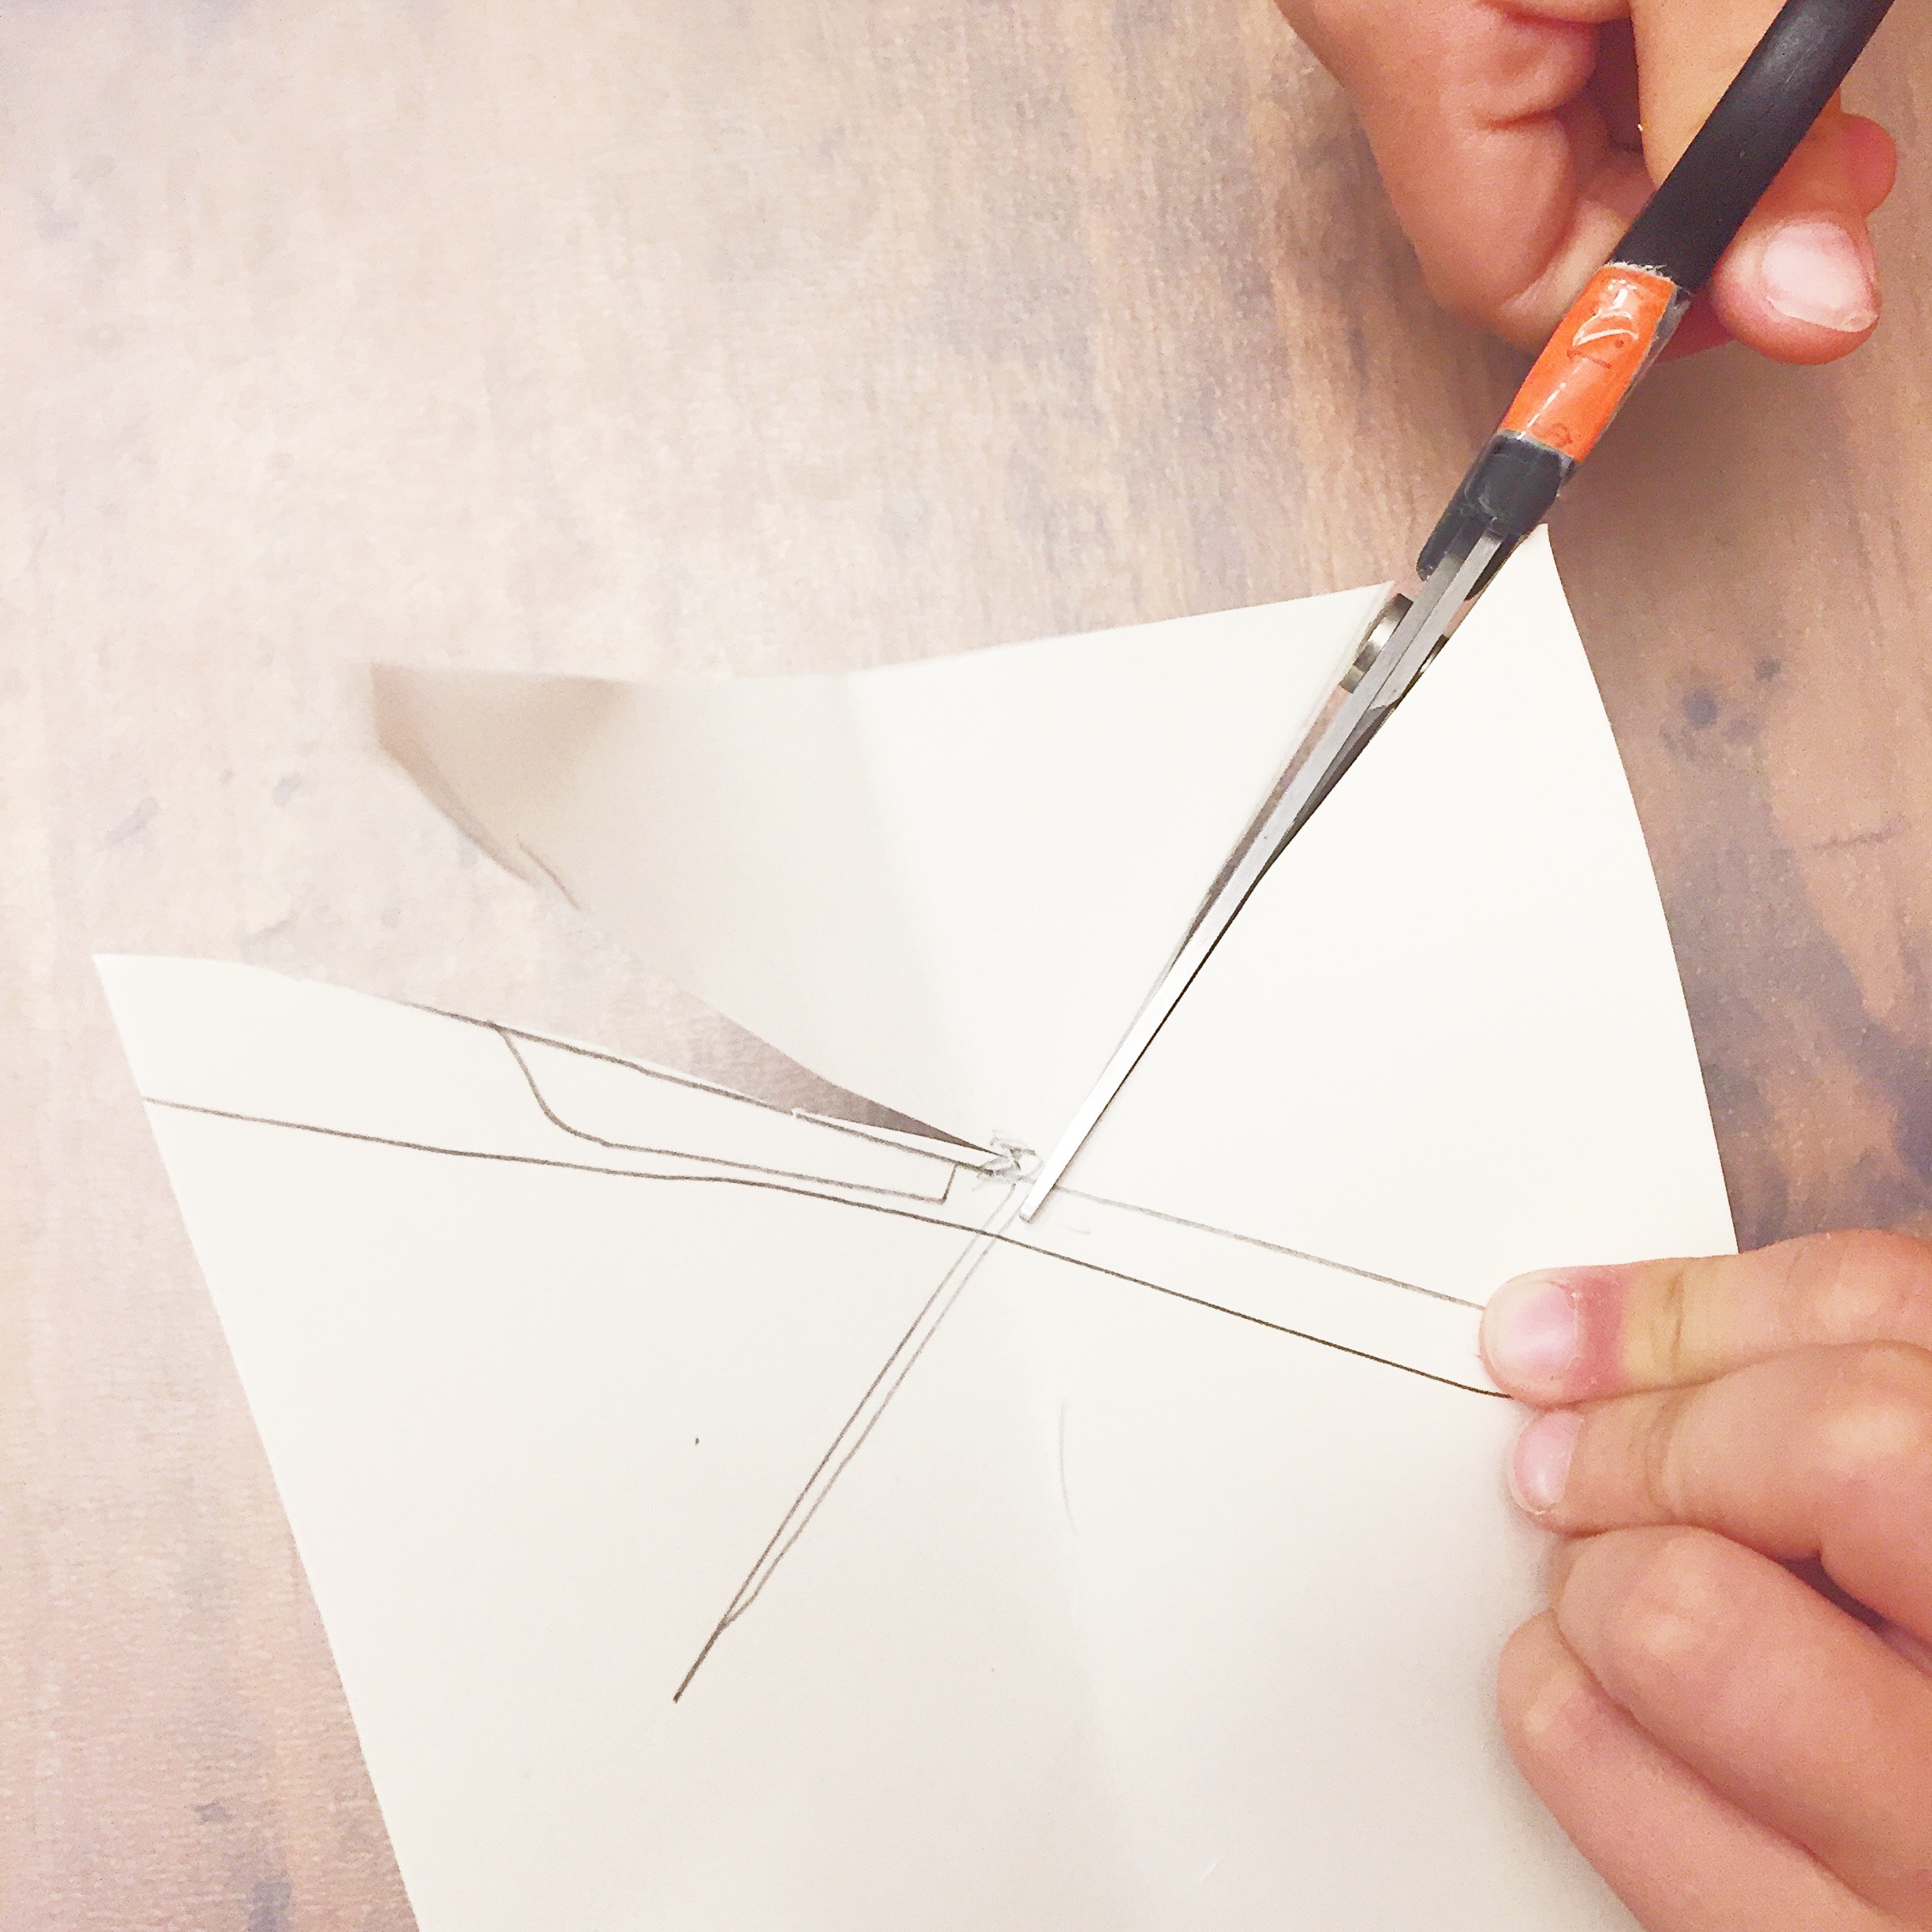
Step 5: Use your stencil to trace each flag, and then cut them out. *You will need one flag for every letter! If you require a space, you will need to leave one banner empty.*
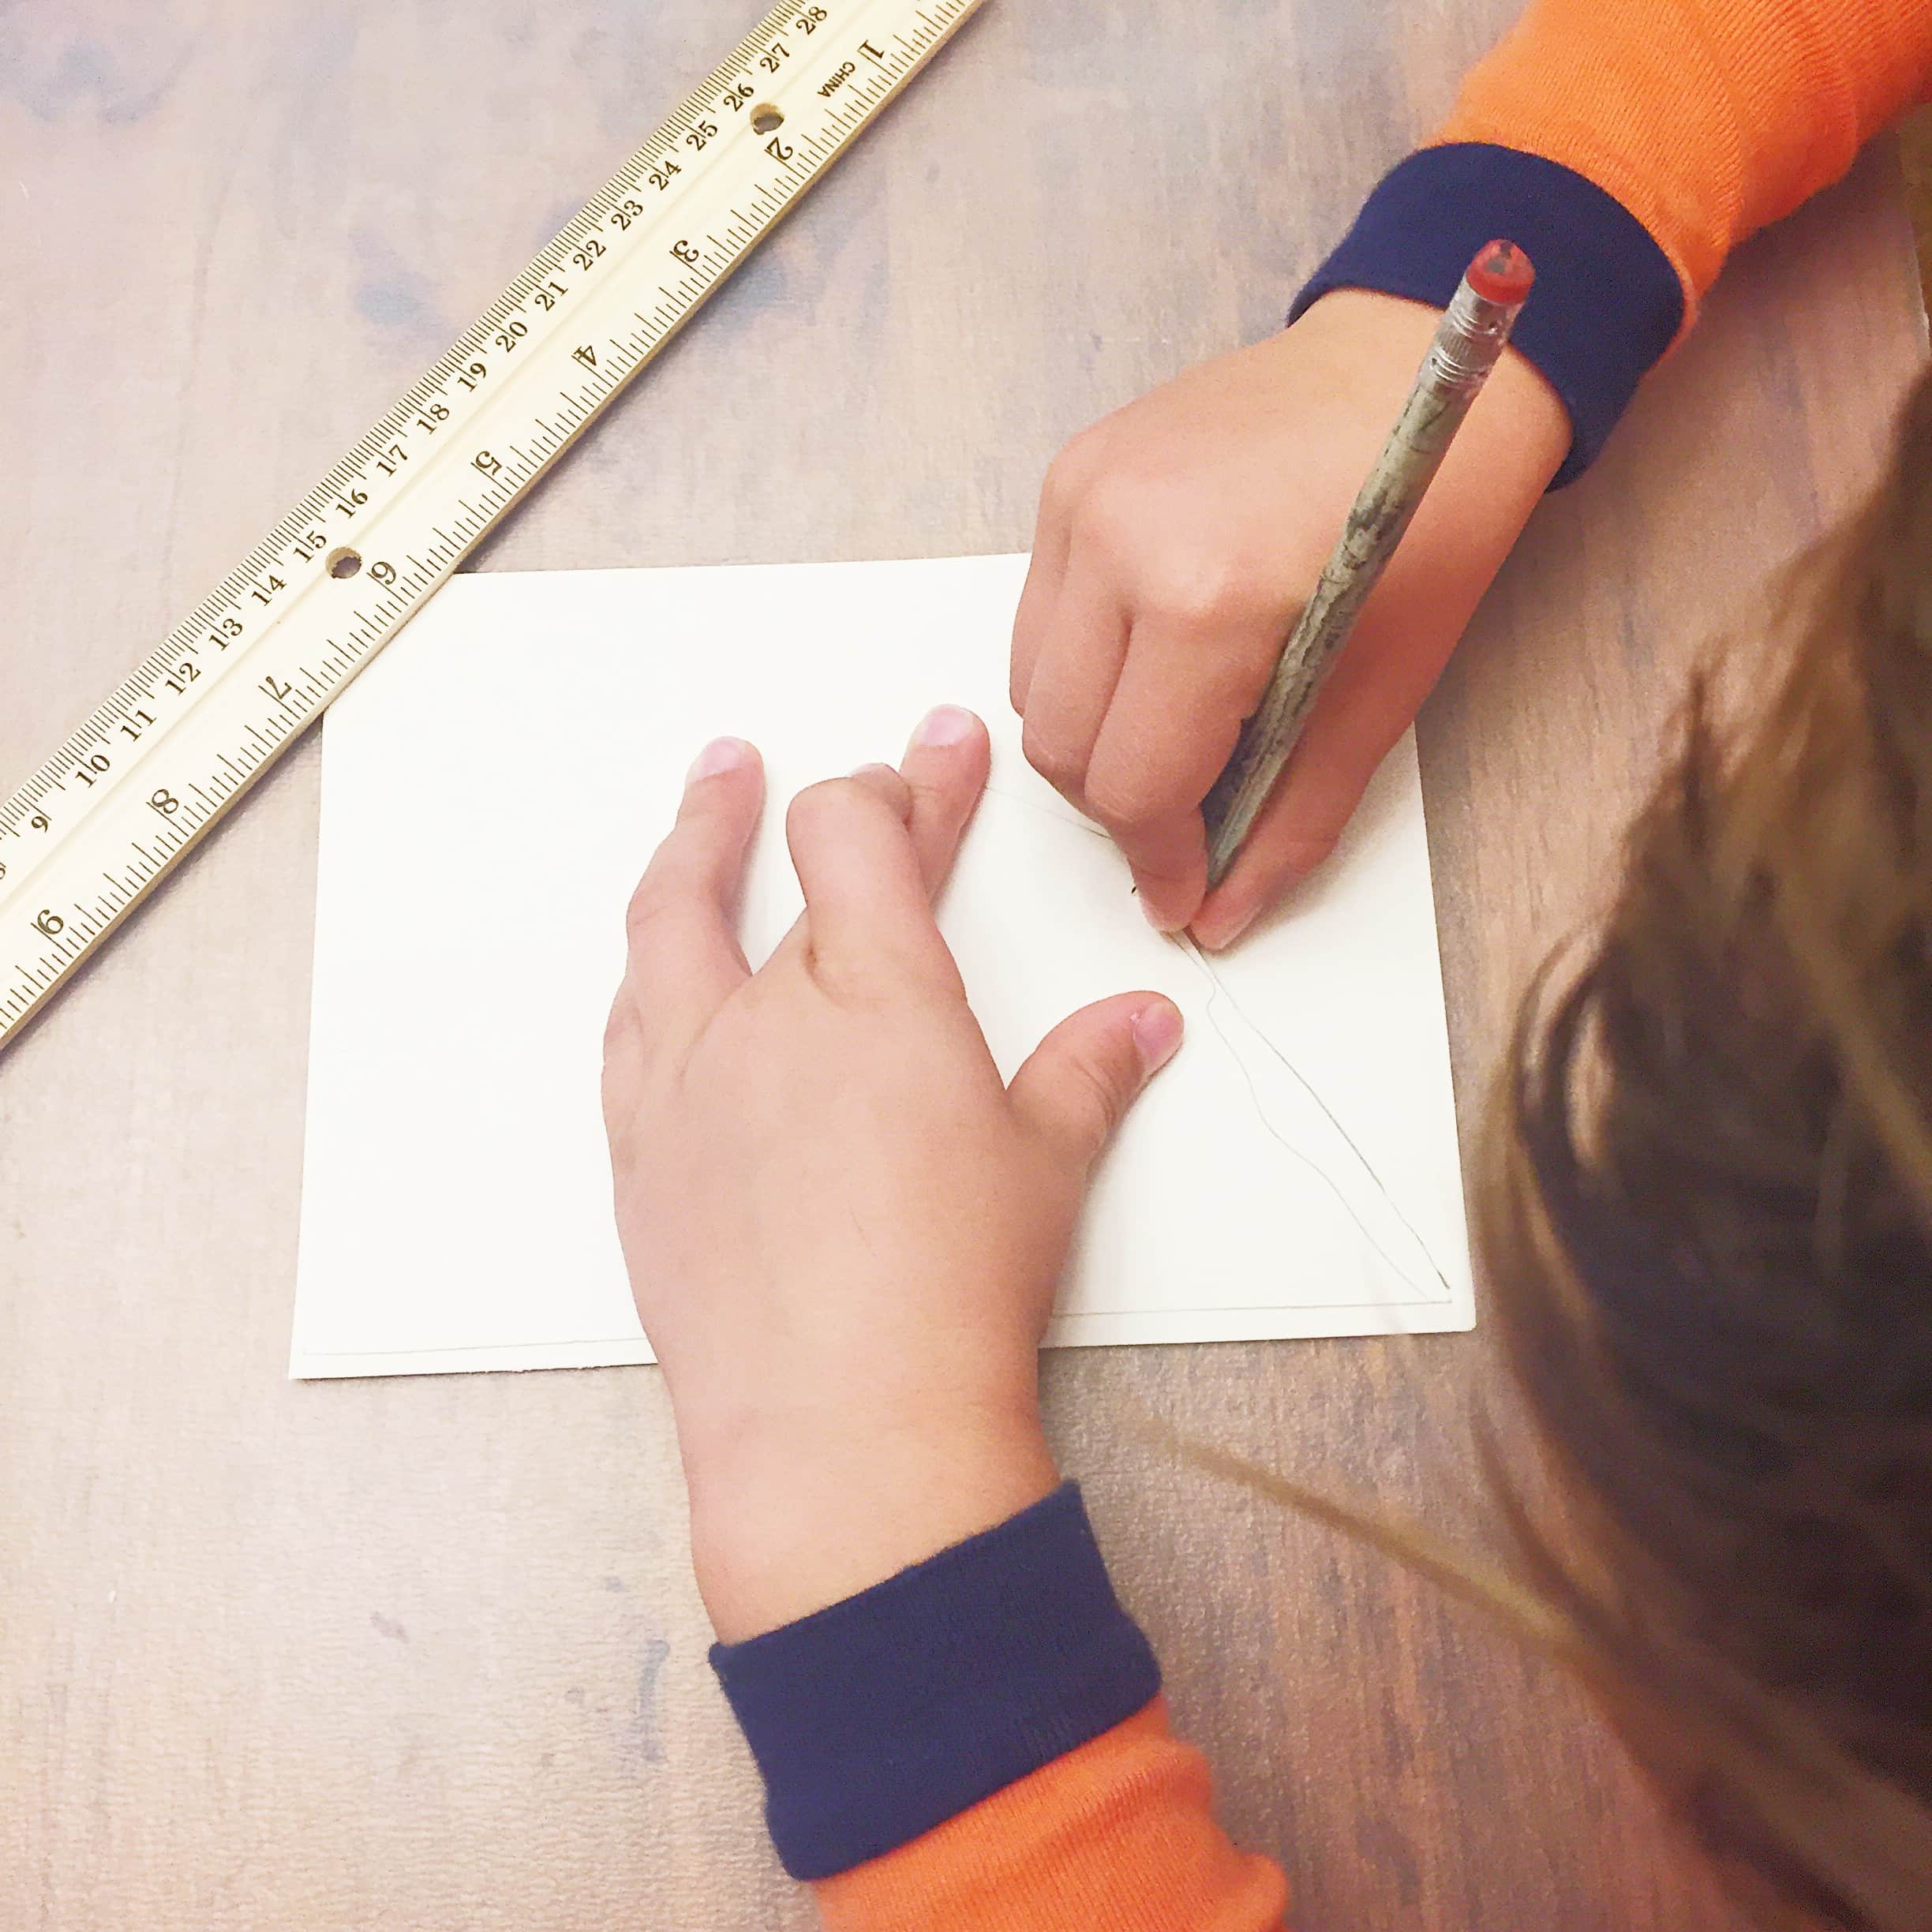
Step 6: It’s letter time! In the book, Nicole breaks down each letter to help your child understand how they are built using easy to shapes and forms. Use a piece of scrap paper to practice each letter before transferring them to the individual flags.
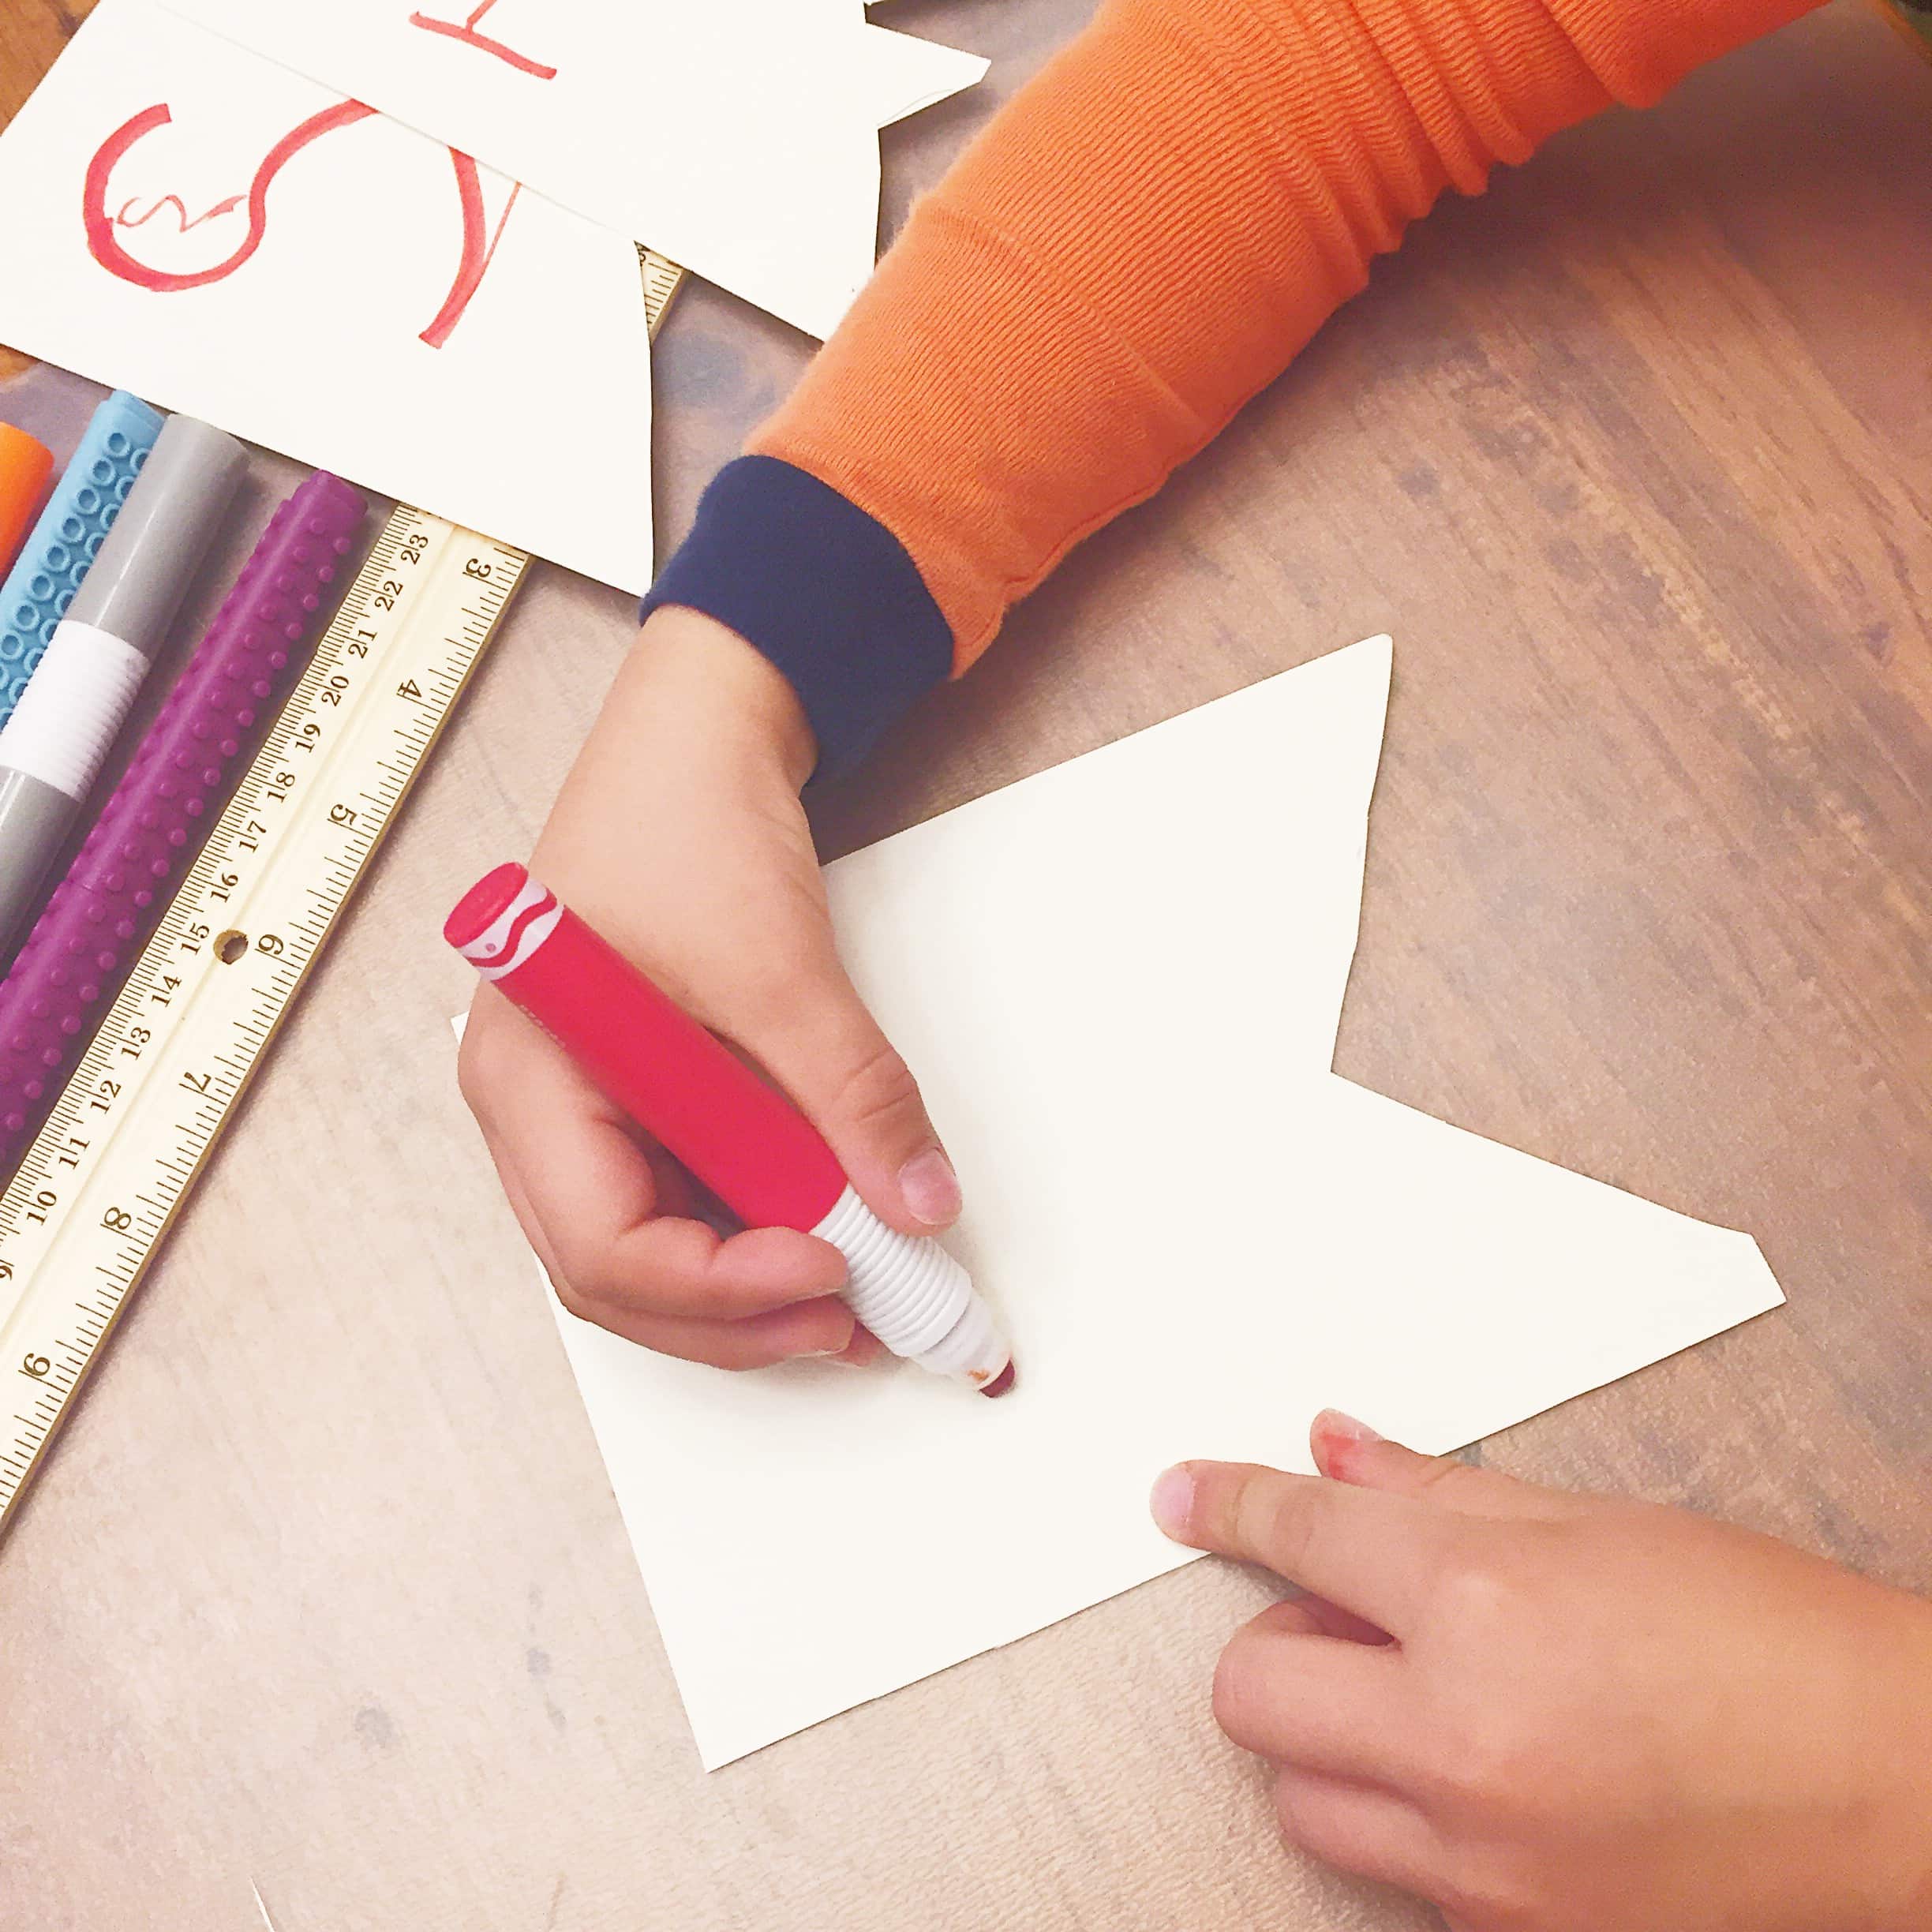
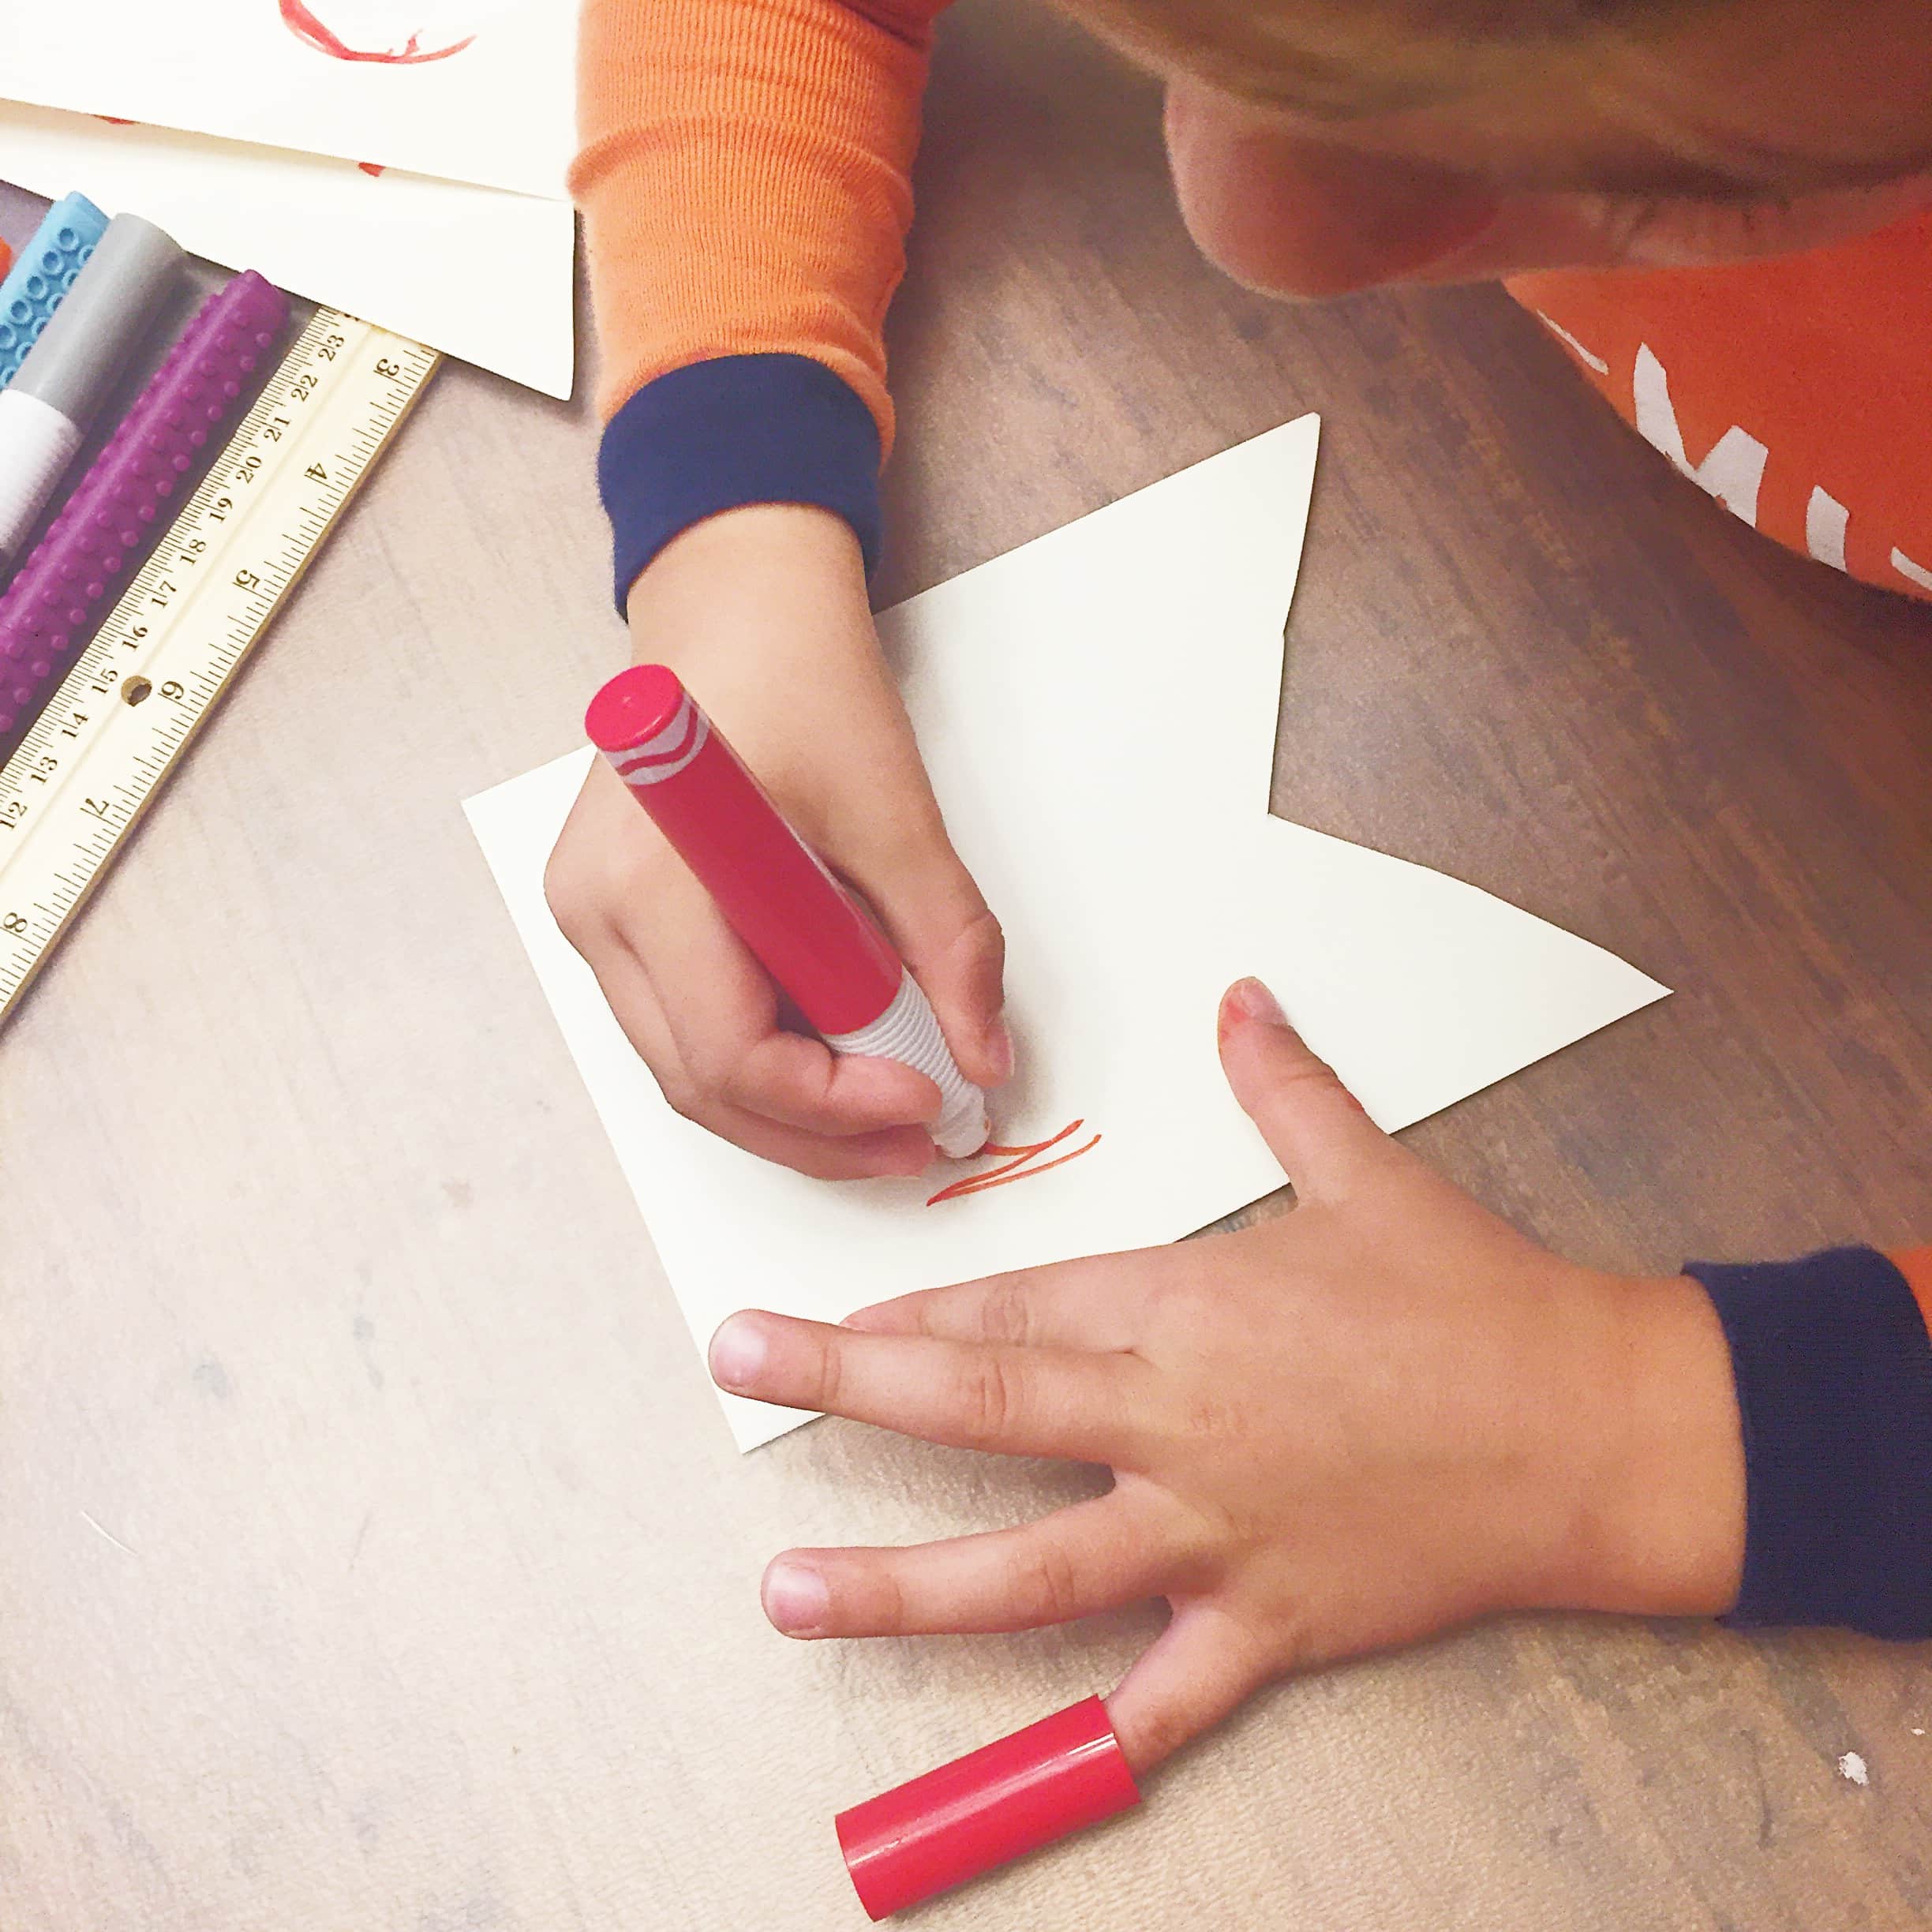
Step 7: Using your markers, draw out a letter in the centre of each banner. Your child can also draw the letters with a pencil first and then go over it with their markers. *Remember that the thicker the lines, the easier each letter will be to read.*
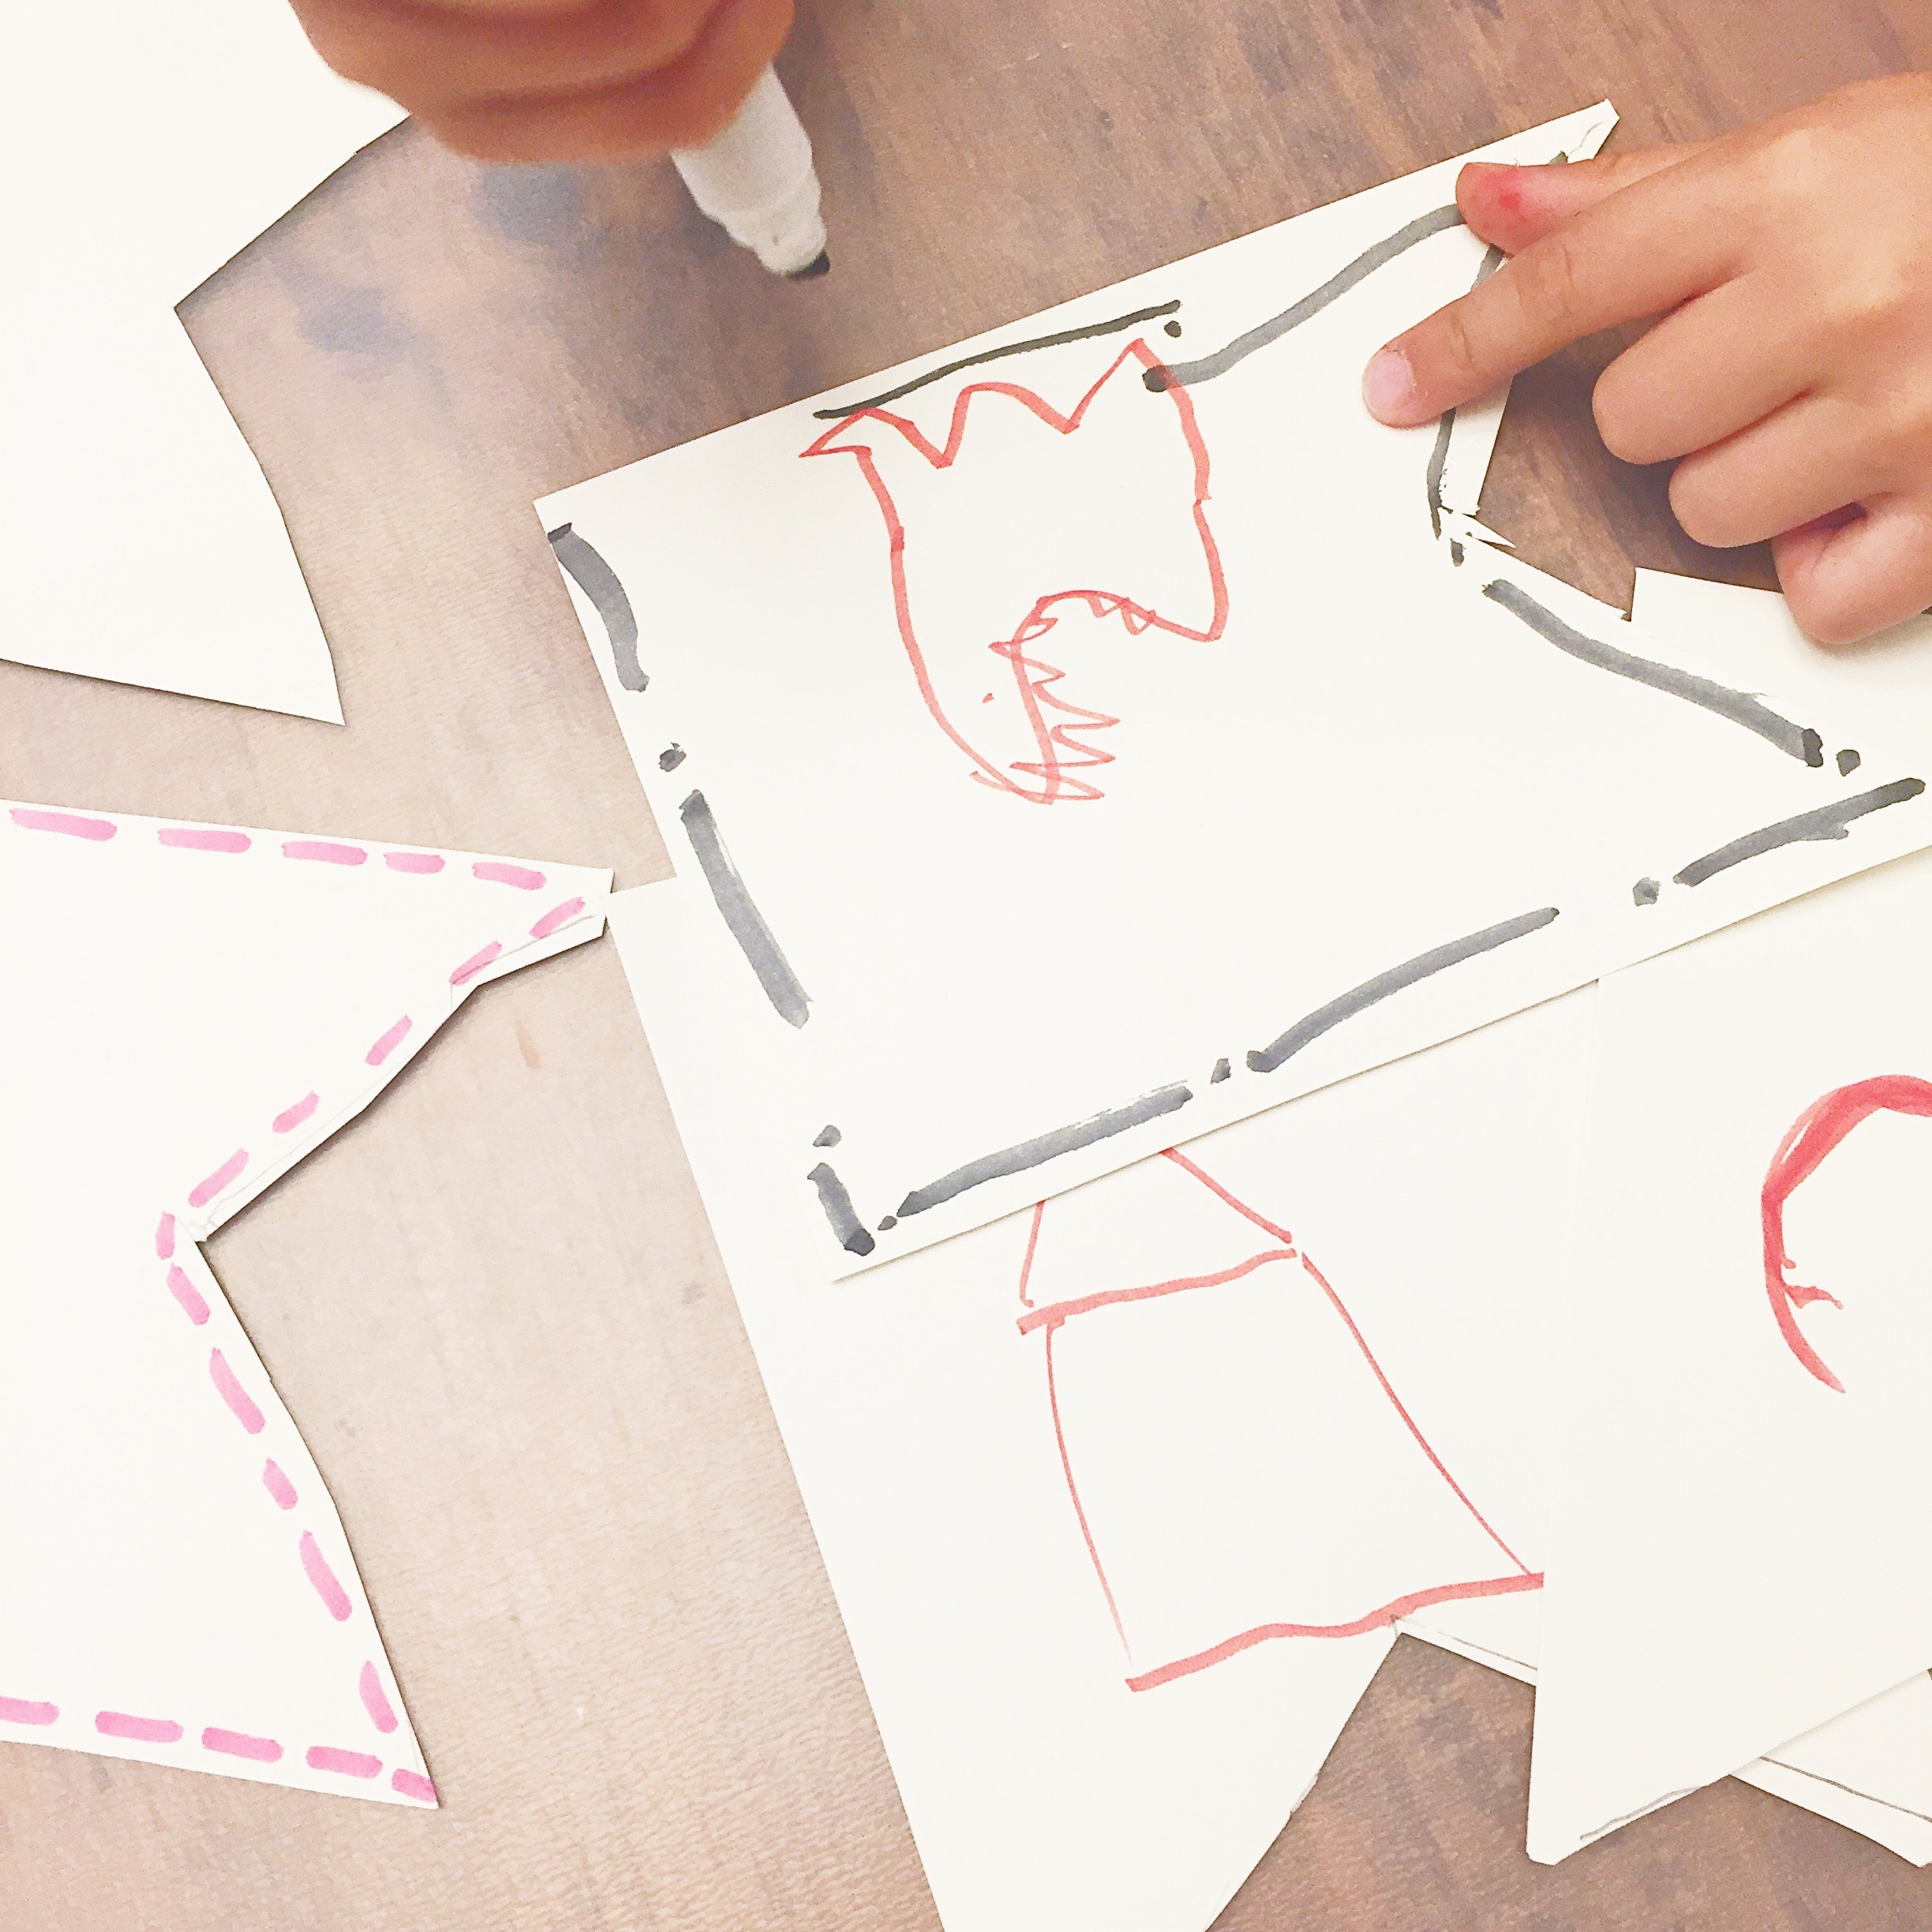
Step 8: Using markers, stickers or other decorative elements, your child can create a border on each flag. *This step is optional.*
Step 9: Make a hole in the top corners of each banner (two holes/banner) using your hole punch.
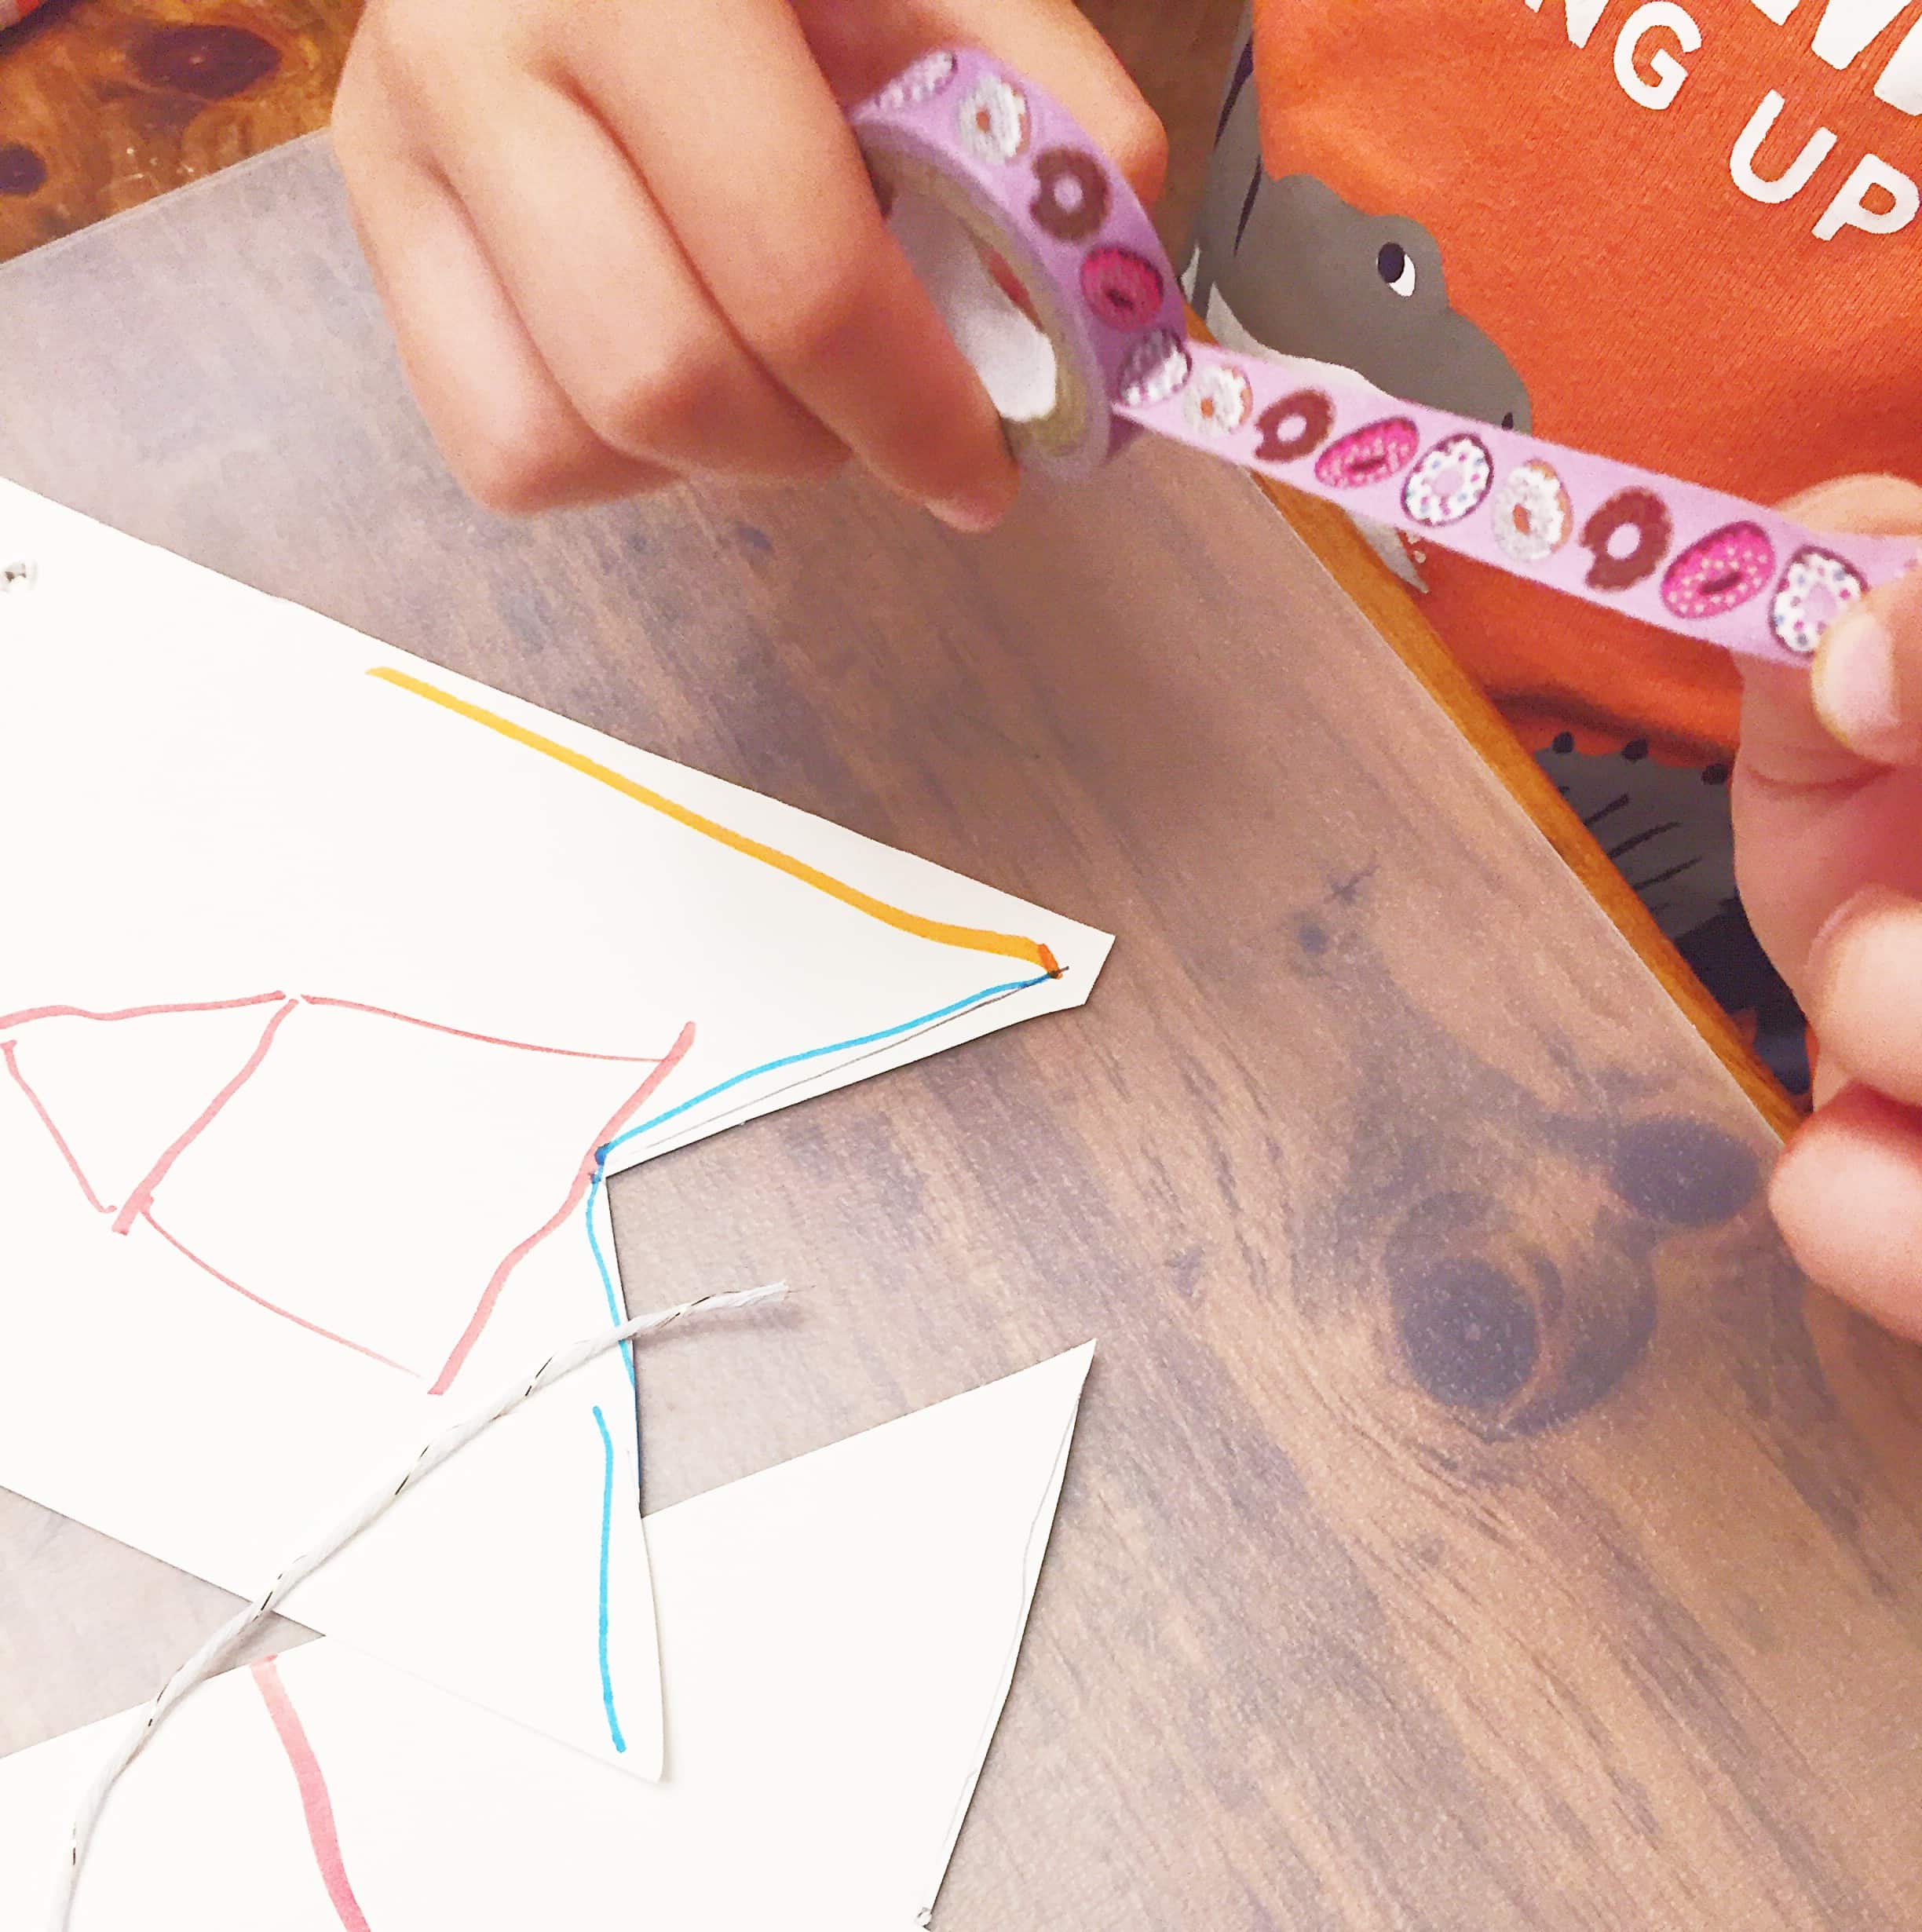
Step 10: Thread a piece of string through the flags until they are all connected. *Tip: Prevent your string from fraying by wrapping the ends with a piece of washi tape!*
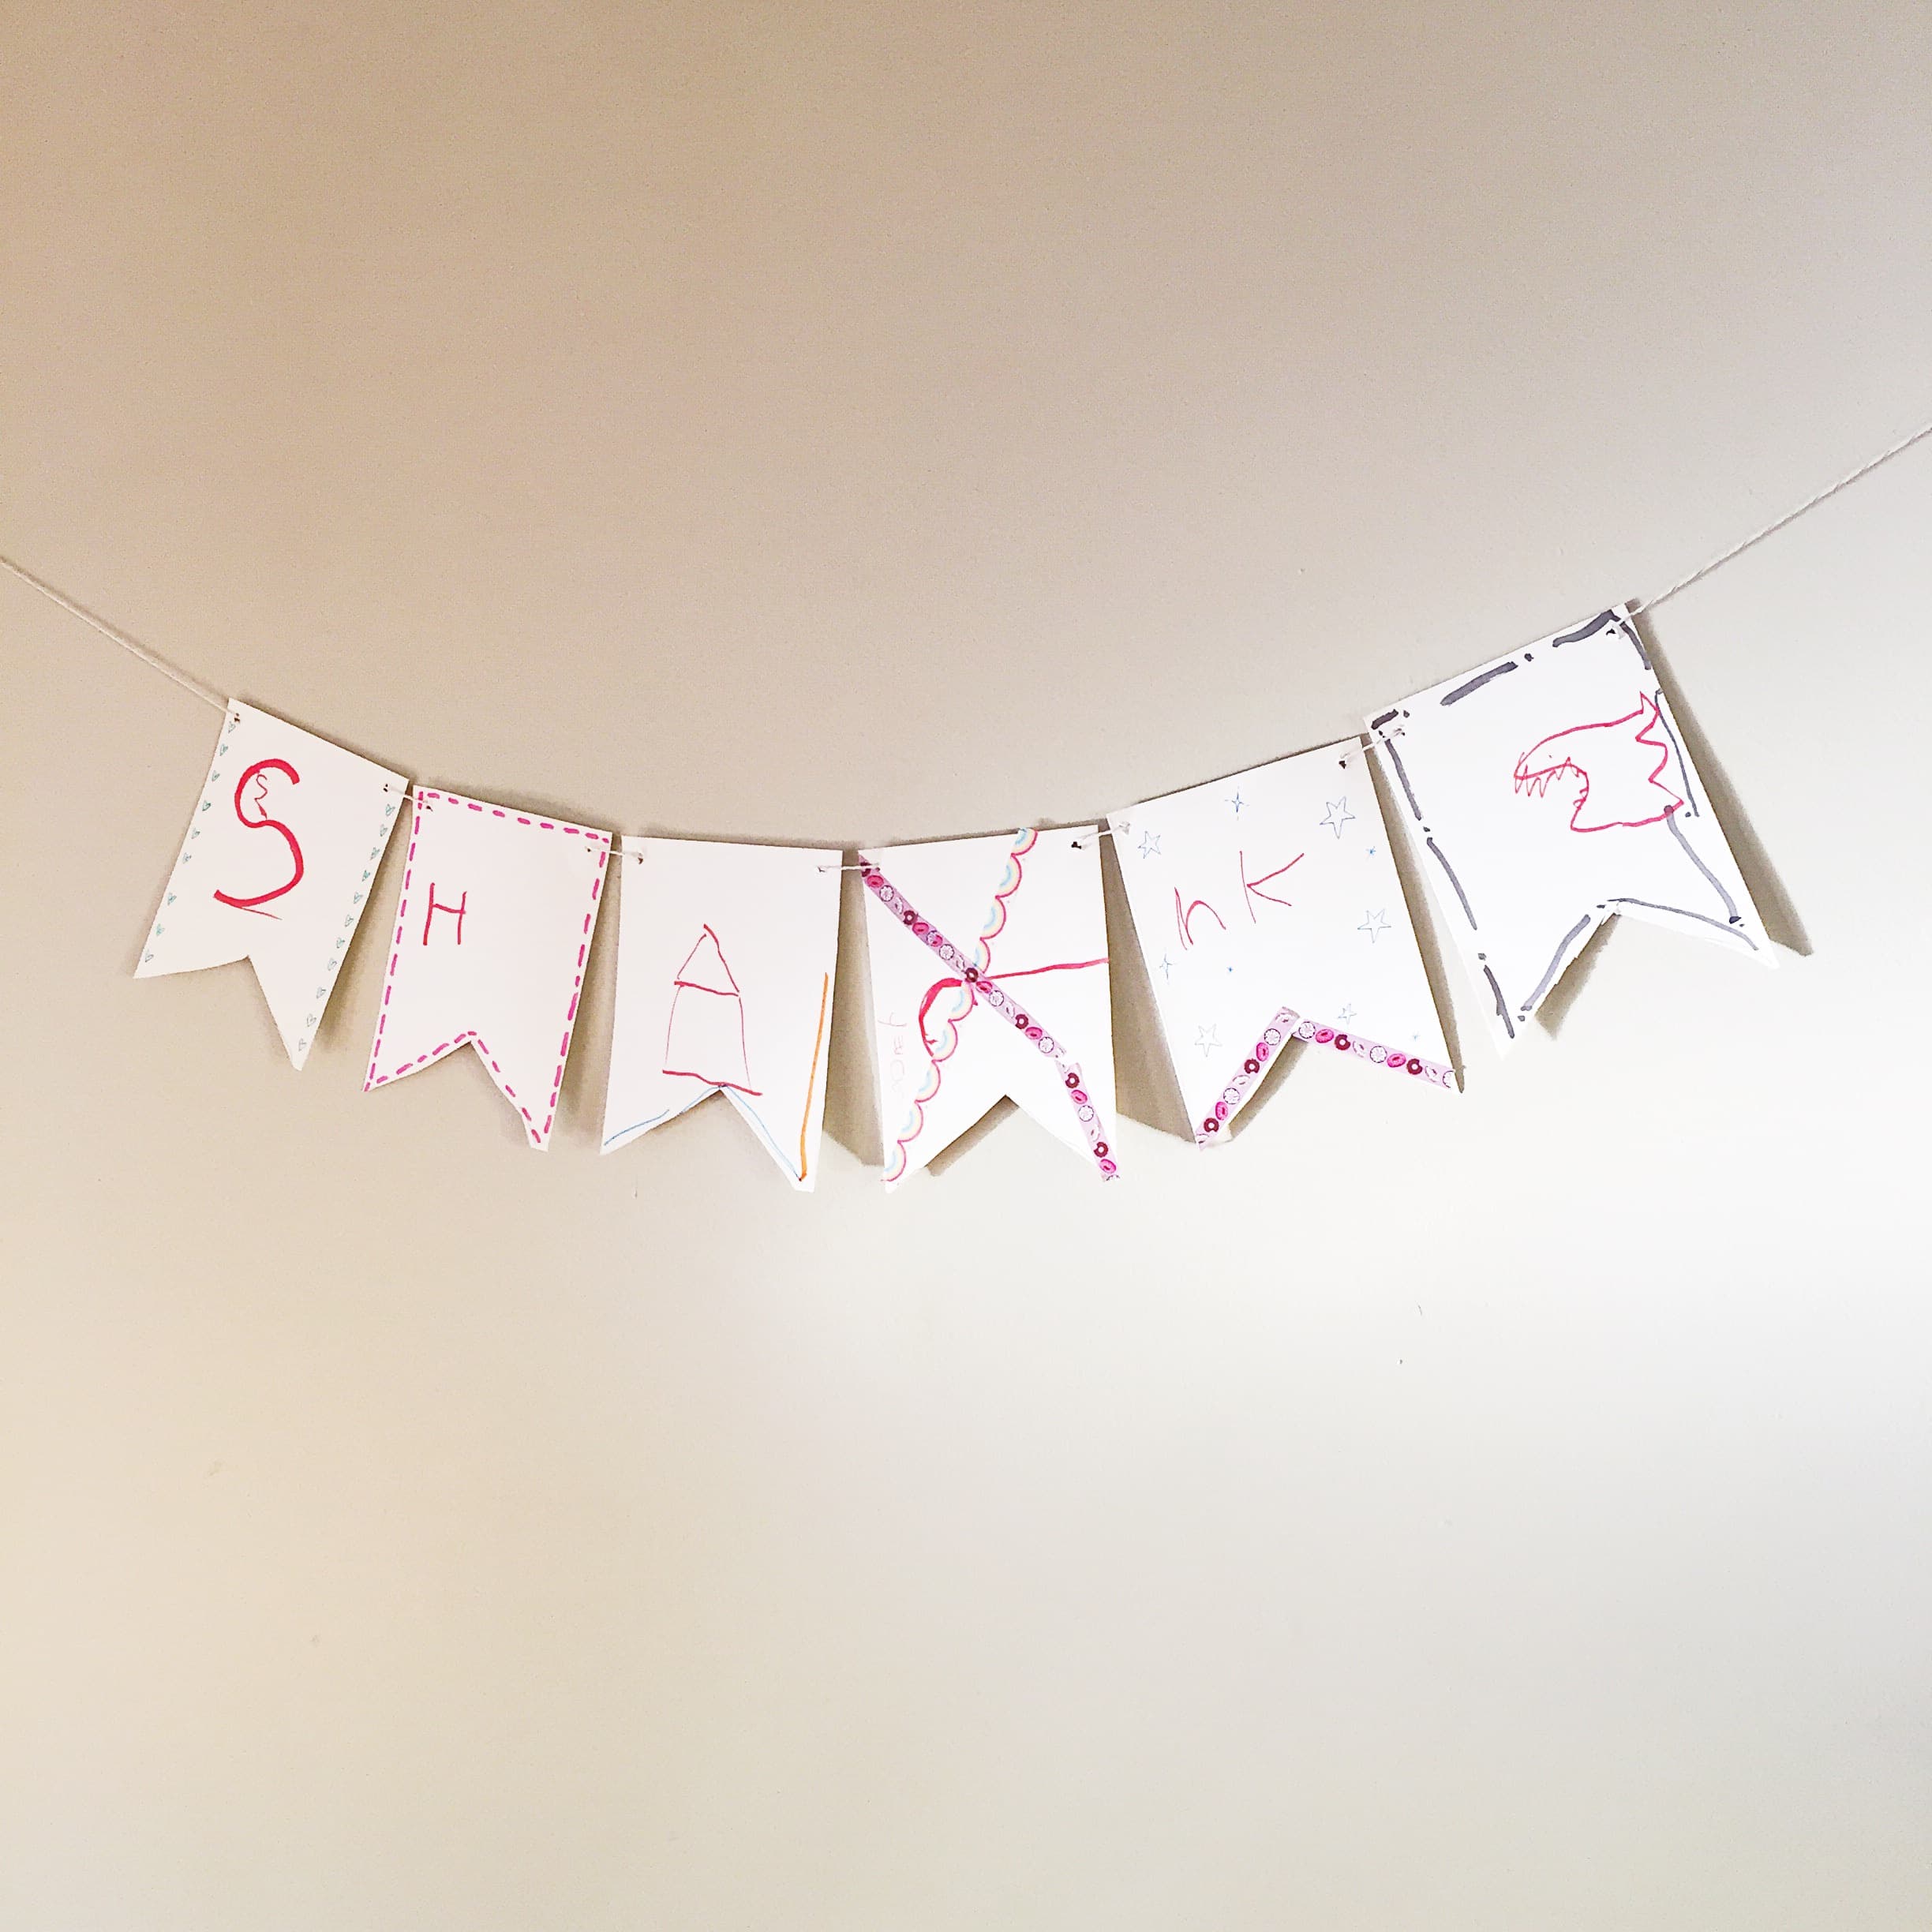
*A big thank you to Cooper (Age:5), for creating this stuuuunning “Sharks” banner!*
There you have it! You now know how to create a decorative banner for any special occasion!
You can watch the video and follow along for two more lettering and craft projects, and be sure to grab Nicole’s book for more fun projects for your crafty kid.
I really hope you enjoyed this interview! Make sure you’re subscribed to The Happy Ever Crafter TV to catch the rest in the series! And one last HUGE thank you to Nicole!
Interested in more of these interviews? You can also join the Facebook group, where these Q&A’s are hosted LIVE, and submit your own questions for future guests.

Comments