

I recently found myself in a delightful pickle – I needed to make 40 thank you cards for Workshop Week instructors, and I needed them quickly. This is one of those situations where you could stress about making each card individually perfect, or you could embrace the beauty of batch crafting. I went with option two.
This technique uses calligraphy to create beautiful background patterns on one large sheet, then cuts it into individual cards. The result is a whole stack of cards that look cohesive but unique, and it takes maybe 20 minutes from start to finish. If you’re short on time but don’t want to sacrifice the handmade touch, this is your project.
Supplies Used
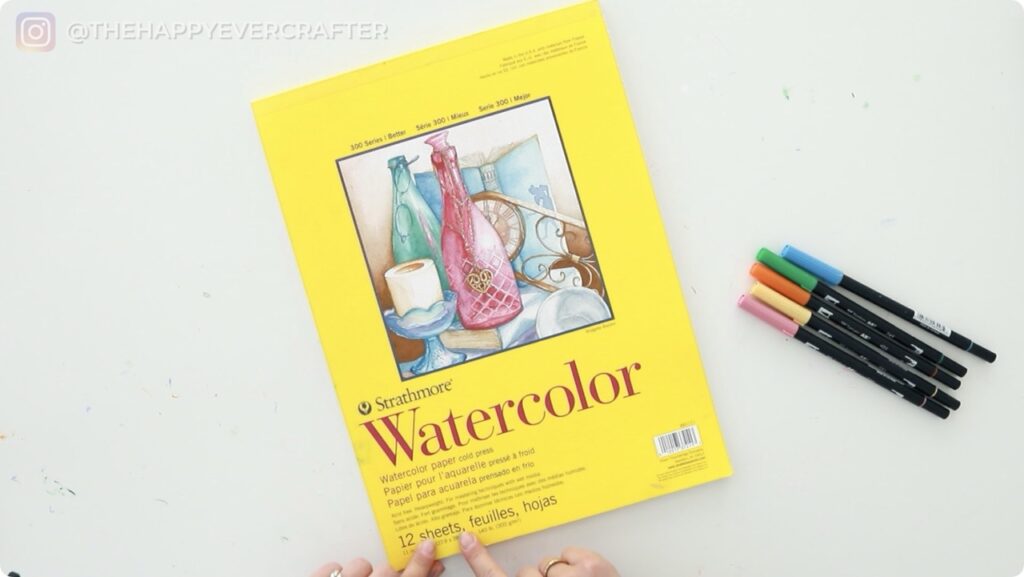
- Canson Watercolour Paper
- Tombow Dual Brush pens in various colours (or any brush pens you love)
- Paper cutter or scissors
- Uni-Pin Fine Line Drawing Pens
Rather watch than read? Check out the full video by clicking the video below!
Let’s Get Started!
Start with your large sheet of watercolor paper. I picked colours that matched the Workshop Week branding – pinks, oranges, and teals – but you could use any colour palette that speaks to you.
Creating the Background Pattern
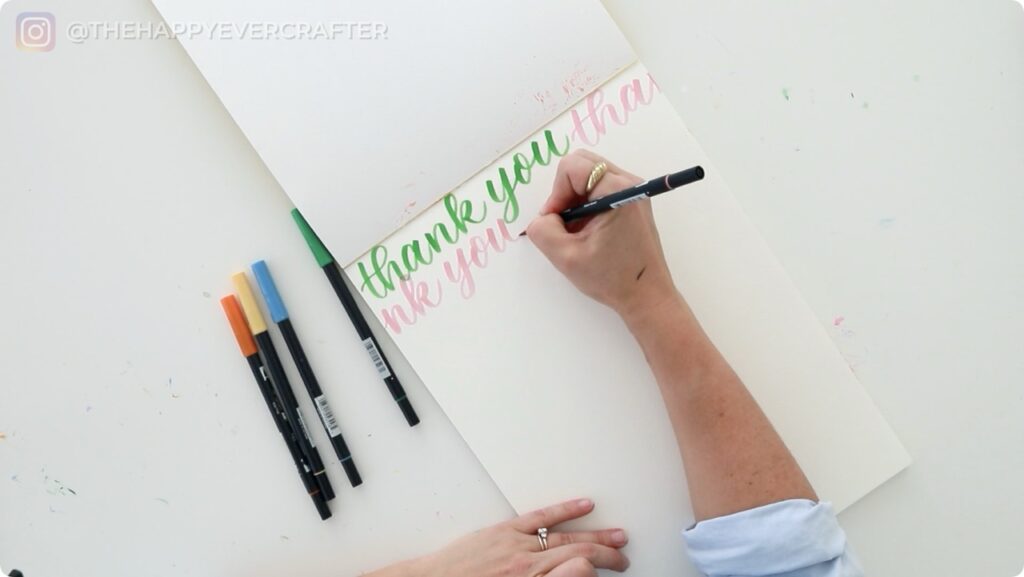
The technique is simple: write “thank you” over and over in calligraphy across the entire sheet. I’m using brush lettering here, but honestly, block letters would work just as well. The key is to not overthink it. This isn’t about perfect calligraphy – it’s about filling the page with colour and movement.
As you write, let the words run right off the edge of the paper. When you move to the next line, continue the word as if it’s flowing from where it left off. Some words will overlap or run into each other, and that’s exactly what you want. You’re creating texture, not trying to write legible thank you notes at this stage.
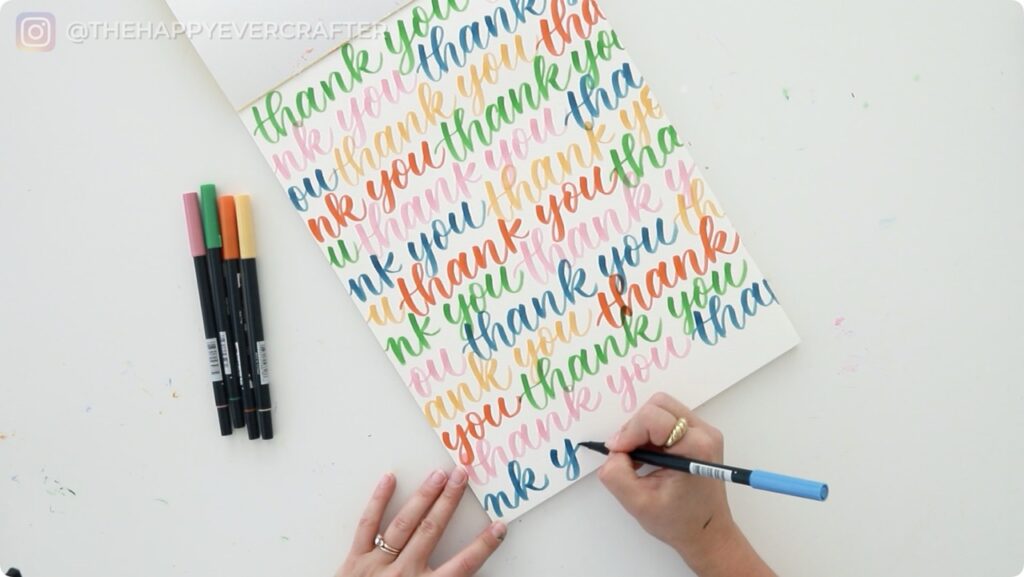
I switched between colours as I went, which adds visual interest when you eventually cut everything up. The goal is to cover as much of the paper as possible with these colourful, layered words.
Cutting and Assembly
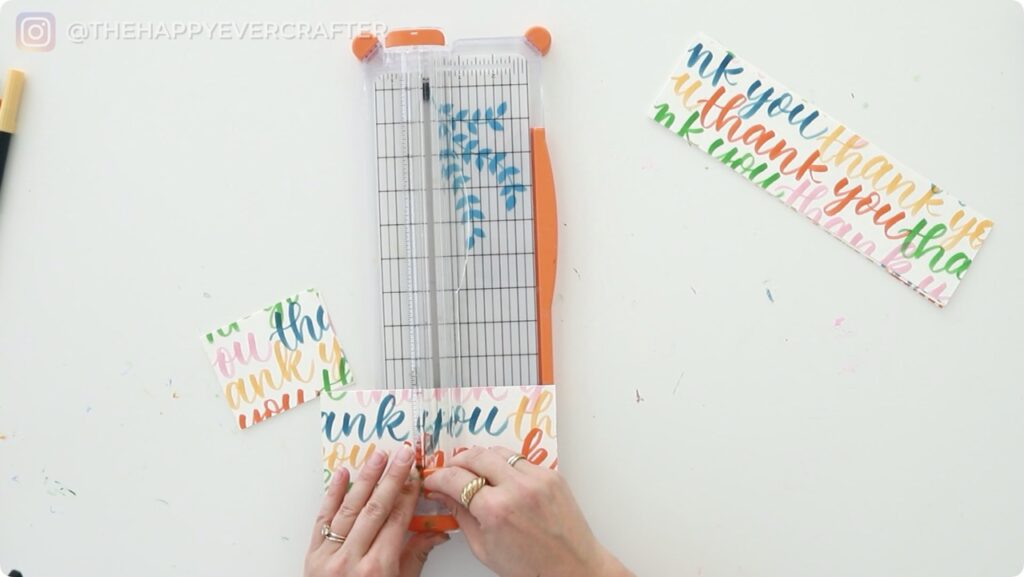
Once your page is filled, grab your paper cutter. I eyeballed the cuts rather than measuring precisely – partly because I was in a hurry, but also because it genuinely doesn’t matter. Nobody receiving these cards is going to compare sizes, and the slight variations actually add to the handmade charm.
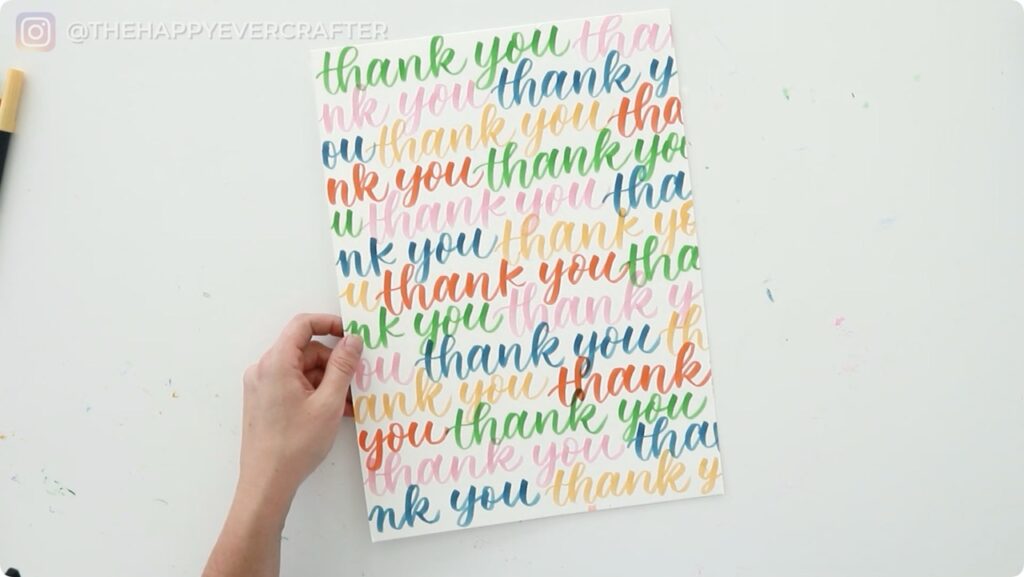
Cut the sheet into strips first, then cut those strips into individual card-sized pieces. I got around 40 cards from one large sheet, which was perfect for what I needed.
When you look at the individual pieces, you’ll notice that most of them just look like abstract colourful patterns. You might be able to make out fragments of letters here and there, but the words aren’t really readable – and that’s the magic of this technique.

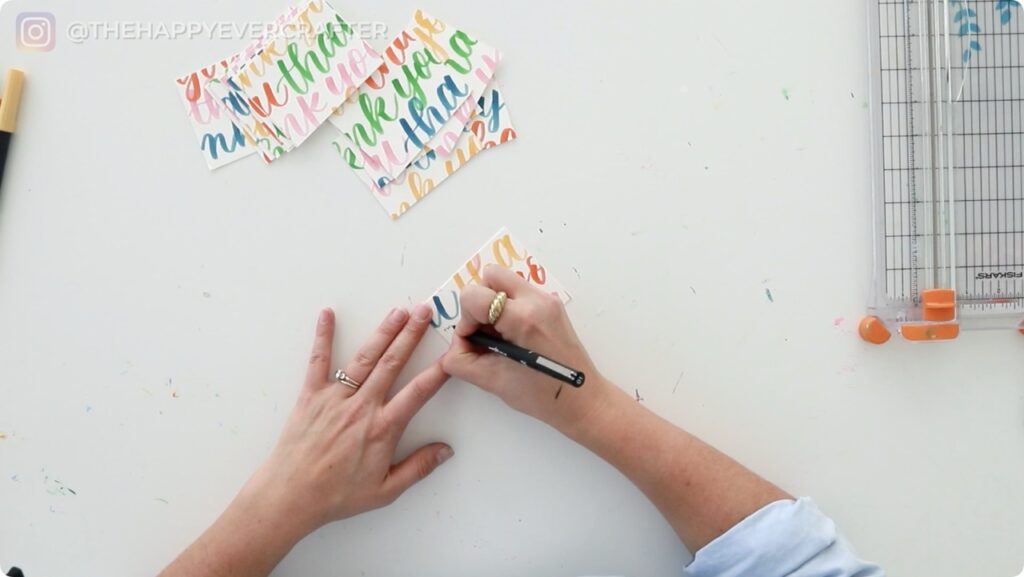
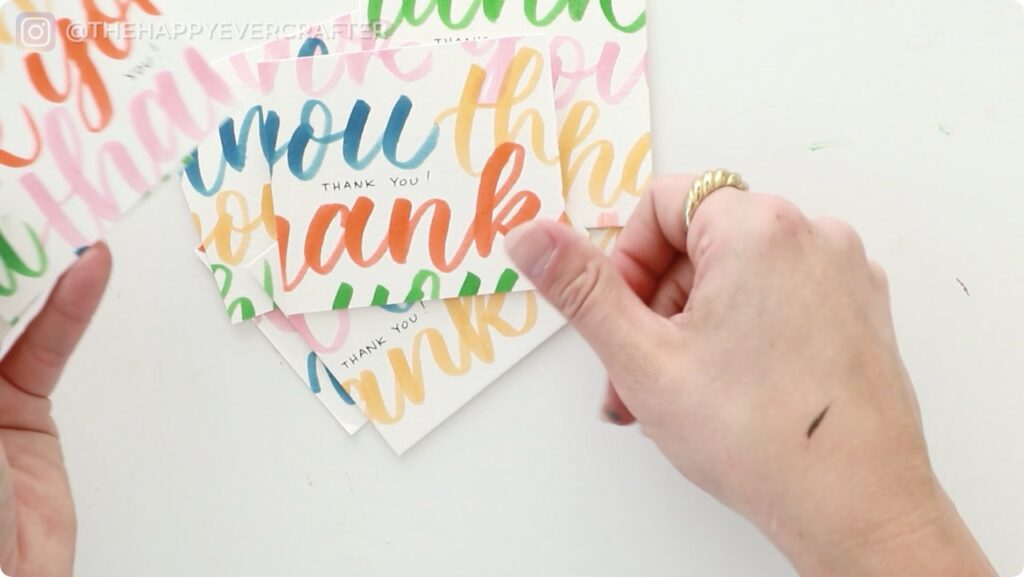
The Finishing Touch
Now comes the part that ties everything together. Take a fine liner pen and write “thank you” in small, simple block letters somewhere on each card. Look for little pockets of blank space, or get creative – sometimes I’d write “thank” in one corner and “you” in another.
This final step is what makes the background pattern suddenly make sense. Once that legible “thank you” is on there, the colourful calligraphy behind it reads as intentional design rather than random scribbles.
I’m not fussing over making these letters perfect. They’re small, they’re quick, and honestly, when it comes to thank you cards, it really is the thought that counts.
That’s a Wrap – Why This Works!
There’s something satisfying about making a big batch of cards all at once. Each one ends up looking different because of where it was cut from the original sheet, but they all feel like they belong to the same family. It’s cohesive without being cookie-cutter.
The best part is how fast it is. Writing on one large sheet is so much quicker than setting up 40 individual cards, and the cutting goes quickly once you get into a rhythm.
I’ve been using this technique for all sorts of occasions – not just thank you cards. Birthday cards, thinking-of-you notes, even gift tags. Once you’ve got the basic idea down, you can adapt it to whatever words or colours fit your purpose.
What’s your favourite way to tackle bulk card-making when you need to get through a stack but still want them to feel personal?
Looking for more card tutorials? Check out this one!
And finally, your dad joke…
I used to be addicted to the hokey pokey…
But I turned myself around.


Comments