
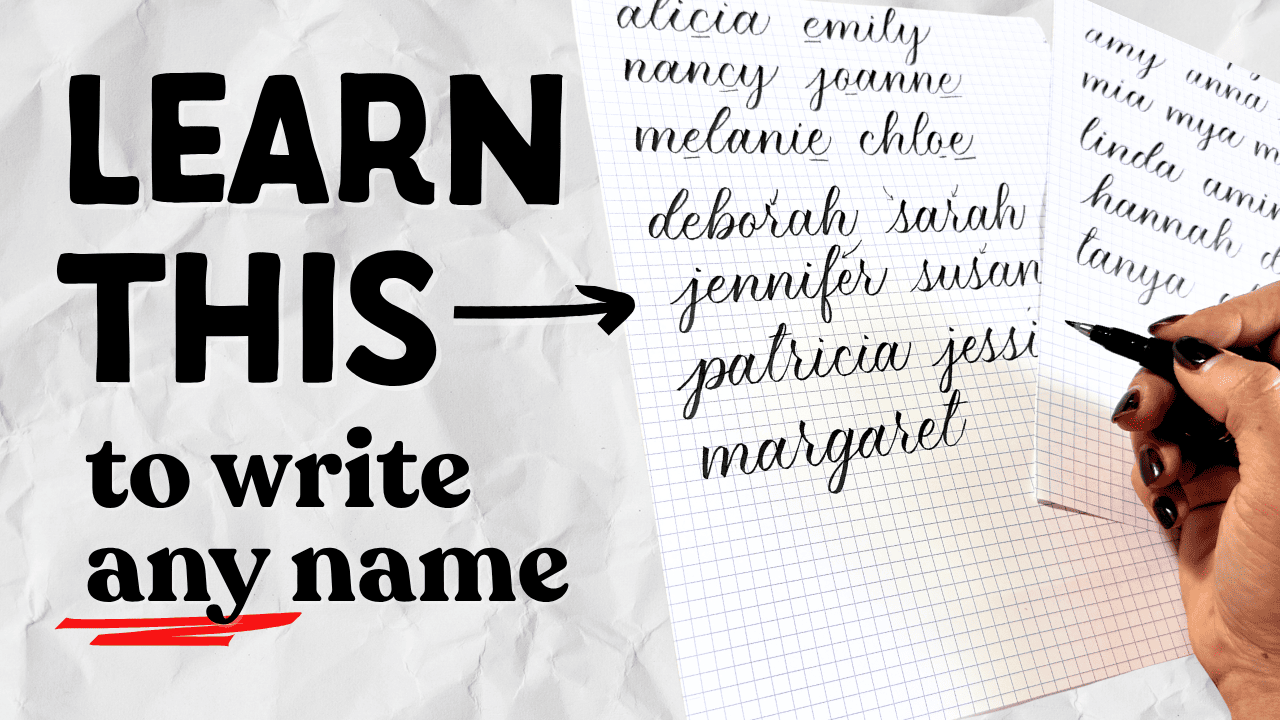
If you’ve ever wanted to write someone’s name in calligraphy but felt stuck, here’s the secret: you don’t need to memorize every letter. Once you understand calligraphy’s basic strokes, you can write any name – it’s just a matter of putting those strokes together.
Instead of memorizing 26 letters, you’re learning about eight core shapes that combine to make everything else.
Supplies Used
- Tombow Fudenosuke brush pen (or any small brush pen)
- Rhodia paper (or other practice paper suitable for brush pens)
Rather watch than read? Check out the full video by clicking the video below!
Let’s Get Started!
I’m using the Tombow Fudenosuke because it’s great for beginners and pros alike – the small brush tip is forgiving but still gives you nice thick-to-thin variation.
I’m also using Rhodia paper (the graph version) – it’s another favourite of mine.
Understanding Basic Strokes
The basic strokes are the building blocks of calligraphy. Here’s what makes them valuable: calligraphy has nothing to do with your handwriting. You could have the messiest print in the world and still create beautiful calligraphy once you understand these strokes.
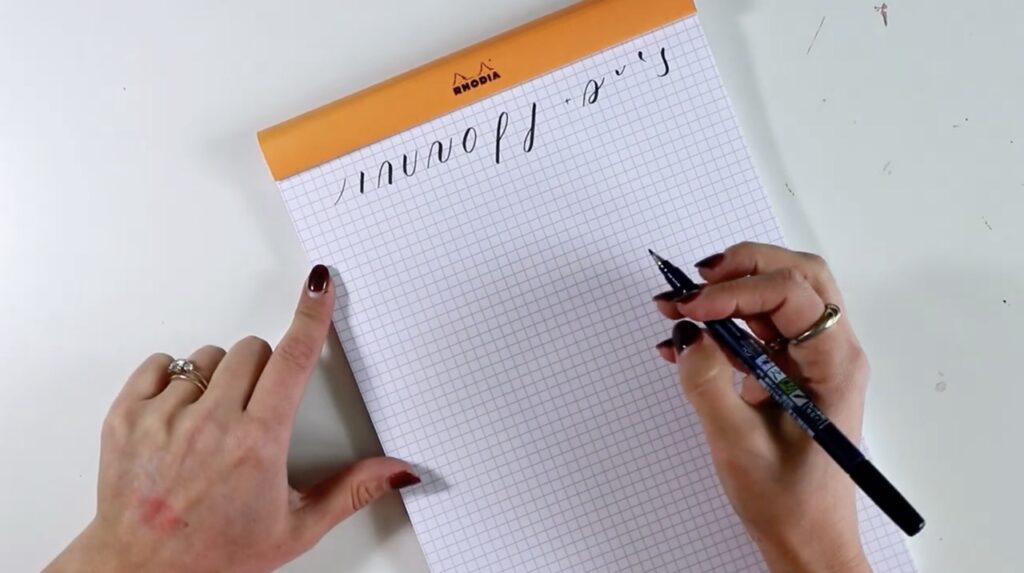
The core strokes include ovals, under turns, over turns, down strokes, ascending loops, descending loops, and compound curves. Most names can be written with just these, plus a few tweaks for trickier letters.
How Names Break Down
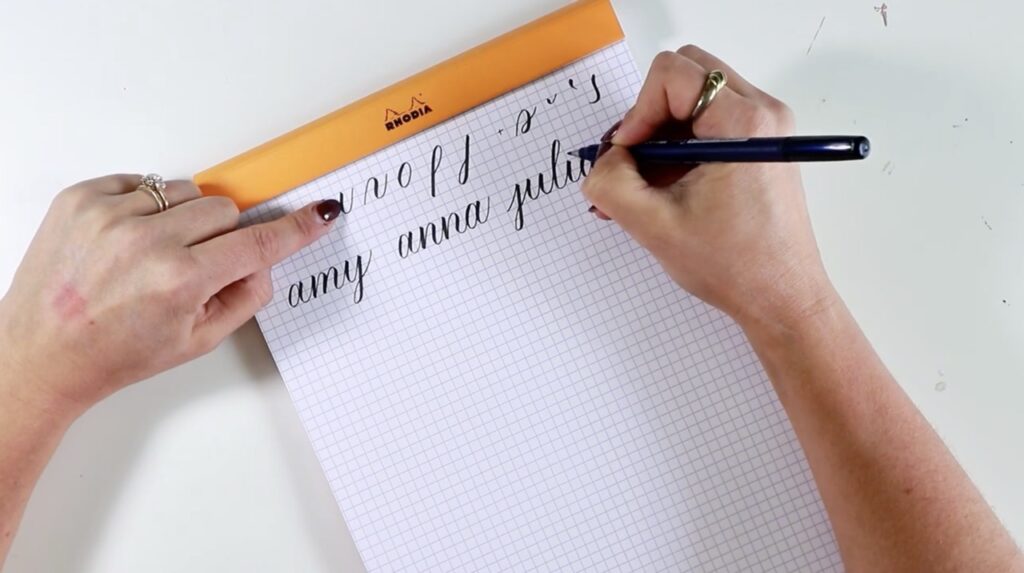
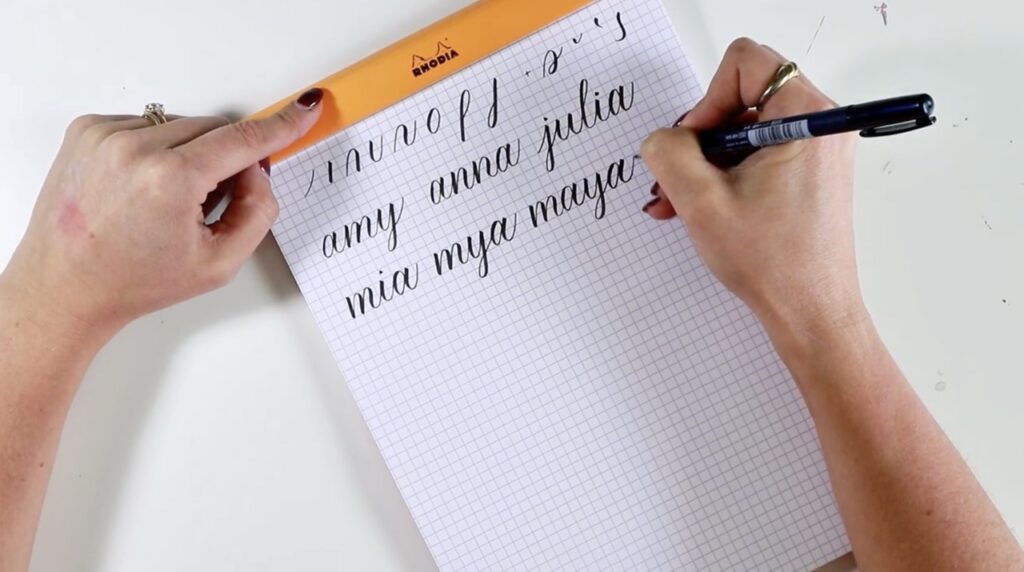
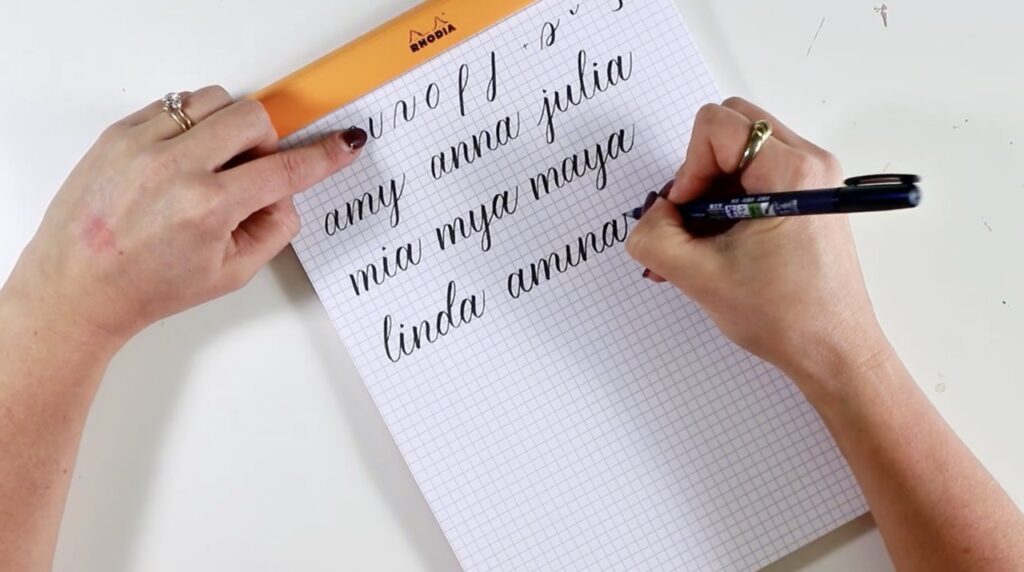
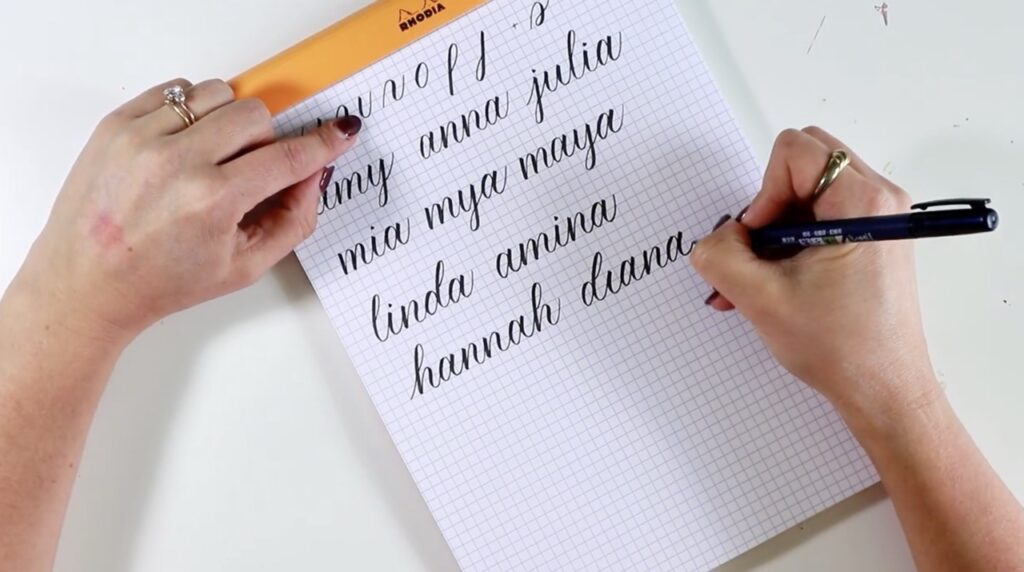
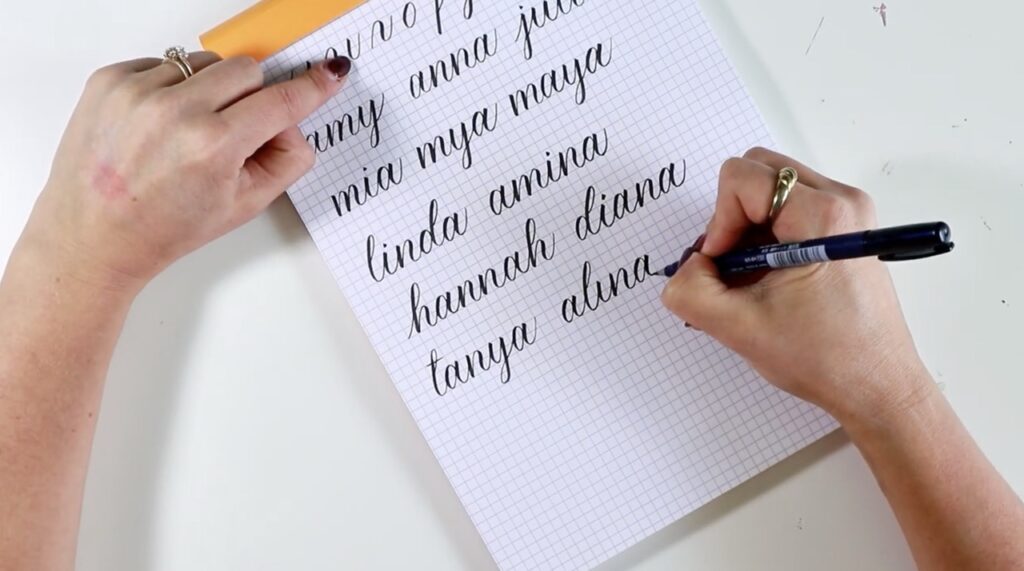
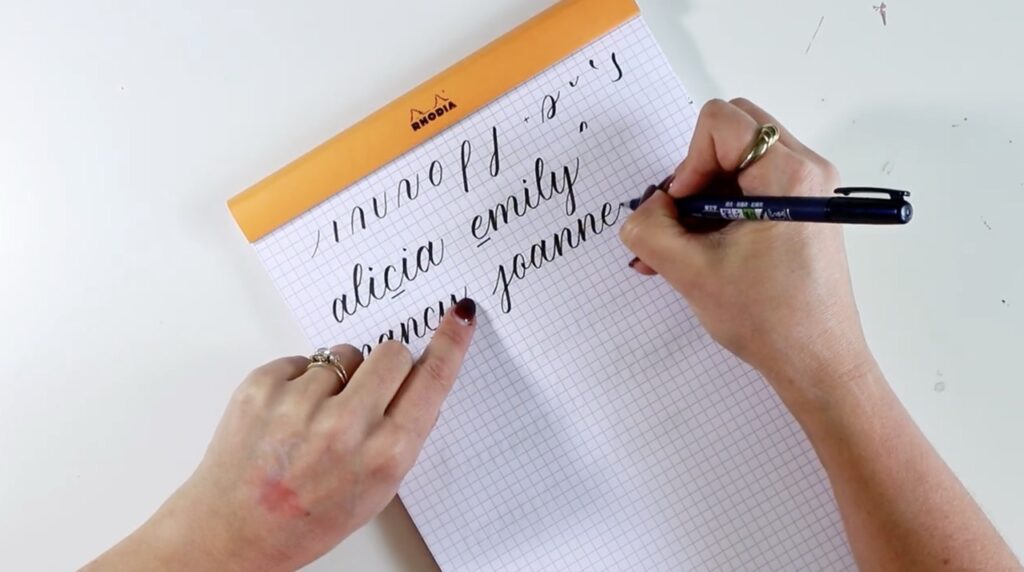
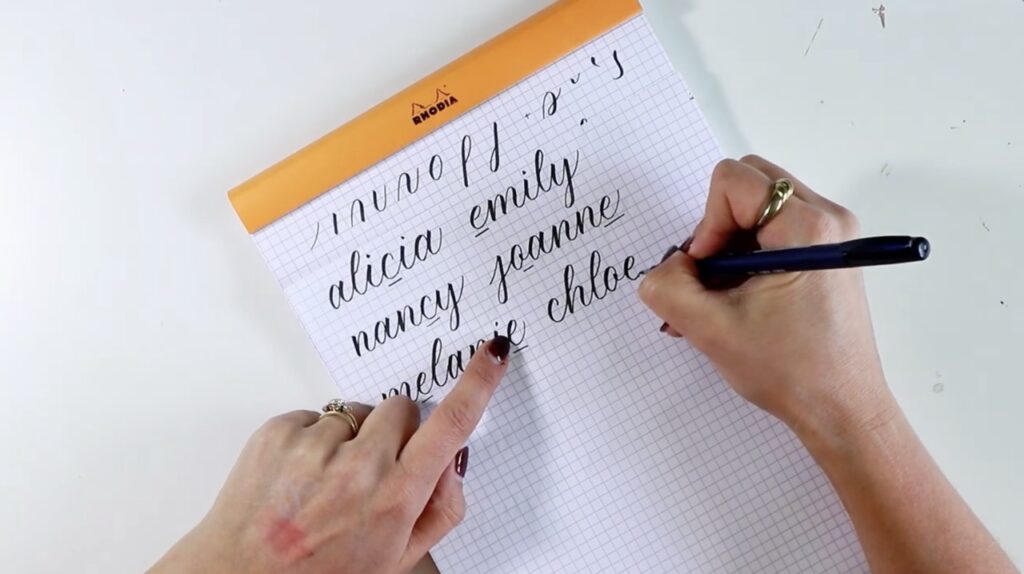
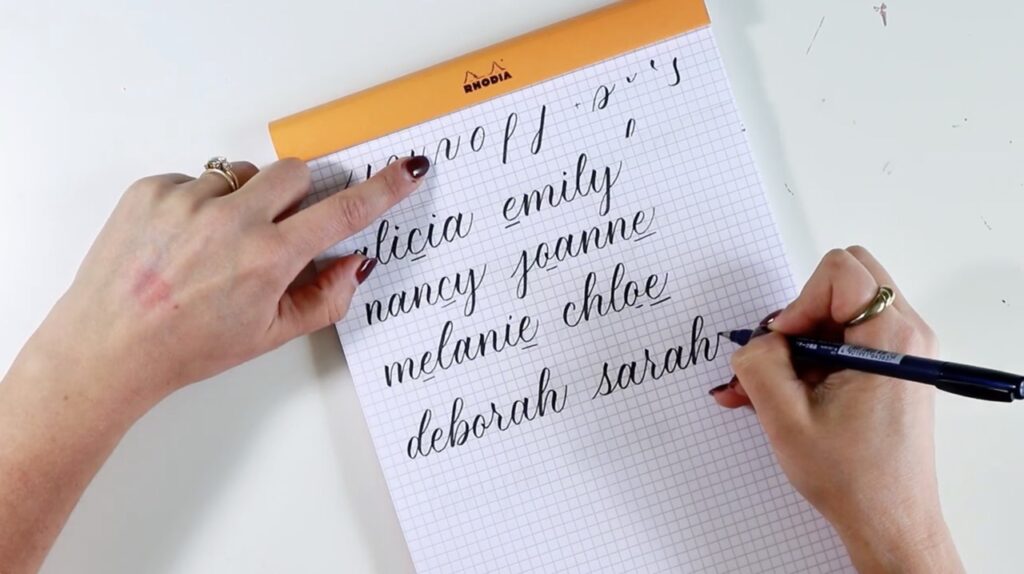
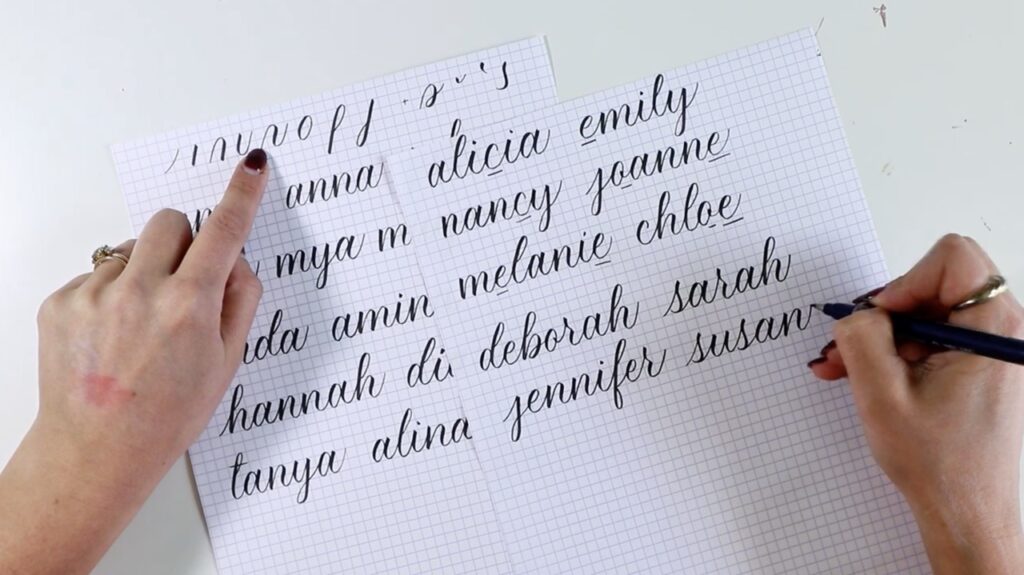
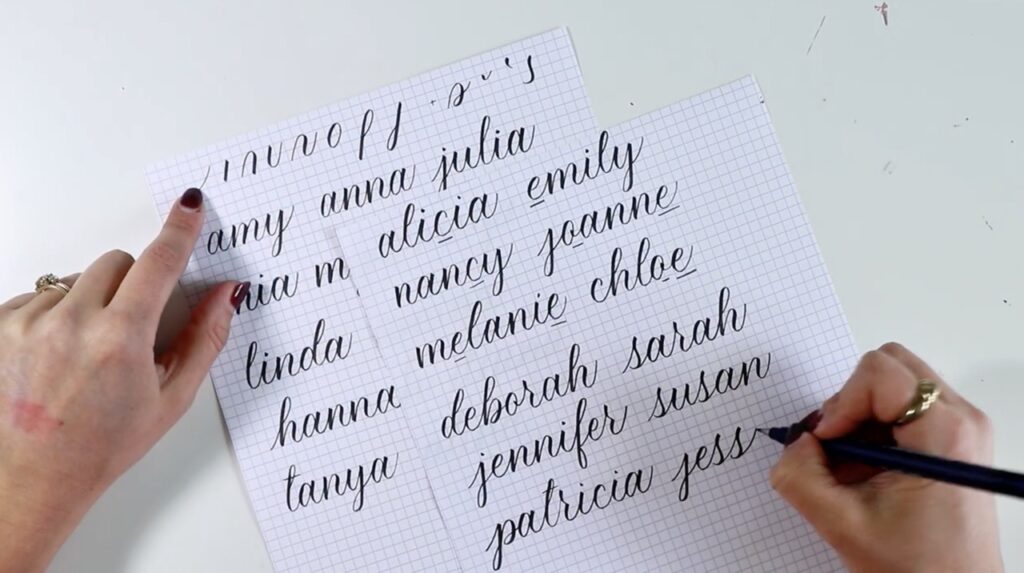
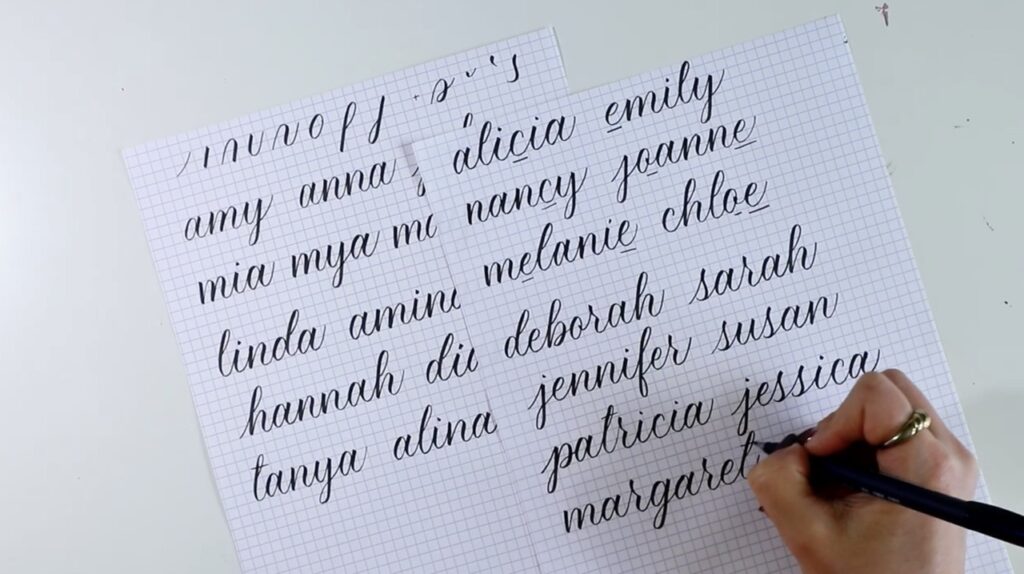
Take the name Amy. It breaks down to: oval, under turn, down stroke, over turn, compound curve, under turn, compound curve, under turn. Every piece comes from the basic stroke list. Once you see this pattern, you notice it everywhere. Mia, Maya – same strokes, just rearranged.
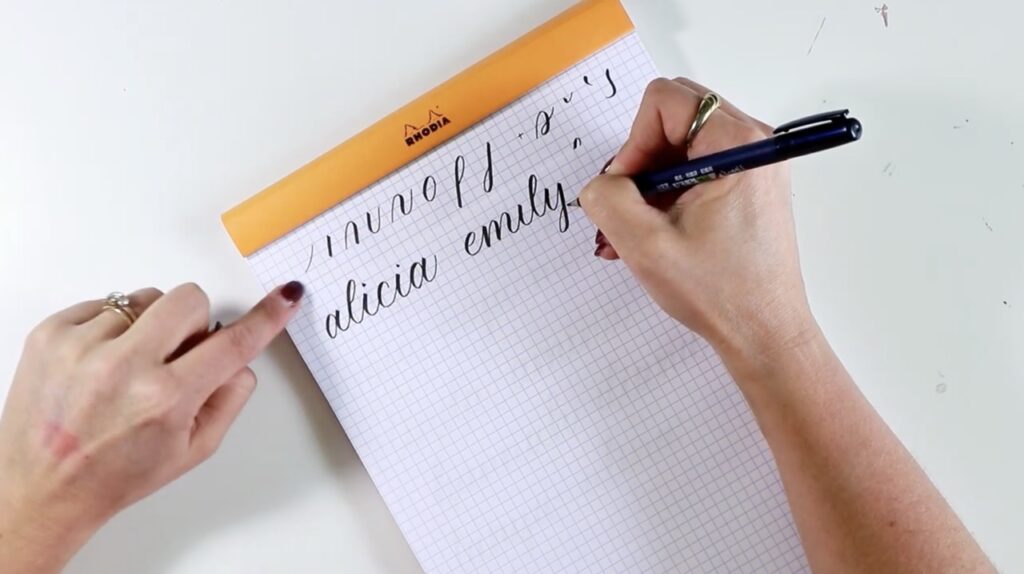
Some letters need small tweaks. The letter C in Alicia? It’s just an oval you don’t complete. The letter E in Emily? Start an oval in the middle and add that little horizontal piece. You’re building a foundation that’s simple and consistent, then making tiny adjustments as needed.
Trickier Letters
S’s and R’s tend to give people the most trouble. The R requires a specific angle and pressure change, while S’s need a continuous curve with varying pressure. The letter B uses a relaxed, modern stroke with an oval-ish shape. The F is unique – it combines an ascending and descending loop in one motion (up first, then down).
The Shift That Changes Everything
Once you start seeing words as individual strokes rather than complete letters, something clicks. People have told me, “Now I can’t unsee it – I only see the strokes!” That’s exactly the point.
The more you practise the basic strokes, the better your words will look. It’s not about perfect handwriting or natural talent – it’s about getting those foundational shapes down so well that combining them becomes second nature.
Start with the most basic strokes and get comfortable with the pressure changes (heavy on the downstroke, light on the upstroke). Practise with tracing at first, then gradually move to freehand. Once your strokes feel solid, you’ll automatically break names down into strokes before you even put pen to paper.
That’s a Wrap – Your Turn to Practice
Start with the basic strokes before moving to full names. Then pick a simple name and break it down stroke by stroke, writing slowly and thinking about each piece individually.
The beauty of this method is that once you’ve got it, you can write anything – any name, any word, any phrase. It all comes back to those same basic strokes.
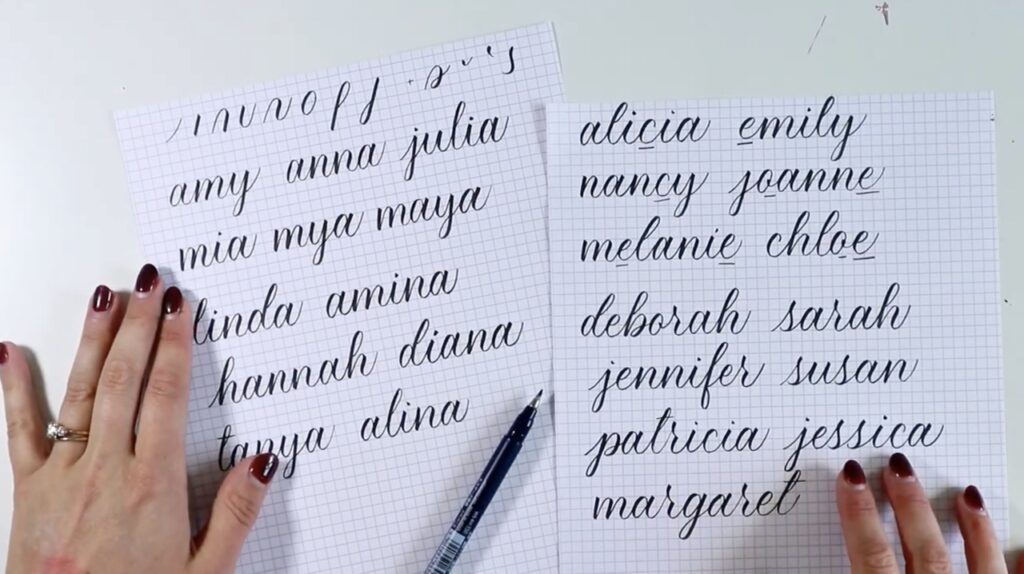
What name are you going to try first?
Looking for more practice? Check out my beginners course at ShowMeYourDrills.com!
And finally, your dad joke…
What makes honey good for you?
It’s full of bee vitamins.



I want to write like this