
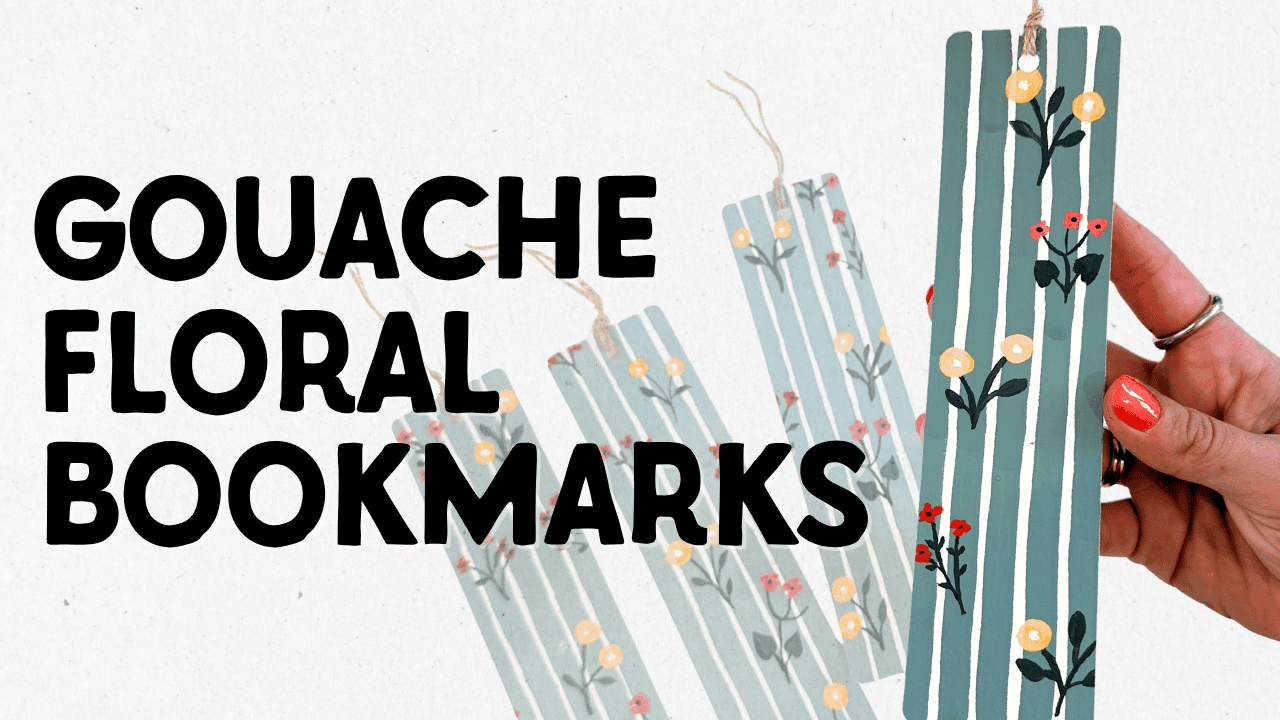
I’ve been using a crumpled bookstore receipt to mark my place for weeks now, which is honestly a bit tragic. So I decided to finally make some proper bookmarks – a few for myself and a couple to give away as gifts. Turns out, they’re incredibly simple to make, and you can customize them however you’d like.
Supplies Used
- Watercolour paper or cardstock
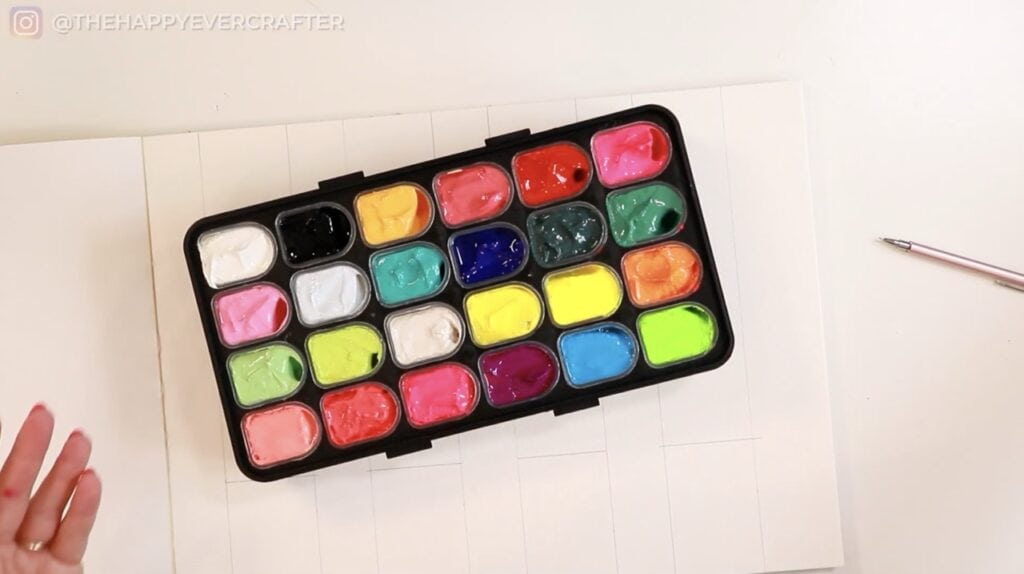
- Gouache paint (I used an Arteza set)
- Small paintbrushes (including one square-shaped brush for stripes)
- Pencil and ruler
- Paper cutter or scissors
- Corner rounder (optional but nice)
- Hole punch
- Twine or ribbon
Rather watch than read? Check out the full video by clicking the video below!
Let’s Get Started!
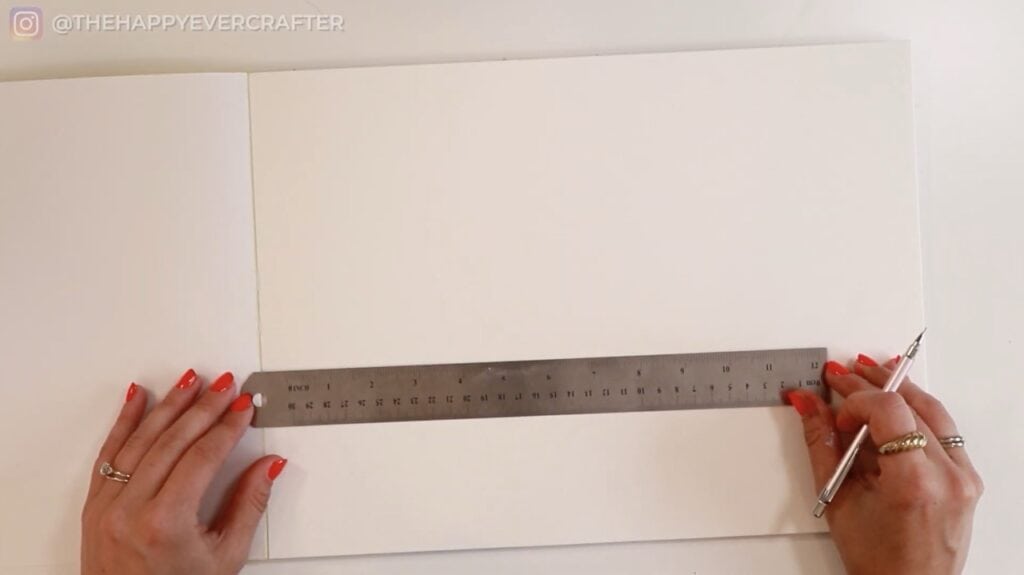
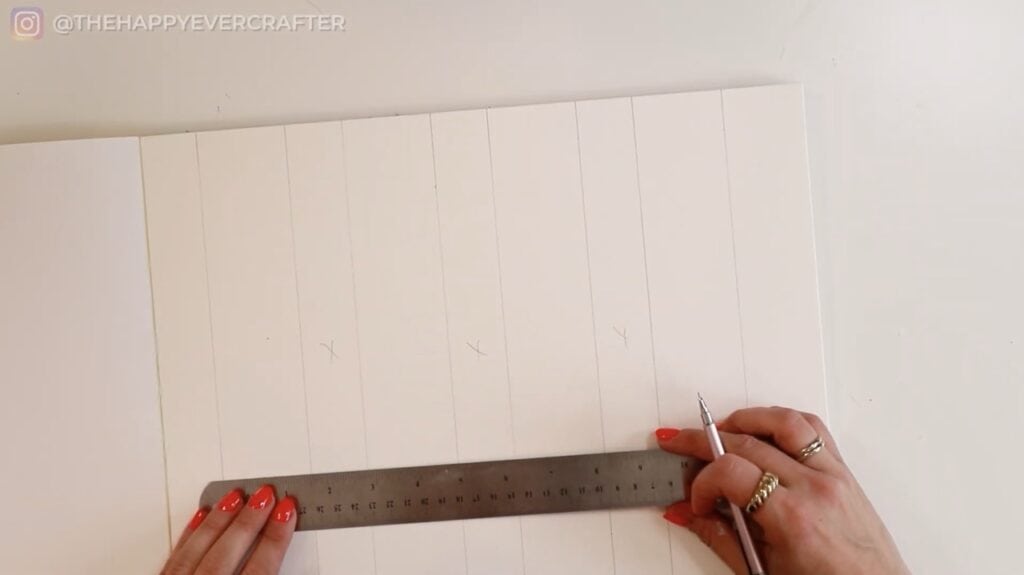
I started by using a pencil and ruler to sketch out the size I wanted. If you know me, you know I’m not particularly fussy about precision – I mostly eyeball things. I made mine about two inches wide and roughly the length of a standard book. The nice thing is that you can trim them later, so even if your lines are a bit wobbly (which mine definitely were), you can clean it up when you cut.
The Design Inspiration
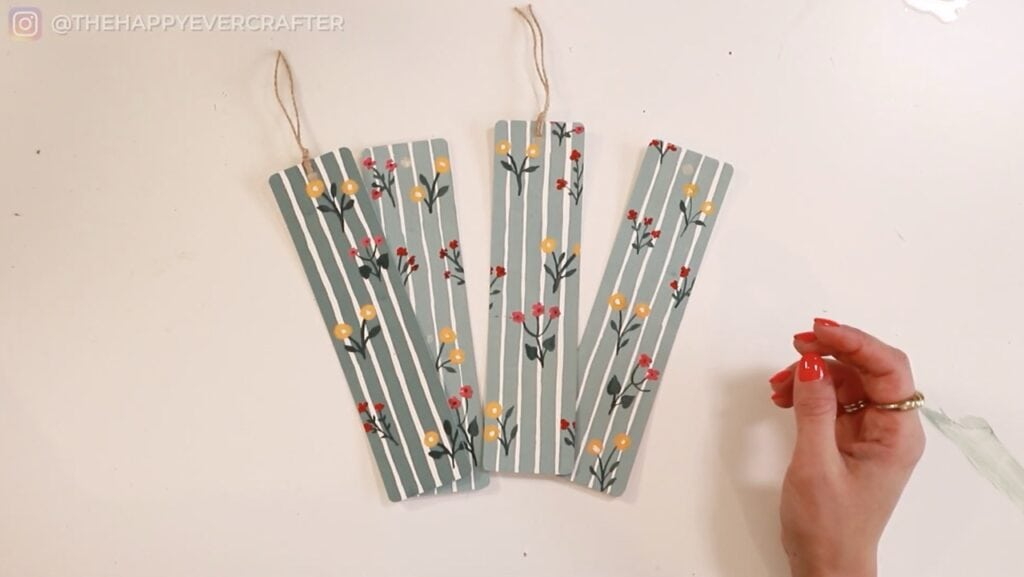
I’d been browsing wallpaper patterns for my daughter’s room and came across this gorgeous floral stripe design. I thought, why not paint that onto a bookmark?
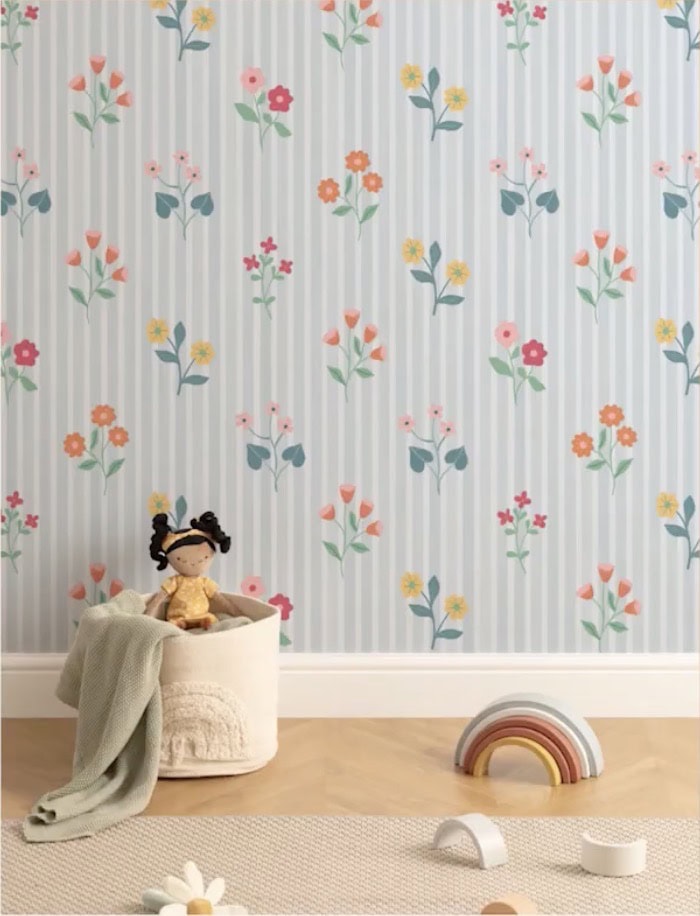
The pattern had soft pastel stripes in the background with delicate little flowers layered on top. Watercolour would be too transparent for that kind of layering, so I decided to try gouache. Full disclosure: this was a brand new set that I’d never touched before, so I was figuring it out as I went.
Painting the Background Stripes
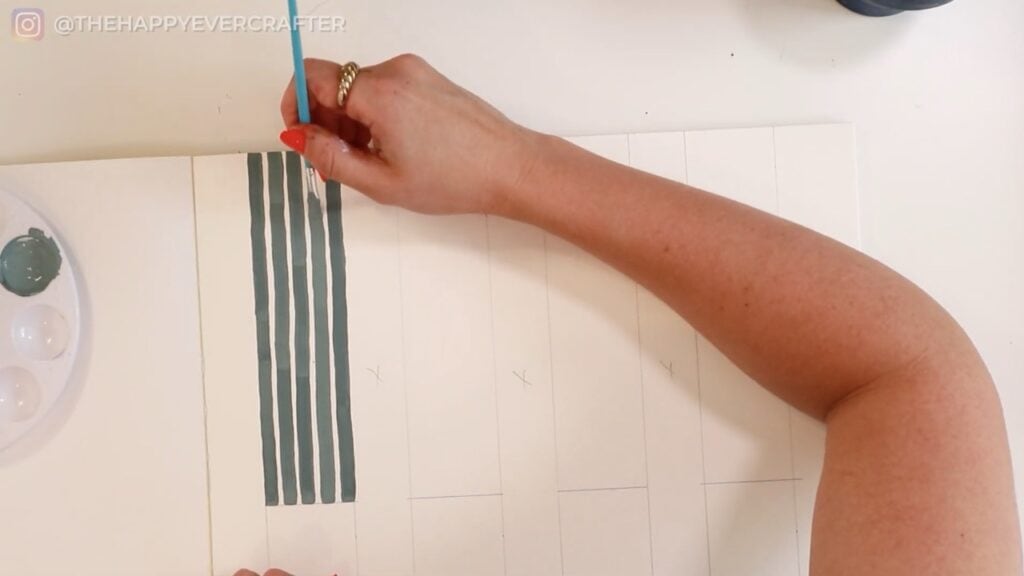
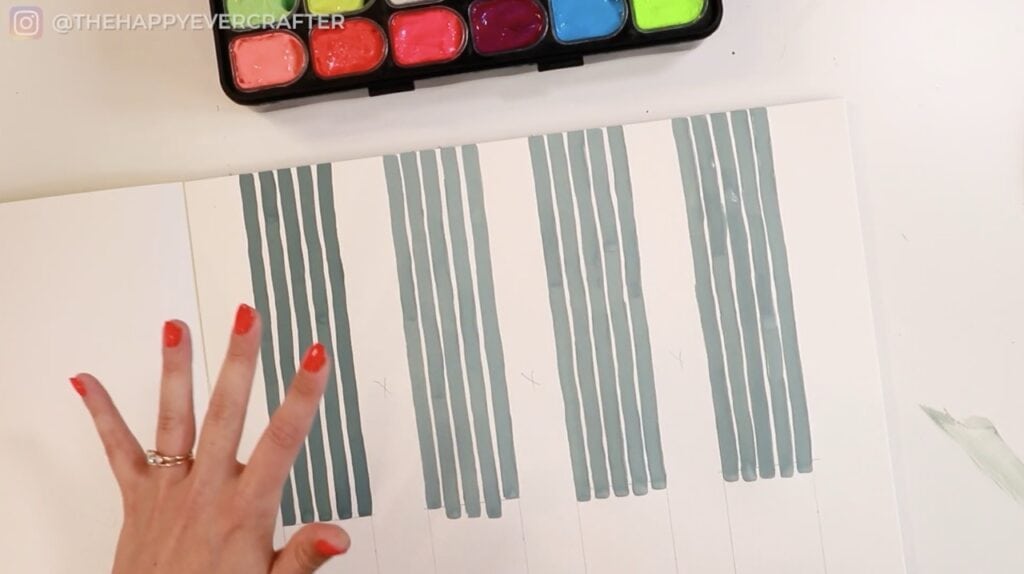
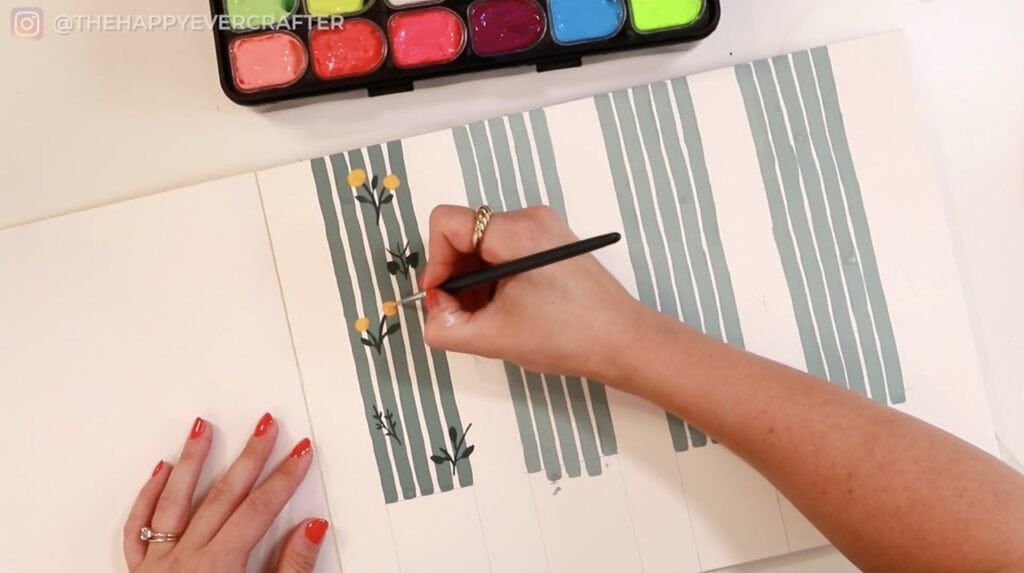
I mixed the gouache with a bit of water – not quite watercolour consistency, but thinner than it comes straight from the tube. Using a square-shaped brush, I started painting stripes. Yes, I freehanded them. They weren’t perfectly straight, but that’s part of the charm. The slightly wobbly lines make it look handmade, which is exactly what it is.
The first stripe turned out darker than I intended, so I added more white to the mix for the second one. That’s the thing with trying a new medium – it takes a bit of experimenting to see how the colour shows up on the page. But honestly, both versions looked cute, so I wasn’t too worried about it.
Adding the Florals
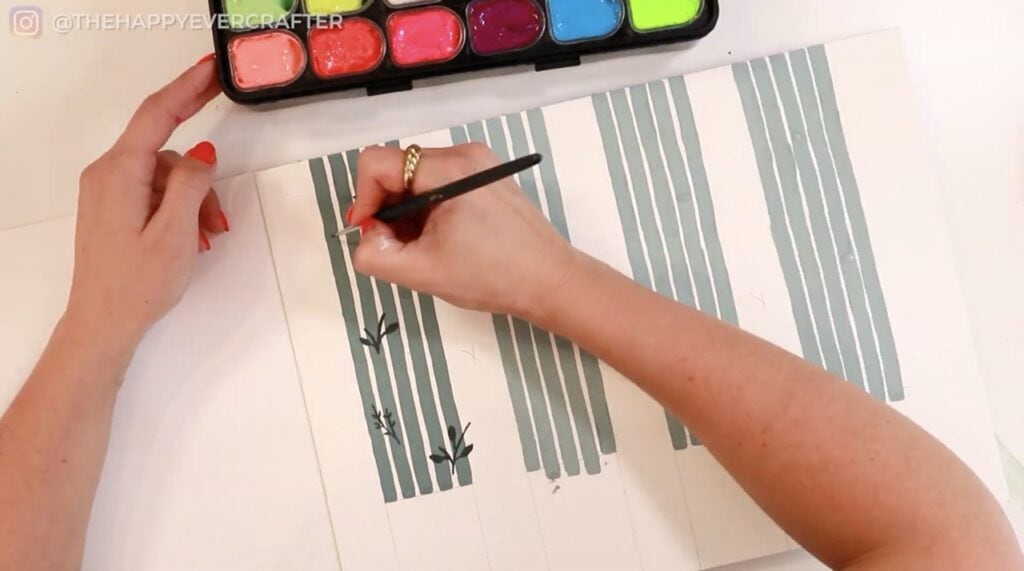
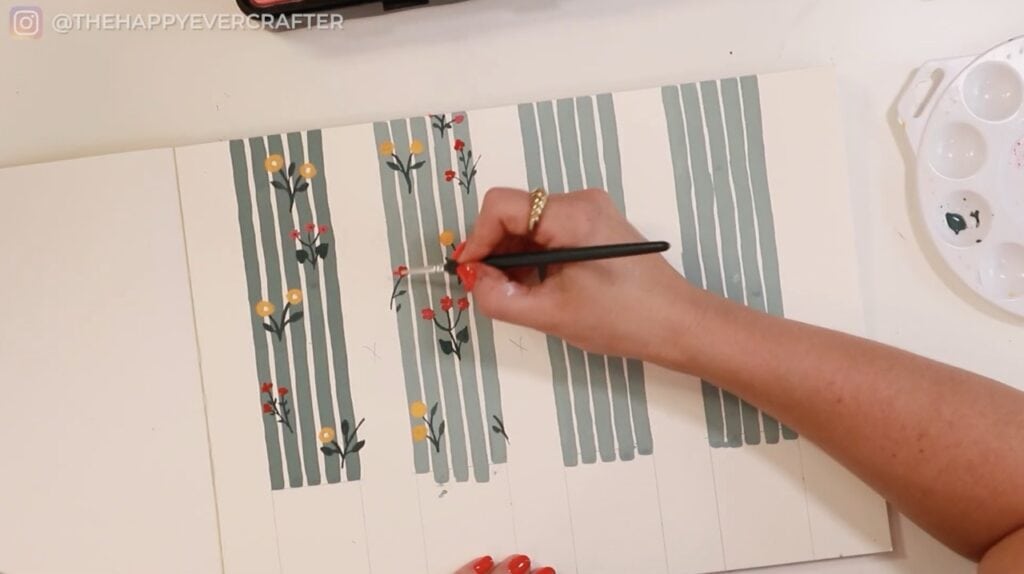
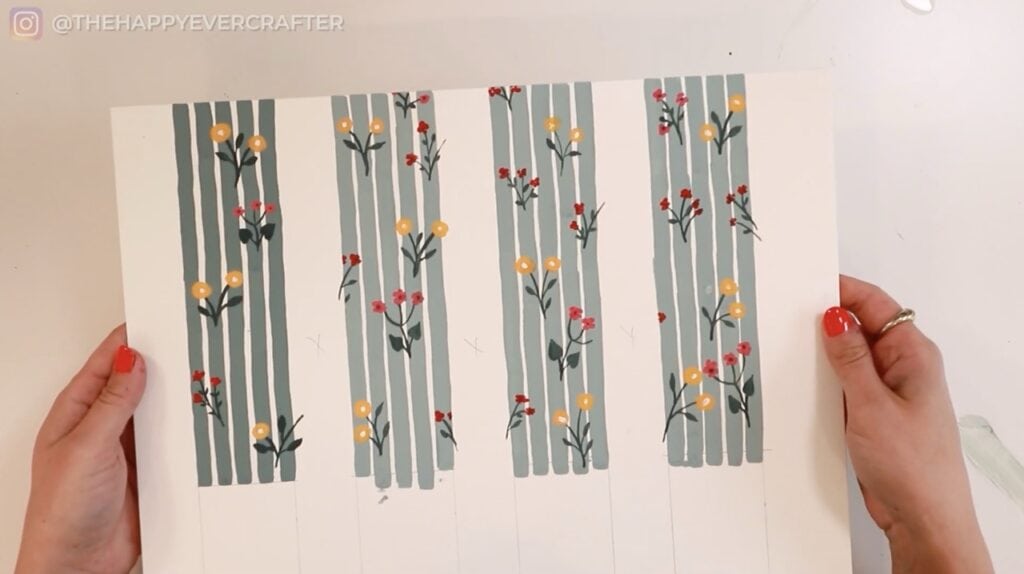
Once the background stripes were dry-ish (I’m impatient, so I didn’t wait for them to be completely dry), I grabbed a tiny brush and started painting in the flowers. I kept it simple – little stems, leaves, and blooms in yellow, pink, and green. I wasn’t overthinking it, just copying the general vibe from the wallpaper pattern.
Figuring out how much water to use with the gouache was tricky. Too much and it would be runny, too little and it wouldn’t flow smoothly. I probably didn’t use quite enough water, but it worked out. The darker shades ended up looking really lovely against the lighter background.
Finishing Touches
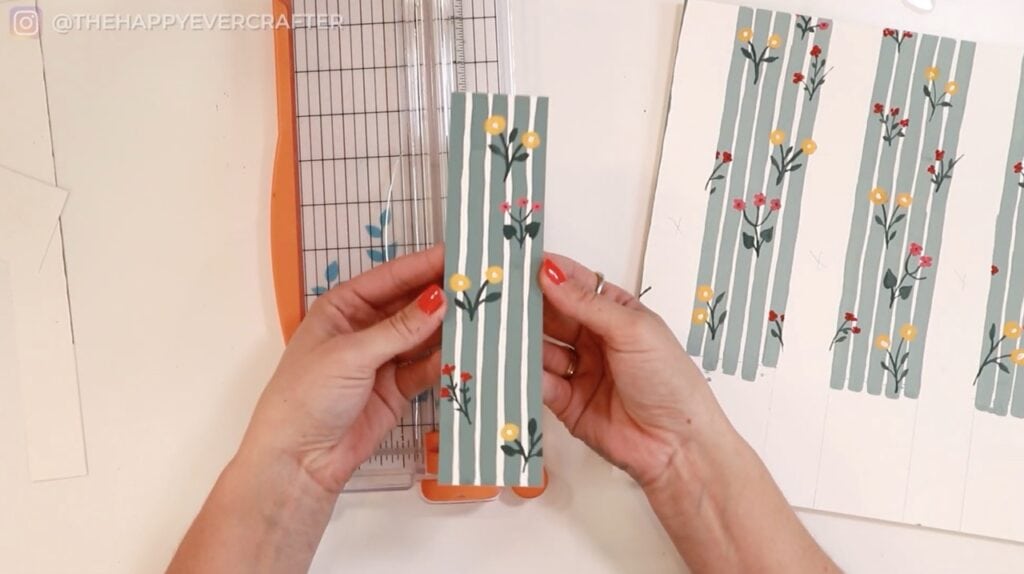
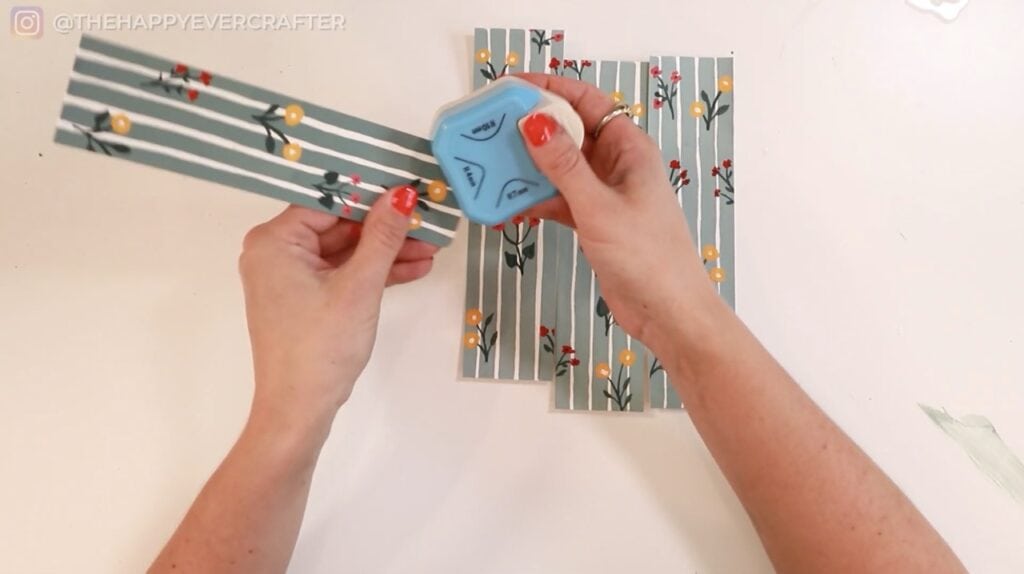
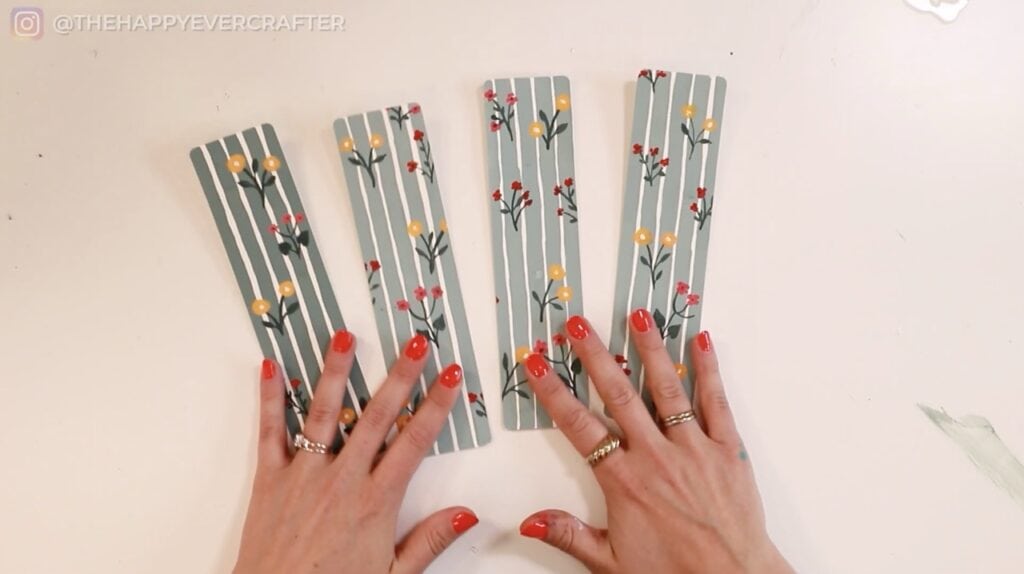
After painting all four bookmarks, I let them dry and then cut them out with a paper cutter. I rounded all the corners with a little corner rounding tool, which makes them look so much more polished. You can also find bookmark-shaped punchers if you want to skip the cutting and rounding steps entirely, but I don’t have those, so I made do.
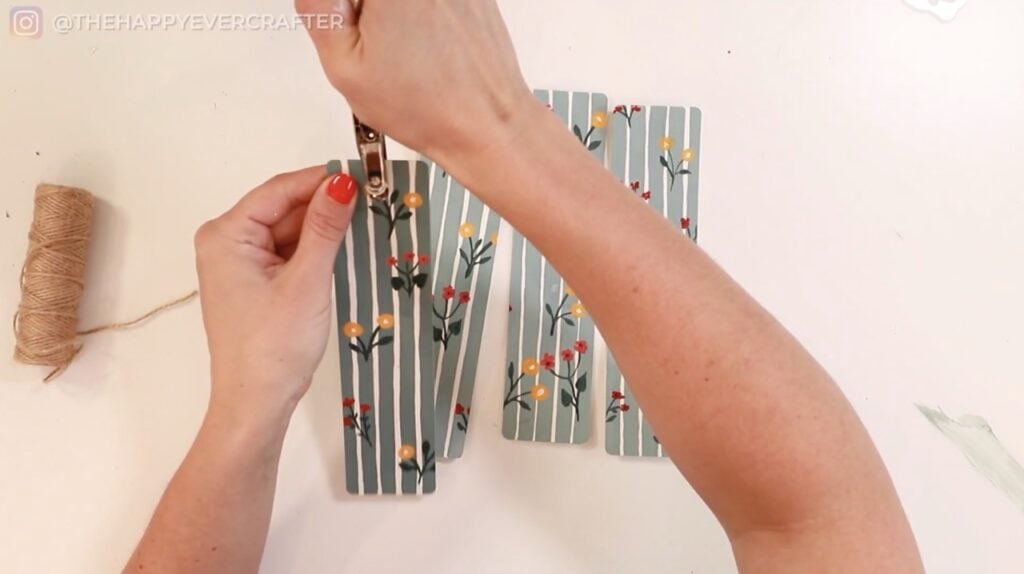
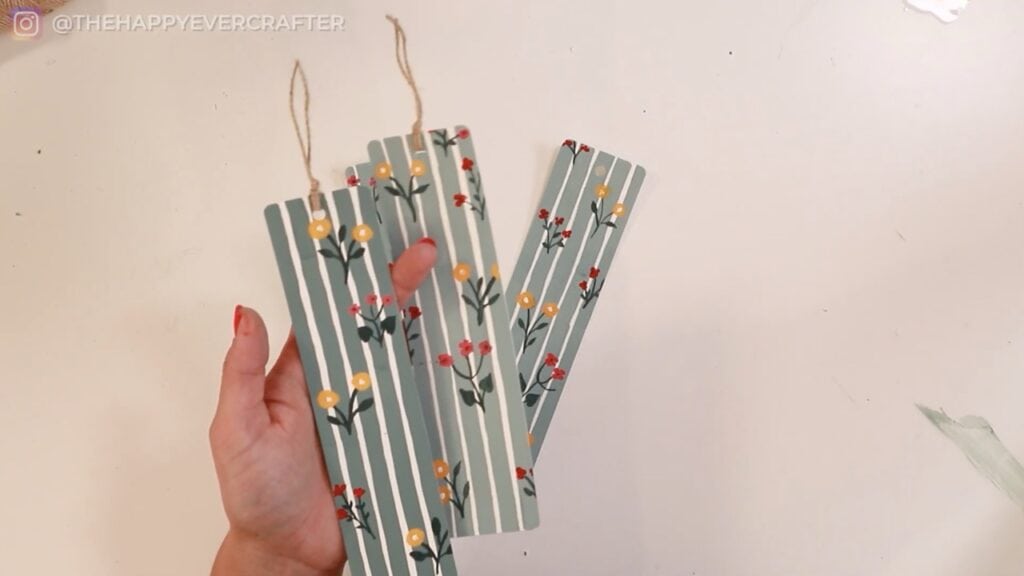
The last step was punching a hole near the top and threading some twine through. I tied it off and trimmed the ends to create a makeshift tassel. The person who receives it can always remove it if they don’t want the hassle of the tassel (sorry, I couldn’t resist).
That’s a Wrap!
These turned out genuinely adorable. With minimal painting skill and just a few pre-mixed colours from a gouache set, you can create something that feels personal and thoughtful. I wrote a little note on the back of one for a friend I was seeing later that day, and it felt like the perfect low-key handmade gift.
What’s your go-to bookmark situation – are you a receipt user like me, or do you have something more intentional?
Looking for more project ideas? Check out this one!
And finally, your dad joke…
Why do cows wear bells?
Because their horns don’t work.


Comments