
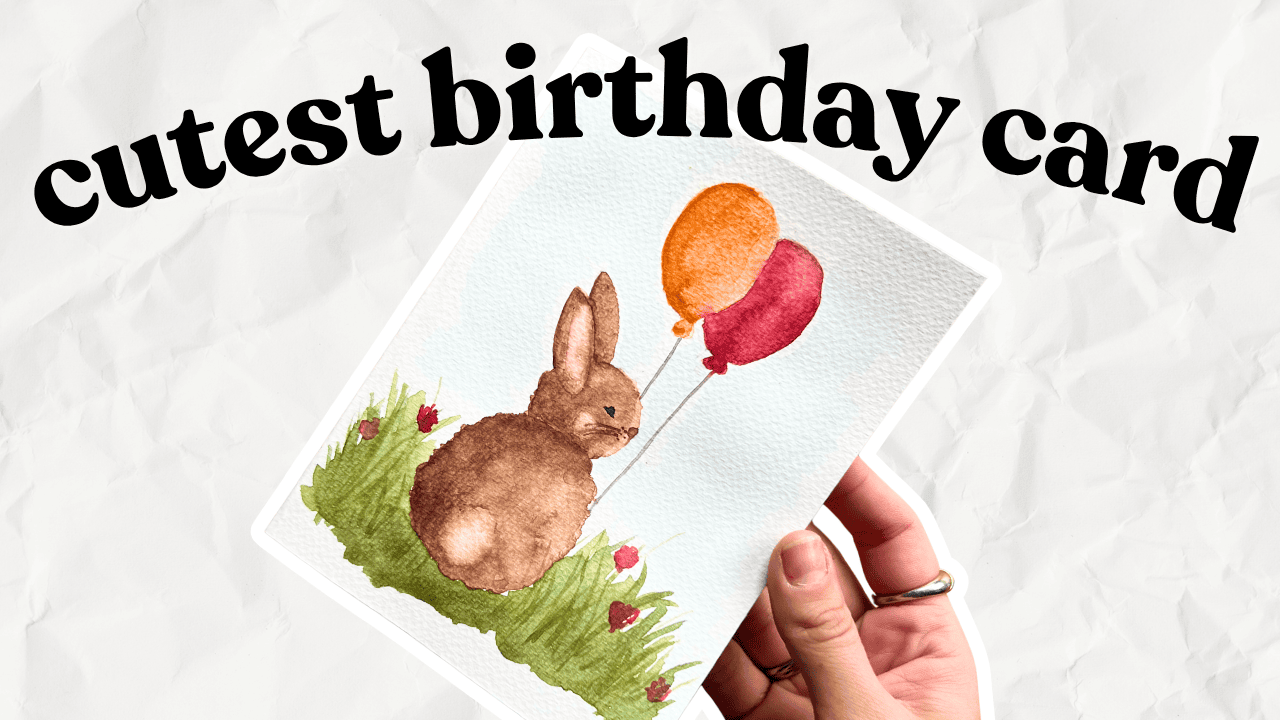
My youngest is turning two in a few days, and while I’ve been busy DIYing party decorations for her bunny-themed birthday, I realized I’d forgotten the card. With my older daughter, I got into the habit of forgetting birthday cards because toddlers can’t read and don’t particularly care. But I still want her to have one tucked away in her safekeeping box for when she’s older.
This year’s theme is bunnies (she’s obsessed), so I decided to paint a watercolour bunny card. Fair warning: I didn’t have much of a plan going in, but that’s kind of the point.
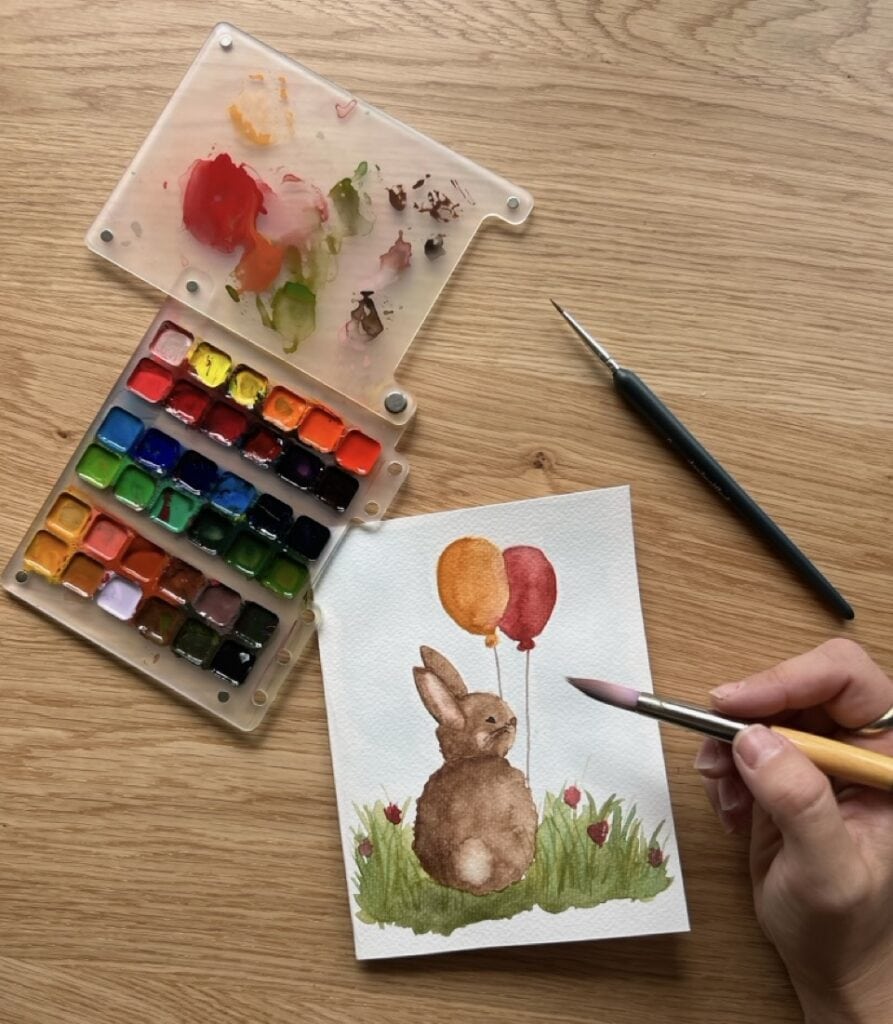
Supplies Used
- Watercolour paper or cardstock (cut to card size, on the larger side)
- Round watercolour brushes (a few different sizes)
- Watercolour paints
- Glass of water
- Heat gun (optional, but I’m impatient)
- Fine brush or brush pen for details
Rather watch than read? Check out the full video by clicking the video below!
Let’s Get Started!
That morning I’d been experimenting to see if I could even paint a decent bunny. I’d watched an Instagram tutorial a while back, then put it away and just played around. The first attempts were rough, but one turned out cute, so I decided to recreate it.
I cut my watercolour paper bigger than needed because I always fail to centre things properly and end up trimming cards down later. Plus, I wanted space inside for a proper letter.
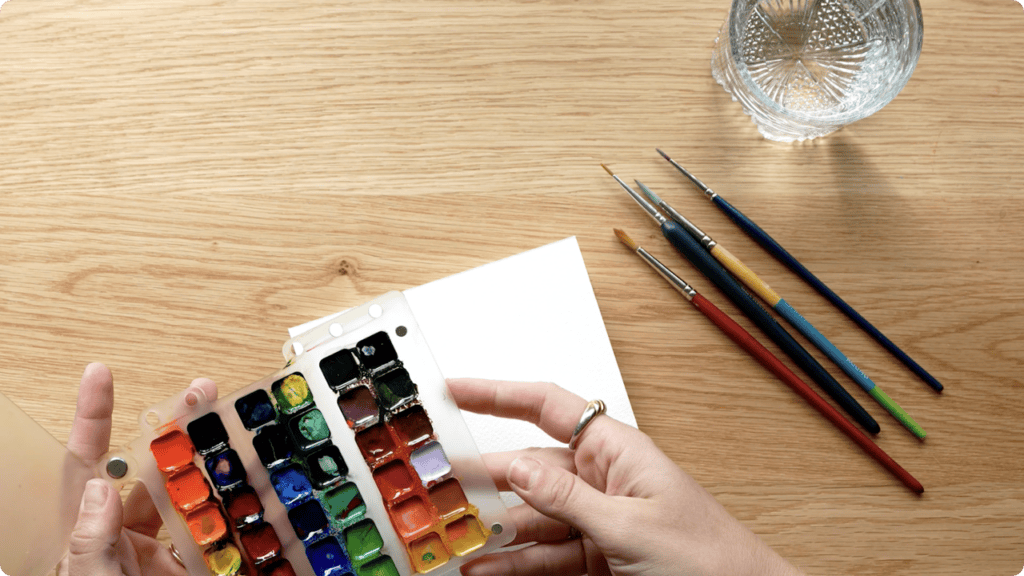
Painting the Bunny
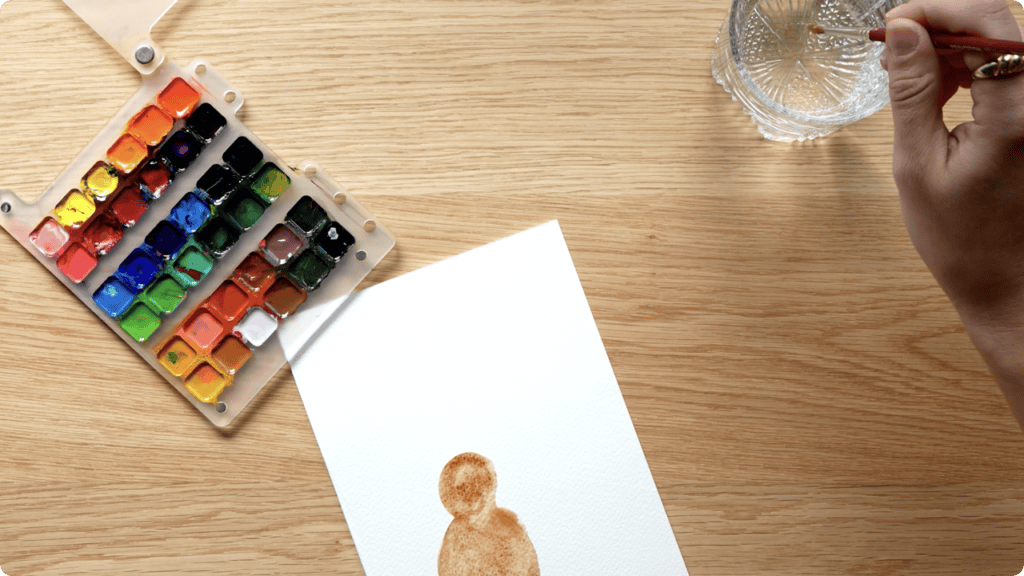
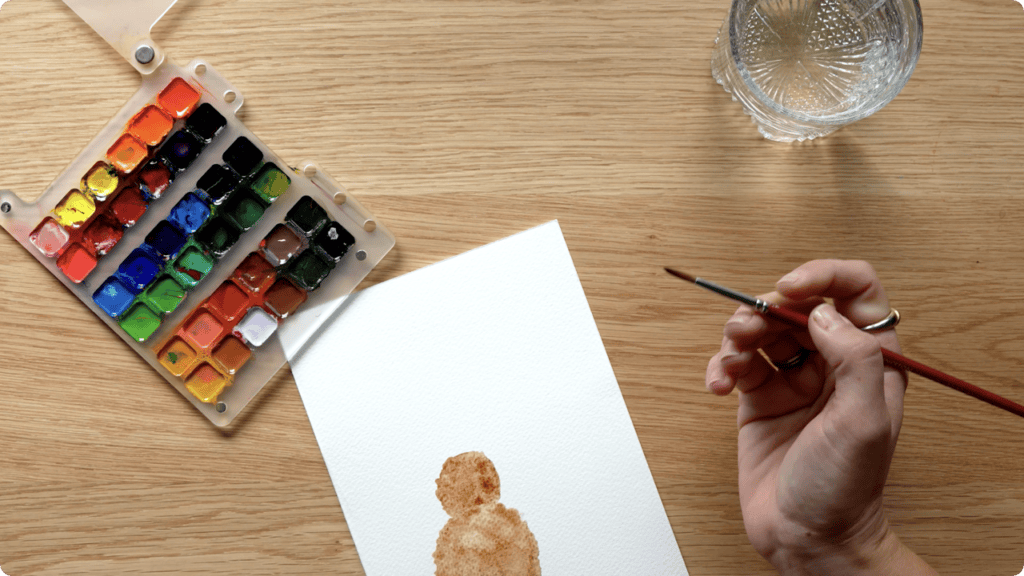
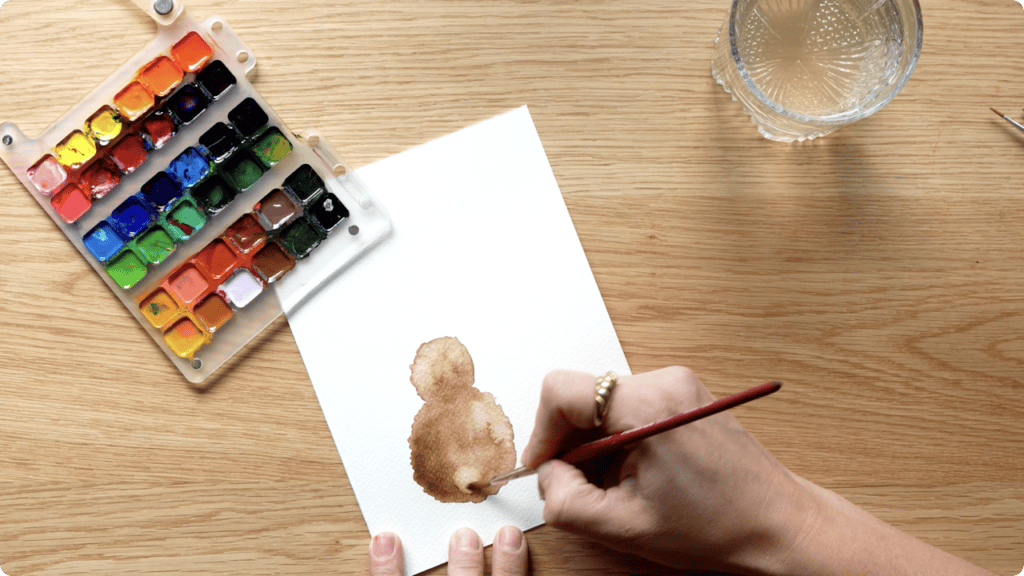
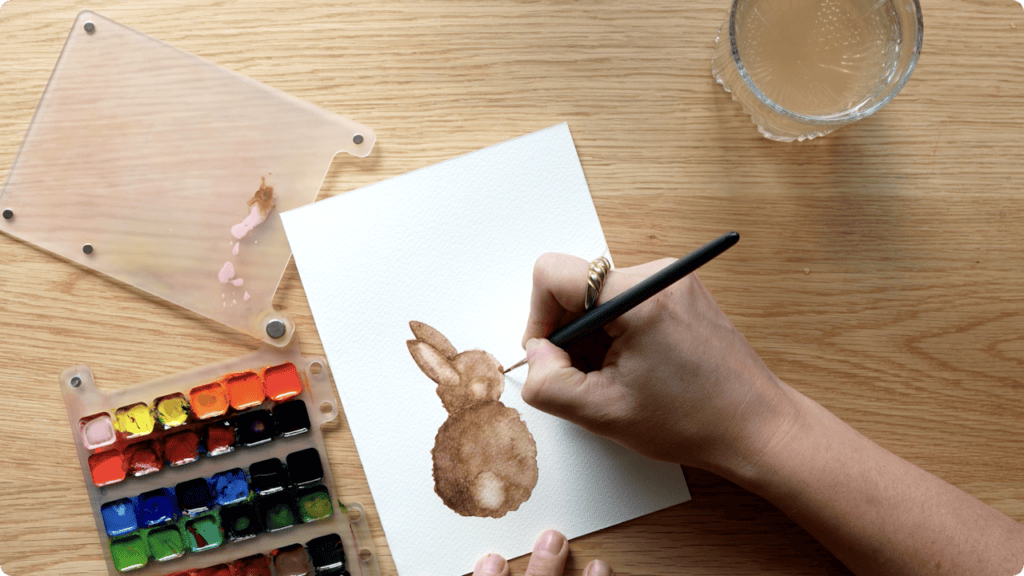
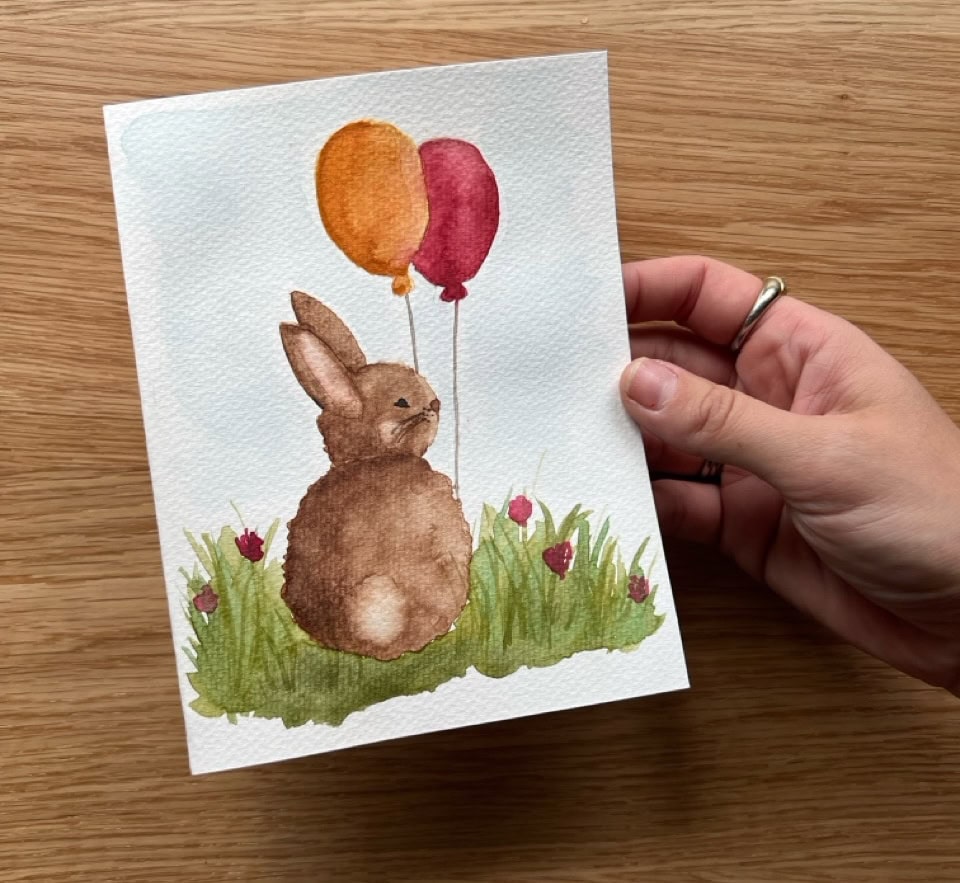
The bunny starts with something resembling the shape of an 8. I wet my brush and softened the edges to make it fuzzy, then added darker shading on one side while the paint was still wet. I grabbed my heat gun at this point because I don’t have the patience to wait for watercolour to dry naturally. Yes, it can change how the paint looks, but I genuinely don’t care.
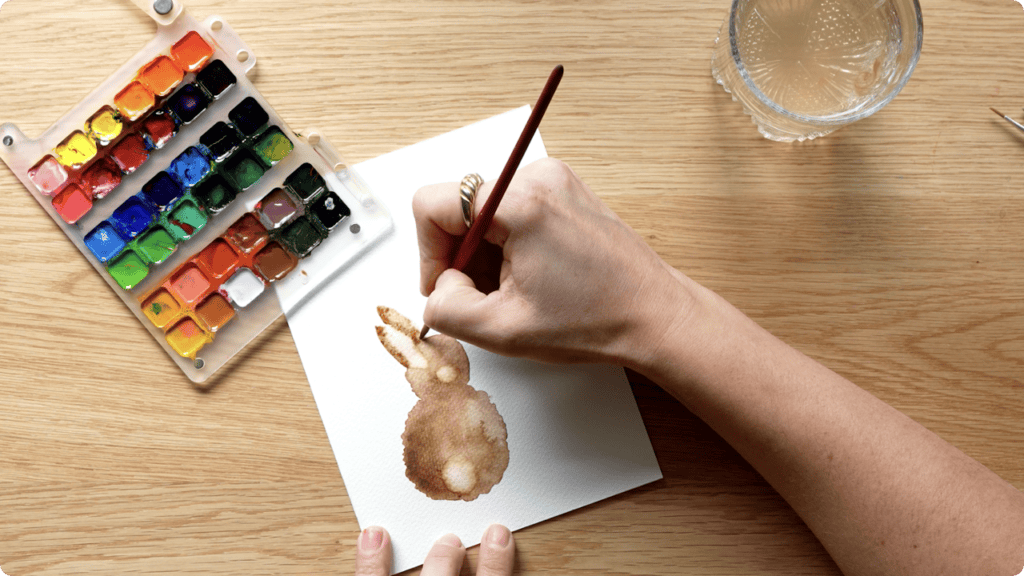
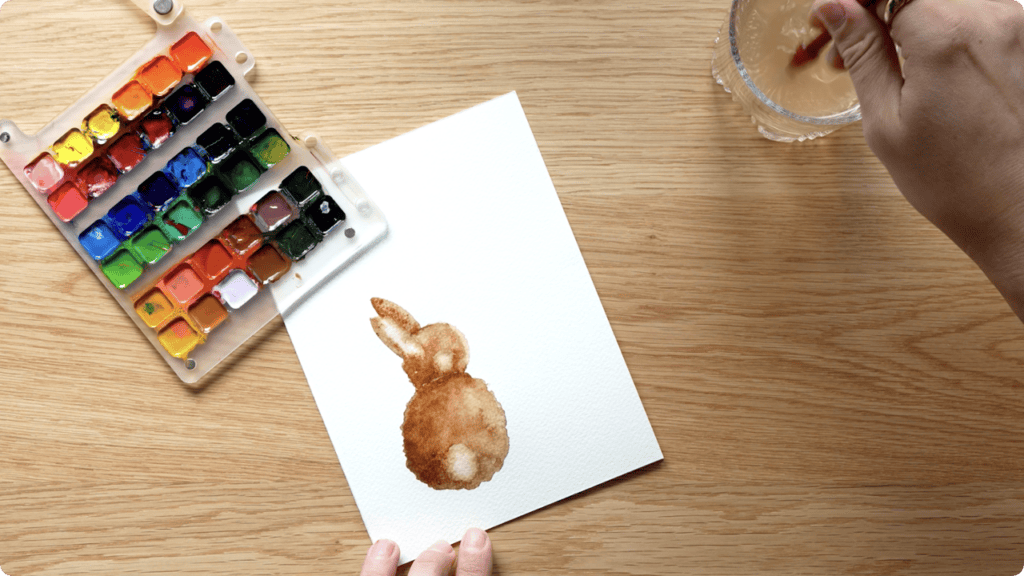
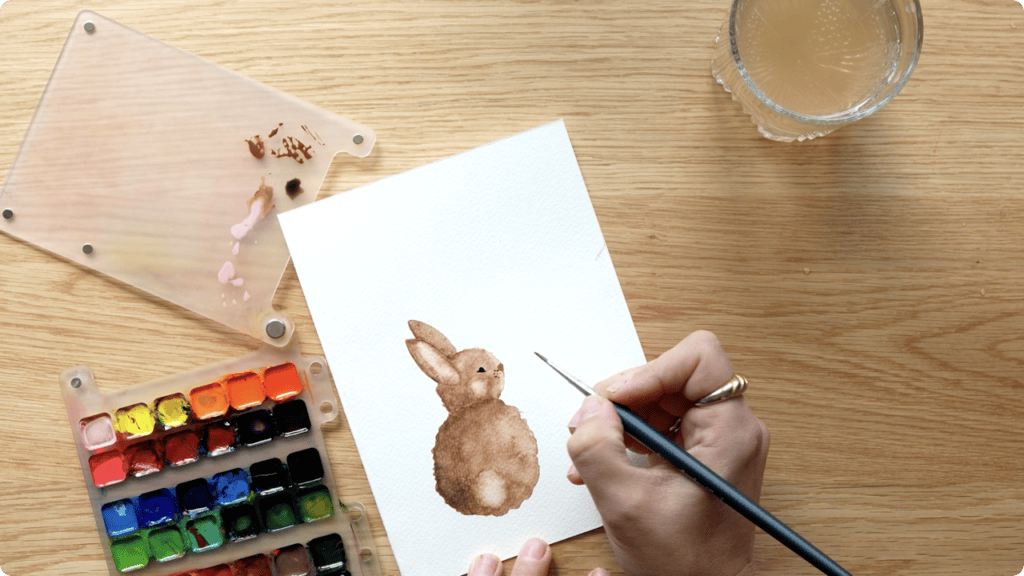
I used water on my brush to lift some brown paint from the centre, creating a lighter spot for the tail. Then I added a round cheek and layered in more brown for ear shading – the back ear darker, the front lighter for depth.
Adding Details
For character, I mixed a very pale pink for the ear and cheek details, then switched to a tiny brush for the nose using brown and pink. The eyes got a brown-black mix rather than pure black, which felt less harsh. Whiskers and little dots finished it off.
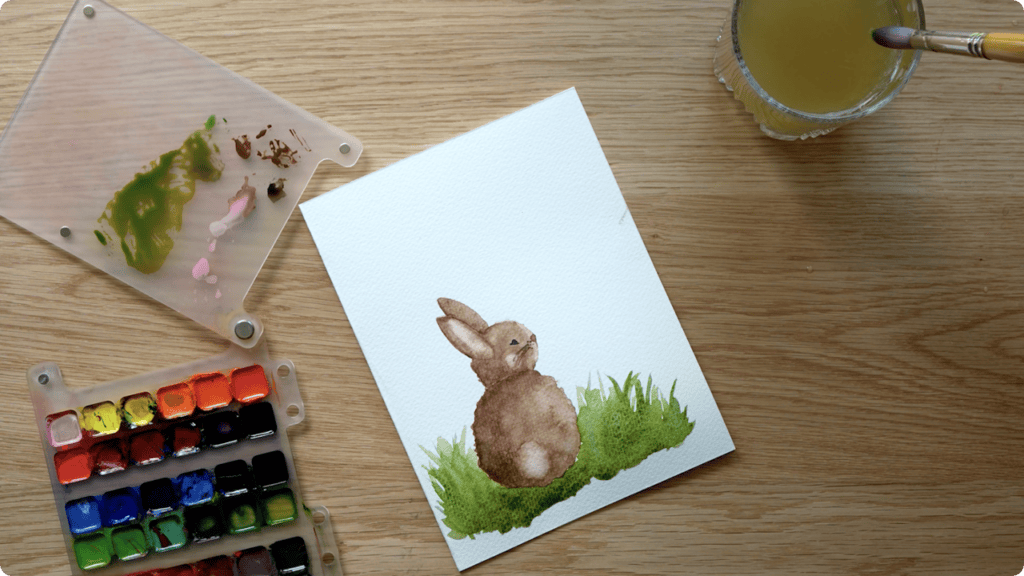
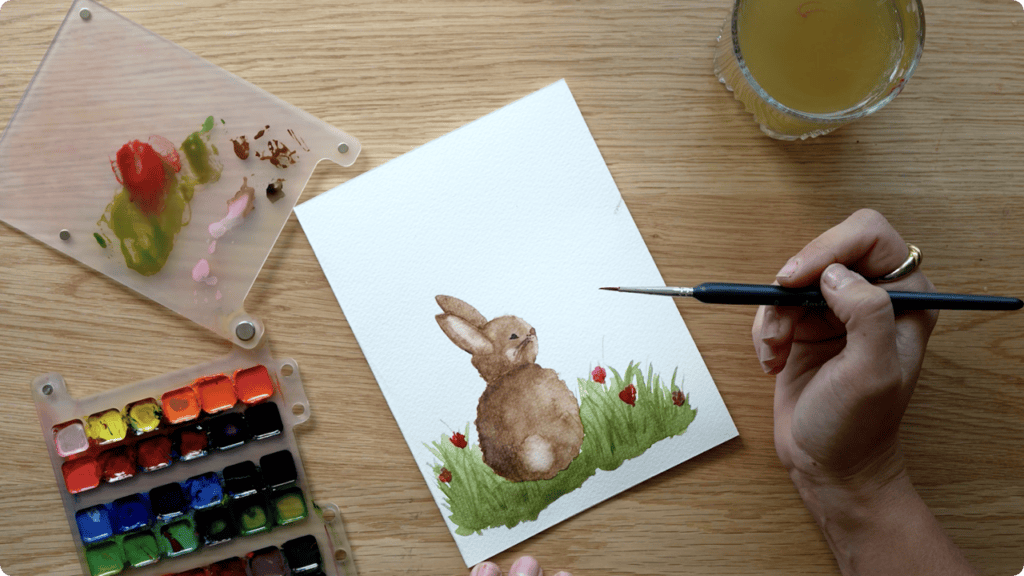
The bunny needed context, so I added grass using greens with a bit of brown mixed in. Then came pink and yellow flower scribbles. Just as I was about to start lettering, I realized it needed balloons to look like a birthday card. I sketched them in pencil first, then painted one pink and one yellow, keeping them soft and subtle. The balloon strings got mostly black with a bit of brown, drawn as thin as possible.
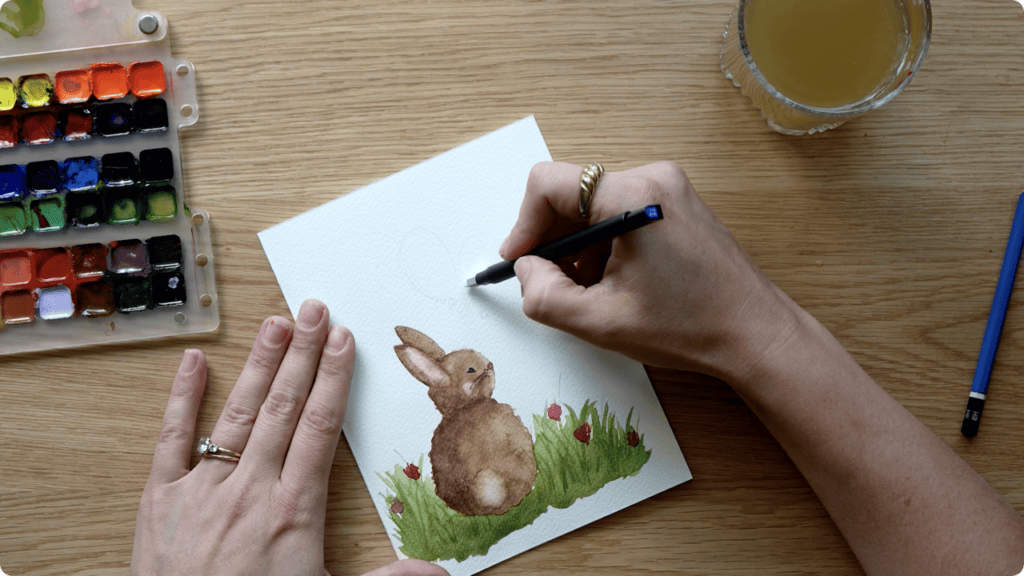
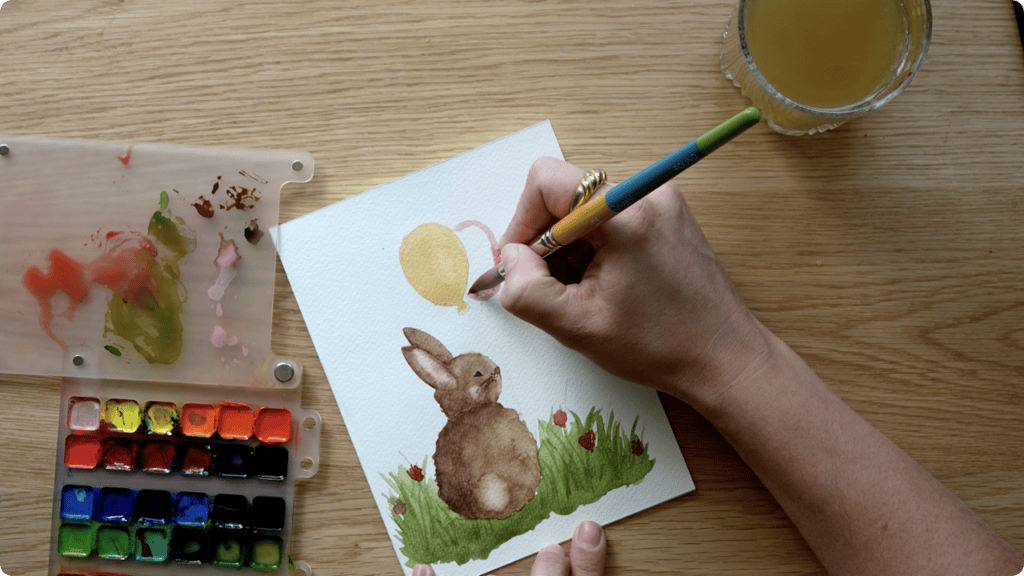
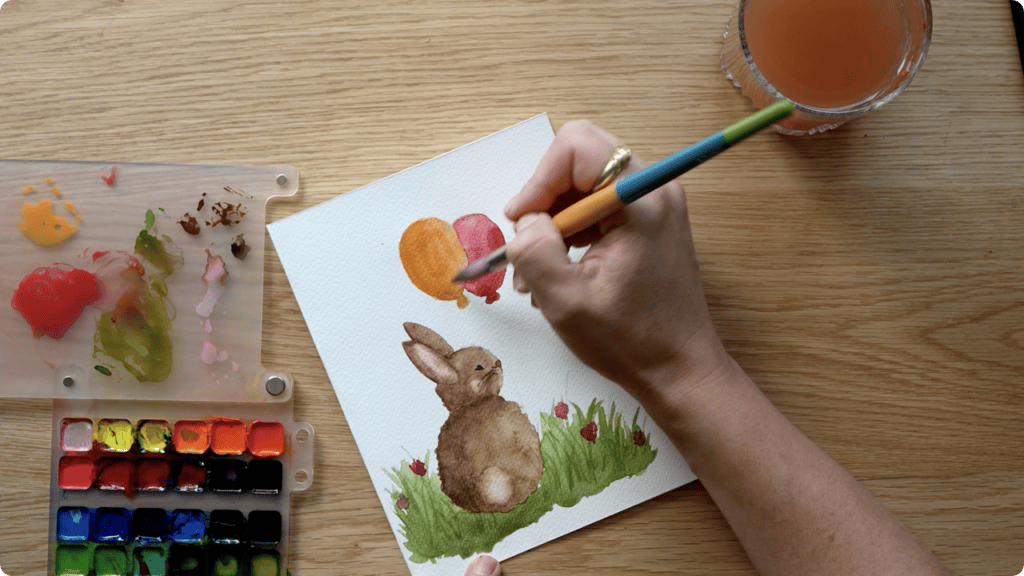
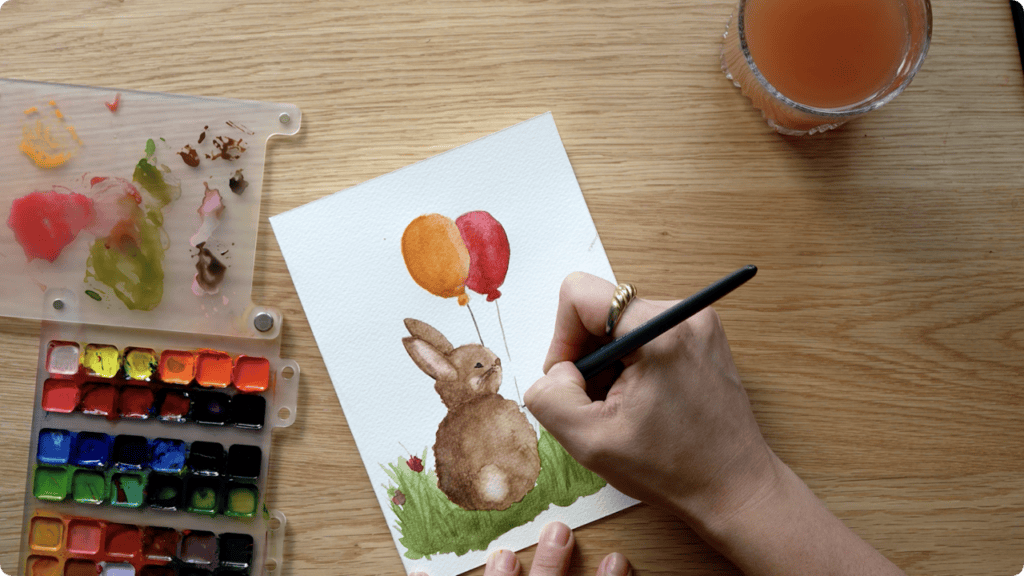
Finishing Touches
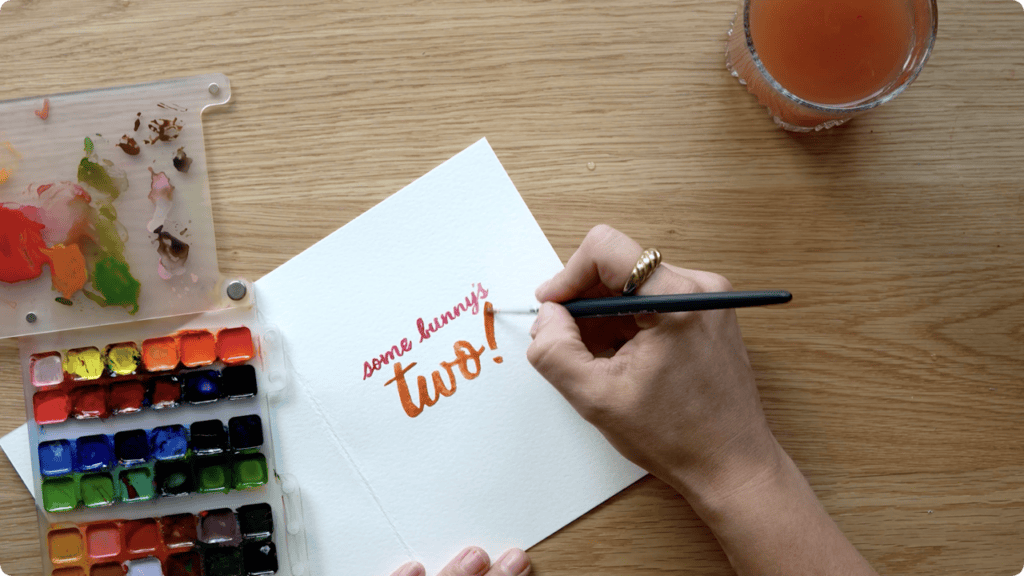
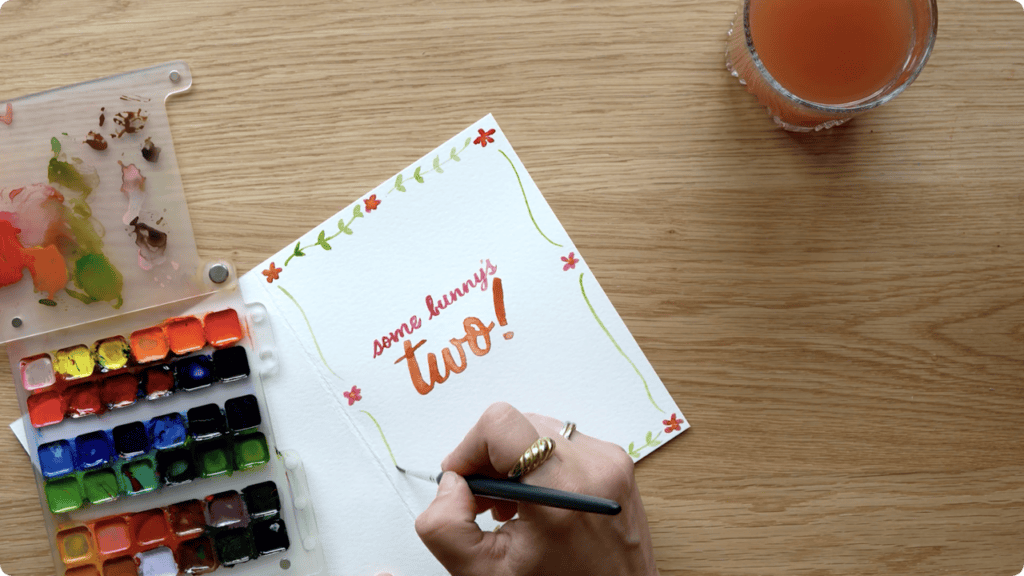
I debated putting “some bunny loves you” on the front, but decided to keep it clean and write the message inside with a cute brush pen – casual cursive, not formal calligraphy.
That’s a Wrap!
Is the inside my favourite thing I’ve ever created? Absolutely not. But the outside turned out adorable, and I know my two-year-old is going to love it. She’ll love that it’s a bunny holding balloons, and one day when she’s older, she’ll have this card tucked away with a letter from me written inside.
What’s your approach to birthday cards for little ones – do you make them, or does that feel like one craft project too many?
Looking for more card ideas? Check out this one!
And finally, your dad joke…
Why do bees have sticky hair? 🐝
Because they use honey combs!


Comments