
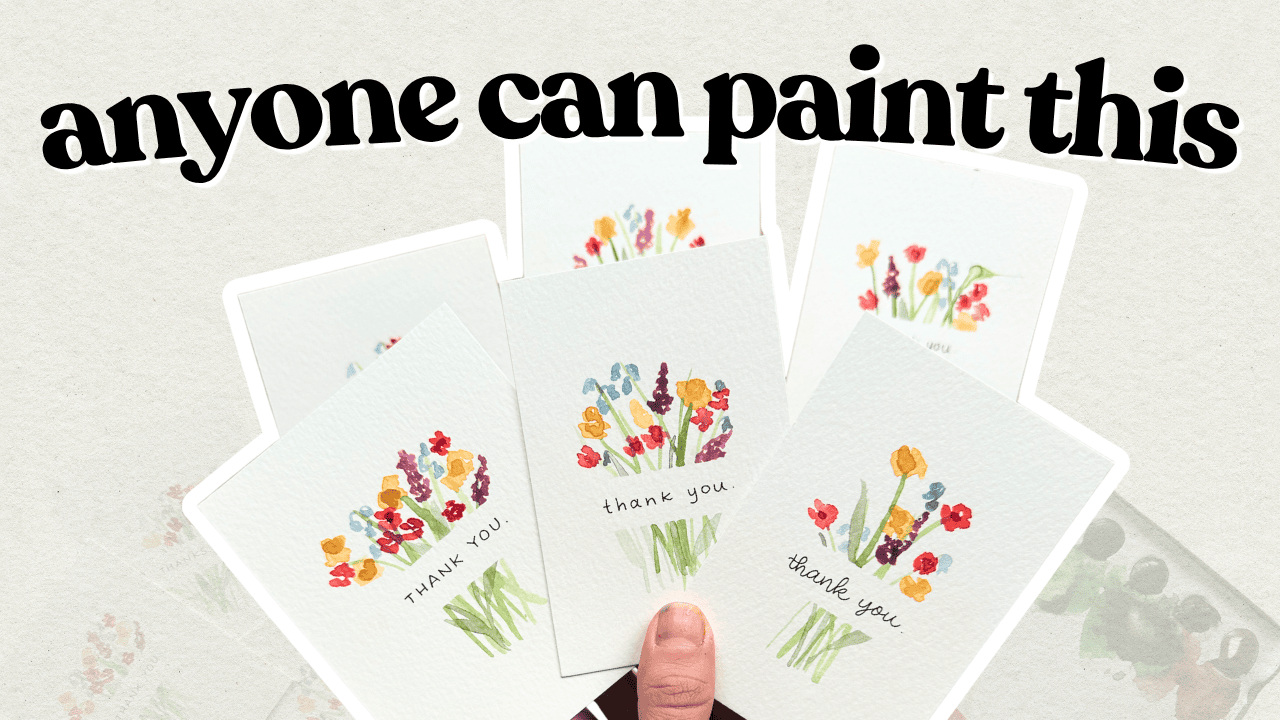
There’s something nice about having handmade thank you cards ready to go when you need them. This is one of those projects where you can sit down with no pressure, make six cards in about 15 minutes, and have them ready whenever the moment calls for it.
We’re using one large sheet of watercolour paper to create six cards, each with a simple painted flower bouquet and hand-lettered “thank you.” If you’re someone who likes things loose and imperfect (which I very much am), this is going to feel right at home. Nothing needs to line up perfectly or look identical.
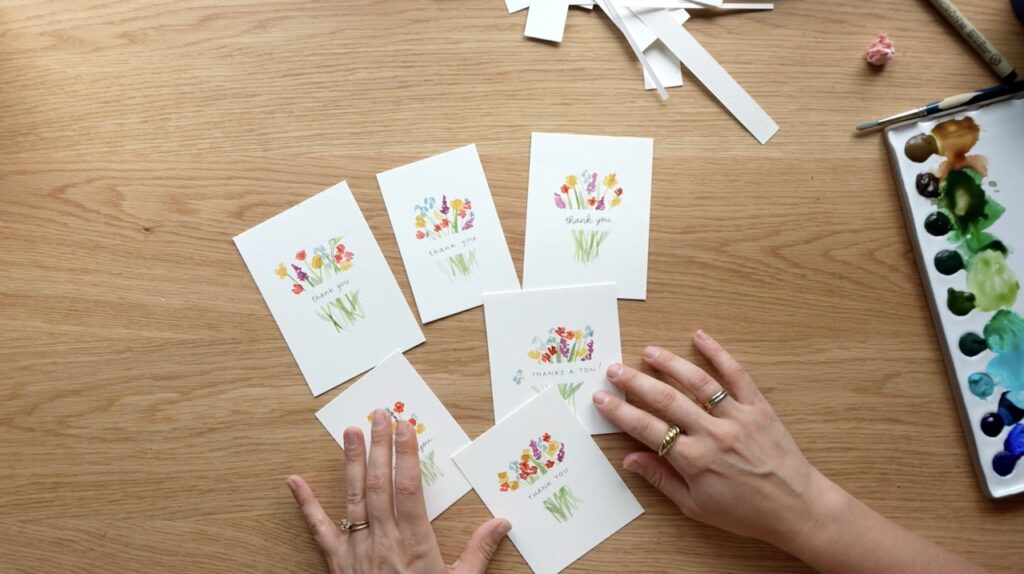
Supplies Used
- 12” x 15” watercolour paper (one sheet makes six cards)
- Masking tape
- Washi tape
- Watercolour paints (greens, yellow, purple, red or orange, blue)
- Small watercolour brush
- Black pens (Micron pens, brush pens, pointed pen, or even a ballpoint)
- Paper cutter or scissors
Rather watch than read? Check out the full video by clicking the video below!
Let’s Get Started!
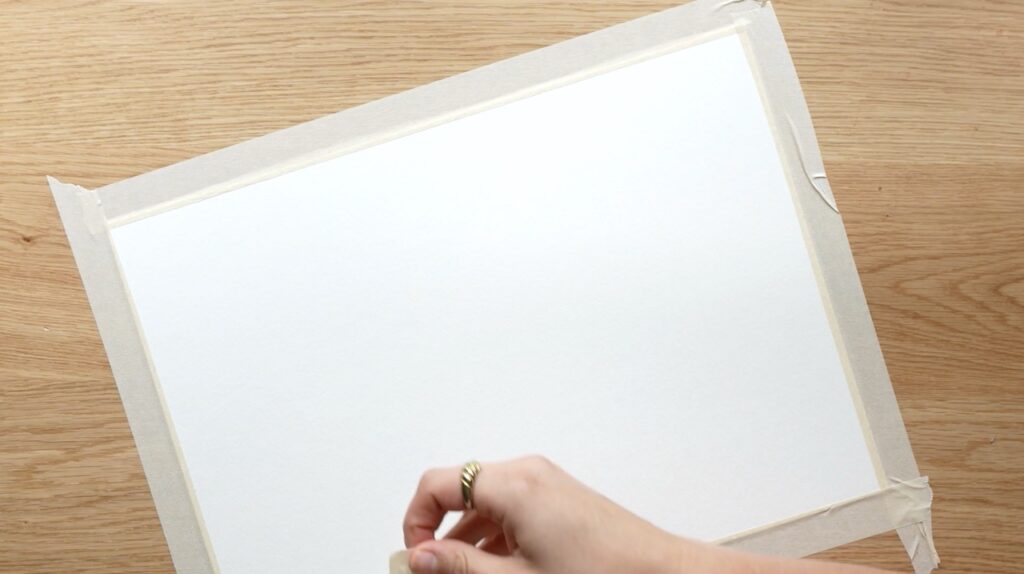
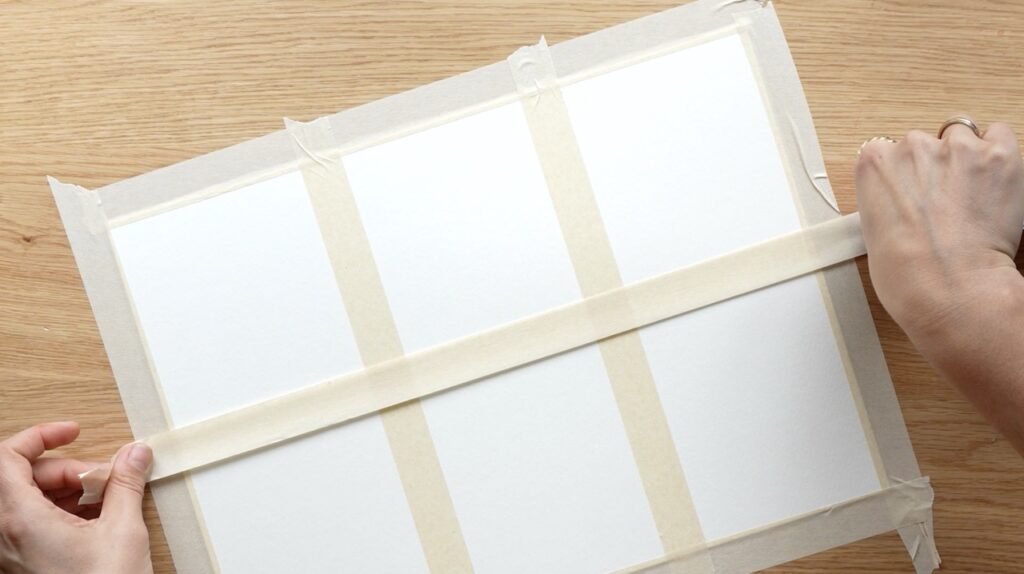
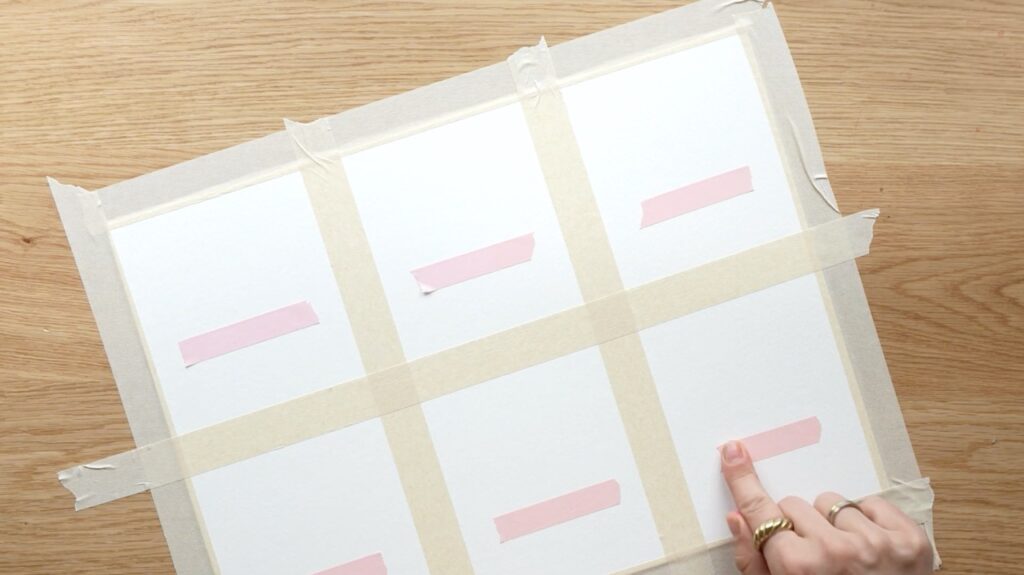
Tape down your large sheet of watercolour paper with masking tape to hold it in place. Then use washi tape to divide the sheet into six cards – two strips vertically to create three columns, one strip horizontally across the middle to split them in half. These don’t need to be perfectly measured. They’re going to be slightly different sizes when you cut them, and that’s fine.
Next, place another piece of washi tape across each of the six sections, about two-thirds of the way down. This creates a clean line that will separate your painted bouquet from the text area below.
Painting the Flower Bouquets
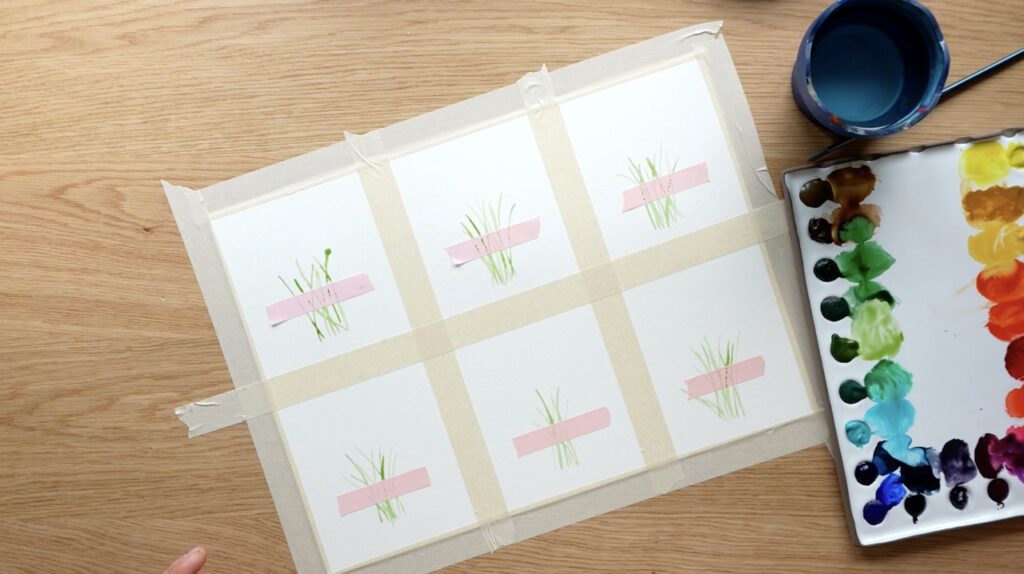
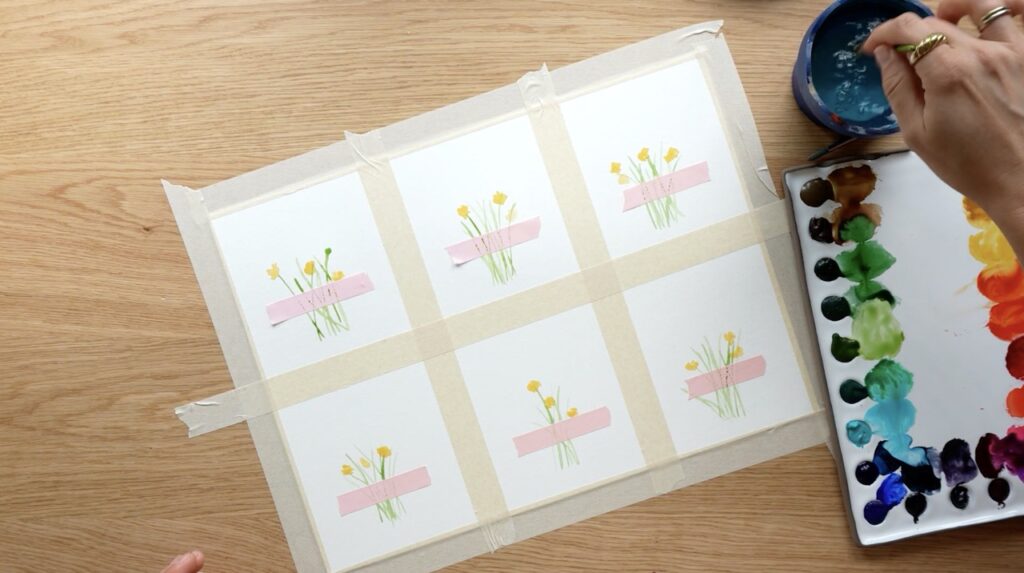
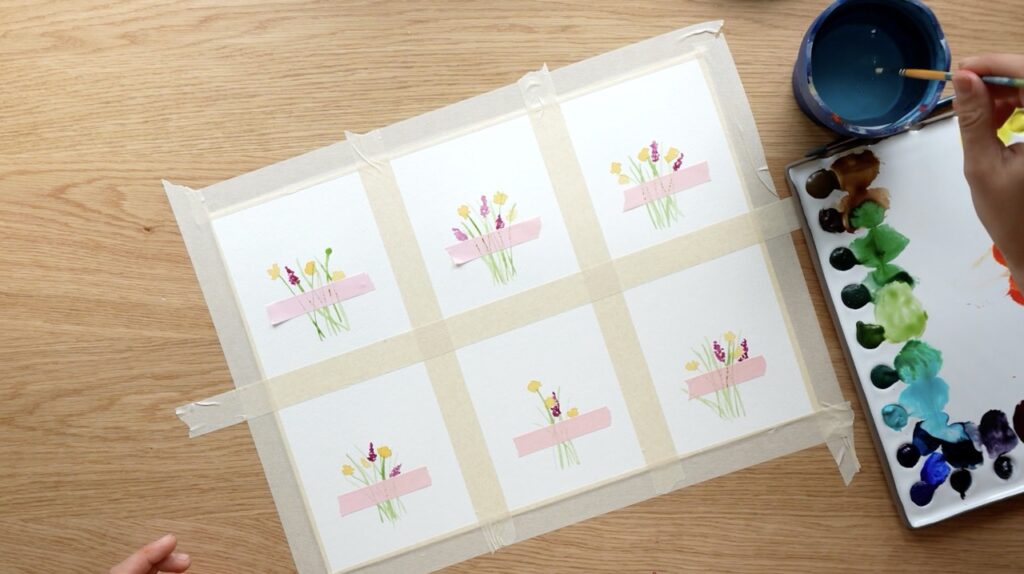
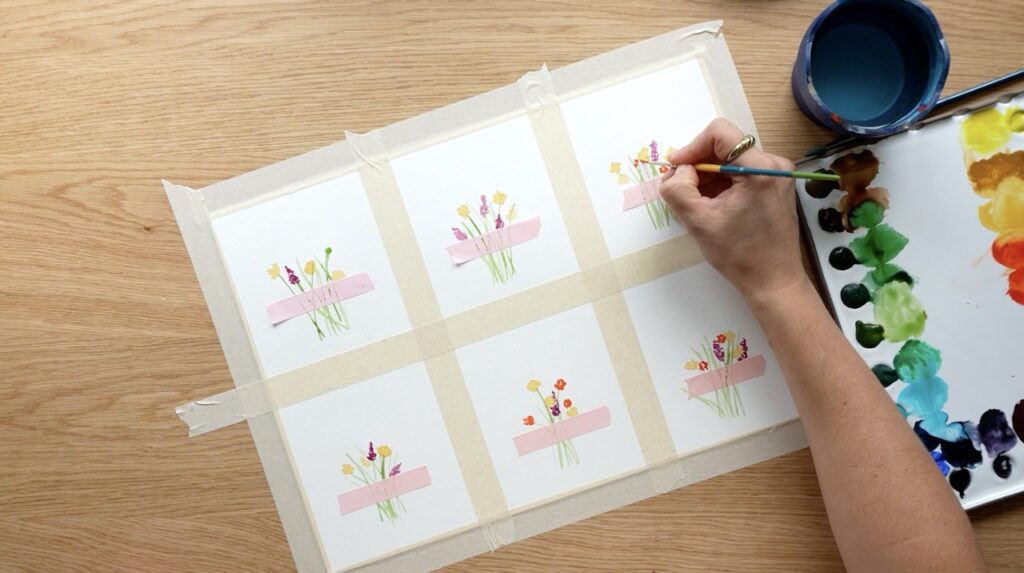
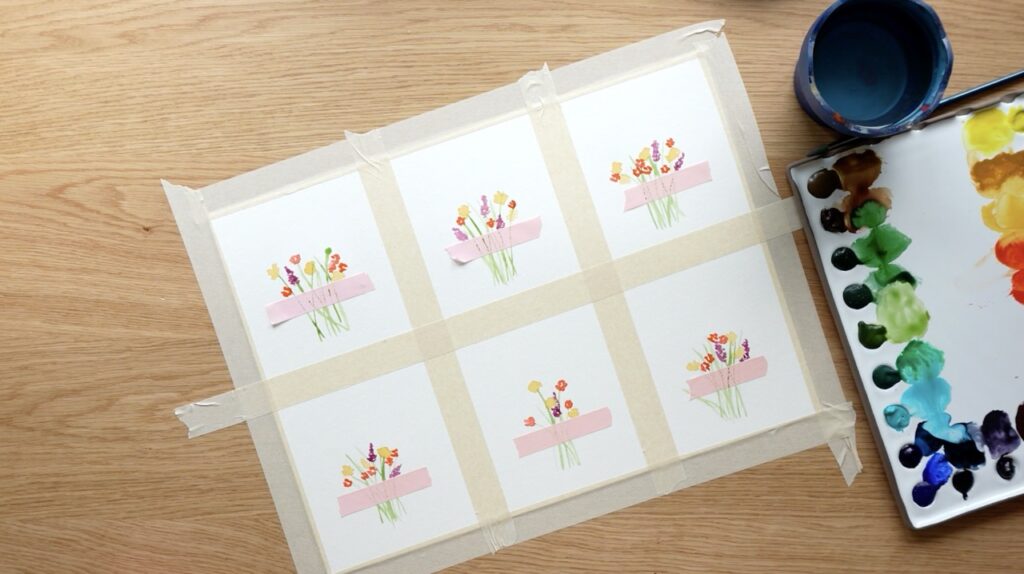
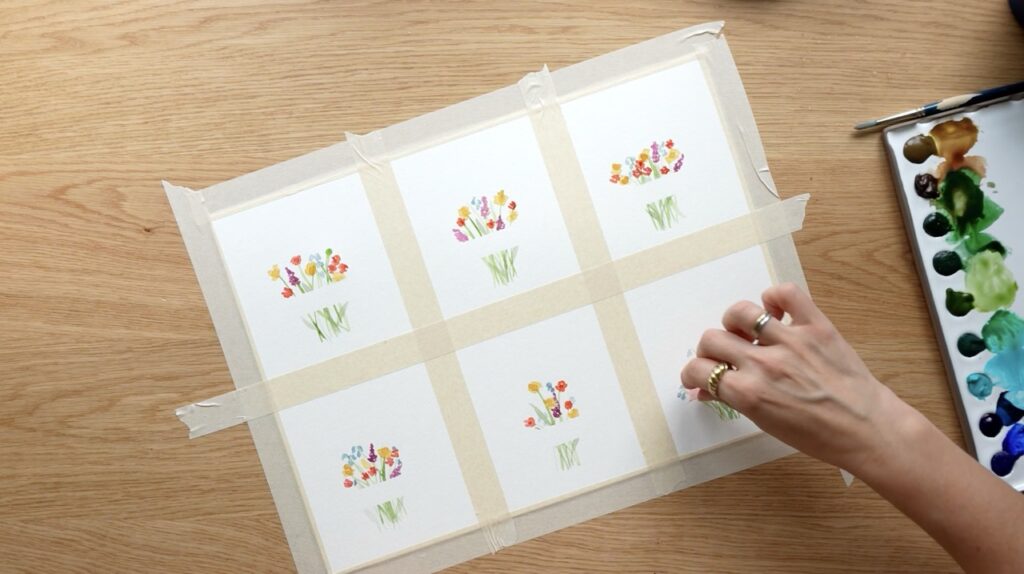
Start with green stems – just toss in a few on each card without overthinking it. Then layer in your flowers. I like to add yellow scribbles for small daisies, purple dots in a cone shape for something like delphinium, and bright red or orange flower shapes with centres. While the red flowers are still semi-wet, dab a darker red dot into each centre.
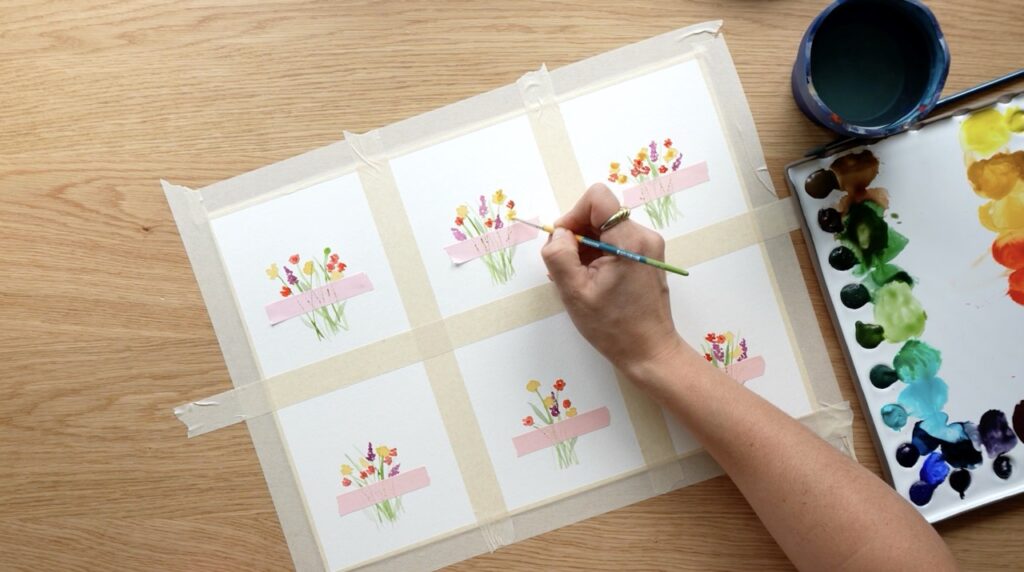
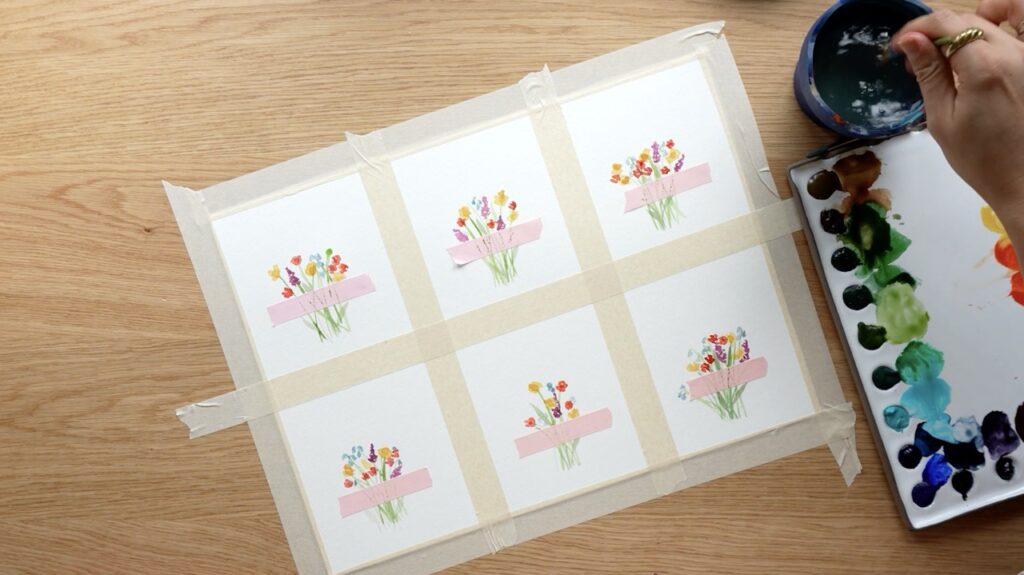
Add more foliage with a darker browny-green to pull the bouquet together, then go back over your yellow daisies with more water on your brush to add dimension. If you notice gaps or stems sticking out awkwardly, fill them in – I added little blue bell shapes to mine. There’s no strict process here, you’re just making flower-ish marks that feel balanced.
The Reveal and Lettering
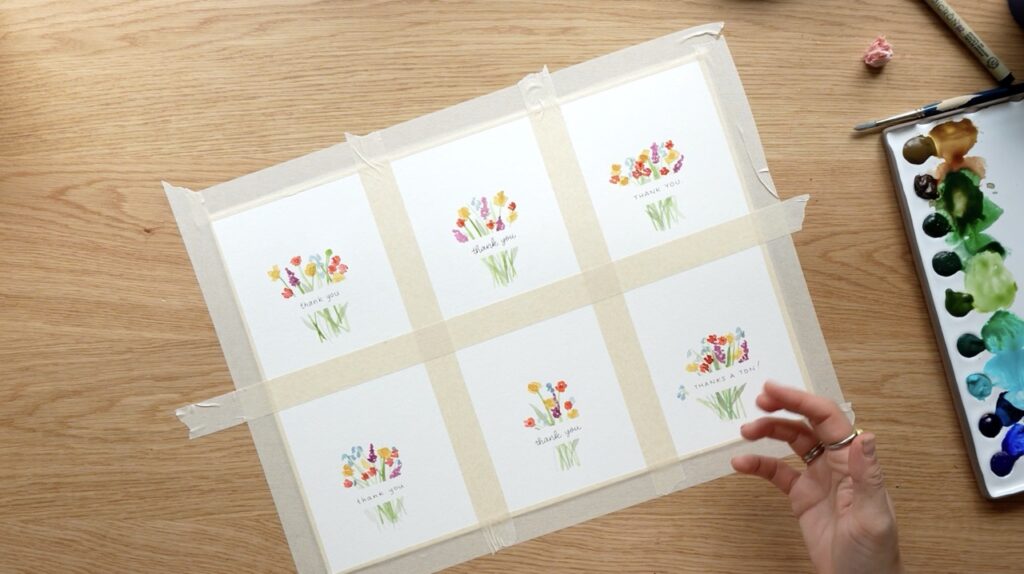
Pull off the washi tape to reveal a clean line across each card. If a bouquet pokes past the line a bit, just roll with it.
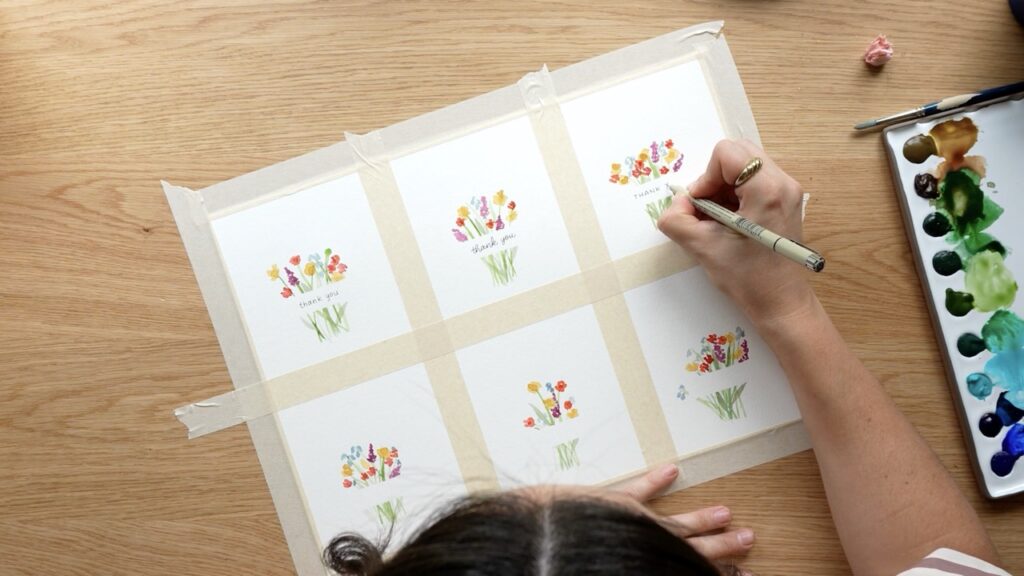
Grab your pens – whatever you have on hand works. I like to vary the lettering style across the six cards: one in lowercase, one in scripty calligraphy, one in capitals. If calligraphy isn’t your thing, simple and legible is just as lovely.
Cutting and Finishing
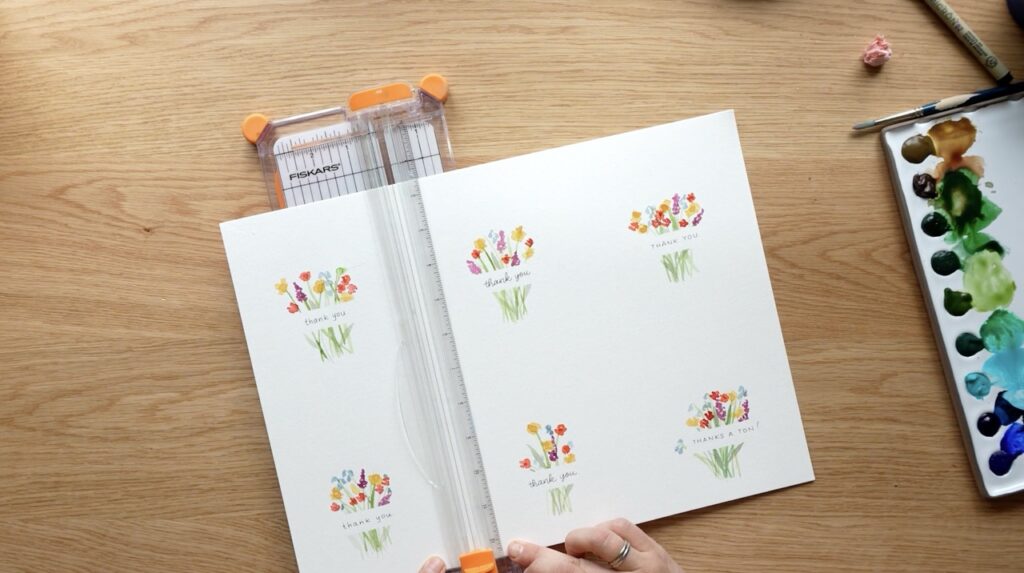
Use a paper cutter to separate your cards. Cut horizontally first to separate the three columns, then trim each to size. They’ll all be slightly different dimensions, and that’s fine.
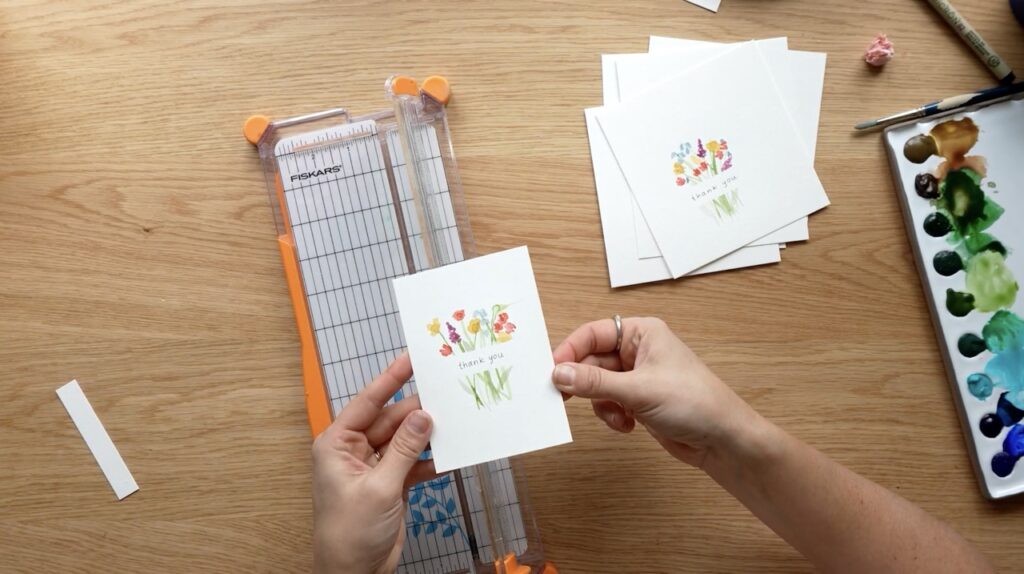
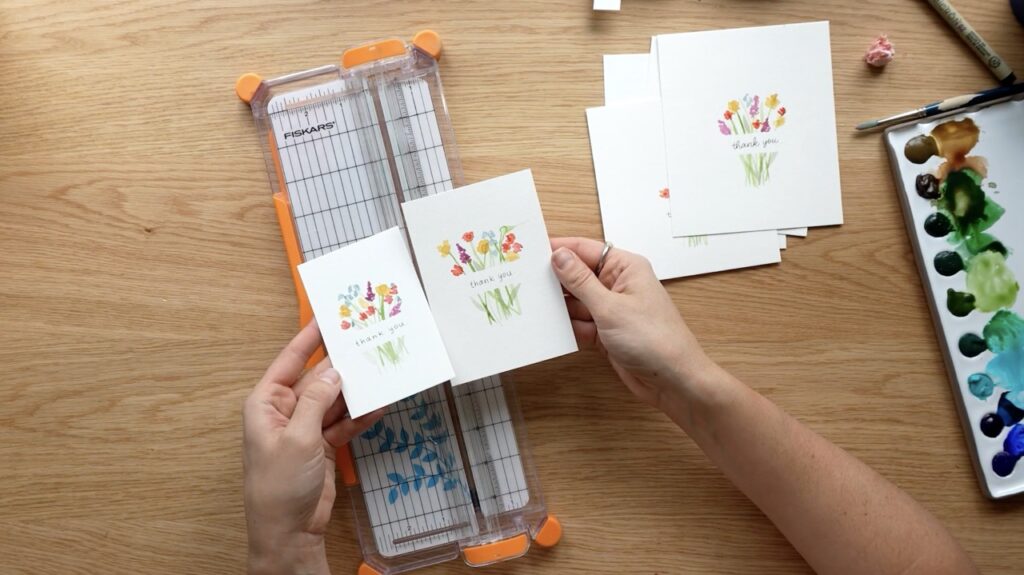
That’s a Wrap!
Six cards in about 15 minutes, much more thoughtful than anything store-bought.
And if you want to add a detail to the back, paint one tiny flower in the bottom corner with one of your colours. This ties the front and back together and sits beside where you’ll sign your name.
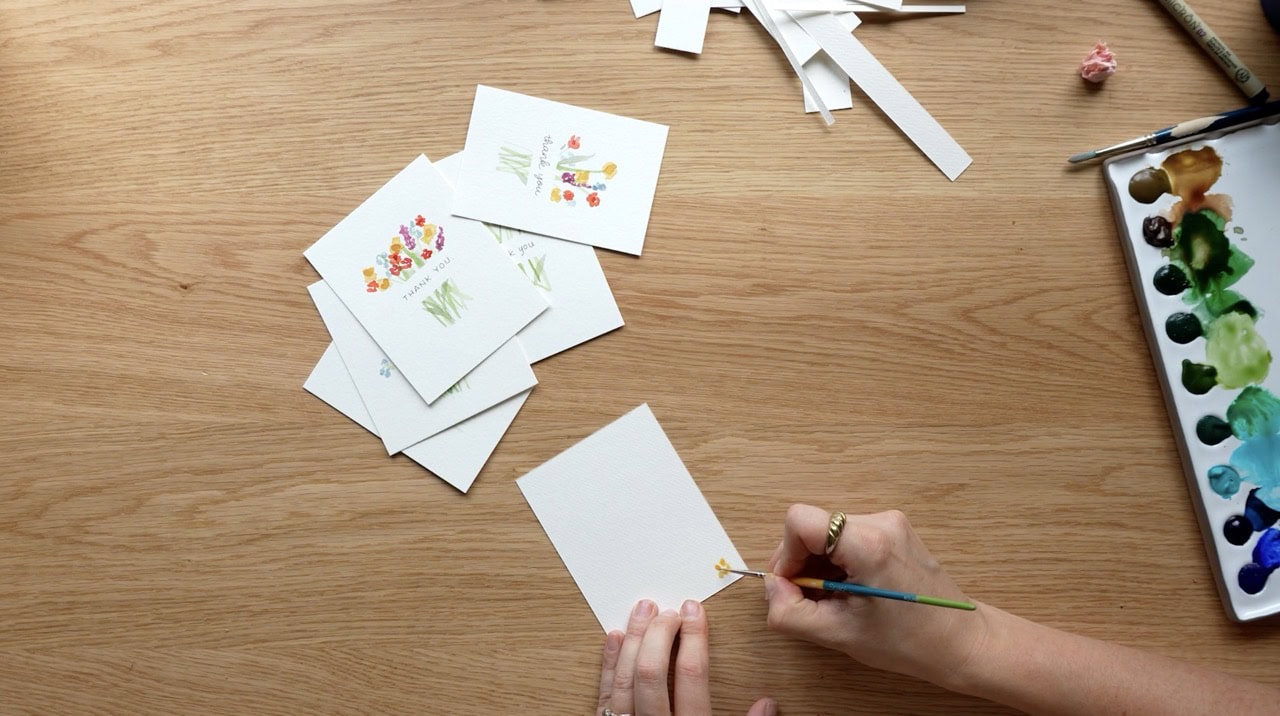
I’ve found that having a little stack of little thank you cards on hand makes saying thank you easier – there’s no excuse not to send a note when you’ve already got something this lovely ready to go.
Looking for more bulk thank you card ideas? Check out this one!
And finally, your dad joke…
My friend gifted me a terrible thesaurus…
It was terrible.


Comments