
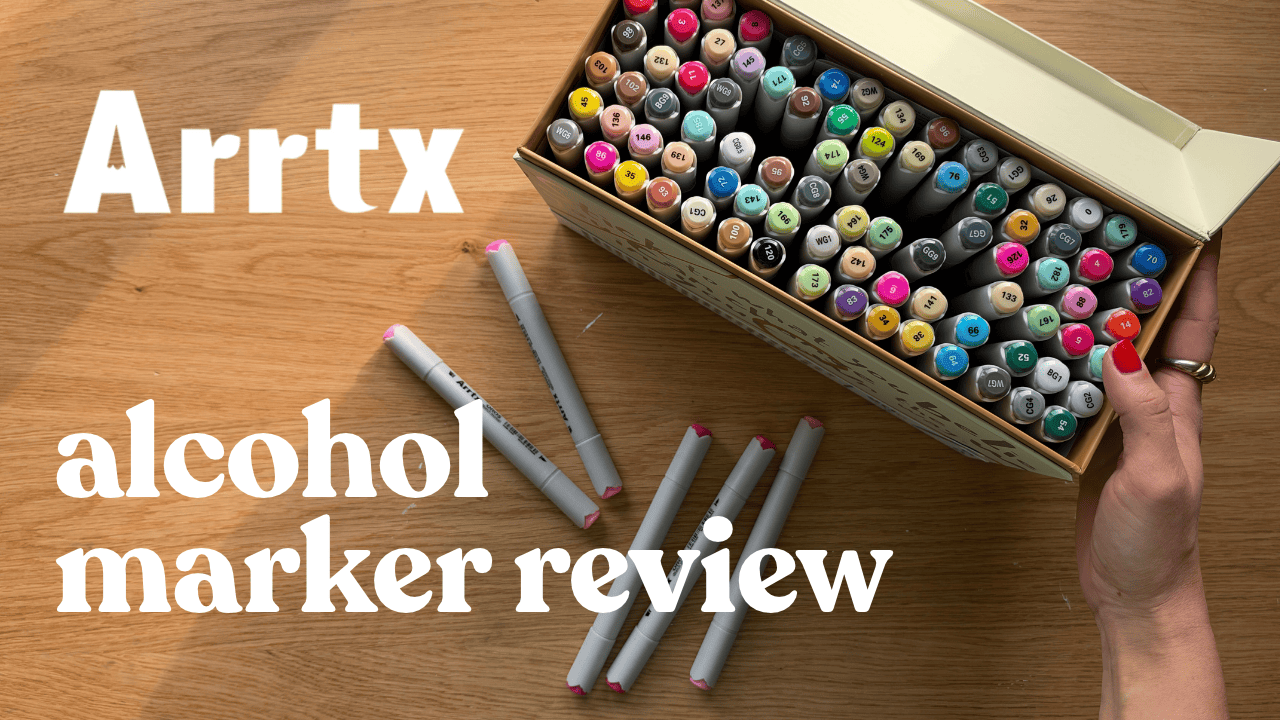
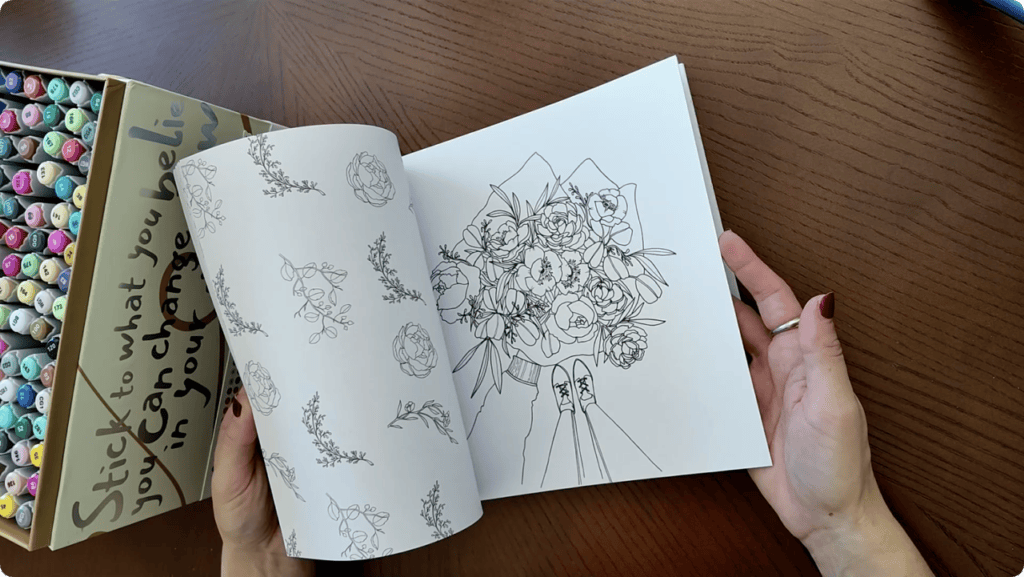
You know those days when you want to make something, but your brain feels like it’s running on fumes? I’m having one of those days. So I set myself up at my kitchen table with a colouring book and a brand new set of Arrtx alcohol markers I’d never tried before.
This isn’t a polished tutorial. It’s more of a low-key creating session where I talk through how the markers behave as I go.
Supplies Used
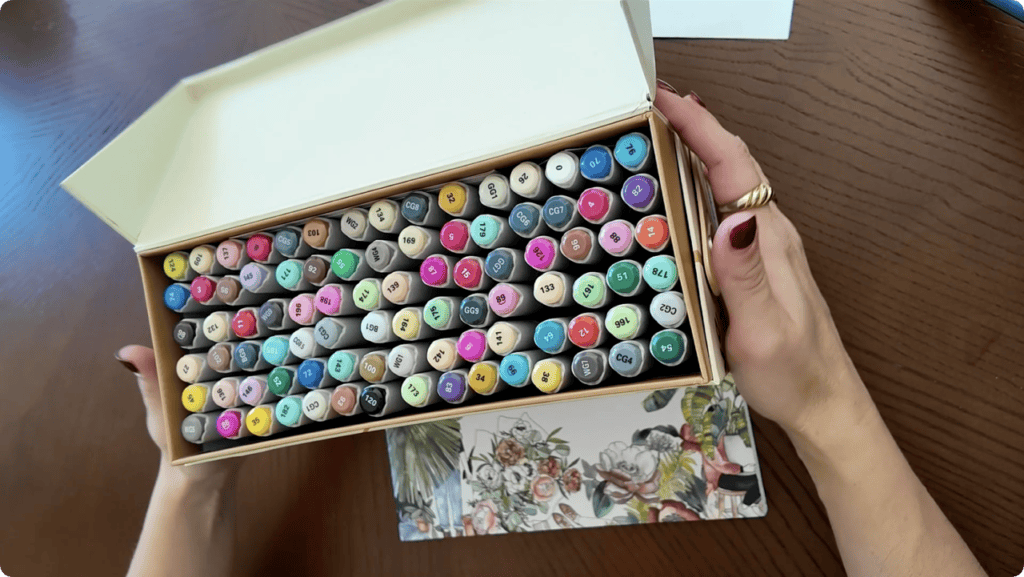
- Arrtx Alcohol Markers (I used the 90-colour set)
- You can shop here in the US and here in Canada!
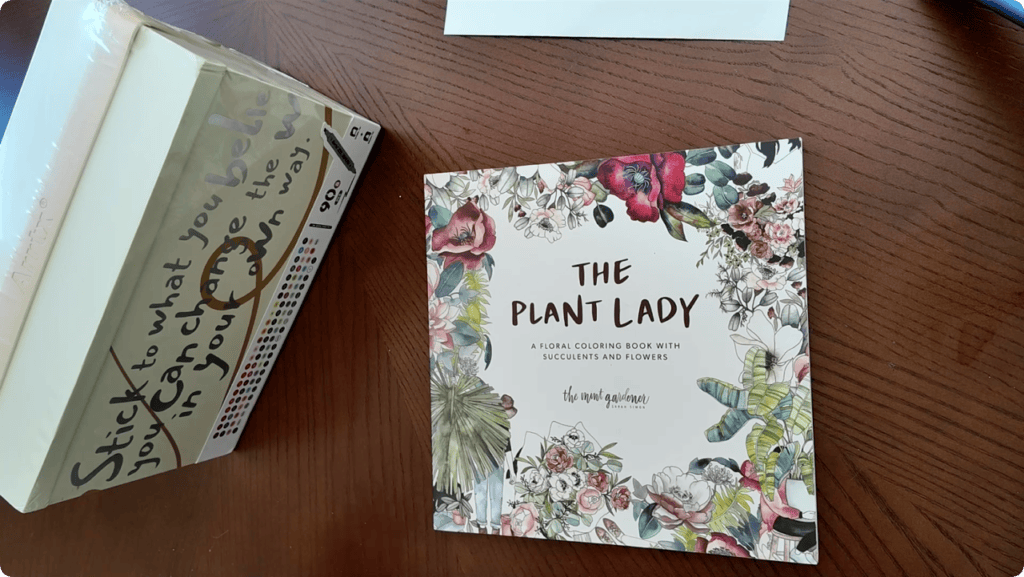
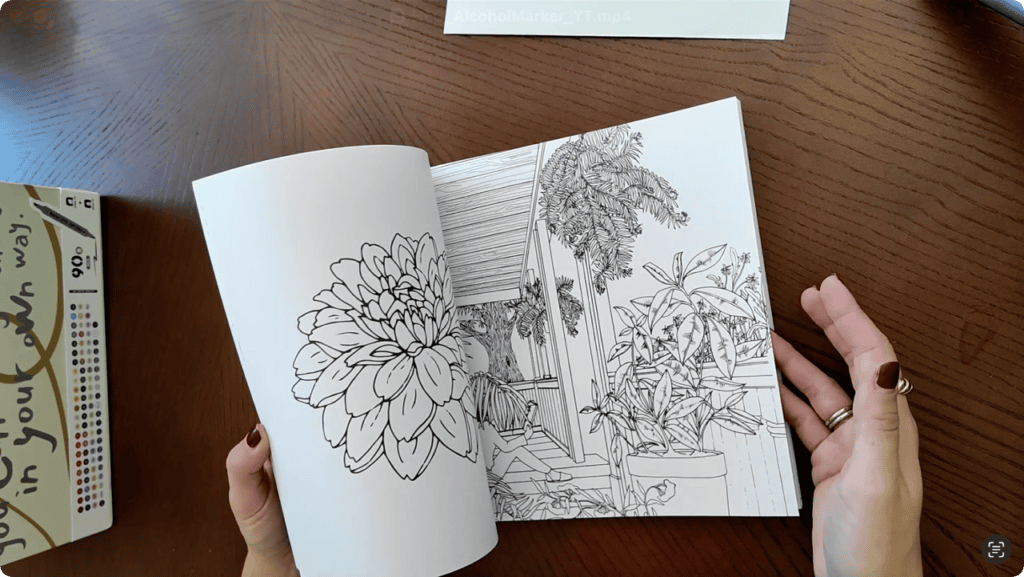
- A colouring book with perforated pages (I used Sarah Simon’s The Plant Lady)
- Thick cardstock or a sheet of paper underneath your page to catch bleed-through
Rather watch than read? Check out the full video by clicking the video below!
Let’s Get Started!
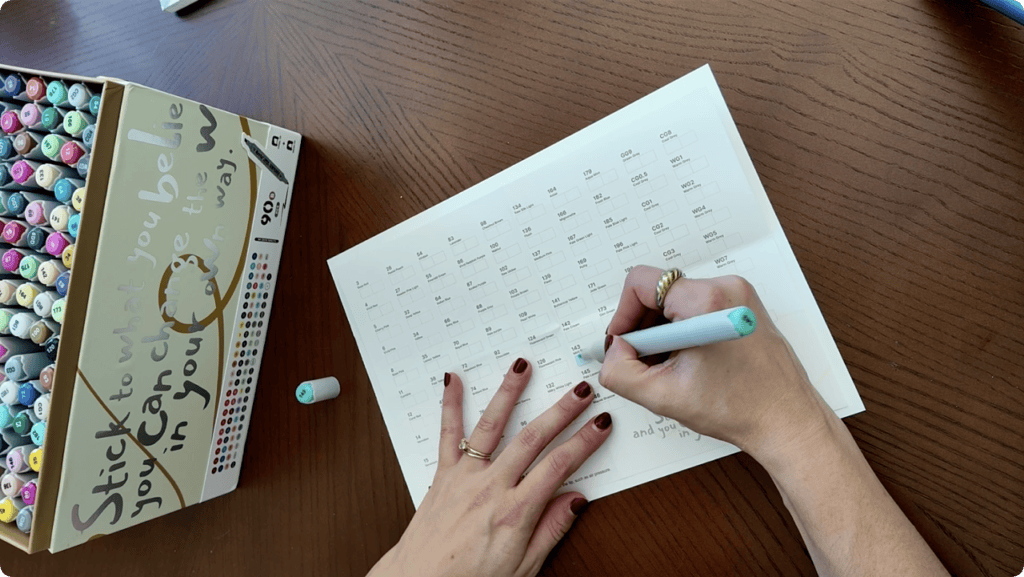
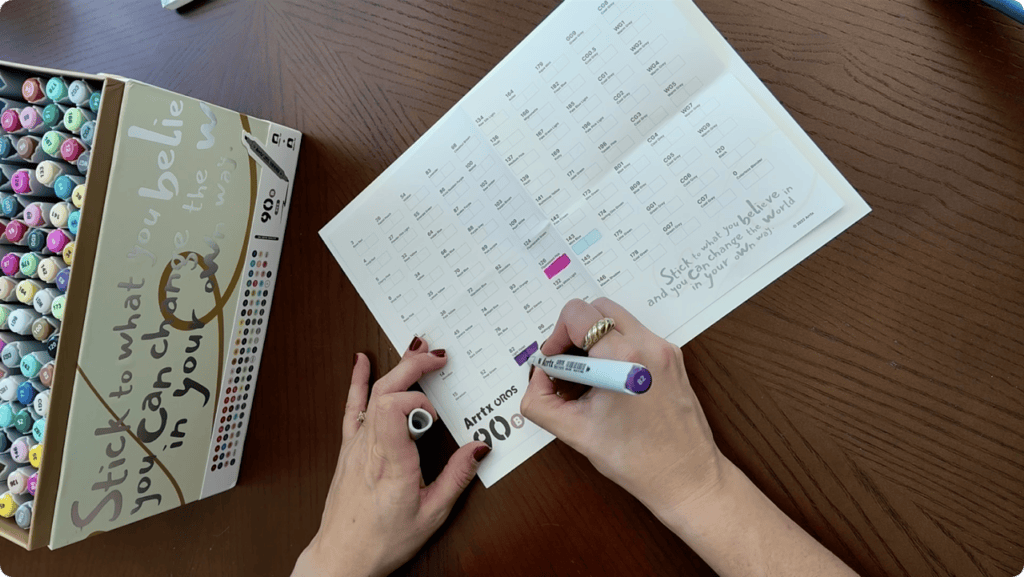
I sometimes avoid colouring books because choosing colours can feel stressful, so I kept things simple. I did a quick swatch to get a feel for them, but I didn’t want to spend the whole session on it.
First Impressions
The smell hit first. Alcohol markers always have one, and I used these a lot in university for architectural renderings, so it was a bit nostalgic. It was milder than I expected, which was a nice surprise.
The colour went down evenly, too. Alcohol markers tend to streak less than acrylics, and I’m now a brush tip person, even though I always went for chisels back then.
The Bleeding Part
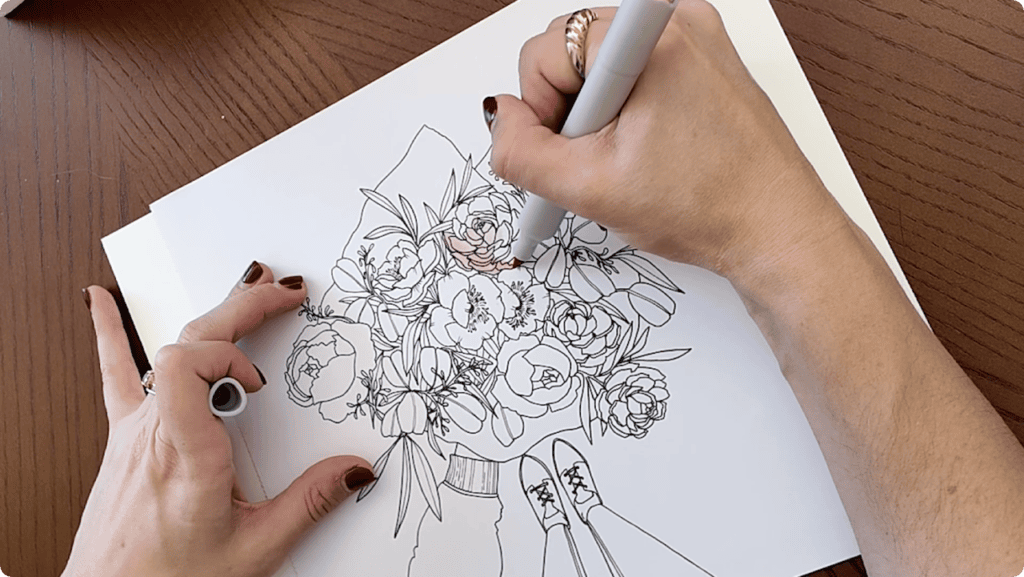
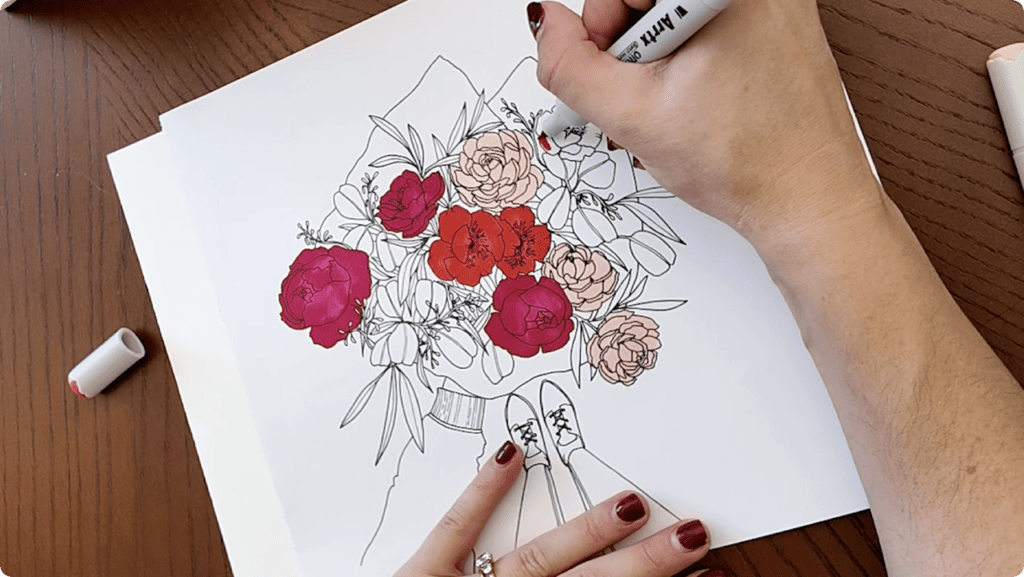
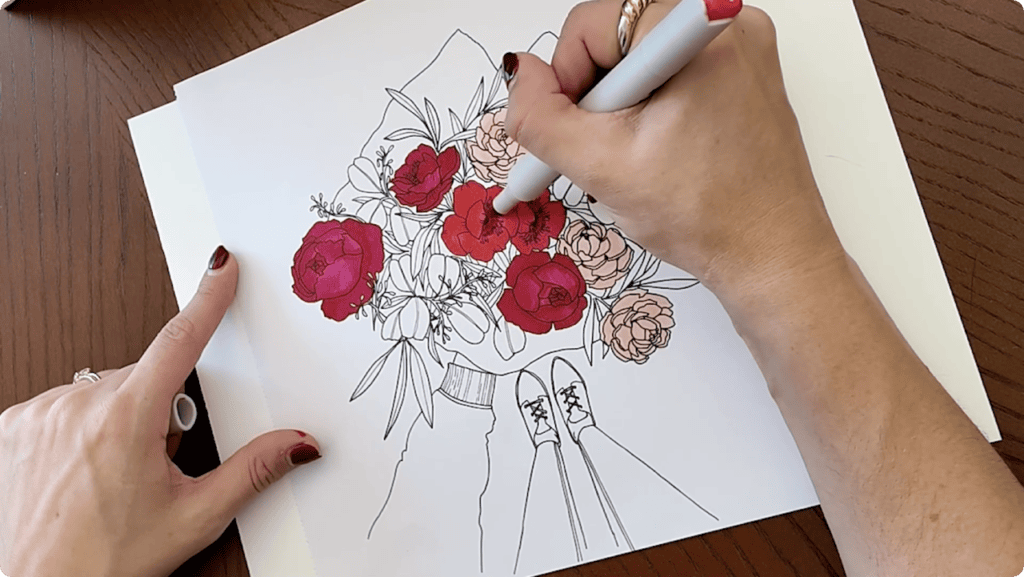
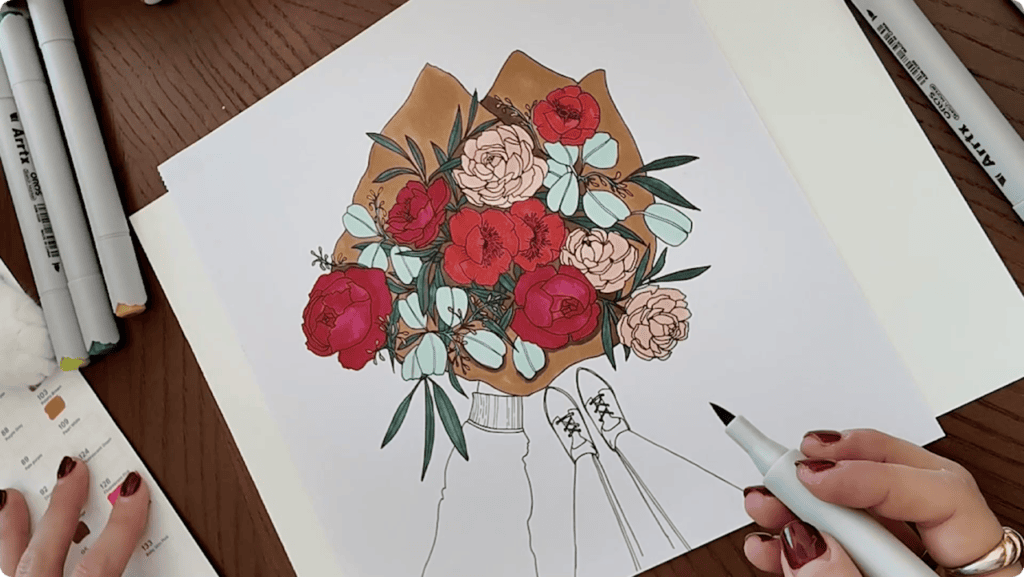
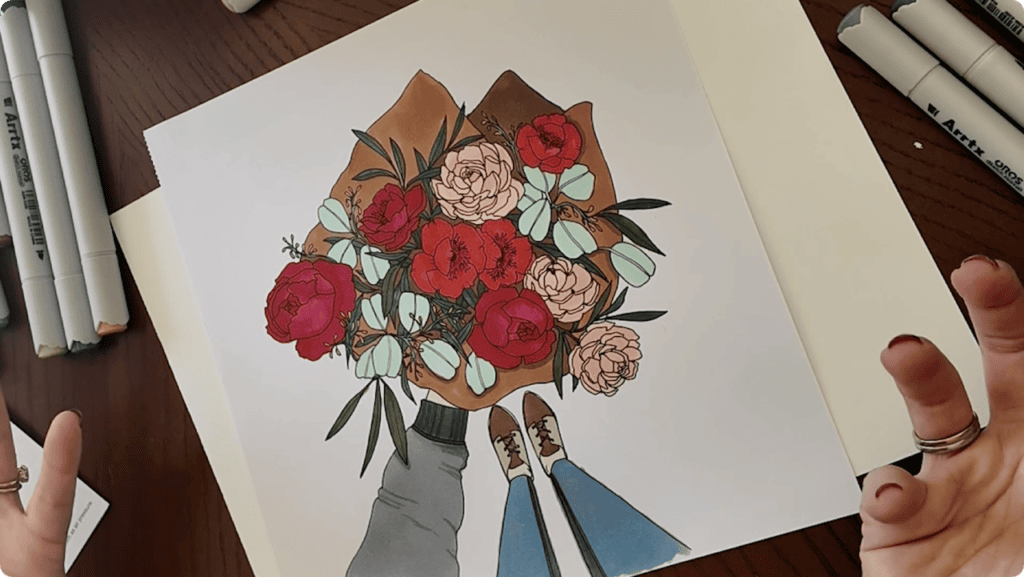
Alcohol markers bleed, and that hasn’t changed. Even with a light touch, colour creeps past the line if you go right up to the edge. I went too close on one leaf and watched two colours melt into each other. It wasn’t a disaster, and it’s kind of magical how they blend.
Layering Is Where They Shine
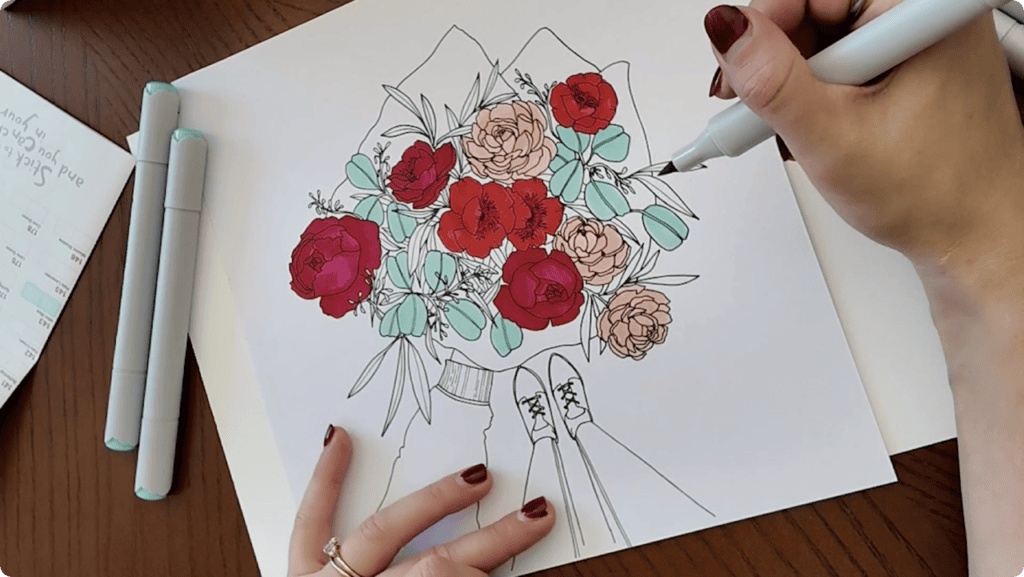
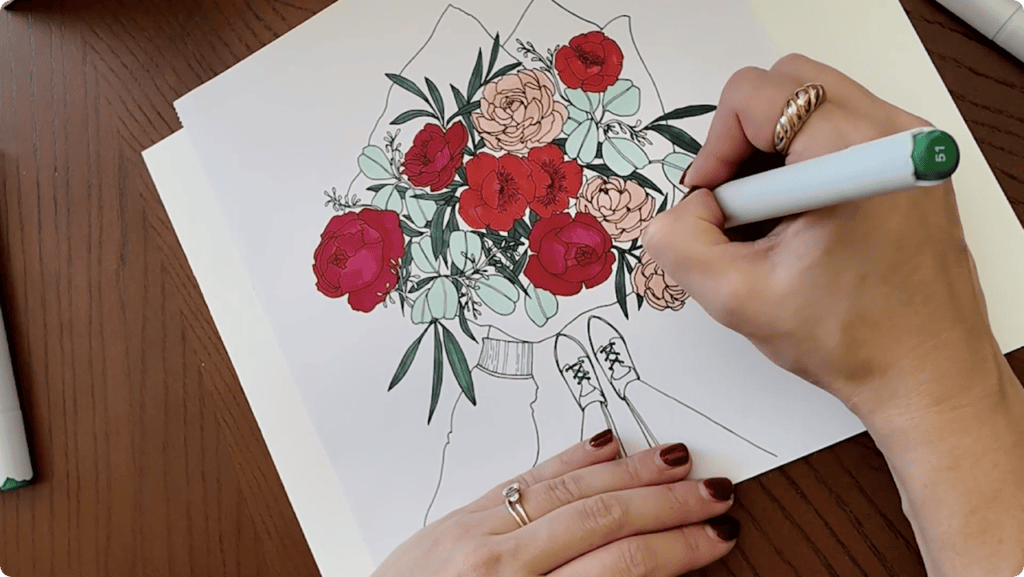
This is the part I remember most. You can keep layering alcohol markers and they just keep getting richer, without getting pilly like some water-based markers can. The catch is patience. Light layers look almost invisible at first, and it takes a lot of passes to build real contrast. I don’t always have much patience, but the subtle results are worth it.
For the eucalyptus-style leaves, I went with a pale blue, then a grey, then a little mint on top. They blended beautifully. I finished the leaves with a deeper green, then coloured the berry stems in yellow. Yellow on craft paper is tricky with alcohol markers, since you usually work light to dark, but I let it be.
That’s a Wrap!
The verdict? I like these markers. The colour range is generous, the brush tips are a joy, and I never felt short on options. The page isn’t finished yet, and I’ll probably share it once I’ve added more detail.
I’m curious what you prefer, alcohol markers, water-based markers, or acrylics. Let me know in the comments, and why. Maybe a proper comparison is in the future.
Looking for more supply testing videos? Check out this one!
And finally, your dad joke…
How much does it cost Santa to park his sleigh?
Nothing! It’s on the house!


Comments