I’m going to show you how to uplevel your envelope design game with three of my favourite designs.
We’re going to go over the rules you need to follow to ensure your envelopes are delivered, learn how to create an envelope with a banner design and how to create an envelope with a fun floral design!
Looking for the 101 version of this tutorial? Check out my envelope basics here.
First Things First…
The links below may be affiliate links where appropriate. This means that your purchase through these links may result in a few cents in payment to me, to support creating further resources like this one! That being said, I will never suggest supplies that I do not personally use and fully recommend.
Tools Mentioned
- Tombow Fudenosuke Brush Pen
- Sakura Pigma Micron Pen
- Uni-ball Signo White Gel Pen
- Ultra Fine Point Sharpie
- Kraft Paper
- Pencil
- Eraser
- Laser Level (Johnson Hotshot)
Prefer watching over reading? Feel free to skip right to the video and see these in real-time! ??
Pesky Post Office Rules
Tip #1: Always check with your local post office for their guidelines. This is especially important if you’re sending out a huge stack of wedding envelopes.
Tip #2: Mail the envelopes from a physical post office directly, and not just a mailbox. You want to make sure the postage is correct.
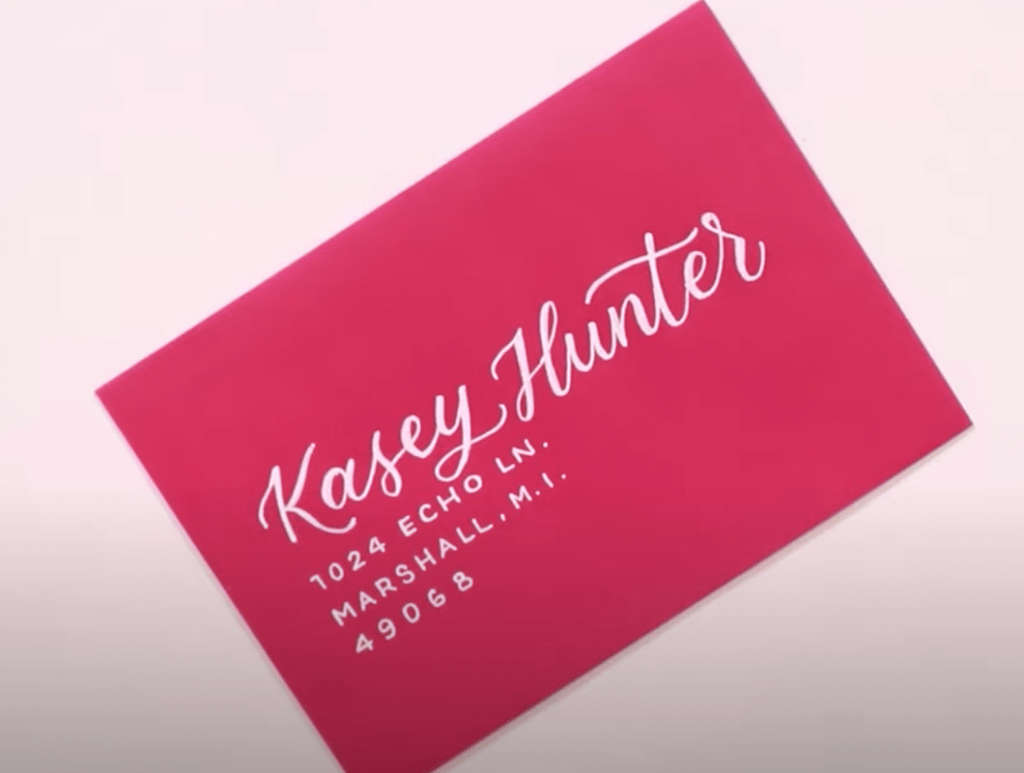
Tip #3: Be mindful of colours. I pretty much only use black or white. I’ve heard that red is not accepted in post office machines. And if you’re using a coloured envelope, try using a contrasting colour for addressing.
Tip #4: Stick to calligraphy for the name, and block letters for the address. You want the address to be as legible as possible.
Tip #5: Have some restraint while decorating, and don’t forget to leave room for stamps!
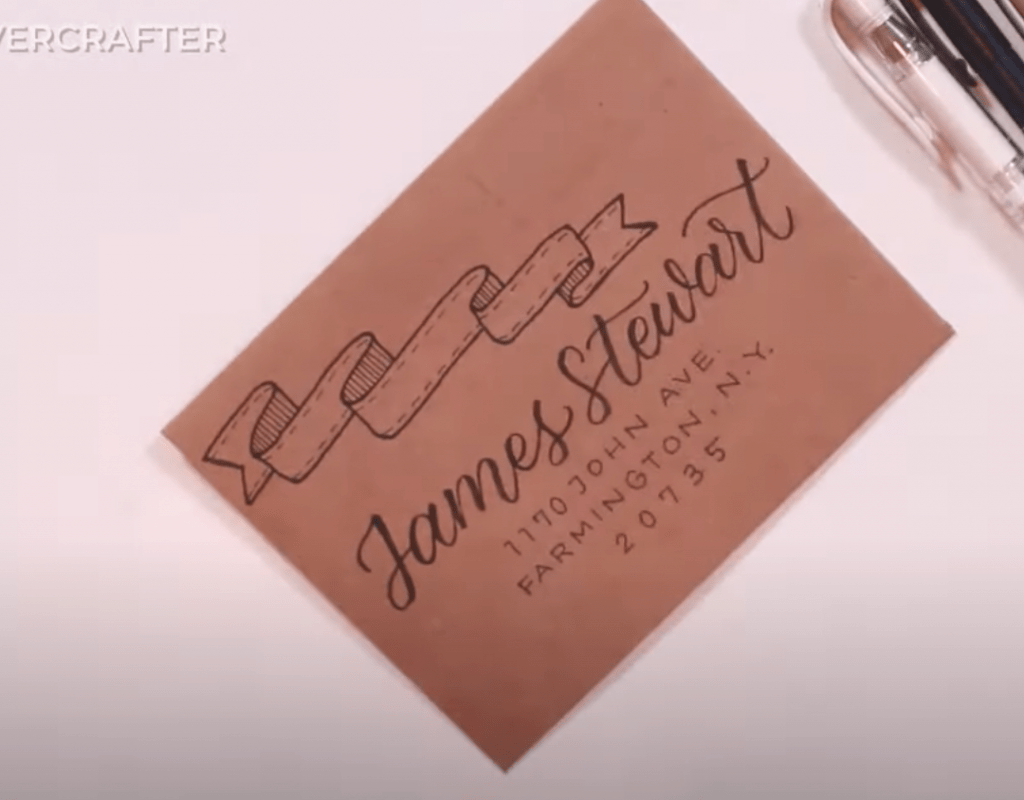
Envelope #1: Banner Design (on Kraft paper)
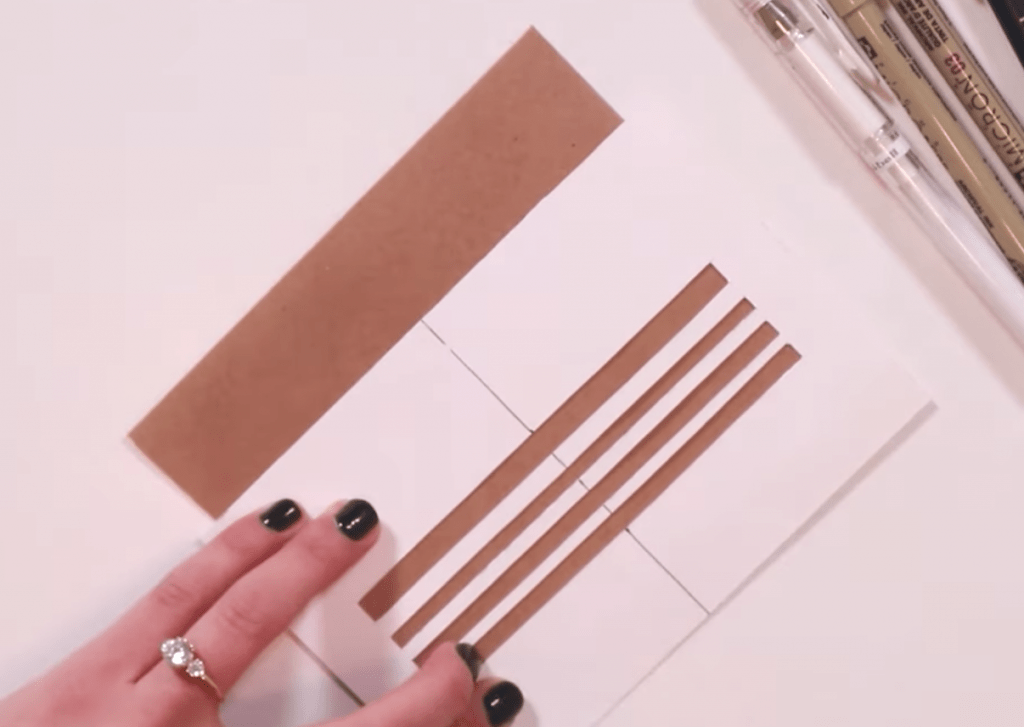
If you haven’t watched my envelopes 101 video, be sure to check it out and download the envelope template I created that will help you with your layout.
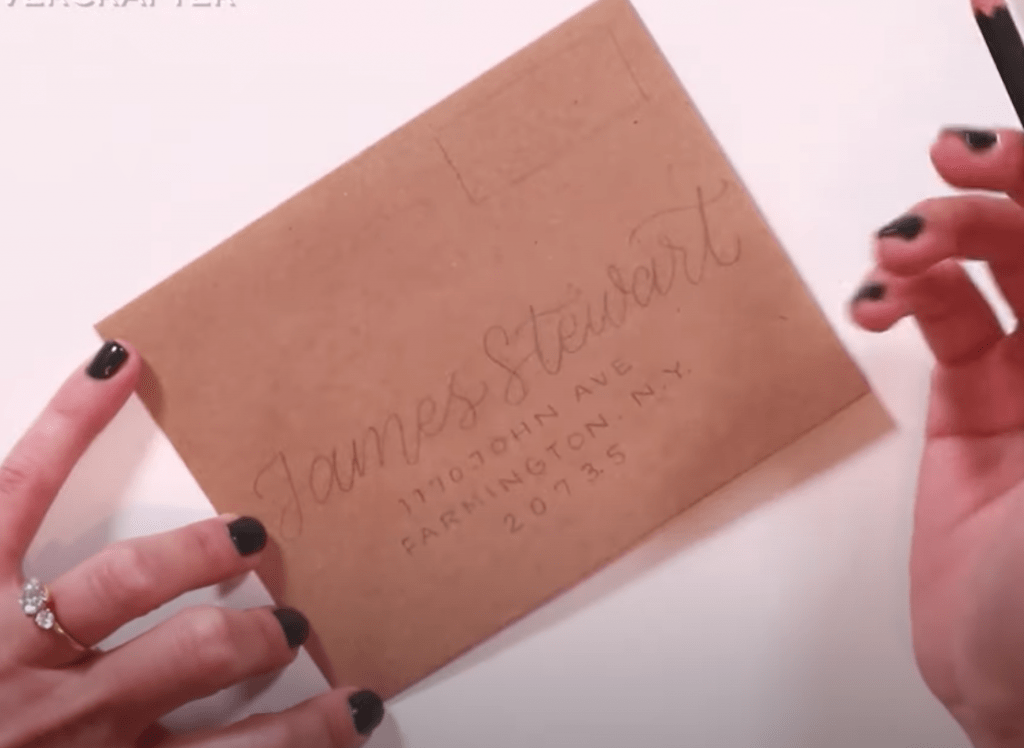
Step #1: Write out the name and address in pencil to plan out your design
Be sure to leave room for a banner as the top and work in pencil first if you feel more comfortable. Be sure to check out my video on banners for more info.

Step #2: Decide where your banner is going to go
Hint: On the left, leaving room for your stamp on the right.
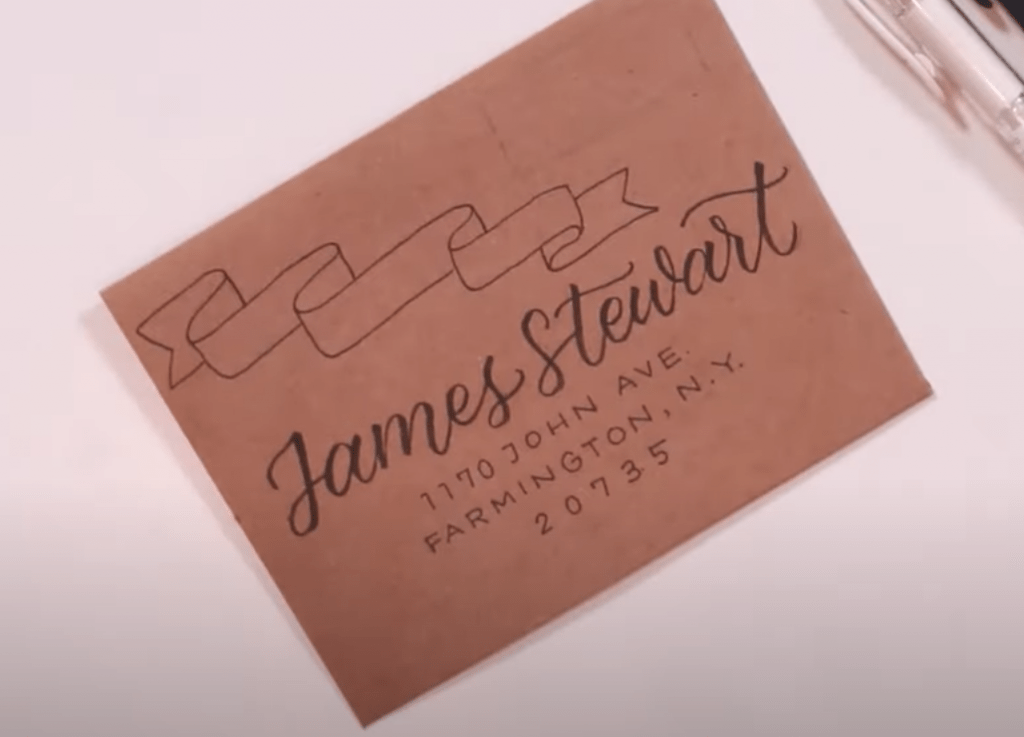
Step #3: Draw in your banner and then go over with your pens
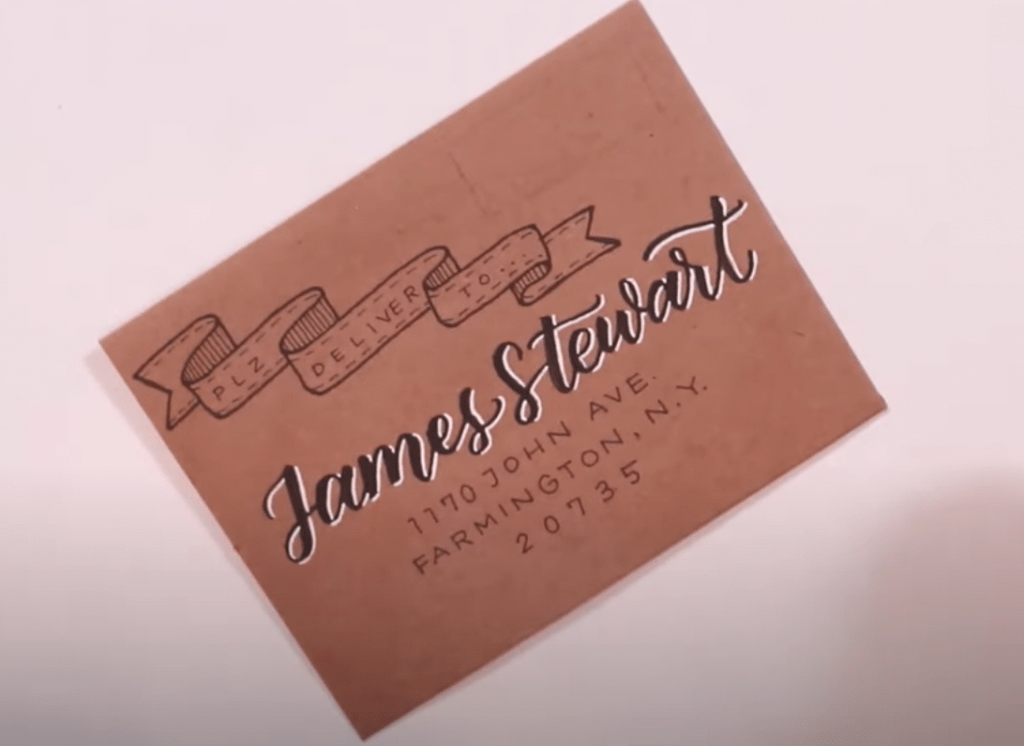
Step 4: Add in embellishments
I’m going to use the words, “please deliver to…”
Step 5: Add shadows
The last thing I do is add in thicker downstrokes using the Signo pen, and the white Uni-ball pen to add in shadows
Don’t forget your return address on the back!
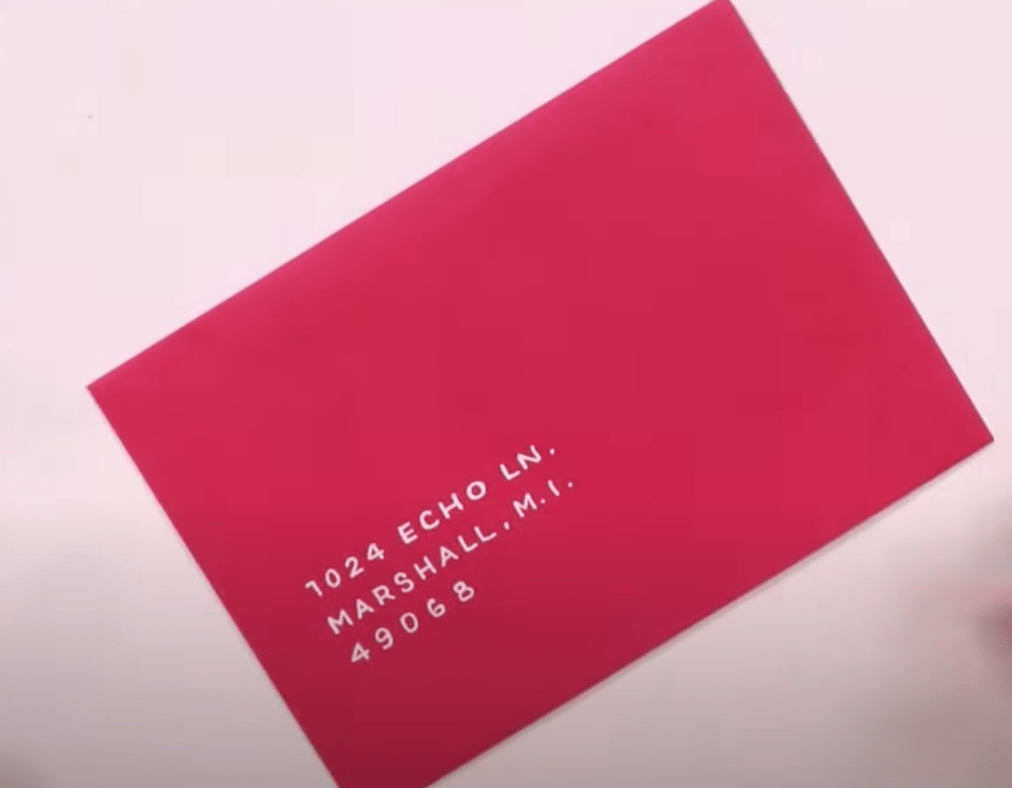
Envelope #2: Floral Design (on coloured paper)
Repeat Step #1: See above
I’m using my white Uni-ball pen and doing faux calligraphy on this one. This will be a left-justified address with some florals added in at the end. Be sure to keep your pencil lines almost invisible.
Steps #2: Add in your florals
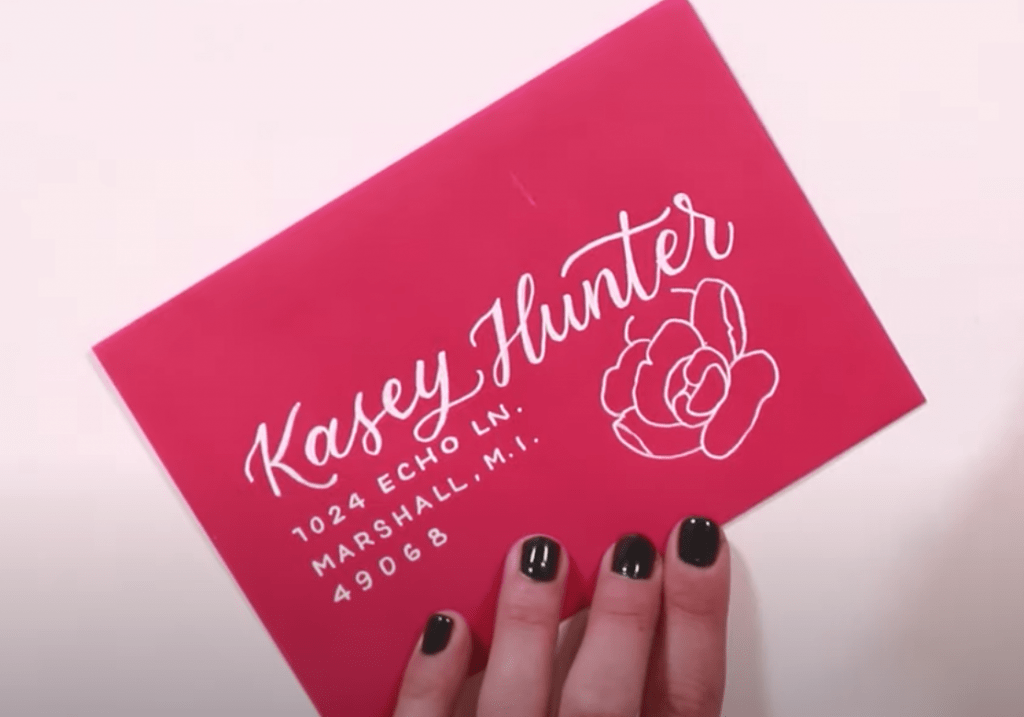
When petals happen to overlap lettering, I usually just leave the gap to make it look more natural! 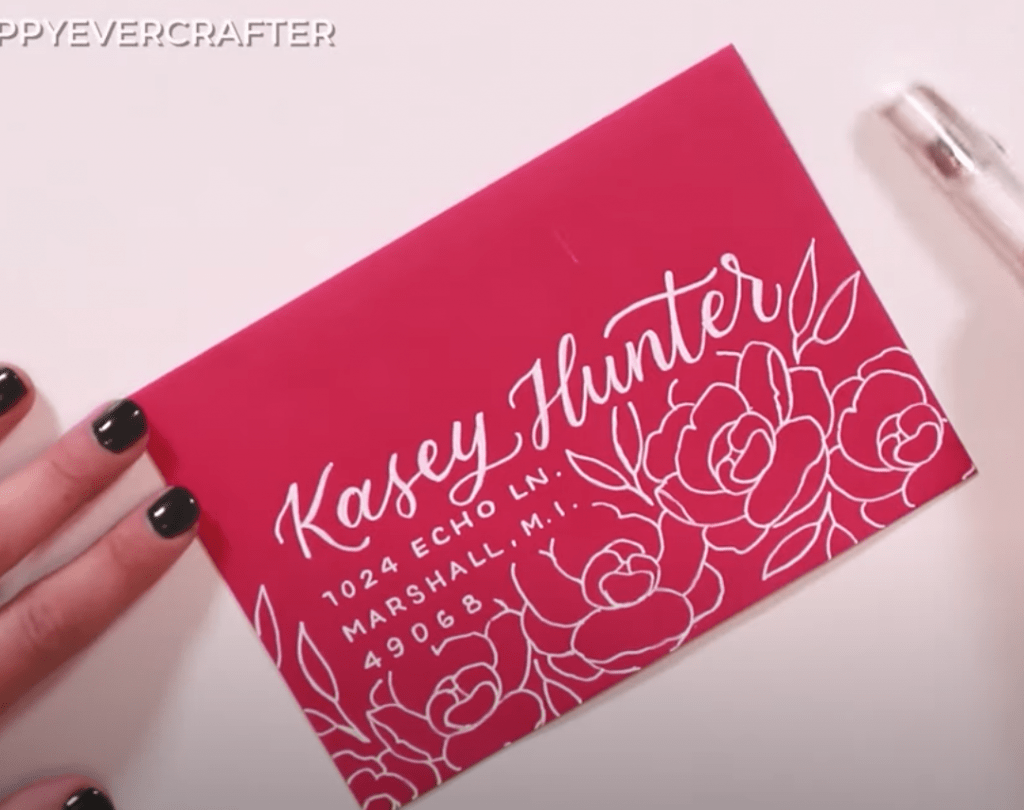
Envelope #3: The Mega Banner
Steps #1: Draw your centered banner in pencil
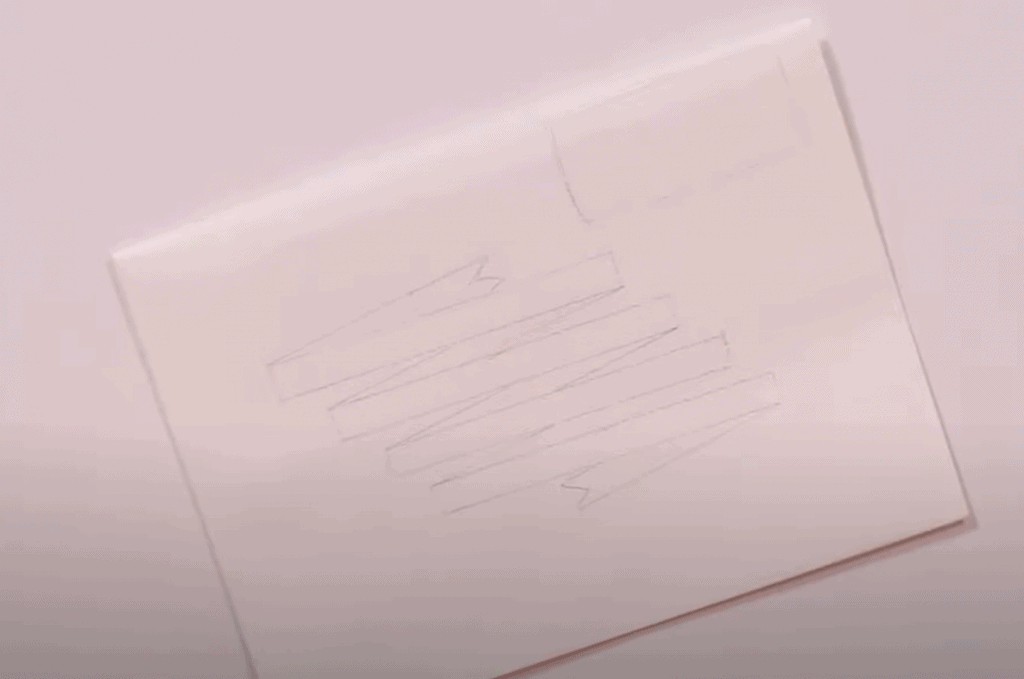
Step #2: Go over it in pen
I like to freehand this because I find it looks more whimsical compared to perfecting the lines with a ruler.
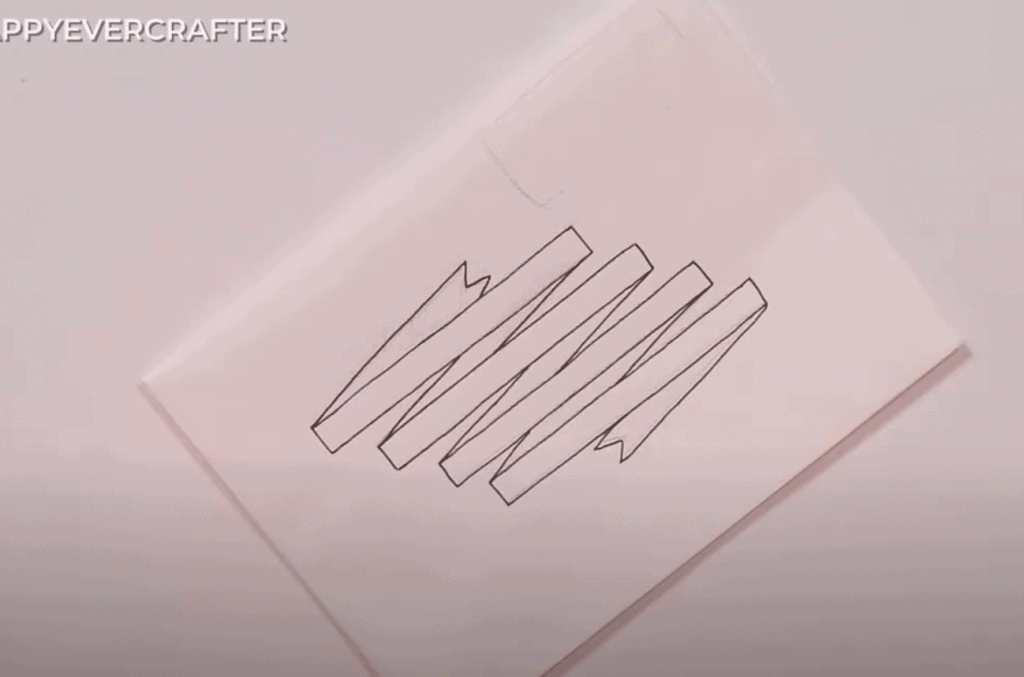
Step 3: Write in your address
I like to do mine in pencil first.
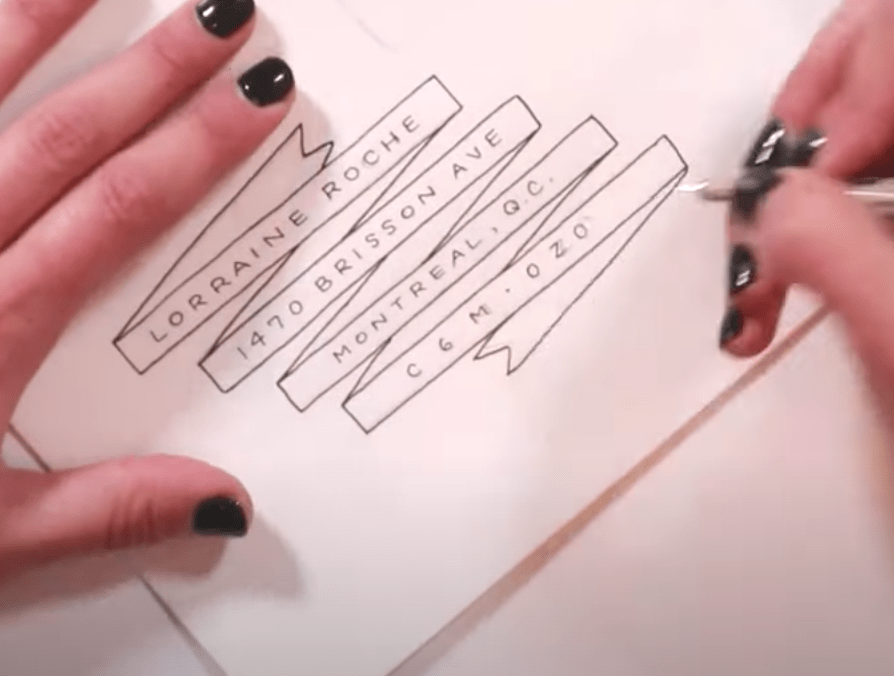
Step #3: Add embellishments
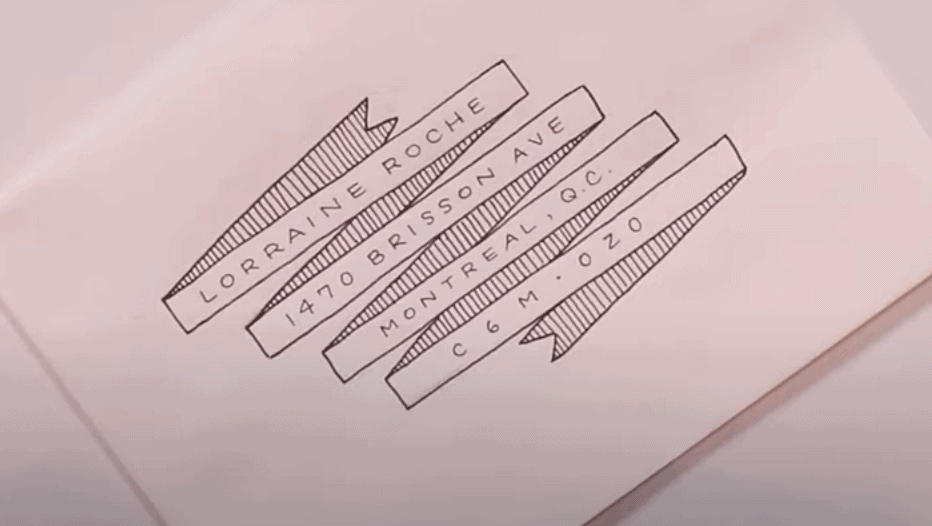
And that’s a wrap!
Now you know how to get fancy with your envelopes! Be sure that you do check out my envelopes 101 tutorial to learn the correct spacing, and then the options are endless with adding in banners or florals! For more inspiration on doing more addresses, please check out my friend Laney on Instagram and also check out #nomoreboringenvelopes for a fun challenge!


Awesome tutorial! At 79, I simply can’t afford the high prices of the ‘tools of the trade’ such as pens, address stencil and laser! All these are essential for good end results! Take care and god bless you. Amen.
Can’t wait ro start. Just hope I get all those pens needed here in small town Brits in South Africa, where I live.
🌹 🌹 🌹