Learn how to create four festive and easy hand-lettered greeting cards this holiday season!
On this week’s tutorial on hand lettering holiday cards, I’m going to show you my favorite tricks for positioning your greetings, tips to add some extra holiday flair to your cards, AND SO MUCH MORE!
First Things First…
The links below may be affiliate links where appropriate. This means that your purchase through these links may result in a few cents in payment to me, to support creating further resources like this one! That being said, I will never suggest supplies that I do not personally use and fully recommend.
Tools
- White Card
- Ruler
- Pencil
- Pigma Micron Pen
- Tombow Fudenosuke Brush Pen
- Molotow Liquid Chrome Marker
- Tombow TwinTone Dual-tip Markers
- Red Card
- Uniball Signo Pen
- Kraft Card
- Sharpie Marker
- Tombow Brush Pens
- Black Card
Now let’s get started!
Prefer watching over reading? Feel free to skip right to the video and see these in real-time! ??
Card #1 – The White Card
Tools needed to create this holiday card: White Card, Pigma Micron Pen (or any black fine liner pen, Tombow Fudenosuke Brush Pen, Molotow Liquid Chrome Marker, any Colourful Markers, Ruler, and a Pencil.
Step 1: Draw some swirly lines that run off of the page
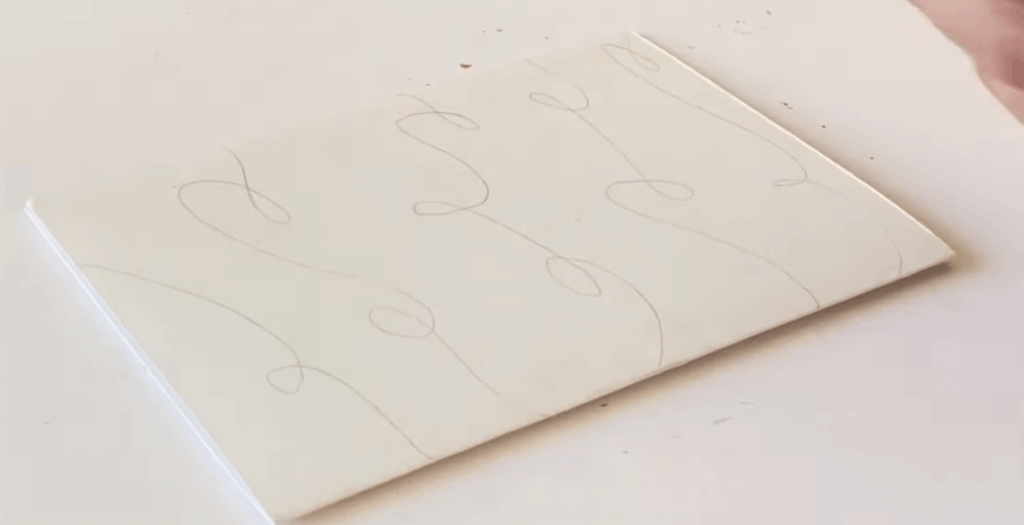
Don’t worry, you can always erase part of your swirls to accommodate your greeting.
Step 2: Use a ruler to draw some guidelines for your greeting
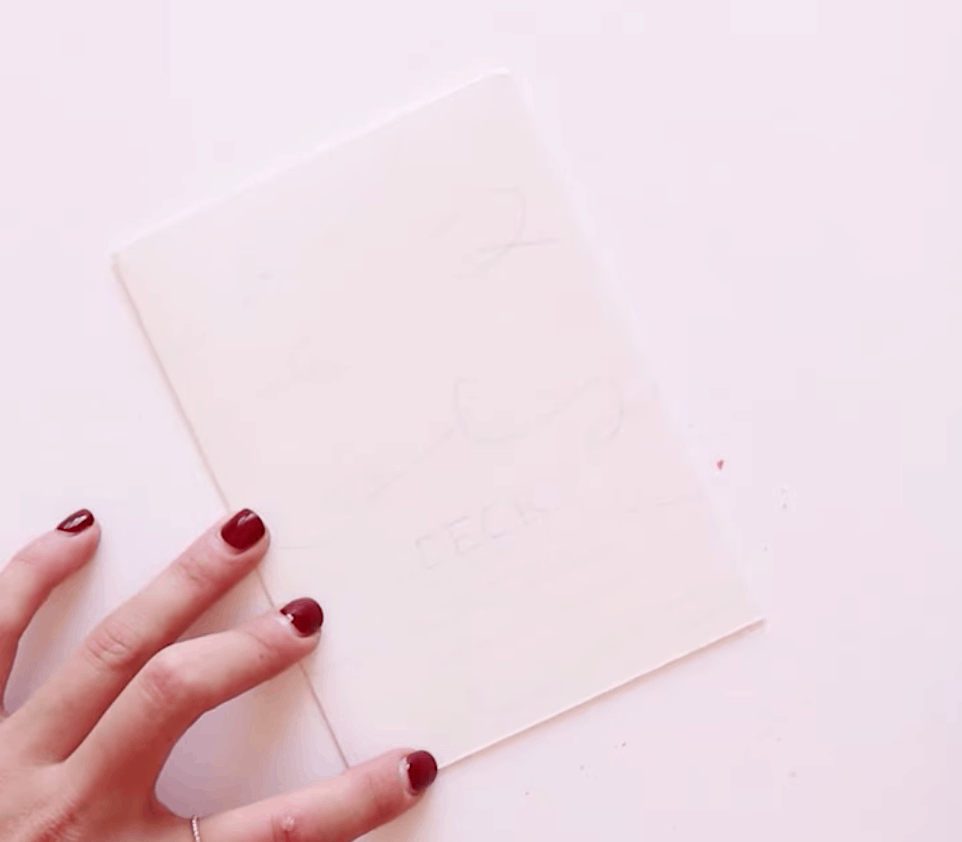
After you have your lines in place, you can start drawing in your letters with your pencil! I am writing in “Deck the Halls” but you can choose whatever you want.
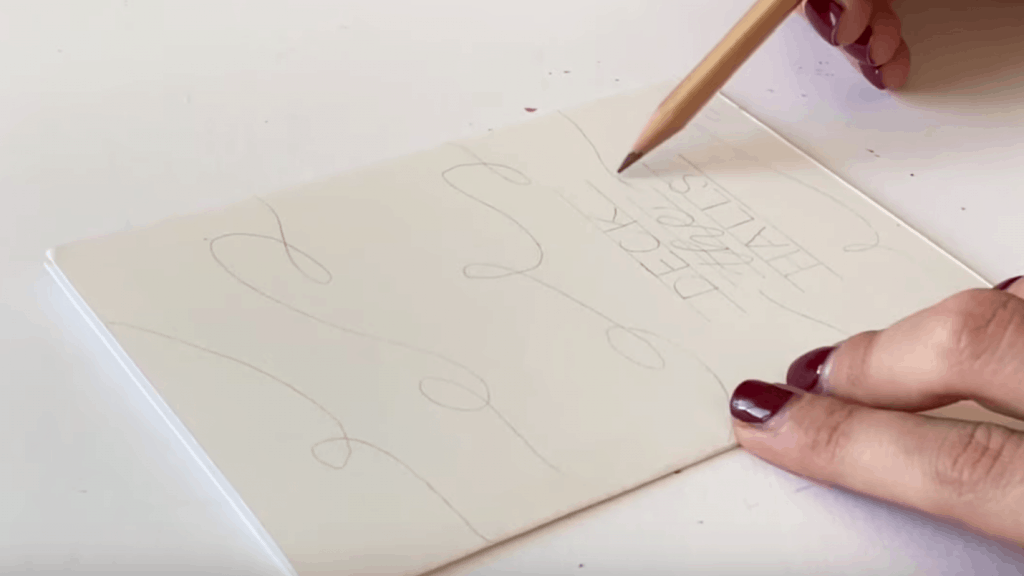
Step 3: Draw the Christmas lights
Note: Think about the positioning of the lights, as they would most likely be pointing down #science.
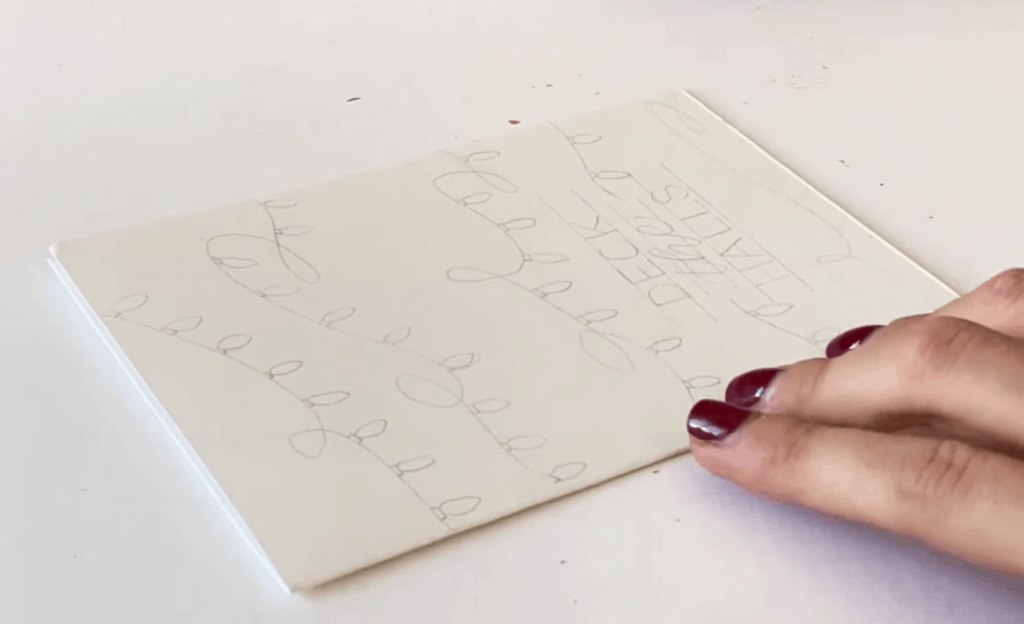
Take a look at your overall design and identify if there are any weird gaps or empty spaces between the drawing.
Step 4: Draw over pencil markings with a pen
Take your Micron pen (or any fine line black pen – I love the micron because it’s an archival pen, which means it won’t fade over time or bleed when you put another color on top), and start going over your sketch. As you’re doing this, feel free to fill in the little black rectangles that attach the actual light bulbs to the strings.

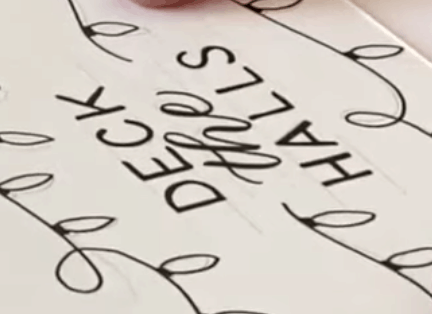
Step 5: Ink your letters with your fine liner and brush pen

You can embellish your letters to stand out a little more if you’d like.
Step 6: Erase all of the pencil marks!

Step 7: Color in your lights!
Grab some festive colors (I chose red, green, yellow, orange and blue) and start filling in the lights. Make sure you color in at random and there is no specific pattern.

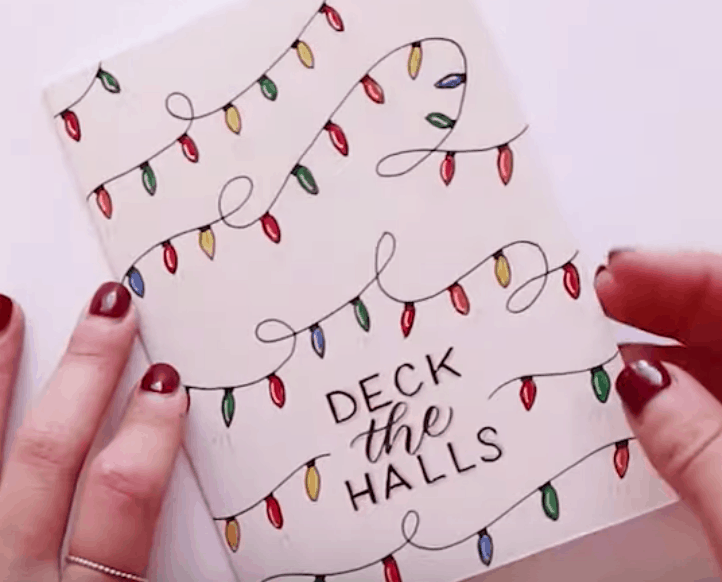
I just love adding embellishments! Especially with some silver or gold around the holidays ?. Grab your Molotow pen and start making the lights pop by adding a little curved line to each light, either on the right side or the left side. This effect gives the illusion that the lights are all on (but is anyone home? ?).
You can also add some lines under every few lights to make them look like they are flashing.
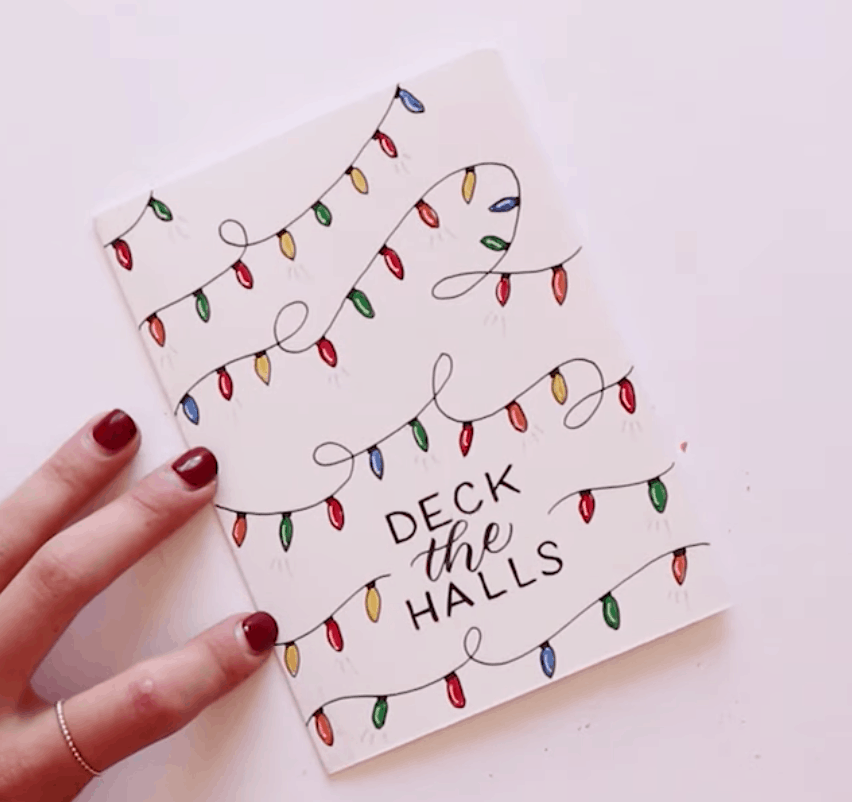
And finally, you can embellish your letters a little bit as well by adding some silver shading to them. Totally up to you how far you want to take this!
Card #2 – The Red Card
Tools needed to create this holiday card: Red Card, Uniball Signo Pen, Ruler, and a Pencil.
This card is GREAT if you’re not super confident with your lettering yet!
Step 1: Draw a line straight down the middle
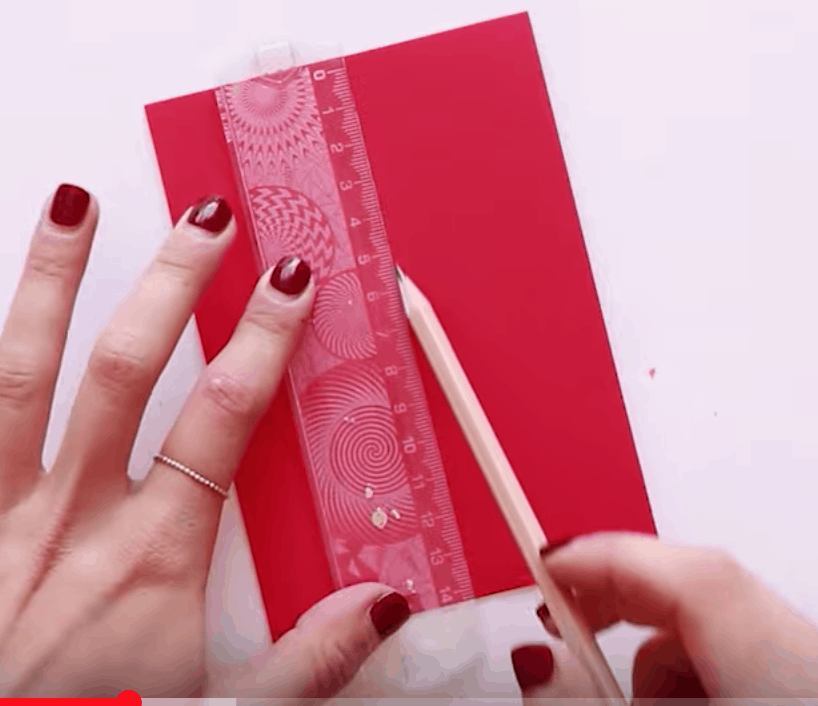
Step 2: Draw a line horizontally at the bottom
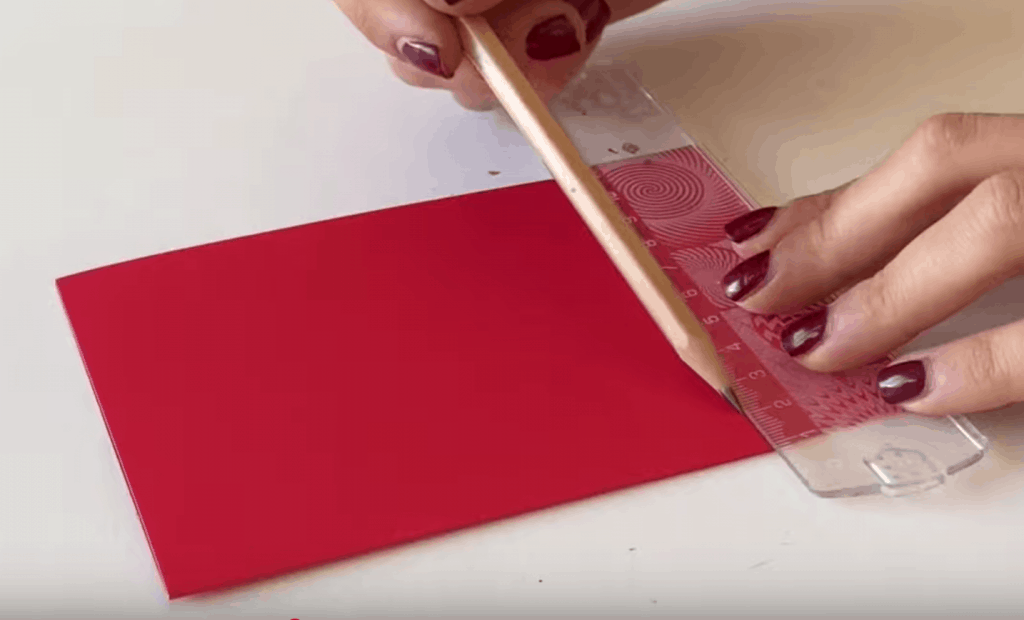
Step 3: Draw a diagonal line about 1/2 from the top to 1/2 an inch from the side
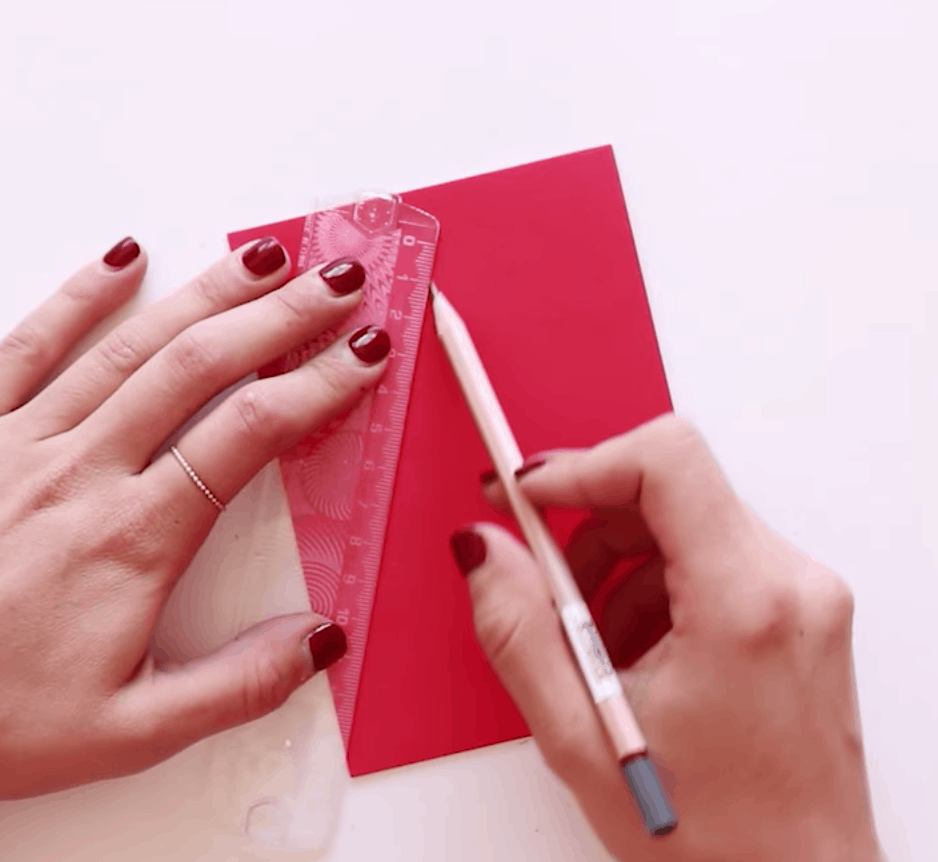
Step 4: Repeat on the other side
You should now have a basic triangle shape.
Step 5: Draw the stem about 1/2 an inch from the center line on either side
Make sure your tree isn’t off-center.
Step 6: Draw some straight lines across your tree
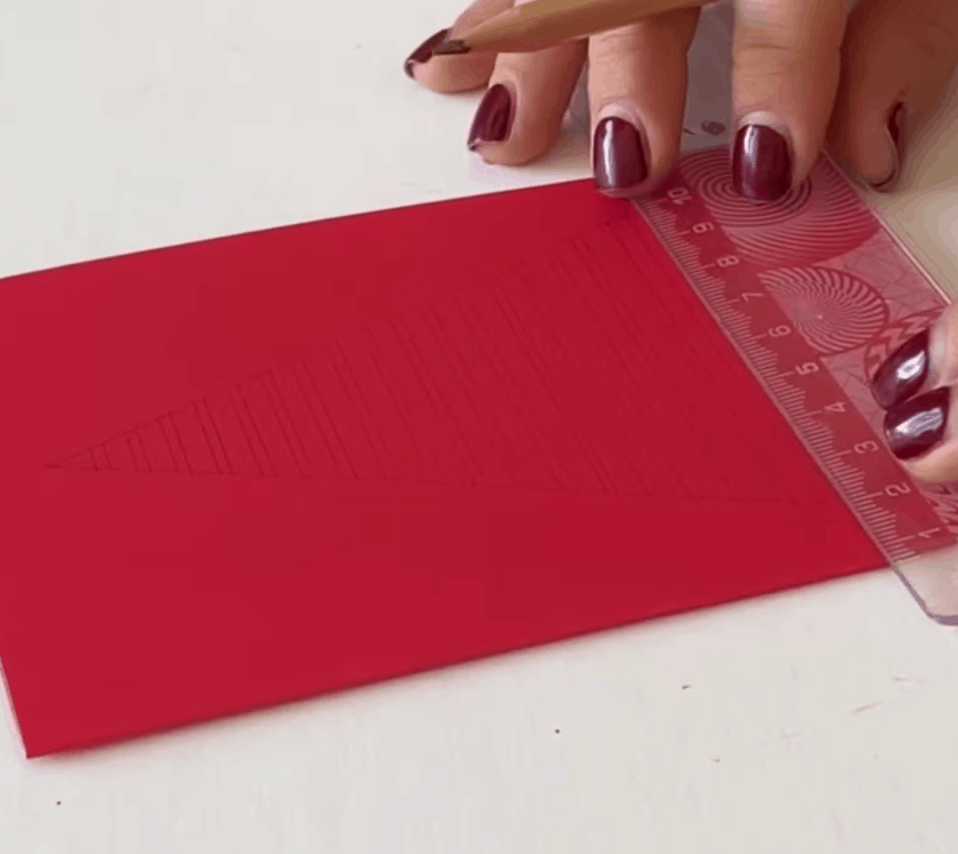
Make sure your last line of text is the bottom of your tree, and you can always end your tree a little sooner if the spacing looks awkward.
If your lines are looking heavy, run your eraser over them gently.
Step 7: Fill in the guidelines with the letters as evenly as you can
Using the Signo pen, fill in the lined spaces with “HO HO HO” all the way to the stem!
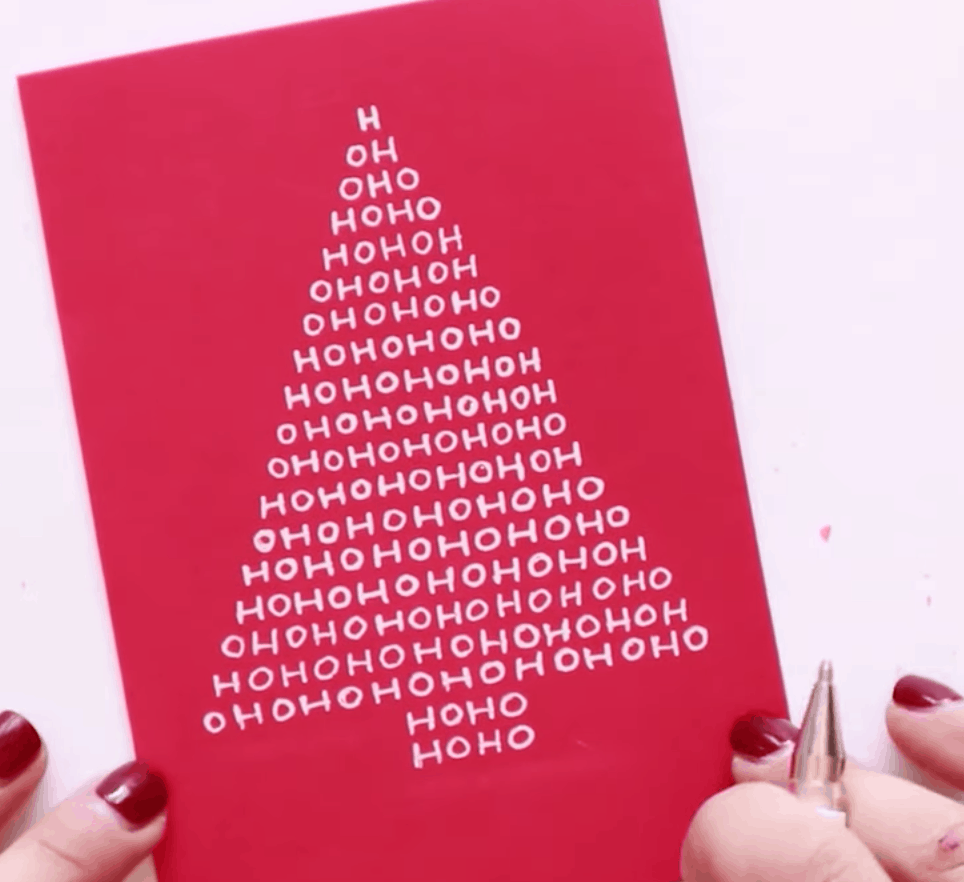
Step 8: Draw a star at the top
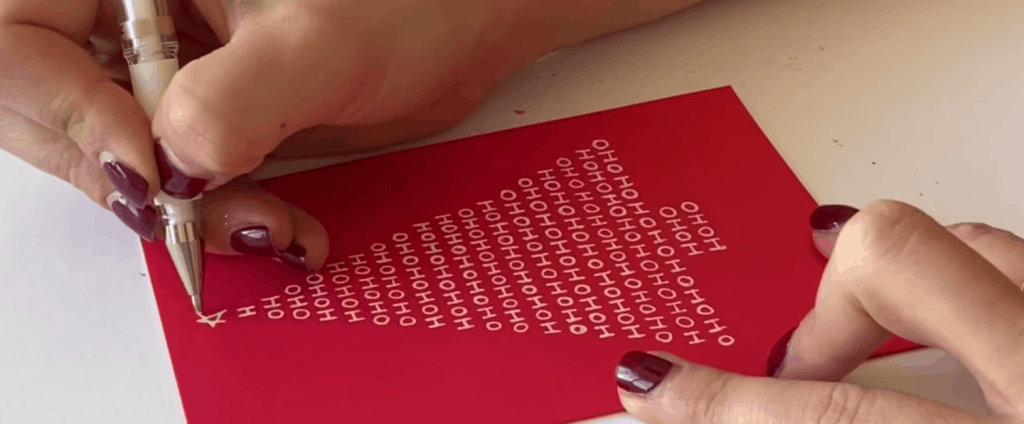
Now just wait for it to dry completely, and you can go over it with your eraser to make sure you get rid of all of the pencil lines!
Card #3 The (Brown) Kraft Paper Card
Tools needed to create this holiday card: Brown Kraft Card, Sharpie, Small Tip Black Brush Pen, Light Blue Tombow Marker (or any light blue marker), and a Uniball Signo Pen.
This card is my very favourite and also the fastest! Just be sure to leave space at the top for snowflakes! ❄️
Step 1: Write the first word with your Sharpie pen

Step 2: Write the next word with your brush pen

Step 3: Use the Sharpie to write your last word

Step 4: Use your light blue marker to draw random sized circles
Notice that these are not super saturated in colour.

Wait a few minutes for the ink to dry.
Step 5: Take your white gel pen and draw snowflakes on top of the blue circles
Think about the shape of a snowflake – they usually have an X shape in the middle, nice and wide. Then you’re going to add little compartments between the lines. Lastly, you’ll add in little arrows pointing down.
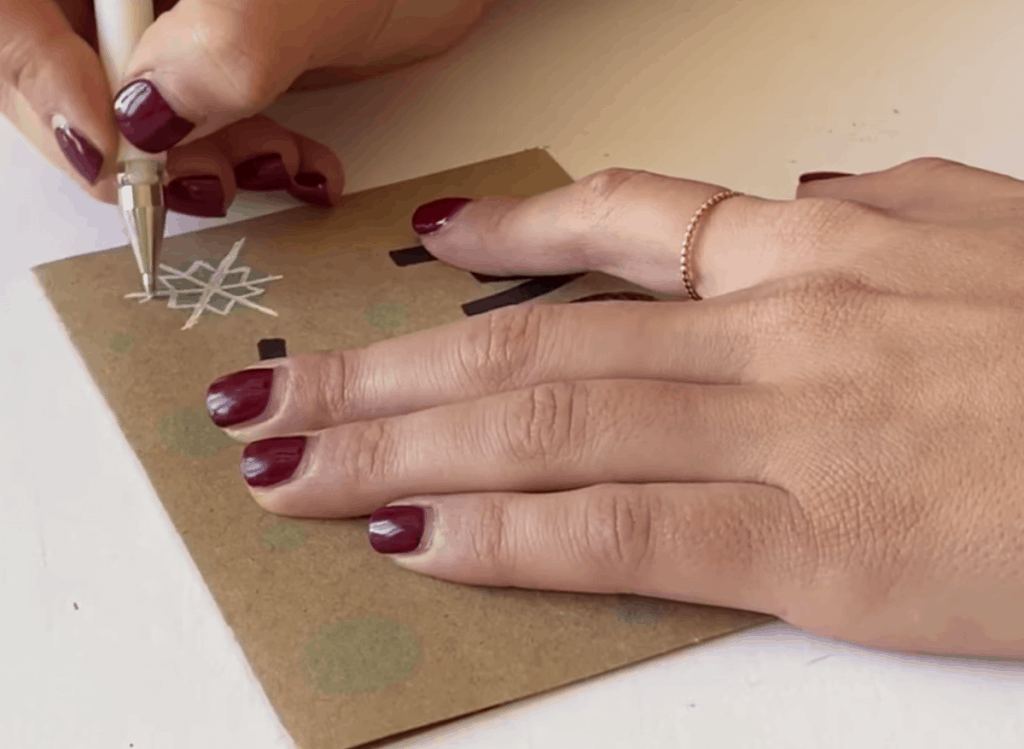

Step 6: Draw some dots to fill the space
I usually try not to put any dots around the actual letters themselves to avoid overwhelm.

Step 7: Use your blue marker to add drop shadows to your letters
Remember the shadows only go under the letters and to the right.

Step 8: Use your white gel pen to add highlights to the letters
Following the shadows, draw in a line with the white pen riiiiggghhhhttttt in between the black and blue.

Card #4 – The Black Card
Tools needed to create this holiday card: Black Card, Ruler, Molotow Liquid Chrome Marker, and a Pencil.
First, we’re going to set up little boxes on the front of the card that will house the cute Christmas trees we are going to draw.
Step 1: Use your pencil to set up the guidelines for your trees
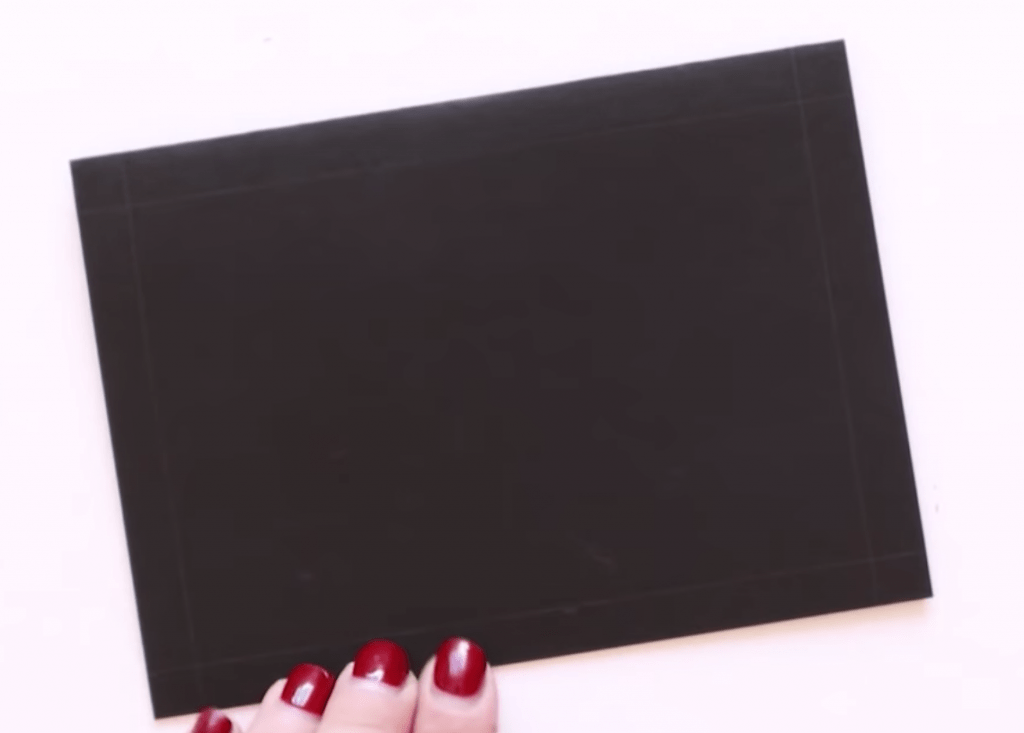
Step 2: Give yourself room for the lettering at the bottom of the card

Step 3: Split the top area into three, with separations, for each tree
I like to start in the middle and what I find works perfectly is just using the width of the ruler.
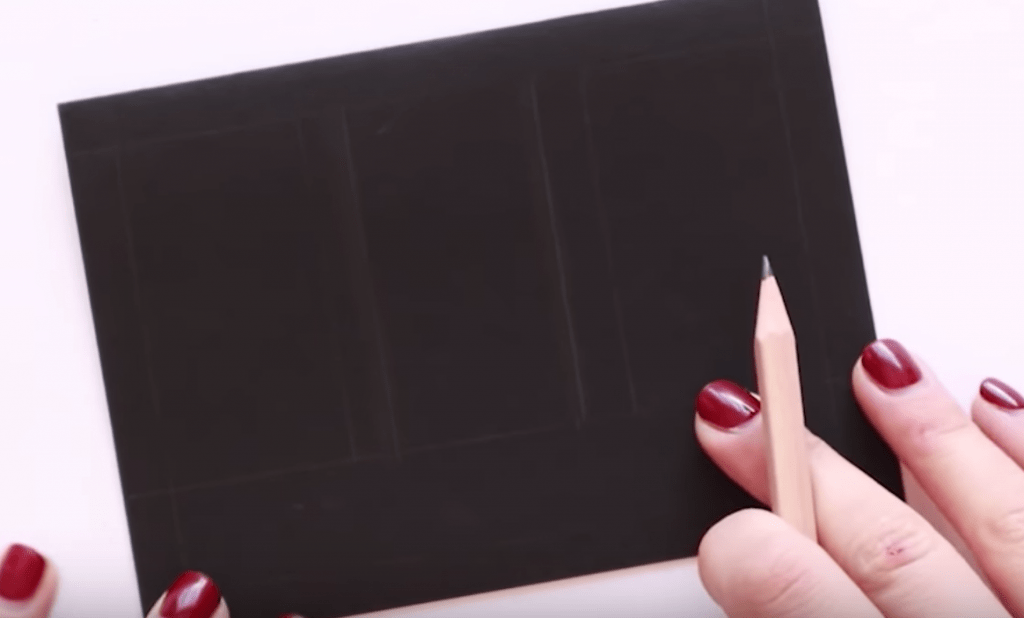
Step 4: Create a triangle for your tree’s shape
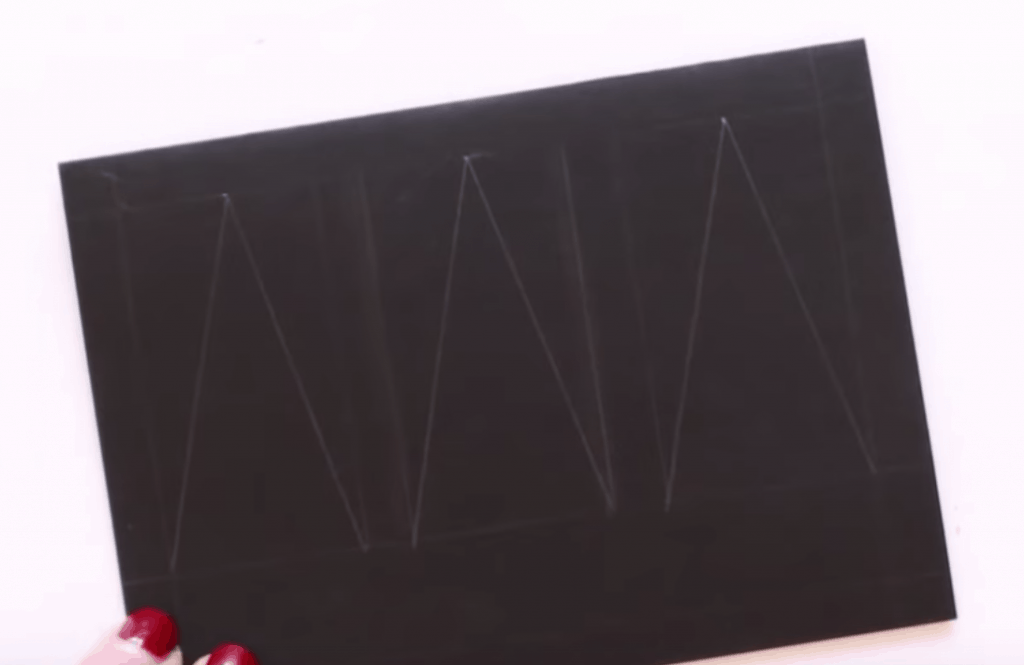
Step 5: Erase your outside pencil guidelines
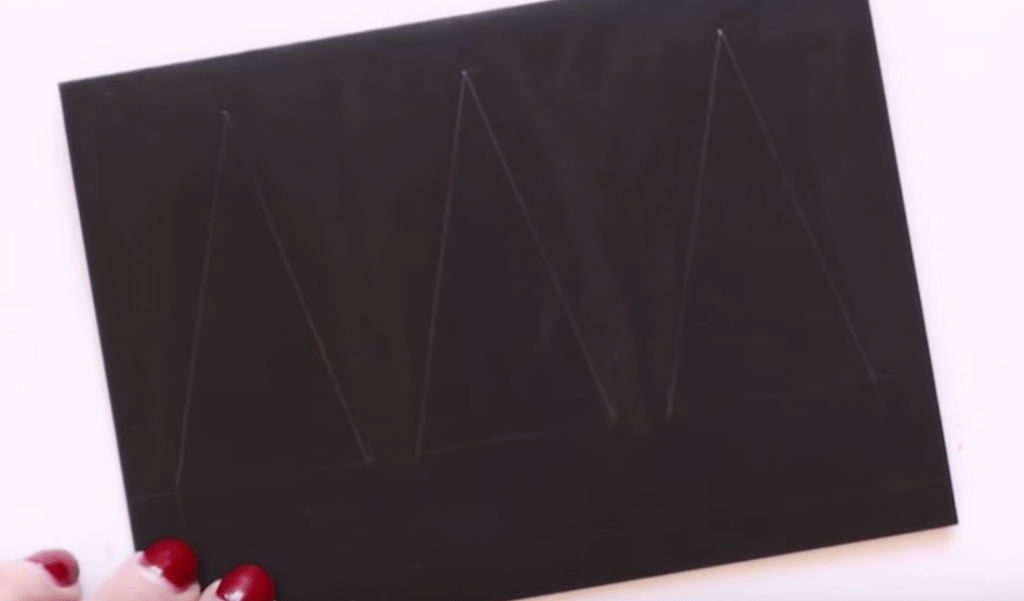
Step 6: Use a pencil (or the silver gel pen) to fill in your designs
Your first tree is going to have a very common calligraphy flourish kind of shape.
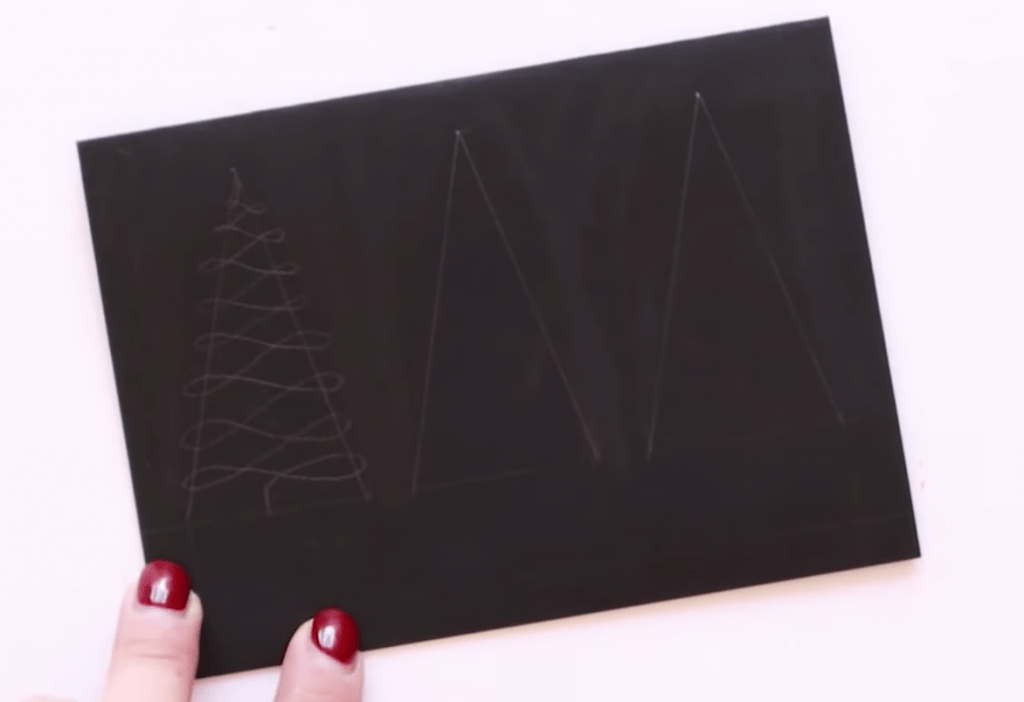
Step 6.5: Drop a little line down at the bottom of the flourish as a little stem. 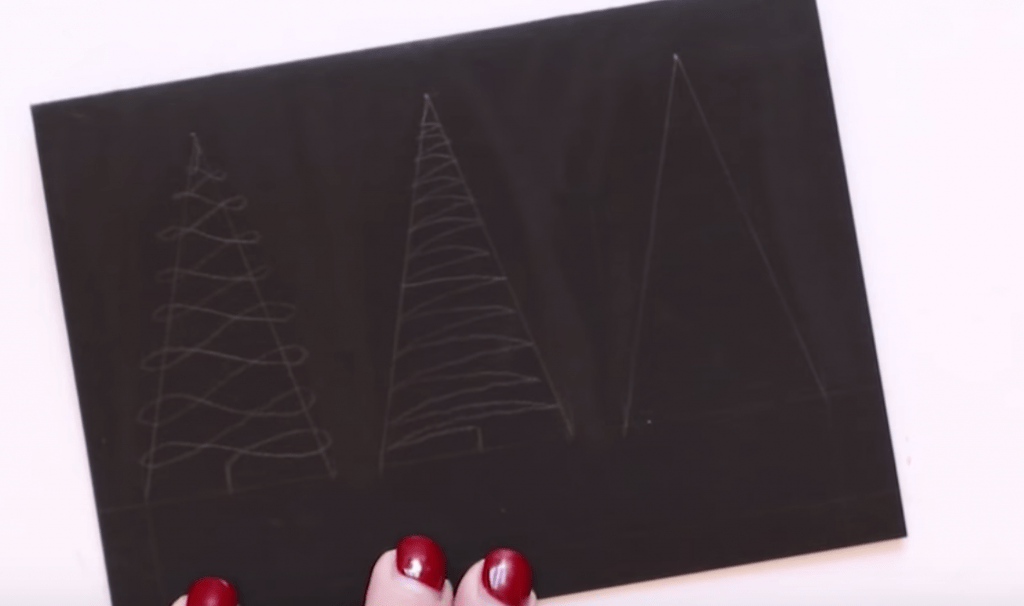
The second tree is a simple zig zag design, remembering to also drop a little line down at the bottom. 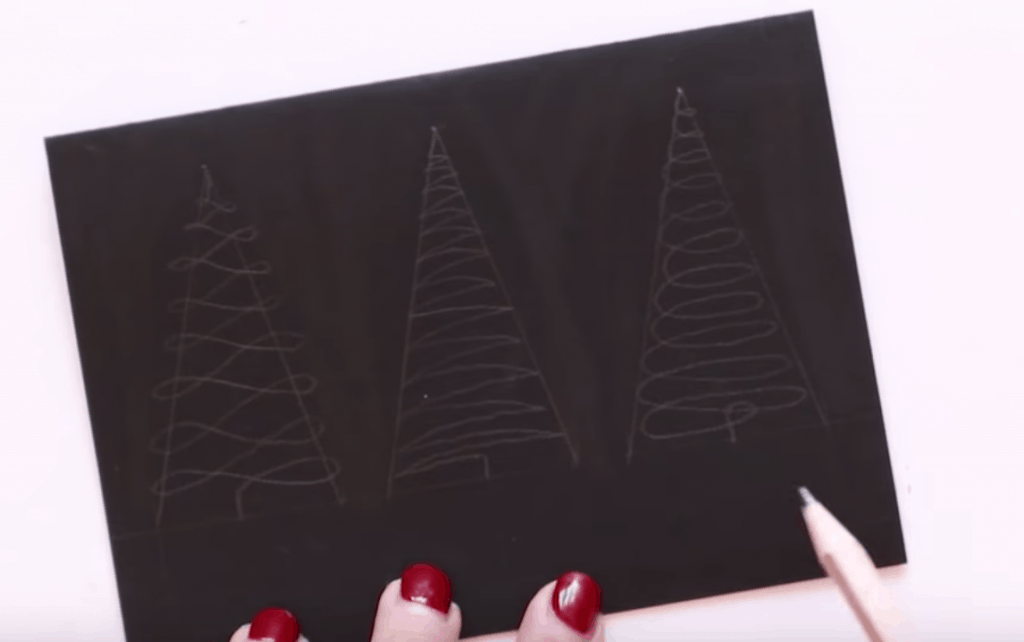
And finally the last one, is just a spiral down.
If you do these designs in pencil, you can ensure a perfect layout!
Step 7: Erase as much pencil guidelines as you can, while keeping the overall shape
These will be a little harder to erase later on.
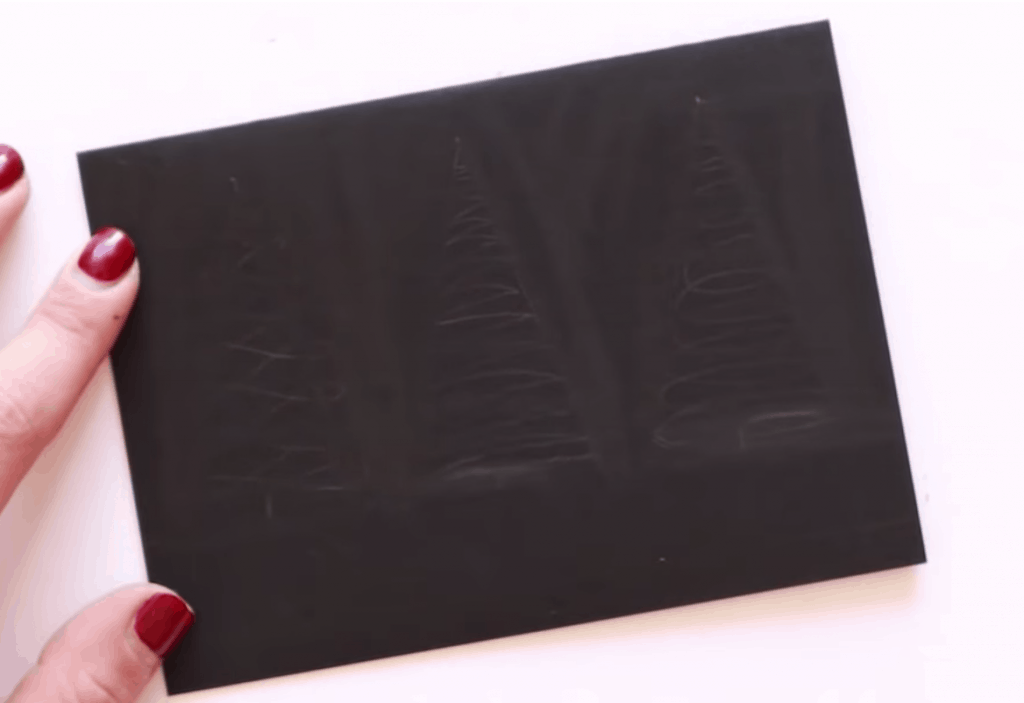
Step 8: Create pencil guidelines for your lettering

Step 9: Write your message!
You can write whatever you want!
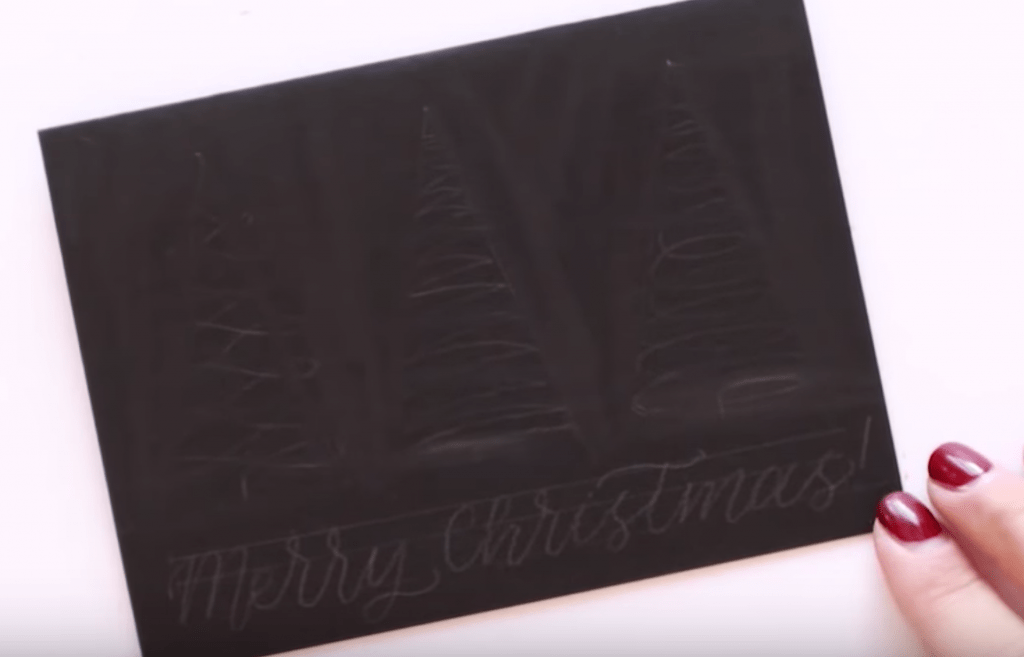
Step 10: Go over your design with your silver gel pen
Make sure to shake your pen up nice and thoroughly before you begin.


One thing to keep in mind when doing multiple tree cards, your trees will never look exactly the same, and that’s totally ok! Trees are rarely the same.
And that’s a wrap!
Looking for more holiday fun cards? Check out this video, where I show you how to do a really easy card design that I use every day!

What cardstock to you use to make your cards? Just wondering what is available that will not harm the brush pens.
Strathmore Bristol is a great option. 🙂
These are so festive! I’m trying them all
Have a Merry Christmas 🎄🎁 and a Happy New Year 🎊
These were so much fun to do. Great teaching…..