Have you ever wondered, “What side of the letter do I add the shading on,” or “What side does the light even come from”?

Anytime you hear about shading, you’re told to just think about where the light is coming from and shade on the opposite side. Buuuut, it’s not quite as simple as that.
So, let me break it down for you and share a couple of hacks along the way!
Prefer to watch than read? Feel free to skip right to the video and see these mistakes in real-time! ??
First things first…
The links below may be affiliate links where appropriate. This means that your purchase through these links may result in a few cents in payment to me, to support creating further resources like this one! That being said, I will never suggest supplies that I do not personally use and fully recommend.
Tools
- Black Sharpie Marker
- Two Grey Tombow Brush Pens (although they don’t have to be brush pens as long as the marker or pen you’re using for shading, is lighter than the marker you’re using for the lettering)
I’m using kid’s fridge magnets to demonstrate how this works, and in this example, the light is coming from the top left. This means the shadows are on the bottom right.
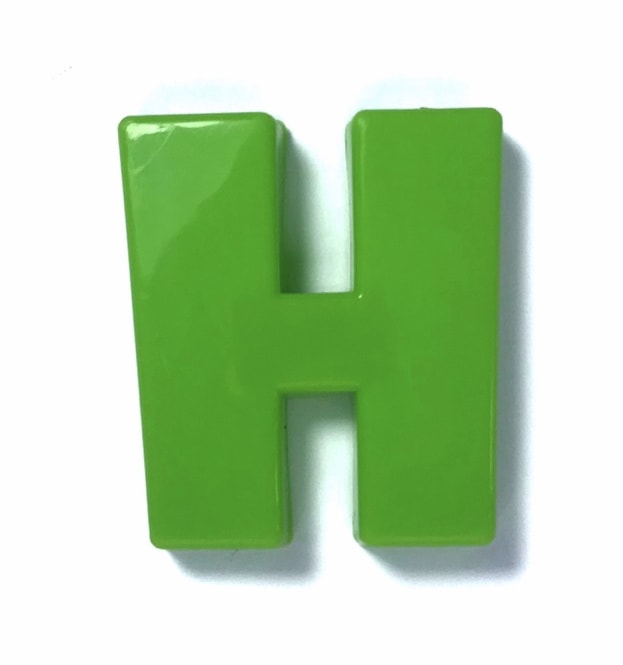
As a rule of thumb:
? Light from top left = shadow in bottom right
? Light from top right = shadow in bottom left
? Light from bottom right = shadow in top left
? Light from bottom left = shadow in top right
Now let’s practice! Add shading like you see in the examples, below.
Step One: Draw a block letter.
Using the fridge magnet as your muse, draw and color in the block letter with your sharpie.

Step Two: Add in some light shading.
Using your lighter grey pen, add in some shading on the opposite side of where the light is coming from.

Step Three: Add some depth!
I like adding some extra dark shading only on the bottom parts to make it stand out juuuuust a little bit more.

Step Four: Add some dimension!
Then, using a basic white Uniball Signo gel pen, I like to go around just the left and bottom edges, in between the black and the shading.

Step Five: Are you ready for some hacks?!
Hack #1: Use tracing paper!
If you don’t have fridge magnets just lying around, you can easily see where your shadow is going to go, by first drawing out your letter on regular paper with the lighter grey pen.
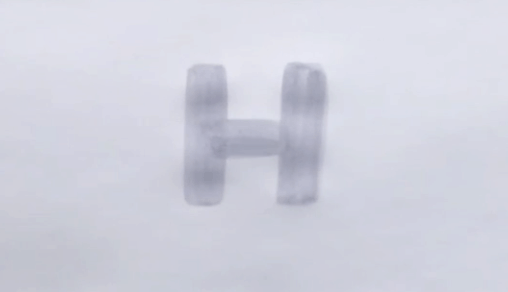
Then just place a sheet of tracing paper over the letter and trace over it with the sharpie pen, and move your paper around to see the different angles at which the light could hit and figure out your shading from there!

Note: You could also do this with calligraphy!
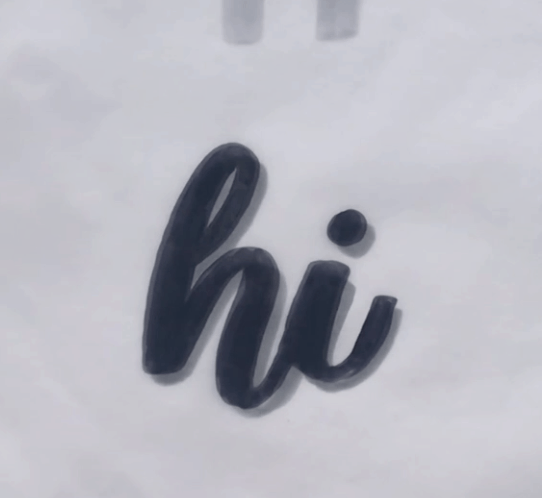
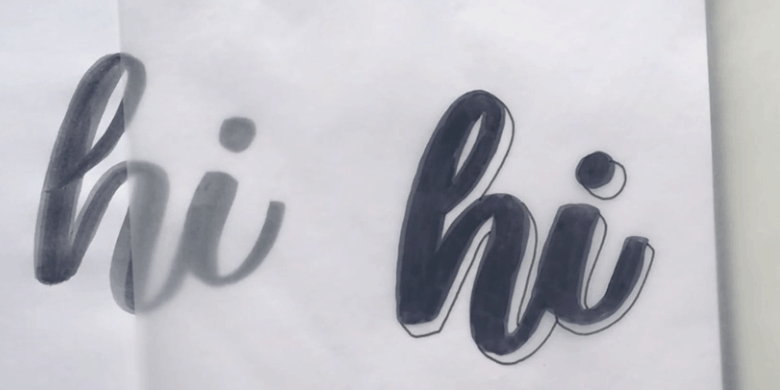
Hack #2: Use Instagram Stories!
- Open a blank Instagram story
- Type a word in grey
- Type the same word in black
- Make them the same size
- Slide one word around!
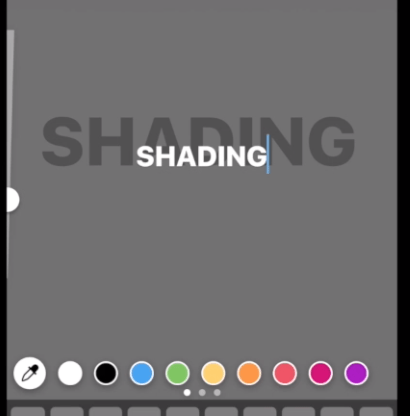
And that’s how you add shading to your letters!
And eventually, you’ll be able to do it from memory.
Now if you want to practice your block lettering a little more and get some easy steps to improving your block letters, make sure you watch this video right here where I walk you through a simple block lettering tutorial!
Thank you, I searched the web and finally found you. Said and illustrated everything I was wanting to know.