Every time I do these and put them on social media, I get a ton of comments that they’re a waste of time. Buuuuuut I feel like if you’re reading this, you’re going to appreciate it.
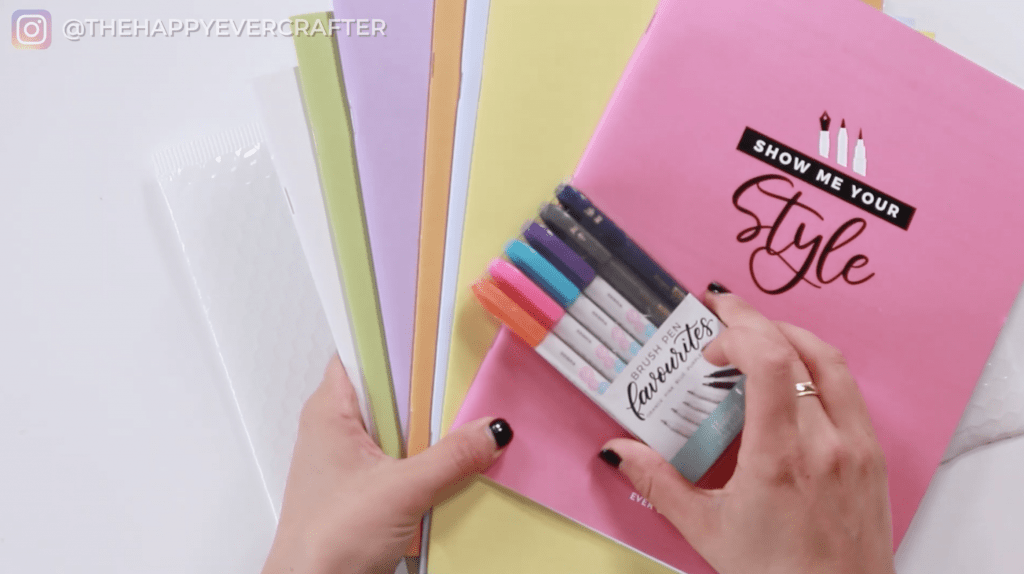
So pretty much every time I ship out a package which is usually for a giveaway (something that people either won on this channel by watching or on my instagram channel). Today it is my calligraphy workbooks. Somebody won a set of these and my pens, so I’m packing them into this mailer.
Every time I send out some sort of giveaway package, I always want to decorate the envelope because I feel like the type of people who win stuff from me are people who appreciate it. But I always always get comments from strangers who say that it’s a waste of time because they’re going to get thrown out anyway and there’s no sense in doing it and blah blah blah…
But I feel like if you’re on this blog post, you know why this is appreciated. I feel like in my head this makes people’s day. Imagine getting a mailer like this in the mail instead of just a crappy boring envelope. It’s so much cooler!
I’m going to take you through how I like to decorate them. This is kind of my go-to design and you can feel free to snag it.

First Things First…
The links below may be affiliate links where appropriate. This means that your purchase through these links may result in a few cents in payment to me, to support creating further resources like this one! That being said, I will never suggest supplies that I do not personally use and fully recommend.
Supplies Used/Mentioned
- Sharpie Oil-Based Paint Marker
- Bubble Mailer
- Glass
Rather watch than read? No problem! You can watch me decorate my bubble mailer in real-time by clicking the video below!
Let’s Get Started!
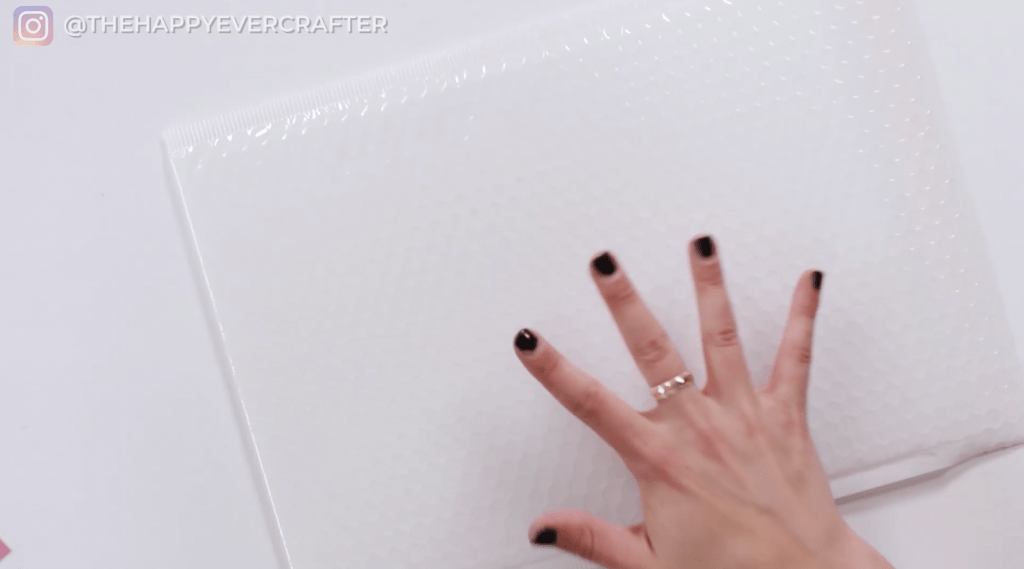
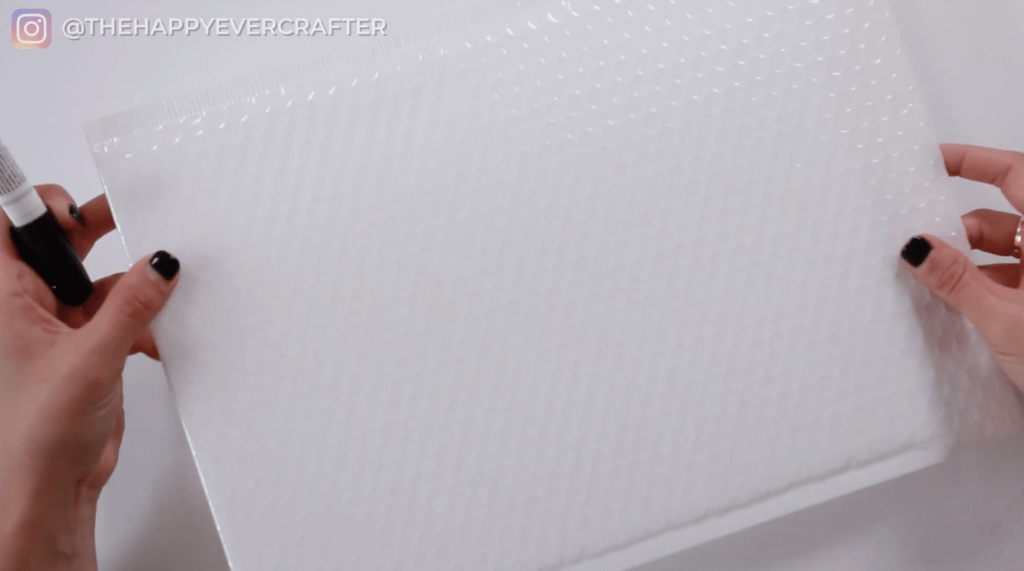
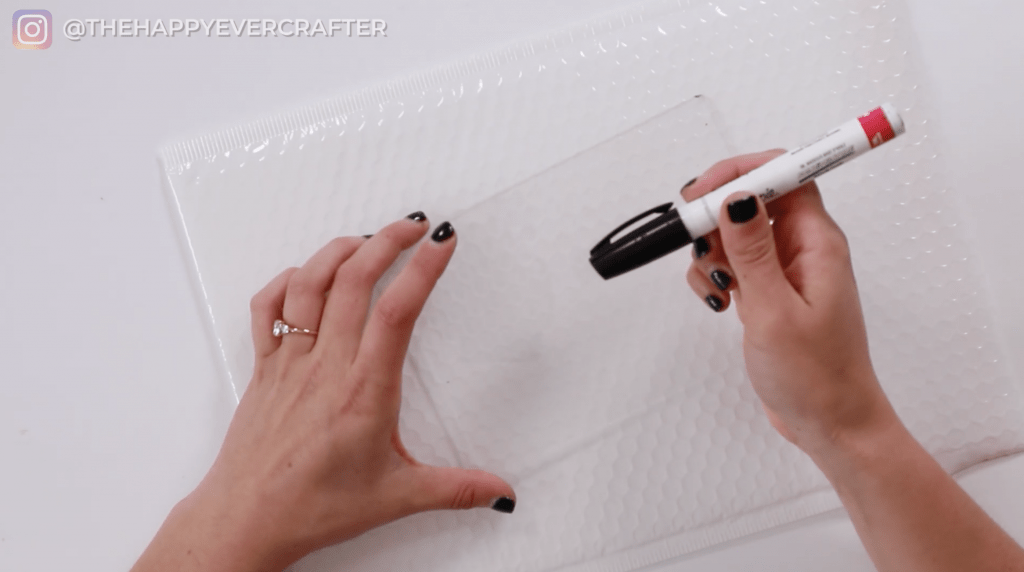
So this is just an envelope that I picked up at the Dollar Store. I’m kind of one of those people where if I see a cool envelope somewhere I just buy it and then keep it in my closet for some day when I know I’m going to need to ship something.
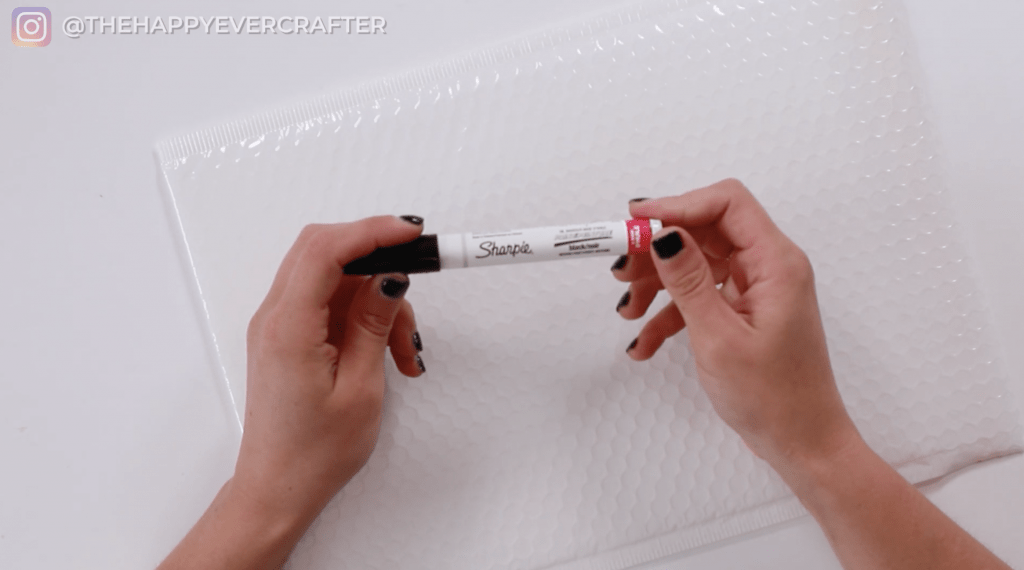
I’m also using a Sharpie Oil-Based Pen. You can use whatever you want. You could use even just a Sharpie permanent marker. I just like that a paint pen has like a little bit of sheen to it. Also: I do not recommend using a water-based pen because if it gets rained on or if it gets scratched, then it’s going to come off. Oil-based is really nice and durable. Alternatively, you could use acrylic-based or anything like that. Sharpie Oil-Based is kind of my go-to.
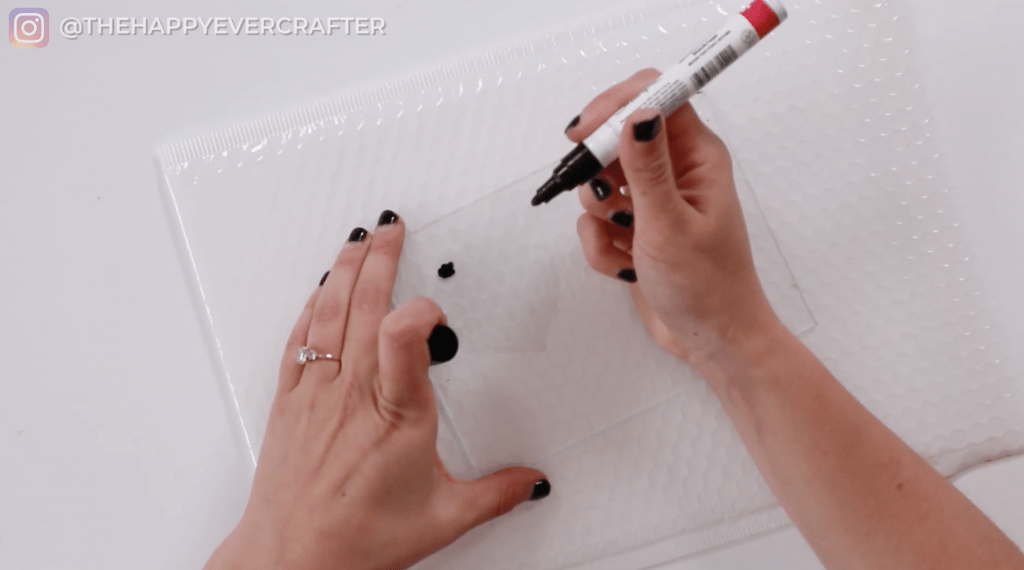
This piece of glass is just for pushing down my paint pen to make sure it’s running really well.
I’m just going to jump in and show you my steps of how I do this. If you’ve never used a paint pen before, just know that you need to make sure it’s really juicy before you use it. Shake it up, and then you can depress the tip of your pen and tap tap tap. I show the process a bit more in this post.
The Banner
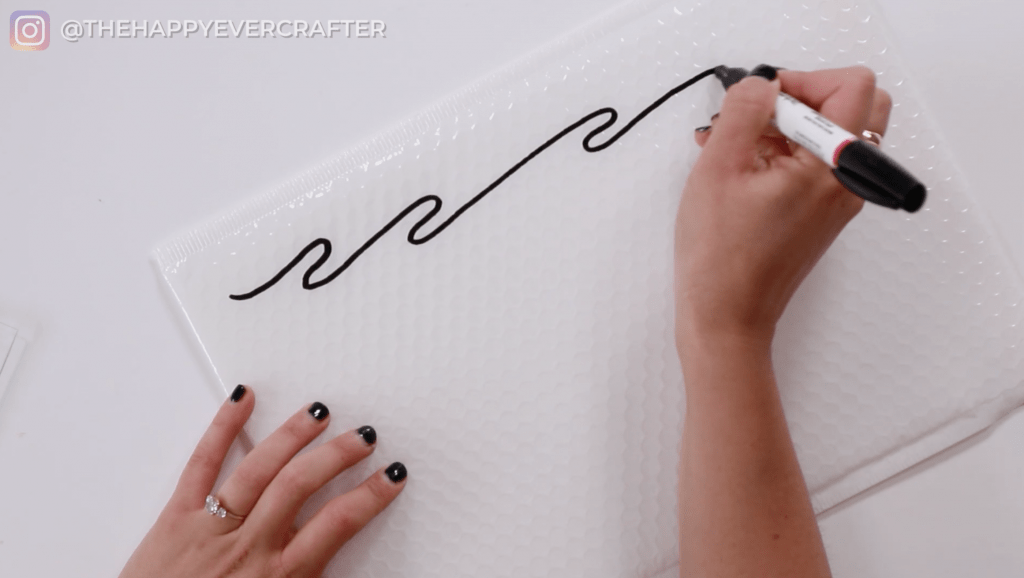
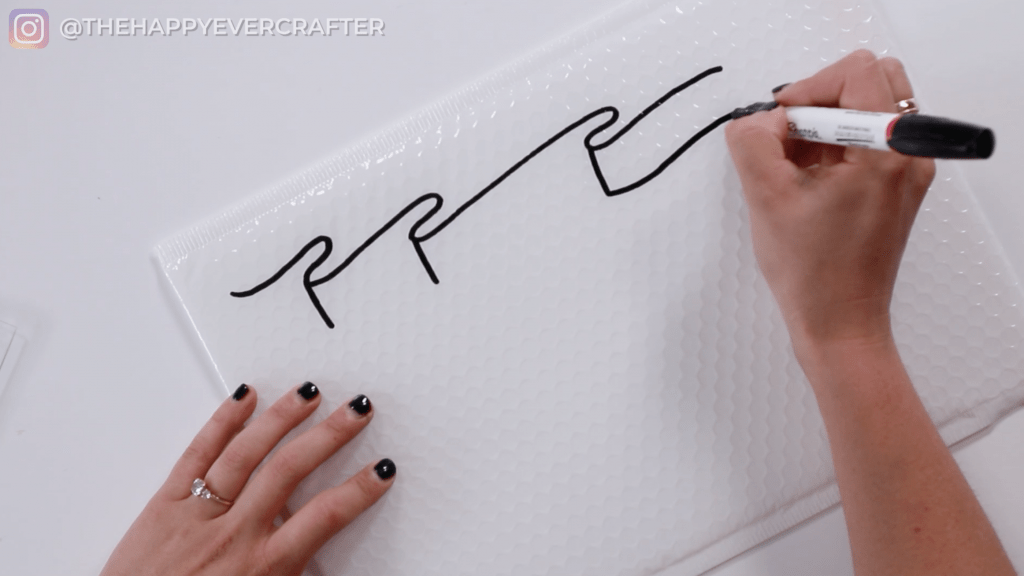
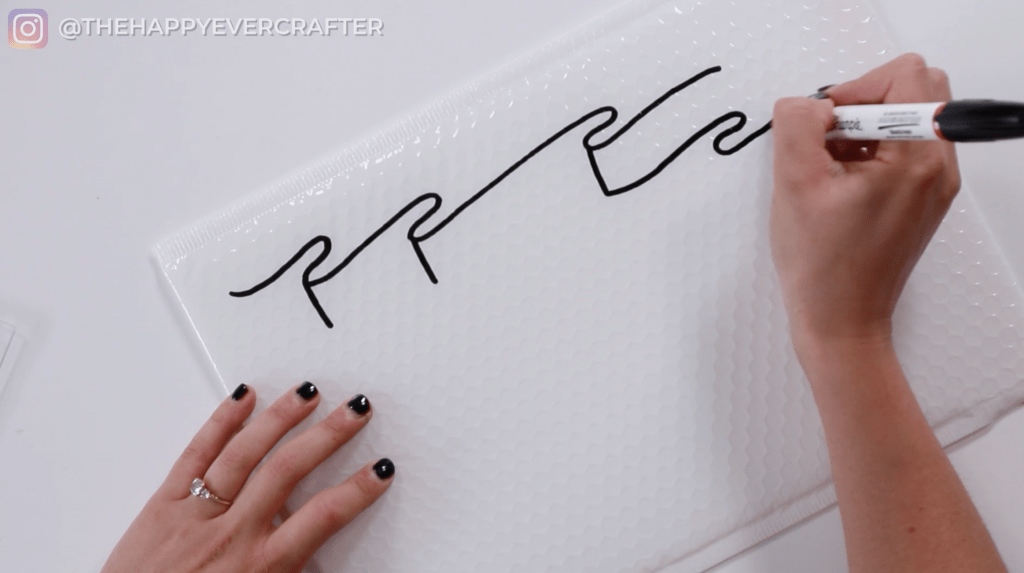
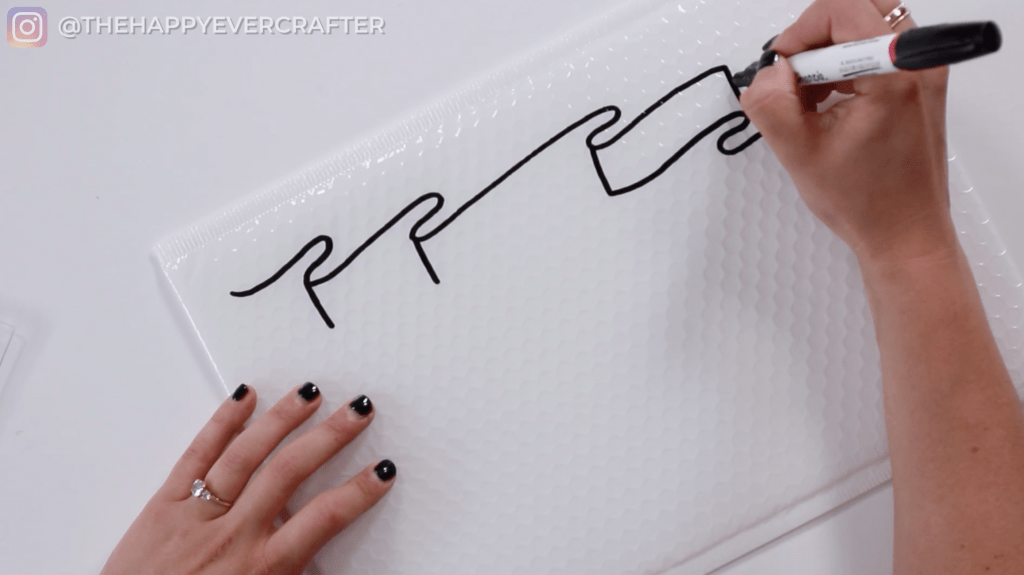
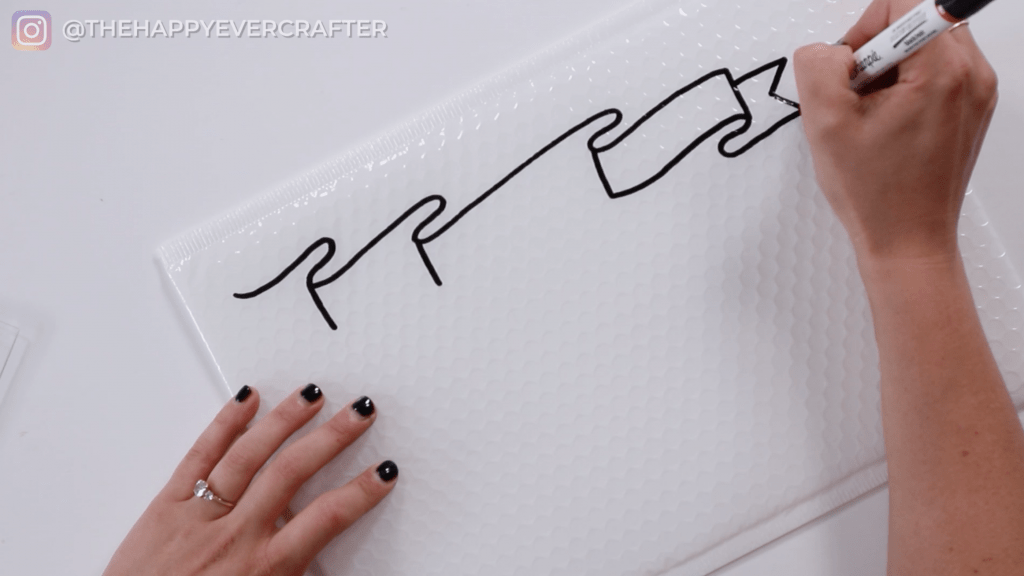
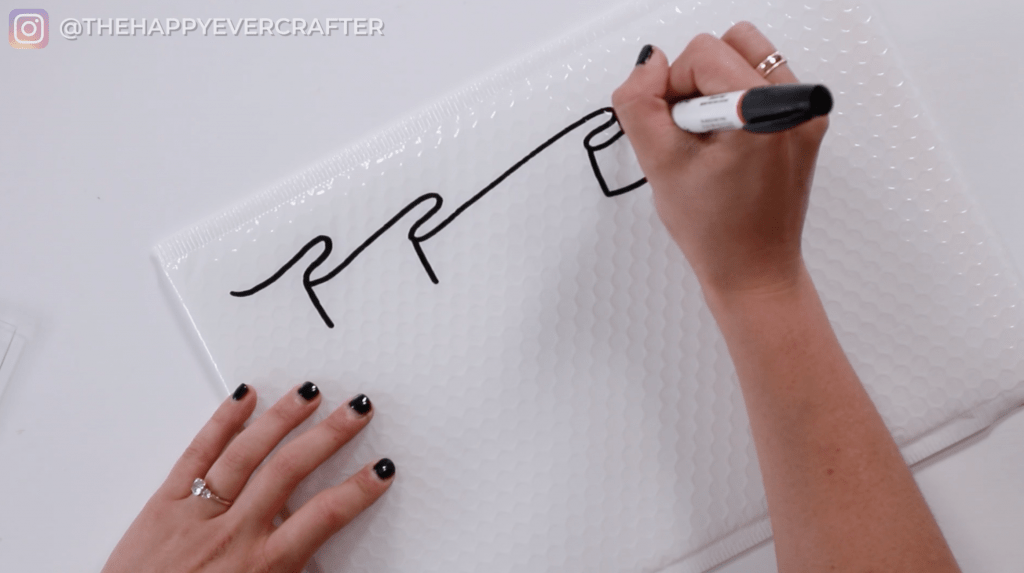
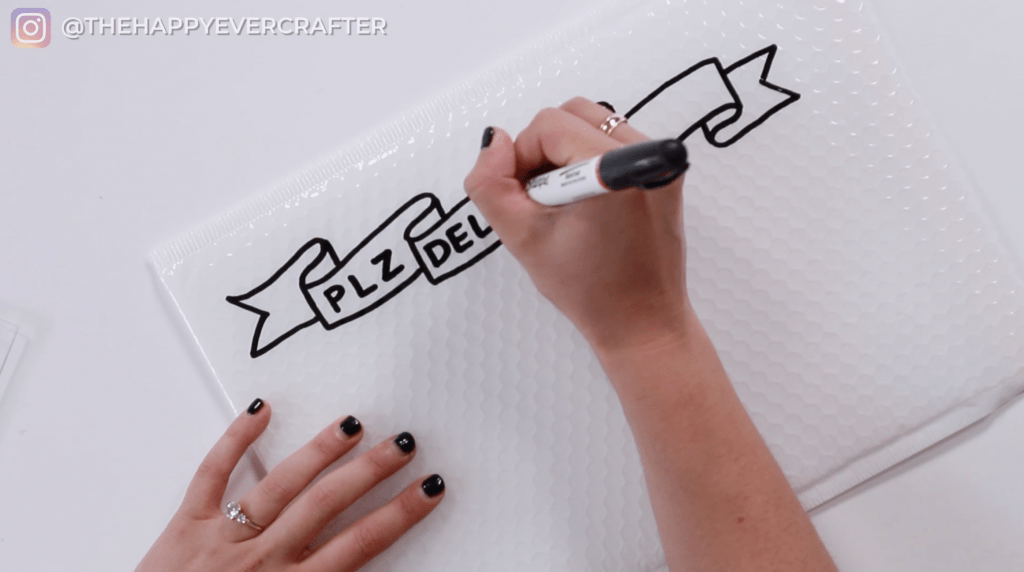
To start, what I usually do is draw a cute little banner at the top. I have two different tutorials on YouTube for how to draw these (here and here), but you can literally just follow along with exactly what I’m doing here.
So I start with that squiggly line.
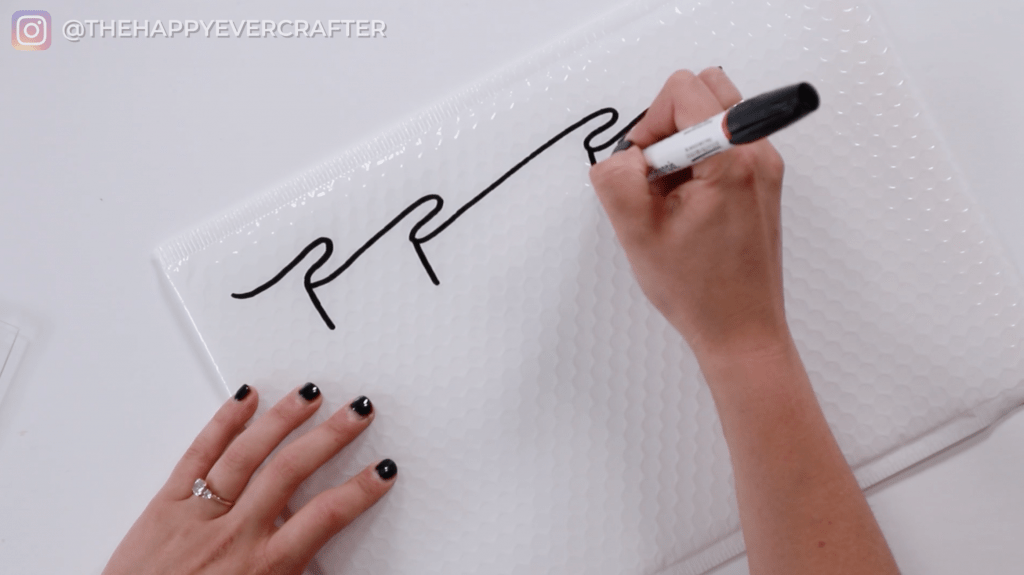
The next thing I’m going to do is to draw some straight lines coming off each of those points. So these should all be roughly the exact same length.
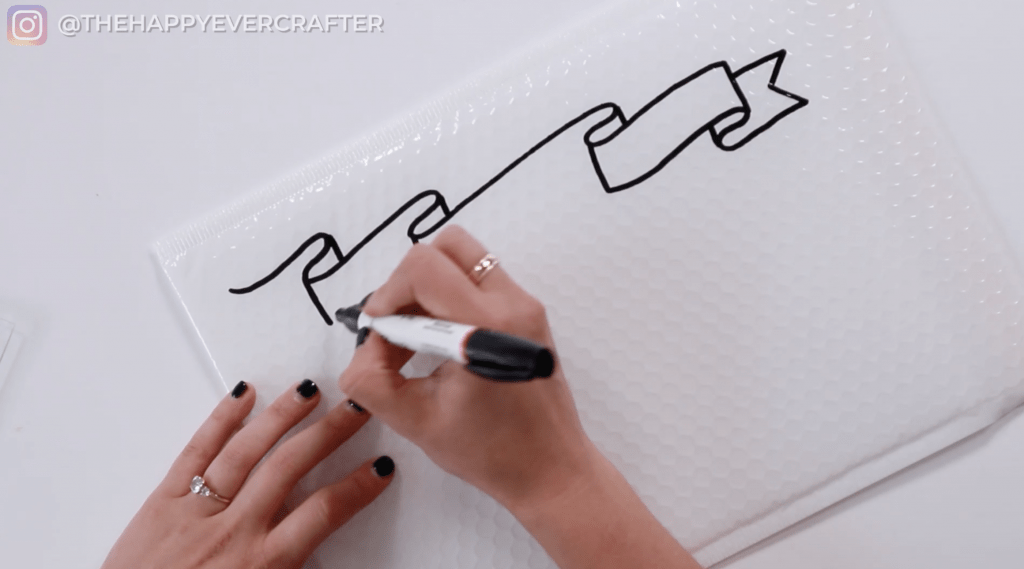
Then, on this last one I’m going to continue the front of the banner piece. and I’m basically mimicking the piece that’s over top of it.
Then adding another squiggle…
And then closing it off.
And adding this little flag thing at the end.
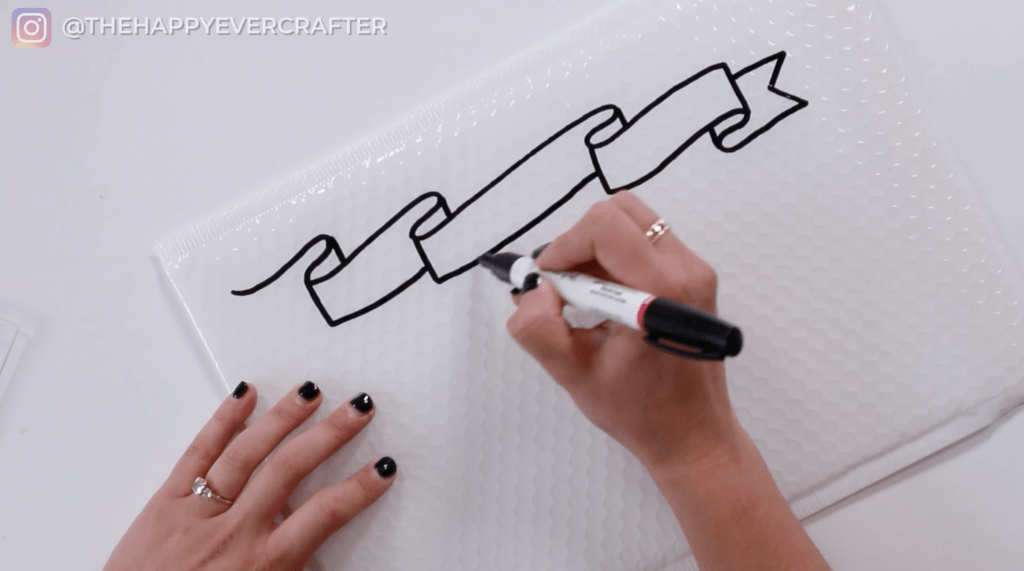
Then I draw more straight lines on all these little overlapping squiggles.
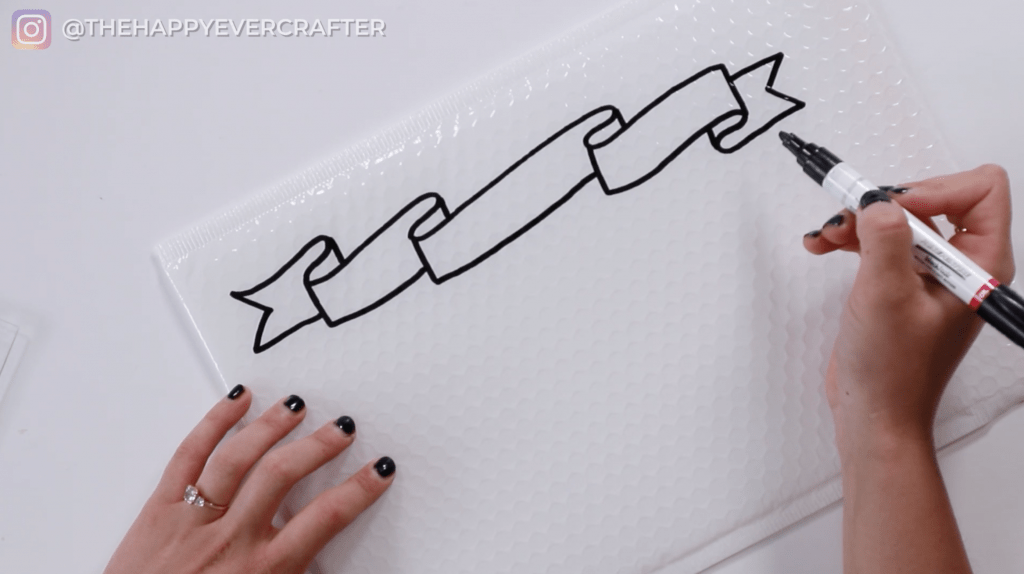
I continue each of the front banner pieces to finish them off. I’m basically just mimicking exactly the shape of the top piece. Each of these should be the exact same size.
Then I draw the flag on the other end, and I’ve got my banner drawn again!
I know this is a little bit overwhelming if you’ve never done it before, so feel free to take as much time as you need to!
The Banner Words and Details
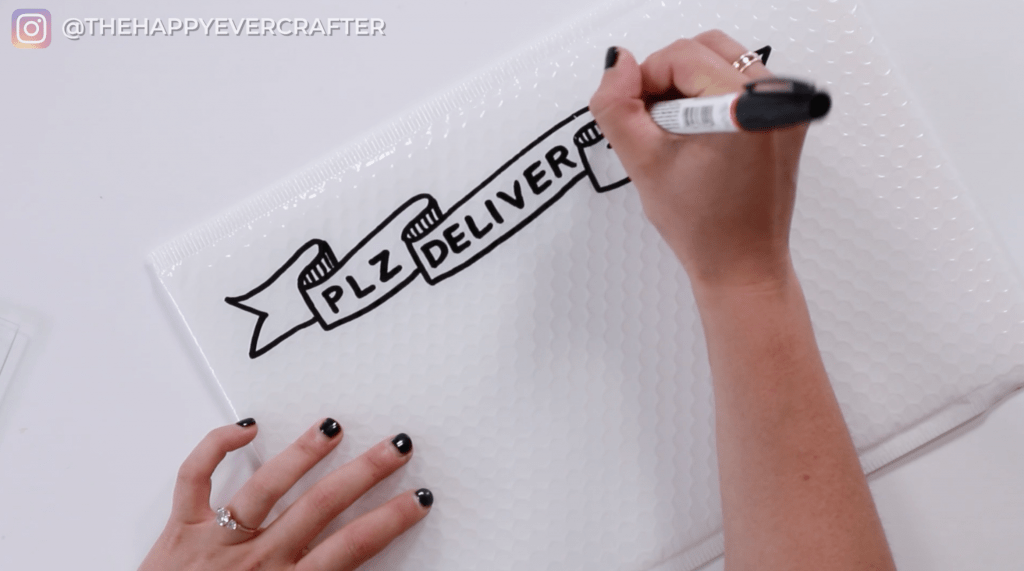
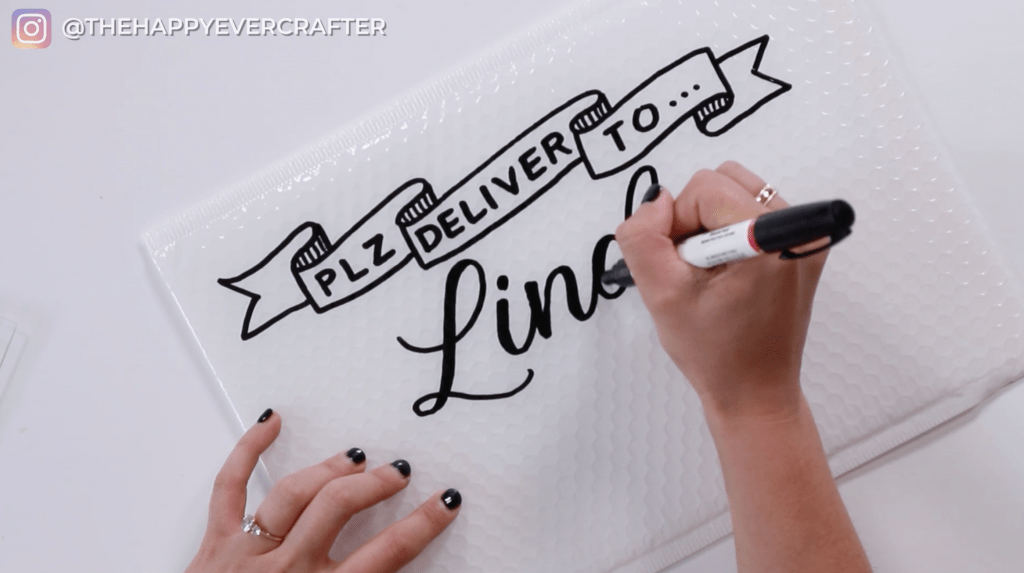
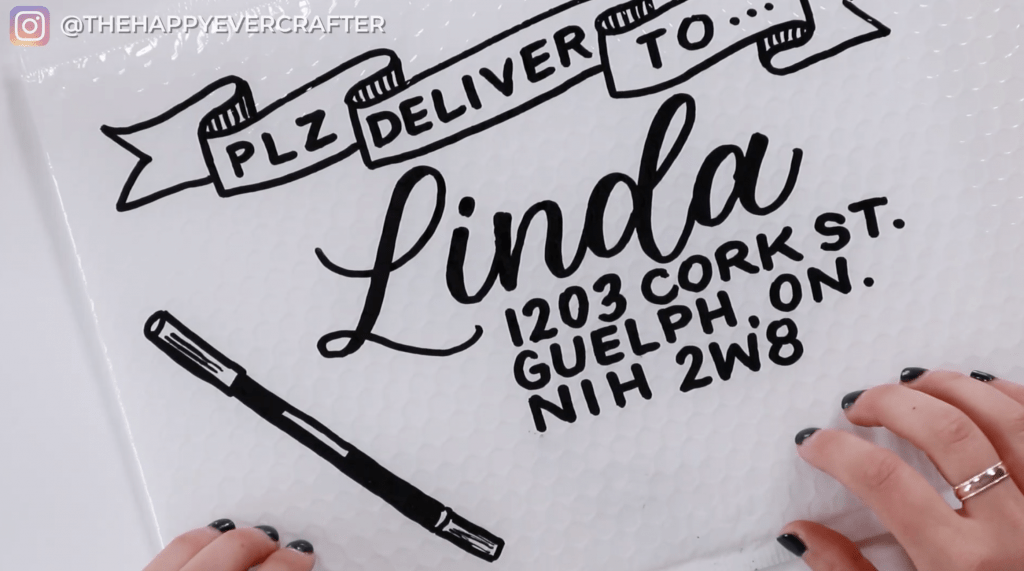
Next, I’m going to write my words. I like writing “Please Deliver To” in my banner, but you can write whatever you want. If you want to, you can write “Happy Mail For You” or whatever else you want! I just think “Please Deliver To” is cute.
I’m just doing this in really simple block letters and trying to space them out evenly. If you feel like you need to practice this on paper a few times to make sure that the spacing is going to work out properly, you can do that too. I’m pretty comfortable with this – I’ve done it a billion times.
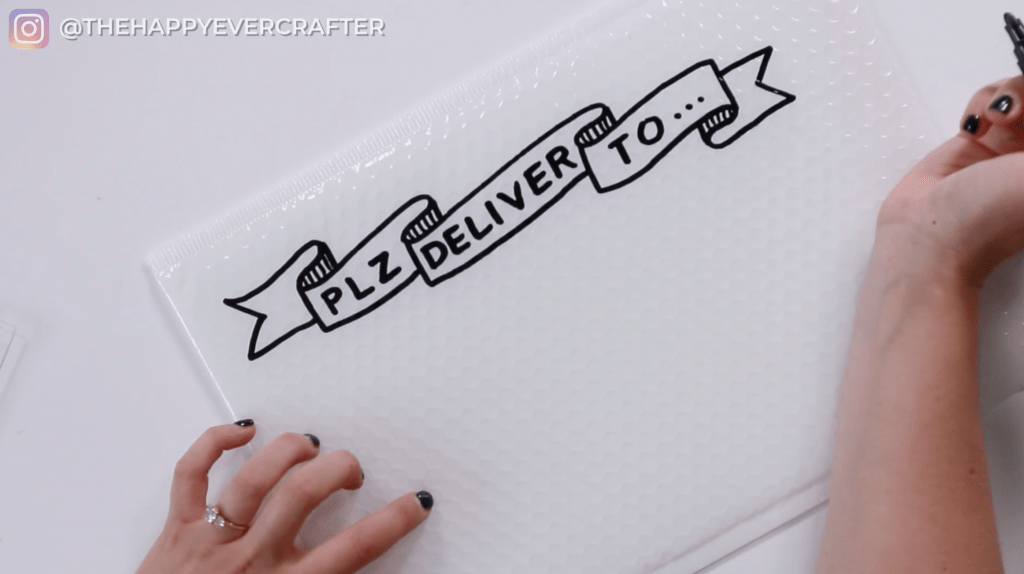
I’m also going to add a little bit of contrast with some extra little lines here on my banner. You can decorate your banner however you like! You can color it totally black if you want.
I like the way this looks. There you have it – now the banner is done!
The Name
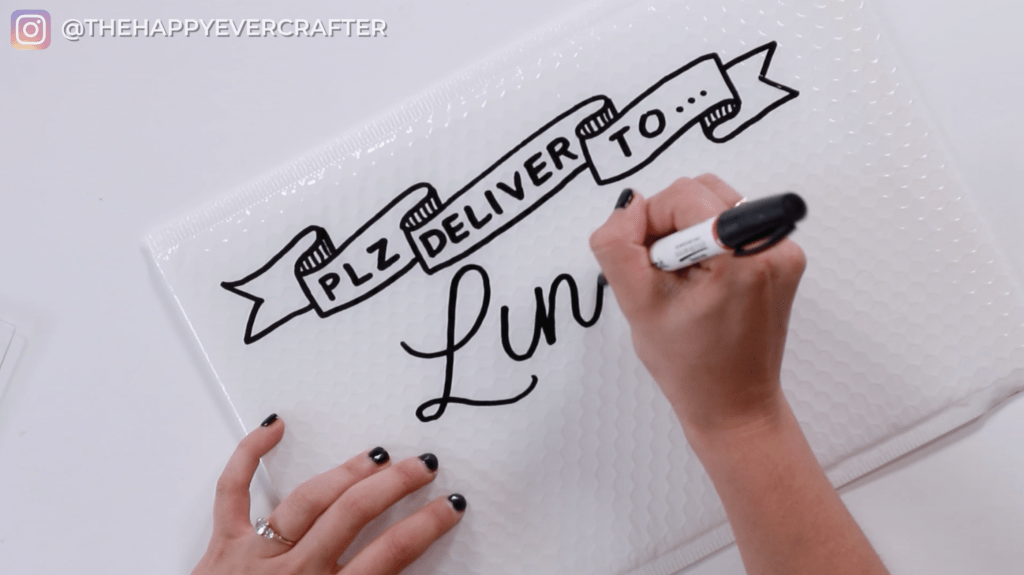
The next thing I’m going to do is write the person’s name. Truthfully I don’t usually write the first and last name – I just write the first name. I’m also going to have a shipping label on here, (it’s gonna go on the back) so I’m not super concerned with having both names in my writing. The post office is really just going to look at the shipping label anyway. This is just for decoration. So, this is for Linda. I’m just going to write “Linda” without a last name.
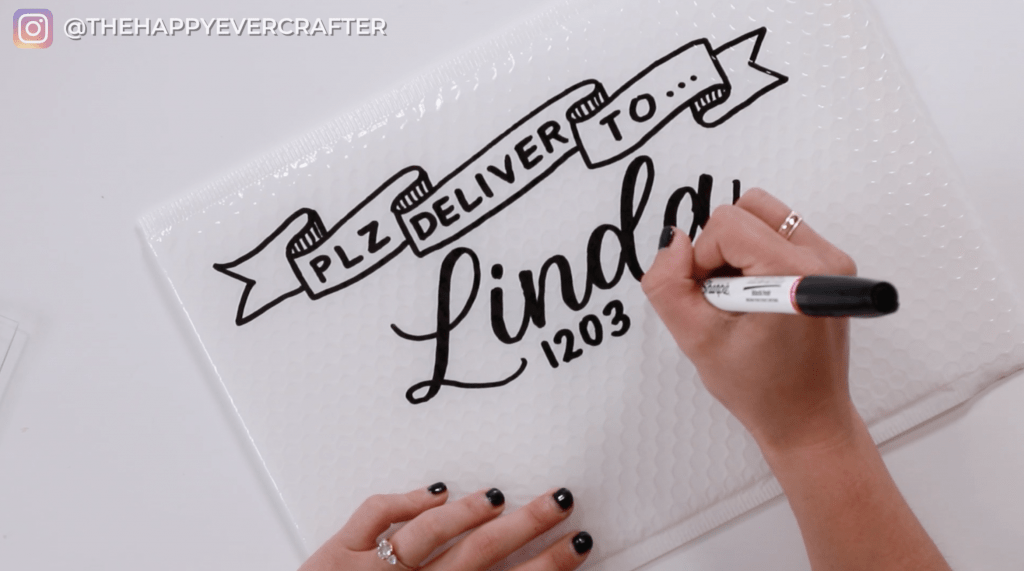
The fun thing about bubble mailers too is that they often have these little dots (bubbles, lol) on them, so you can use those as a grid that actually helps you keep your writing pretty straight. Regardless, I usually kind of just jump in and don’t worry too much about what this looks like. I don’t really do a rough copy, I just kind of jump in and play with it and add in things as I need to to make it more filled up or to change things up and make it kind of fill out the whole envelope.
The Address
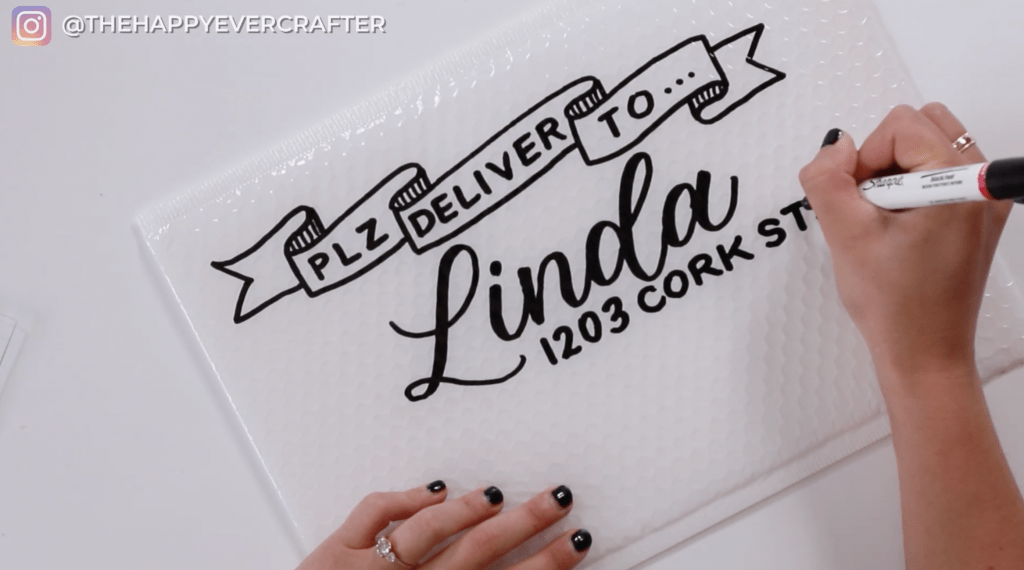
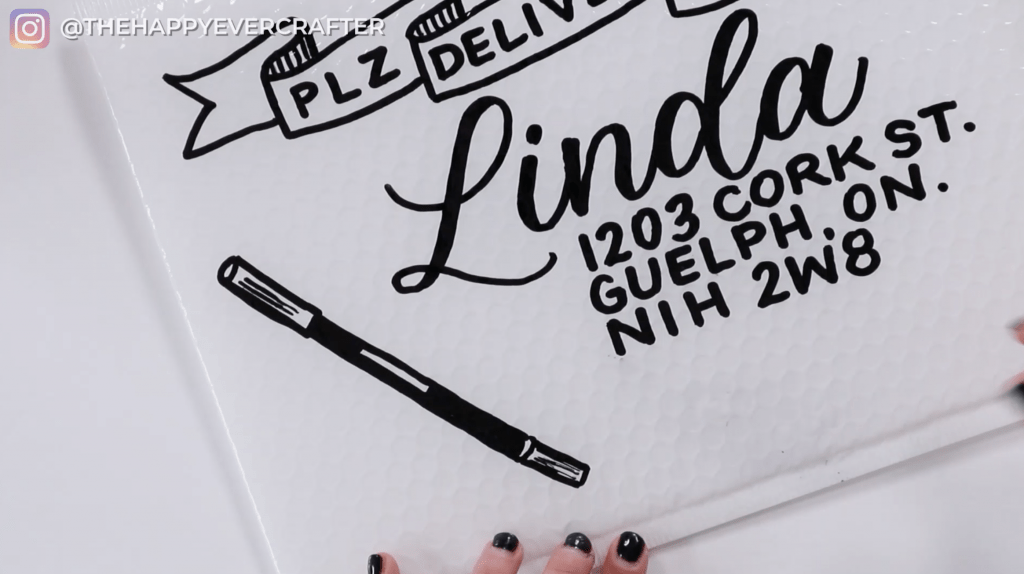
Once I’ve got Linda’s name I am obviously going to write her address. This is personal preference – you can do it however you want to do it. You could center it under the name Linda, but I actually really like having it based on the name itself. So, in the word Linda, the “L” is giving me this perfect space at the end of it to continue on that line and add her address. I’m actually going to do it left justified off the end of this “L” here.
Again, I’m using the dots on the envelope as my guidelines and I’m just filling in her address here in block letters. Left justified makes it really easy! You don’t have to worry about centering or anything.
I’m just adding things as I go.
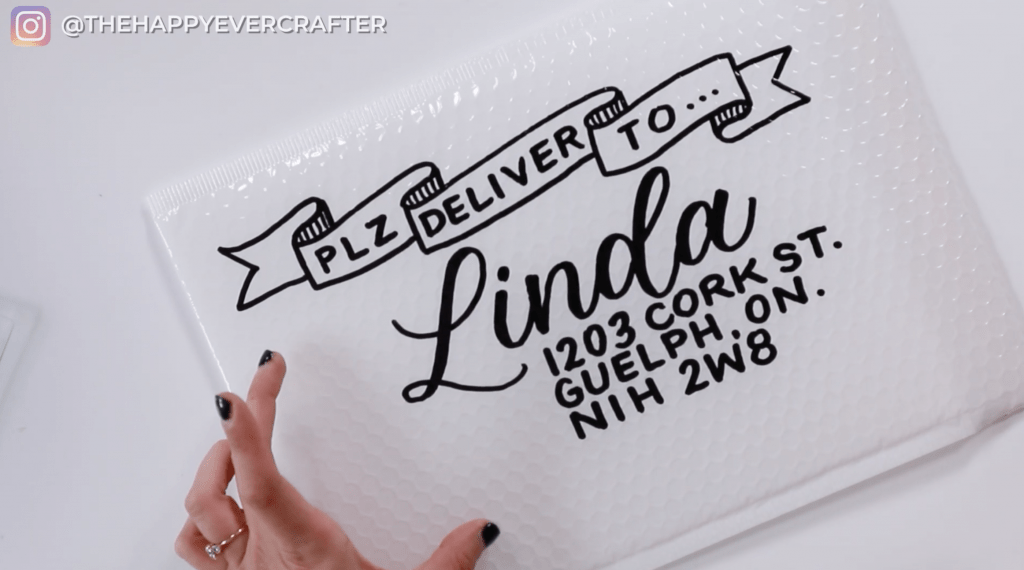
Before anyone comes at me in the comments and tells me that I shouldn’t be publicizing Linda’s address, I’ll be honest with you: this is a fake address. I’m going to make two of these, and the other one will have Linda’s proper address. This is not actually her address! So before you go sending Linda mail, just know that this is fake for the purposes of this demonstration.
Okay, so like I said, this is my go-to design. But it’s up to you if you want to add more!
The Final Details (And A Big OOPS!)
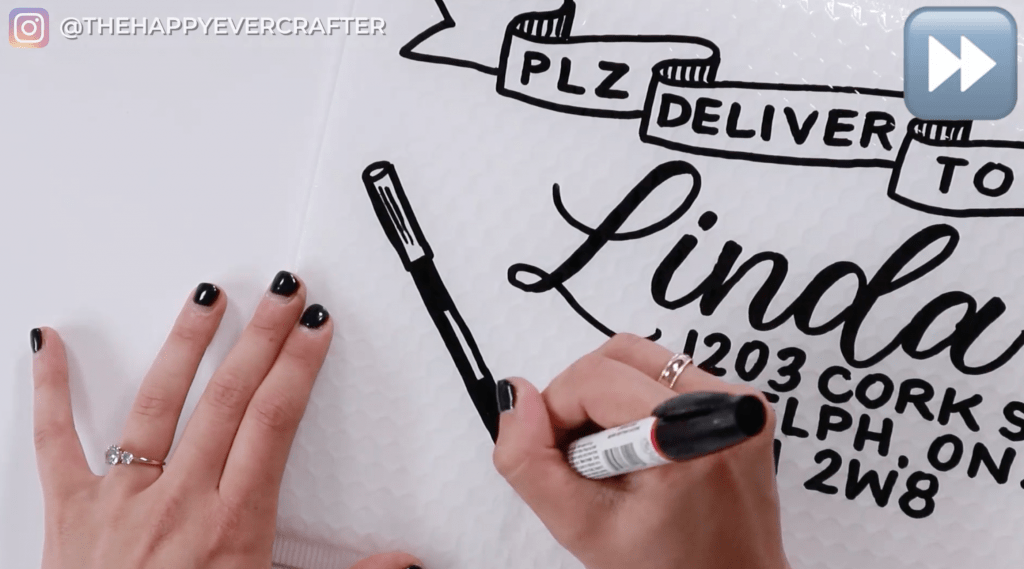
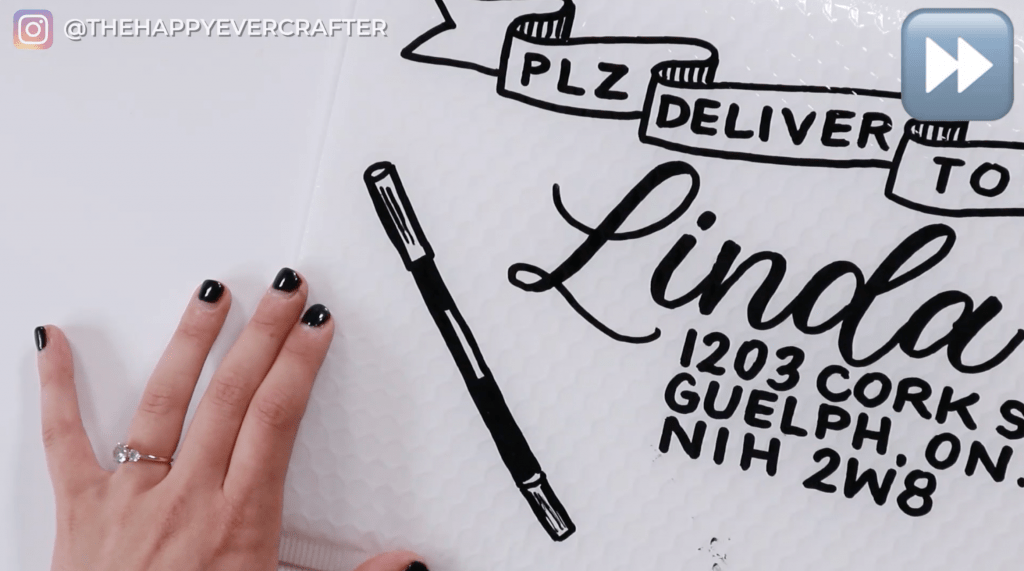
For me, I want to add a little pencil here or a brush pen because I think it’s going to look really cute. I’ll add it on the angle right here.
But I’m just going to jump in and freehand this and hope it turns out well! If you don’t really feel comfortable with that, just leave it how it is – this looks great as is too!
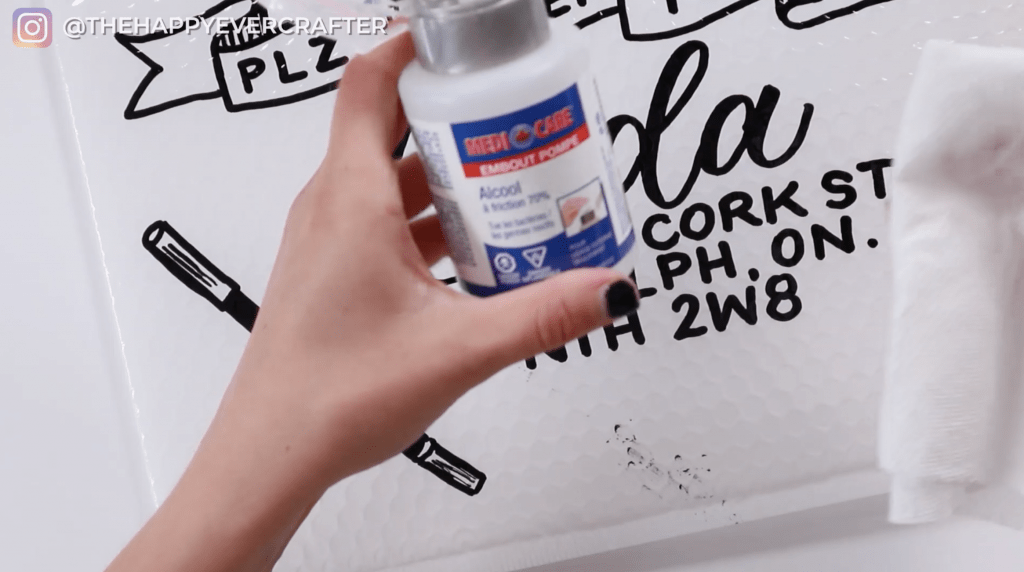
I do really like the way that that turned out, but my arm smudged some of my writing onto the bottom here because I was doing it so quickly.
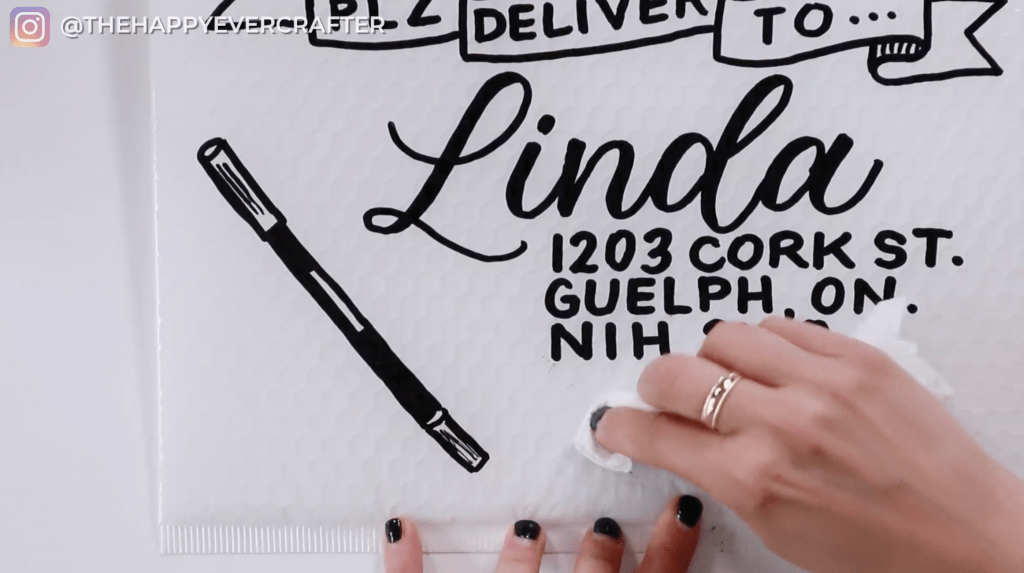
Note: Depending on what type of envelope you’re using… Because this one is plasticky, I can actually remove it! I’m just using alcohol which removes oil-based pen. I’m just going to rub it on here. I gotta rub pretty hard because I already let it dry for too long, but usually if you do this right away, it’s not a big deal. Now, if you did this on a paper envelope, obviously you can’t fix it with alcohol. You’d just have to use your artistic imagination to maybe draw something else over top of it!
And That’s A Wrap!
That’s it – there is my finished envelope for Linda! That’s how I decorate my bubble envelopes. Again, this is my go-to design, but you can do whatever you want. Just have fun with it and also don’t worry too much about what it looks like. As long as everything fits on there, you’re good to go. It’s going to be over the moon exciting to people no matter how it looks!
I’d love to see your envelopes, so be sure to tag me in your envelope and mailer posts on Instagram @thehappyevercrafter
And with that, I’m gonna link you next to another envelope decorating post you might like!
And finally, your dad joke…
What did the letter say to the stamp?
Stick with me and you’ll go places!








I love the fact you decorate the envelopes. They look great. I just ran across another person who decorates envelopes. She is out of Boulder, CO. Her website TPK (The Postmans Knock) has a great tutorial on Flourished Calligraphy Medallions she puts on envelopes. Thought I would share this with you. Thanks again for all the great ideas and teaching. Appreciate it.