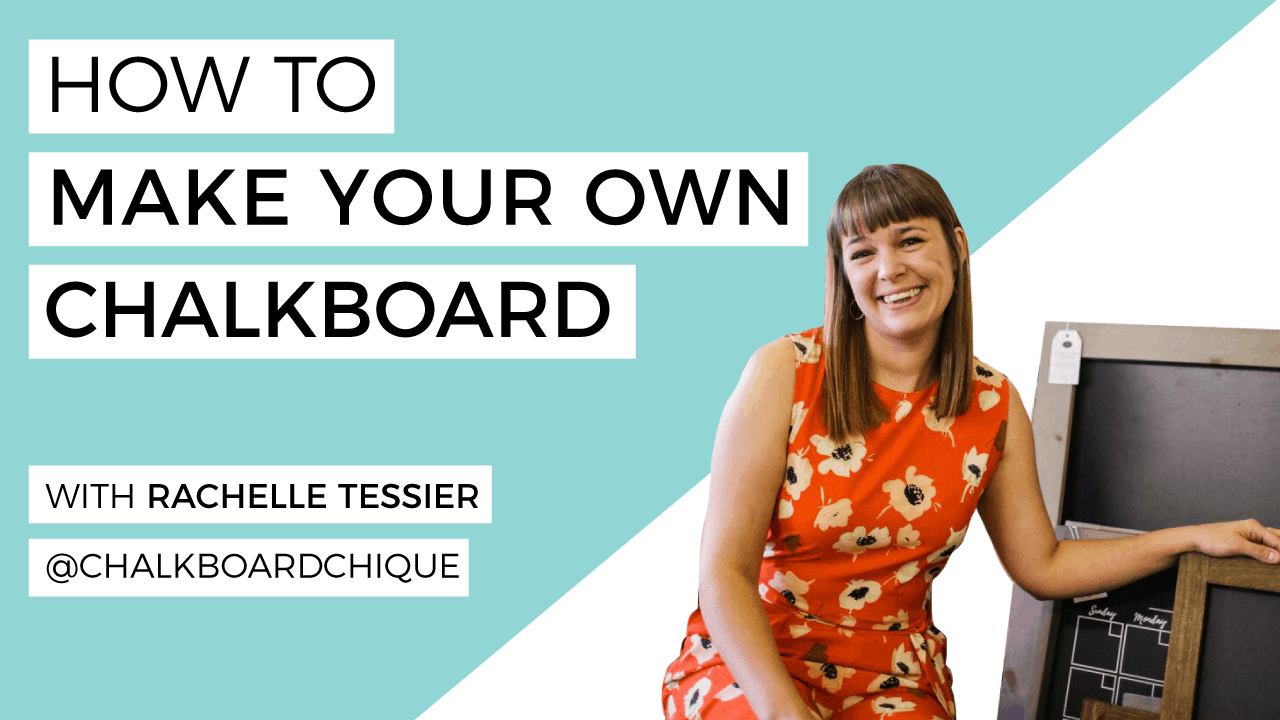
Chalkboard Chique is one of those business stories that started out as a simple DIY project.
When Rachelle Tessier was planning her wedding she knew she wanted to incorporate something crafty on her big day. So, with the help of her dad, she made chalkboards for signage and chalkboard wine glasses for her guests.
Now, just 4 years later, creating chalkboards for Chalkboard Chique is now Rachelle’s full time job!
So what I’m getting at is that Rachelle is pretty much a chalkboard guru and is here to give us a step-by-step on how to create your very own chalkboards!
What you’ll need:
The links below may be affiliate links where appropriate. This means that your purchase through these links may result in a few cents in payment to me, to support creating further resources like this one! That being said, I will never suggest supplies that I do not personally use and fully recommend.
- MDF board or “hardboard”
- Can be found at your local hardware store. In the lesson, Rachelle is demonstrating with a 2’ X 2’ (24’ X 24”) surface.
- Tip: You can also use plywood, but keep in mind that it is not as smooth as MDF!
- Primer (Black Tinted)
- The MDF board is super absorbent and chalkboard paint is not cheap. You can avoid using more chalkboard paint if you prime your surface first! Just one coat will do.
- Tip: No need to splurge! Use whatever primer works best for your budget.
- Chalkboard Paint (Rustoleum)
- Liquid chalkboard paint: The consistency is thick, requires less coats and is more durable.
- Spray chalkboard paint: Requires you to work in a well ventilated area (AND PLEASE DO NOT USE SPRAY PAINT INDOORS UNLESS YOU ARE PROPERLY EQUIPPED!). Thinner consistency, requires more coats but is very smooth!
- Foam roller
- You can buy one at a hardware store OR a dollar store! A foam roller is a must for the smoothest surface.
- Sandpaper
- The higher the grit, the finner the paper. Rachelle suggests using a sandpaper with 320 grit or anything “super fine”.
Step-By-Step:
Step One:
Wipe your surface down with a damp cloth.
Step Two:
Prime your surface! Just one coat will do.
WAIT 4 HOURS
Step Three:
Lightly sand your surface using a super fine grit sandpaper.
Step Four:
Wipe your surface down with a damp cloth (again).
Step Five:
Paint one coat of chalkboard paint.
WAIT 4 HOURS
Step Six:
Paint one more coat of chalkboard paint.
So in total, you have one coat of primer and two coats of chalkboard paint!
Keep In Mind: Rustoleum suggest you wait THREE WHOLE DAYS before you use your newly painted chalkboard surface. Rachelle haaas used hers before that and said they worked out fine. Sooo…use your judgment!
If you want to frame your new chalkboard surface, Rachelle suggest you use pine wood. Using a high grade pine (“Select Pine”) is best if you want your finished product to have a more polished look. Lower grade pines will be harder to sand and paint, and usually have more knots giving them a more rustic appearance.
(You can check out the video to see how to secure your frame to your chalkboard surface!!)
What can you use to WRITE on the chalkboard?
For these chalkboards, Rachelle suggests regular chalk!
Crayola chalk is great and it’s the chalk Rachelle provides her clients (along with the chalkboard care instructions) with every purchase.
You can teeechnically use chalk markers or paint pens on your chalkboard, but you will probably have to paint a fresh coat of chalk paint on your surface to fully remove any stains left by the marker.
PRO TIP: Magic erasers are an awesome tool for removing any stubborn stains left by your chalk markers. It won’t necessarily remove it all, but it will help.

And juuust in case you decide that DIY is just too much and you’d rather buy one of hers, Rachelle shared a COUPON CODE with us! Type in “BECCA20” at checkout and you’ll receive 20% off your Chalkboard Chique purchase until April 30th! Thanks for taking the time for the awesome lesson AND the generous coupon code, Rachelle!
PSSST: Need help with the actual chalk LETTERING part of all this? Check out my interview with Valerie McKeehan of Lily And Val (author of The Complete Book of Chalk Lettering!) for a step by step lesson on basics of chalk lettering.

Comments