In this tutorial, I’m going to show you, step-by-step, how to create your own hand-lettered denim jacket.
You’ll learn how to plan your sketch, what to look for when picking out a denim jacket to letter on, and my trick for creating an outline on the actual jacket!
First Things First…
The links below may be affiliate links where appropriate. This means that your purchase through these links may result in a few cents in payment to me, to support creating further resources like this one! That being said, I will never suggest supplies that I do not personally use and fully recommend.
Tools Mentioned
- Denim Jacket
- Paper
- Pencil
- Ruler
- Stabilo All
- Pebeo Setacolor Opaque
- Princeton Snap Brushes
Prefer watching over reading? Feel free to skip right to the video and see these in real-time! ??
Step 1: Examine your canvas
The first thing I do is look at the back of the jacket to see what the seams look like.
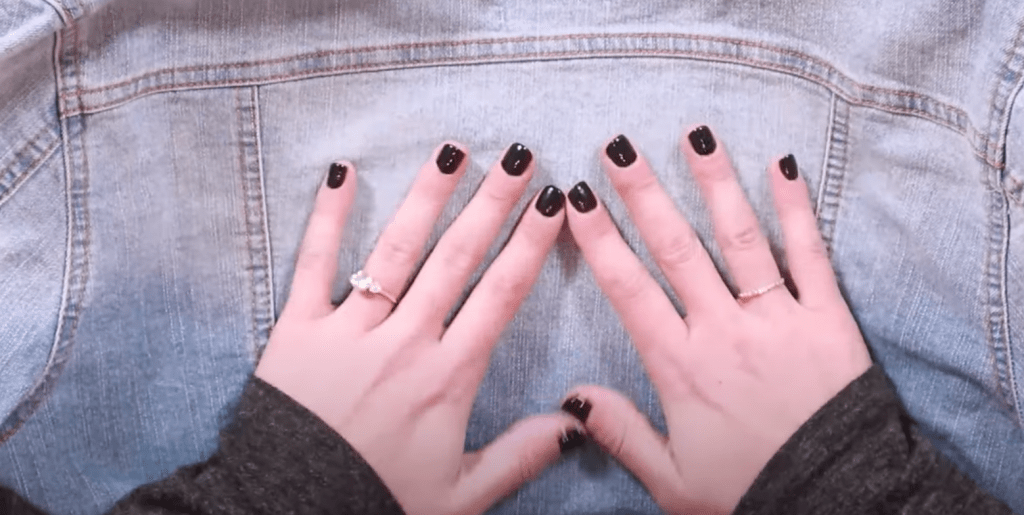
Note: Some jackets will have seams that cutdown the middle or at an angle, so your design will vary on the space available.
Step 2: Sketch out the design
In this case, the client wants me to write, “The Mrs.” and include some florals.
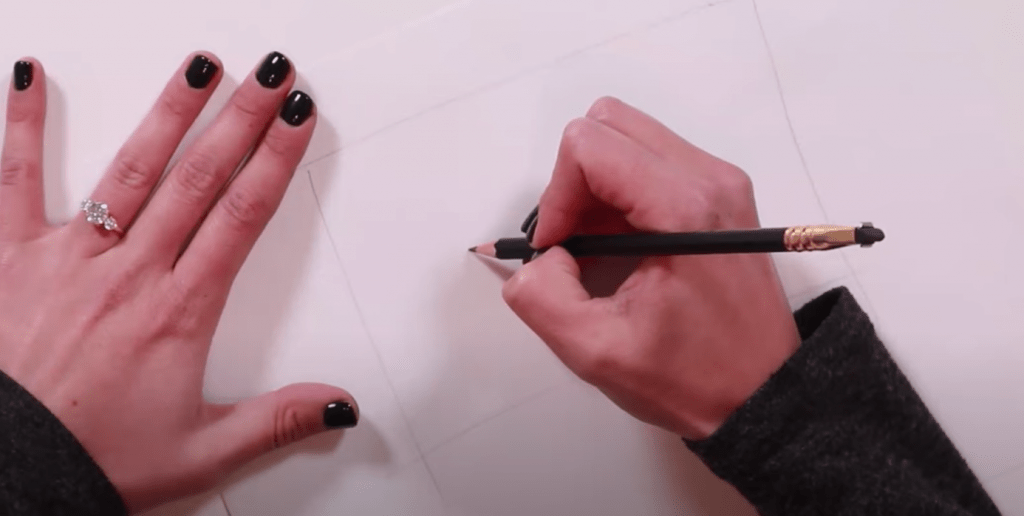
I’m going to roughly draw the canvas space and naturally plan out my design. 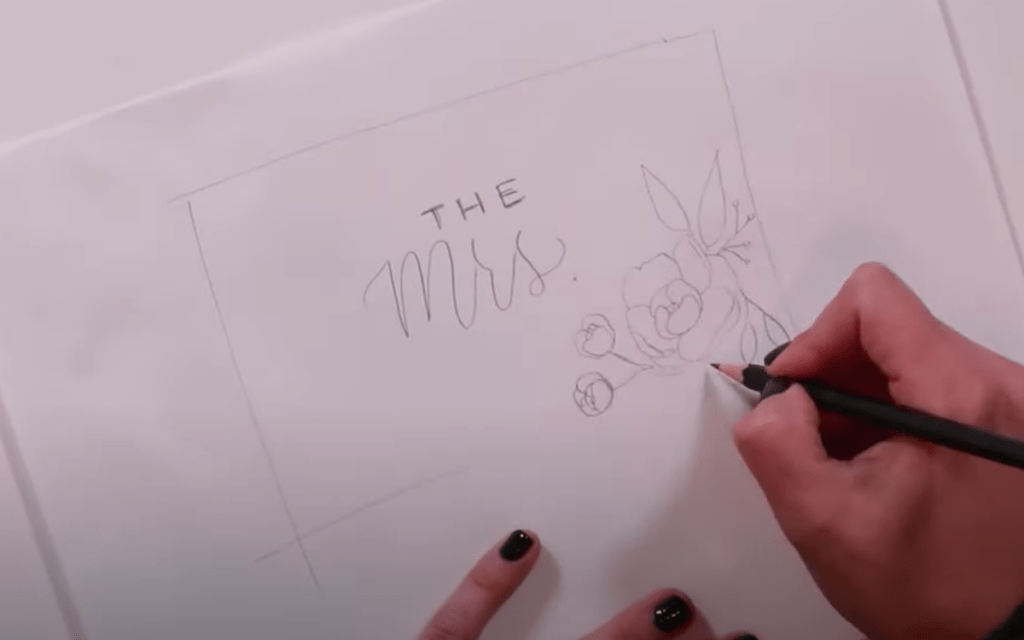
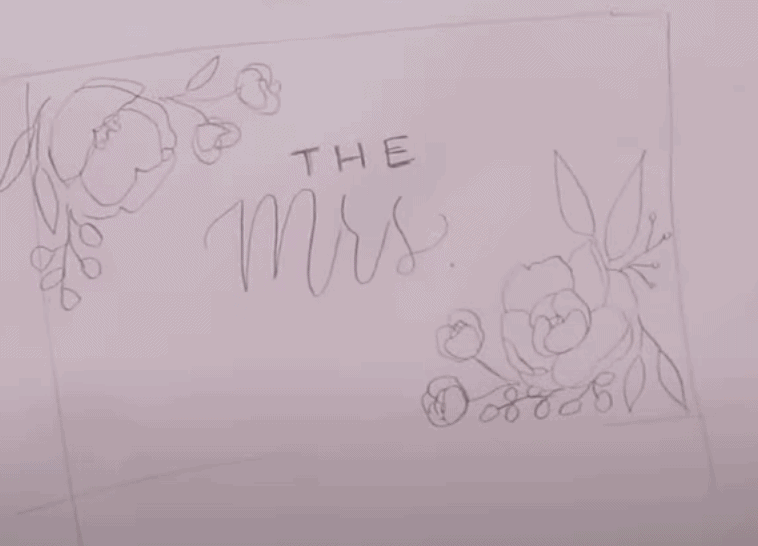
Step 3: Re-sketch your design on the jacket
Once I’m pretty happy with my design, I do another sketch on the jacket. Some people think they have to go right into it with paint, but I actually have a trick for doing an outline first.
I’ve tried this with chalk and other pastels, but they just don’t work quite as well as a Stabilo All pencil. If you happen to make a mistake, this pencil is also super easy to wash off with just a paper towel and some water (and waiting for it to dry).
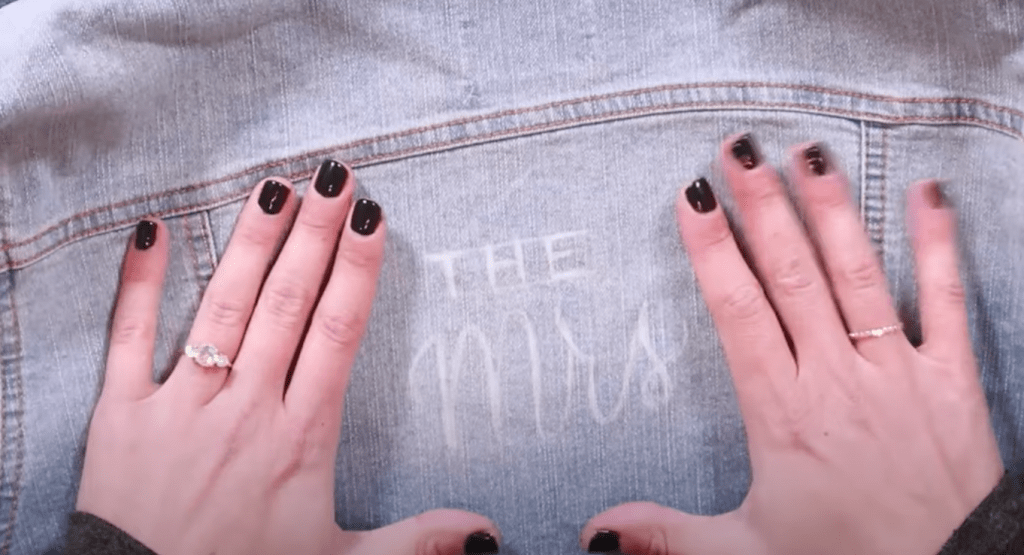
I can already see here that my “the” is not centered and it will drive me crazy, so I am going to erase it and try again. Always remember to let the fabric dry first after you wet it!
While I wait for it to dry, I’ll go ahead and doodle in my flowers.
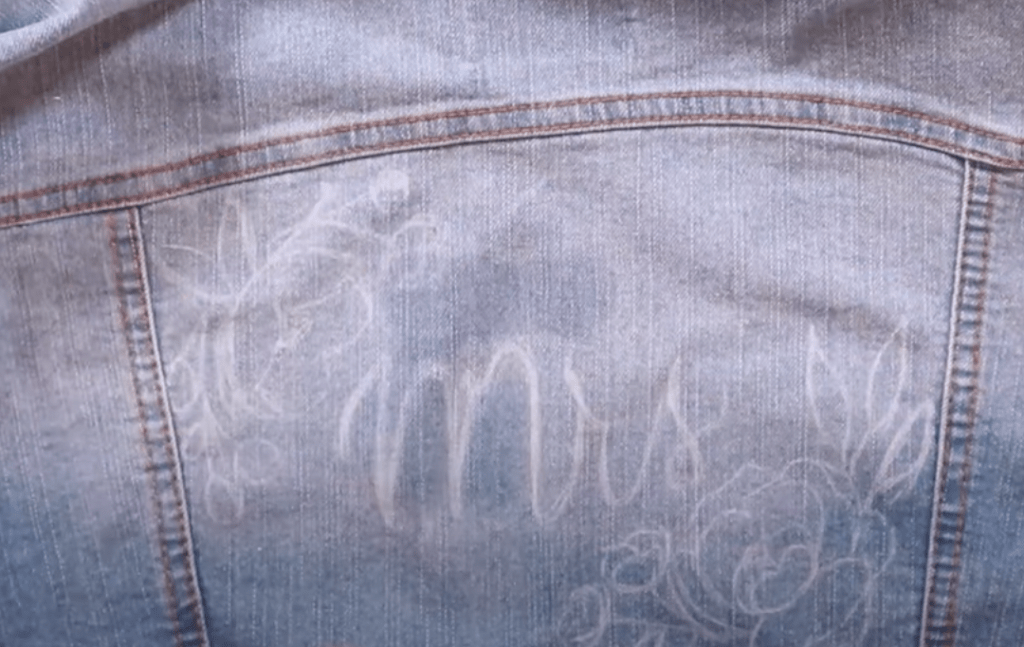
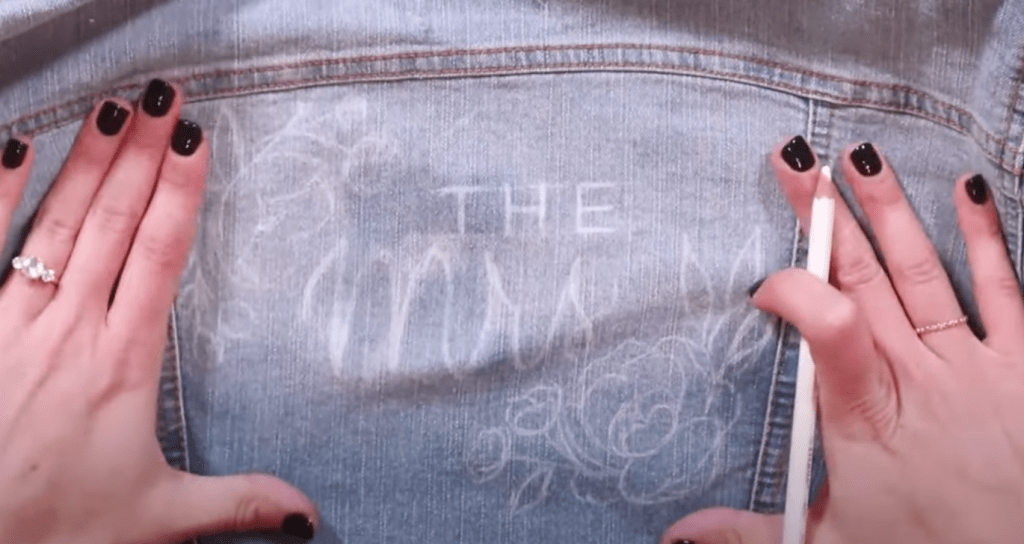
Step 4: Do it in paint!
I’m using the Pebeo white opaque paint for this, which is just the fabric paint that I like. But, any fabric paint will do. I wouldn’t recommend using non-fabric paint because it’s not as durable when it comes to ironing and the like. For the brushes, I’m using Princeton Snap Brushes. I wouldn’t recommend using any expensive brushes because this paint tends to ruin them a little bit. And I actually don’t completely clean off the brushes when I’m finished, because I like how the brushes stay a bit stiff. I find it really helpful when using the paint on here – and I only use these for fabric work.
I like to start with the paint in the top left corner so I don’t smudge as I go. Make sure there is enough paint on your brush, but not too globby. I can usually do this with one coat, but if you end up doing two, it’s totally fine. Using the hardened brush on thin lines like this is so much easier to control, too.

Once it’s done, you want to make sure it’s super dry before you do ANYTHING with it. I suggest leaving it overnight if you can, because sometimes some parts may dry faster but other thicker areas might still be a little wet. If you notice that you have any pencil marks still leftover, just take a wet Q-tip and erase those spots (again, only after it’s completely dry).
Step 5: Set your design with an iron
You’ll want to flip your design over and set your iron to a low-medium heat setting with no steam. You’ll want to press it from the back for about five minutes, but be sure to move it around and not just hold on one spot.
Doing this makes it “technically” washable, meaning this will make the paint more durable. But, I can’t guarantee how long it will last, and it’s preferable to handwash it and not put it in the washer.
And that’s a wrap!
I hope you enjoyed this tutorial! By the way, if you’re ready for some more wedding related crafts, be sure to check out this video where I walk you through how to make a seating chart on a mirror.

Don’t hold back…