One of the most common questions I get is something along the lines of this: “what kind of pen do I use on *enter surface*”, and thanks to Doris Wai, I happen to know the answer to *most* of those questions!
Doris is the owner, artist and creative director of Love Lettering, the creator behind Posecards AND the author of Extraordinary Hand Lettering, THE go-to book for all of your “what works with what” related questions.
Seriously, if you’ve ever wondered “could I even letter on that?”, Doris probably already has. She is a magician at taking your everything from your everyday objects to items that are totally unconventional and lettering on them.
And with that, watch the video below where she shows us how to letter on three mini lessons!
Tools:
The links below may be affiliate links where appropriate. This means that your purchase through these links may result in a few cents in payment to me, to support creating further resources like this one! That being said, I will never suggest supplies that I do not personally use and fully recommend.
- Stabilo ALL Pencil – Great for mirror and glass
- Sharpie Oil-Based Paint Pen
- Craftsmart Paint Pen in Gold
- 3M Tape for Delicate Surfaces
- Sharpie Water-Based Paint Pen
Mini Lesson One: Porcelain Plate
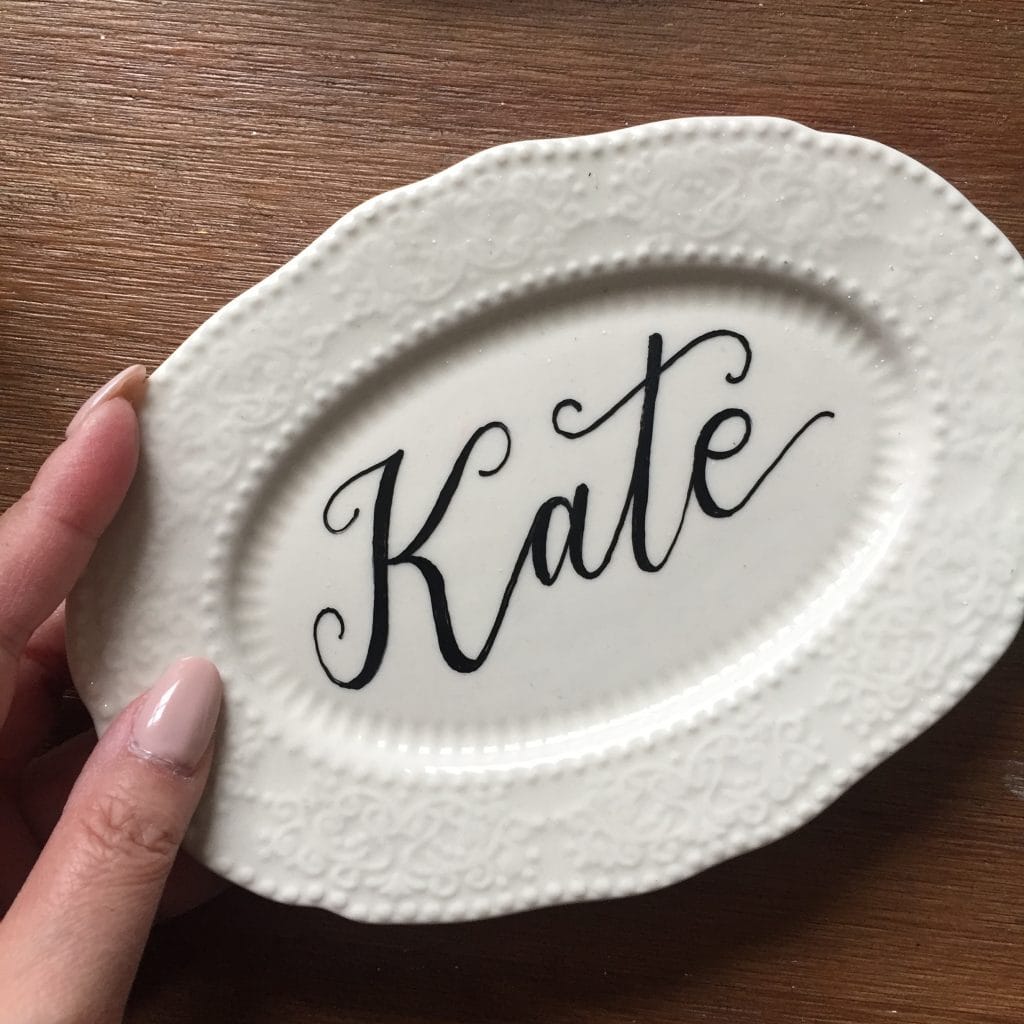
Steps:
- Clean your surface of any residue
- Sketch your outline and guides with your Stabilo All pencil (in red). You don’t need too much details
- (Wipe the surface one last time to remove any excess wax before the next step)
- Draw your final piece with Sharpie oil-based marker
- Let the paint dry and then wipe away the Stabilo pencil lines
Doris Hacks:
- Always thicken your down strokes as you go!
- Keep a piece of scrap paper nearby to depress your paint pen on. You never want to do this ON your piece.
- Make sure the tip of your pen is always saturated.
Mini Lesson Two: Watering Can
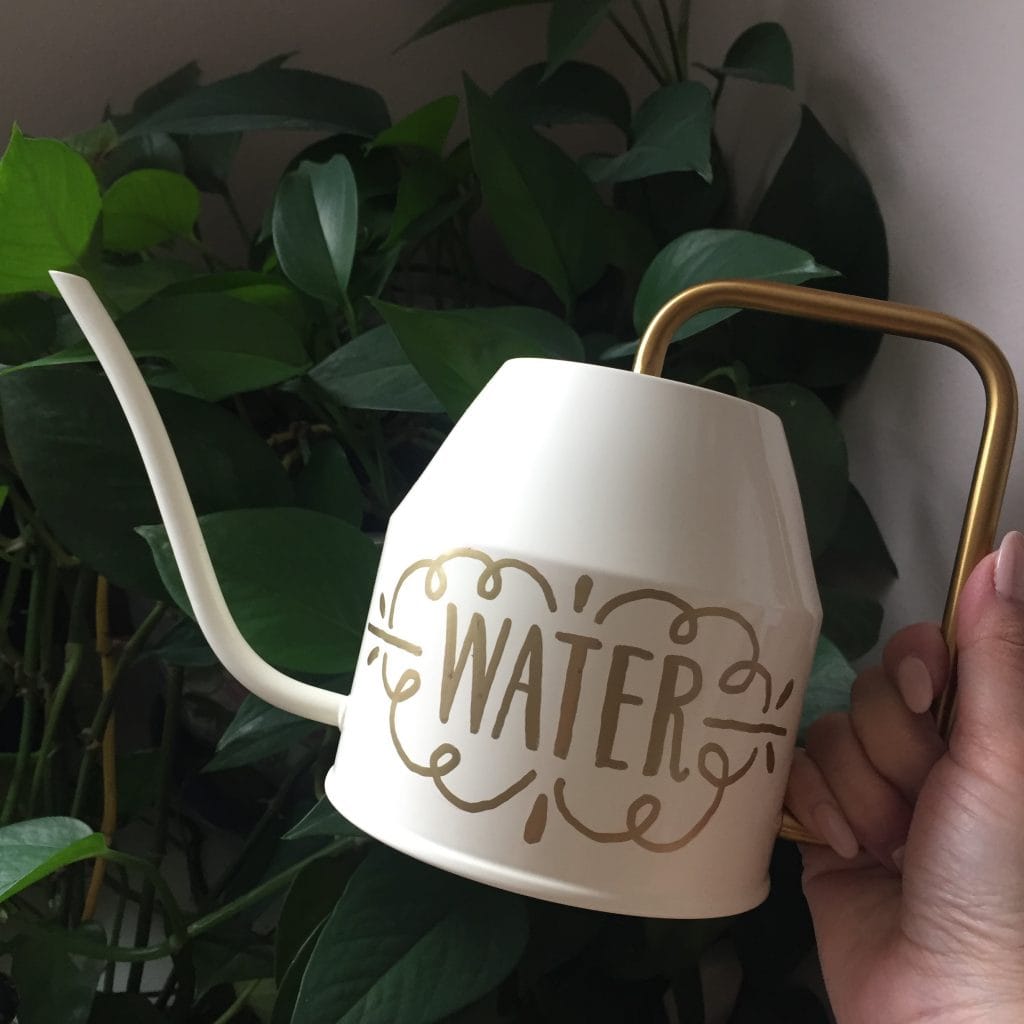
Steps:
- Tape your surface
- Sketch letters with Stabilo All pencil (in red)
- Wipe away and redo any mistakes
- Letter with oil-based paint pen (Craftersmart Paint Pen in gold)
Doris Hacks:
- Use rubber erasers for stability on awkward surfaces. Just wedge them in!
- Use tape for straight lines on round surfaces
- Do the end letters and middle letters first to determine proper spacing
- Don’t touch the edges of the tape with your paint pens
- Use a cotton swab with acetone free nail polish remover to correct mistakes
Mini Lesson Three: Fruit
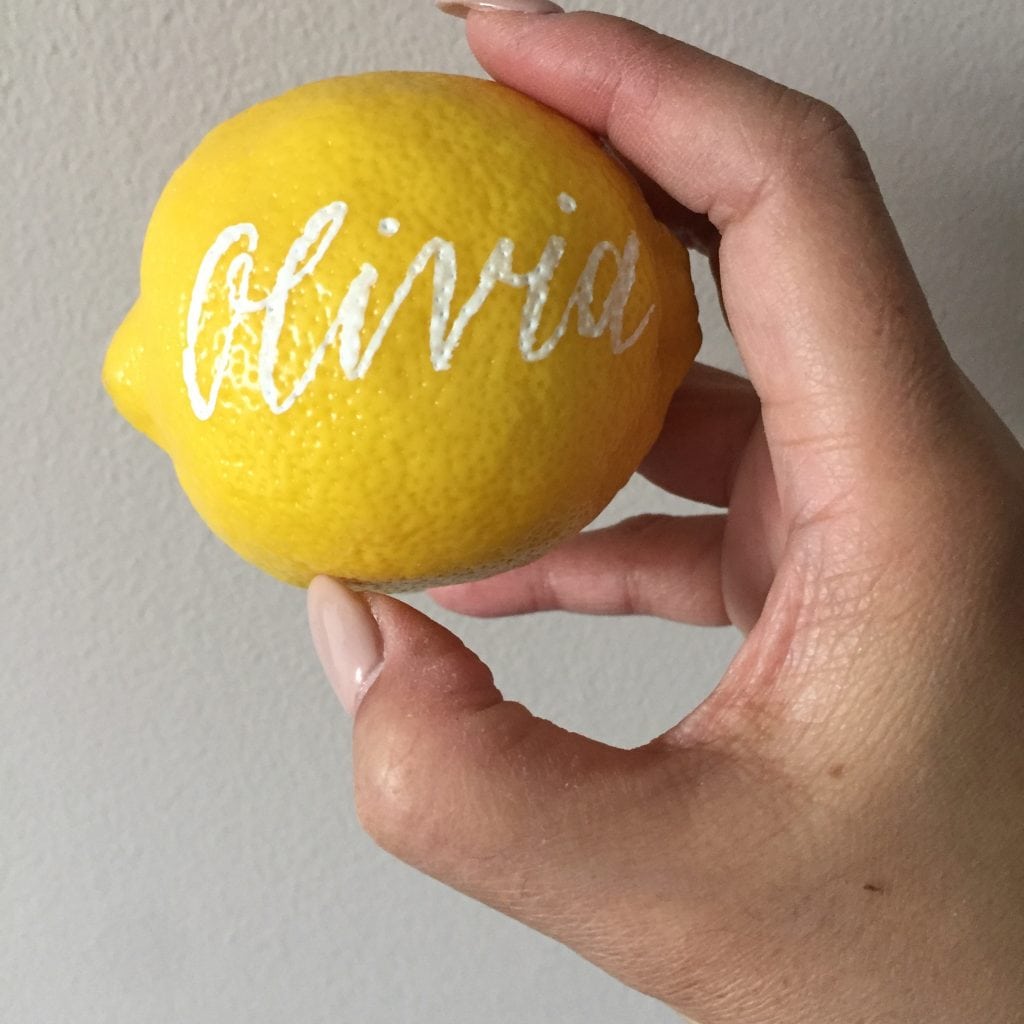
Steps:
- Press your fruit into floral foam
- Rub off any residue or wax with a cloth
- Letter directly onto the fruit
Doris Hacks:
- Use floral foam to hold small odd shaped objects in place
- Always thicken strokes as you go
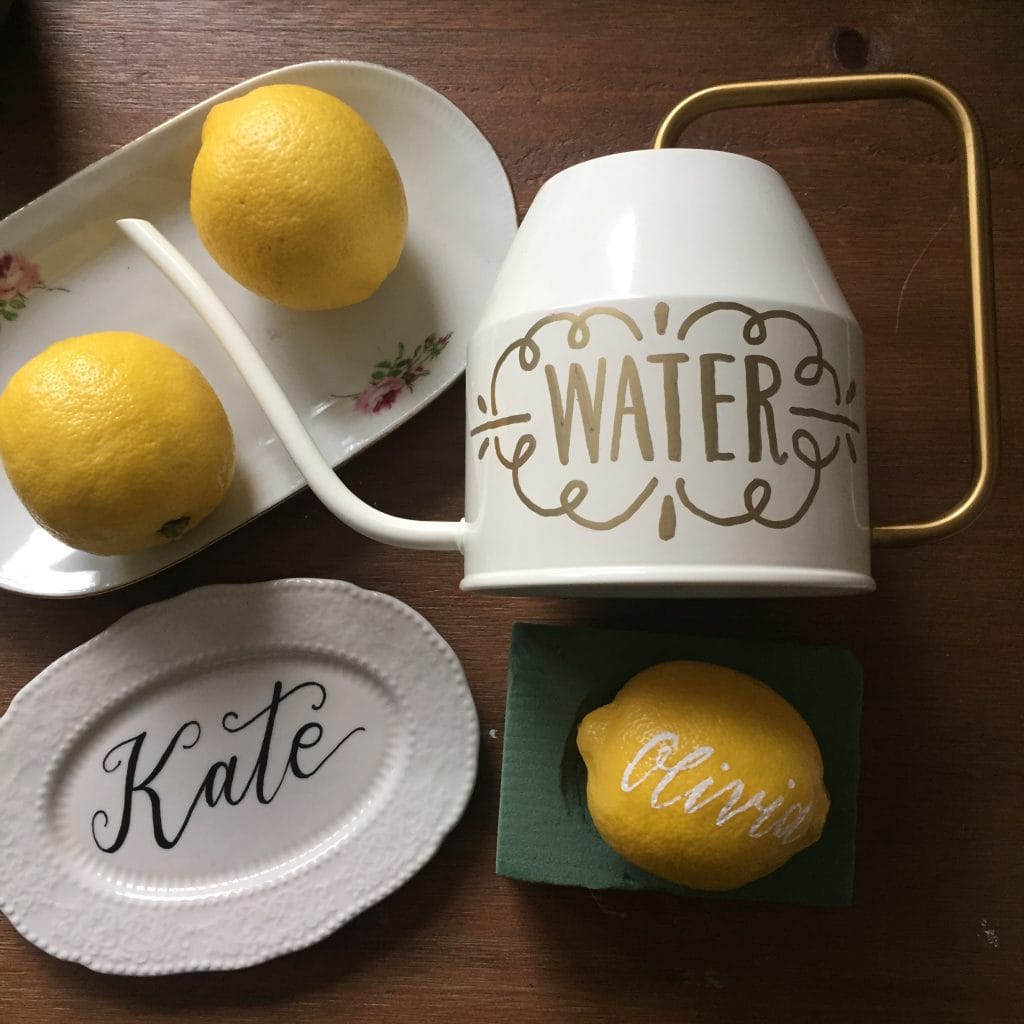
Thank you so much, Doris, for taking the time out of your busy schedule for us today!
You can follow Doris on Instagram on both her Love Lettering account and on the Extraordinary Hand Lettering account for more lettering inspiration and be sure to check out her website here!
Was realllly impressed but am looking ‘how to’ print/ letter on a pourous surface…like Fabric? Canvas
any ideas or links TO ‘how tos’ that you have done or know of? I am doing LARGE letters (18-20 inch tall) and it will be in SUN most of the time. Thank you !!