

In this post, I’m going to walk you through how to make a super cute chalkboard Easter design!
If you’re just looking for the template, you’ll find it at the bottom of this post!
First Things First…
The links below may be affiliate links where appropriate. This means that your purchase through these links may result in a few cents in payment to me, to support creating further resources like this one! That being said, I will never suggest supplies that I do not personally use and fully recommend.
Supplies Used
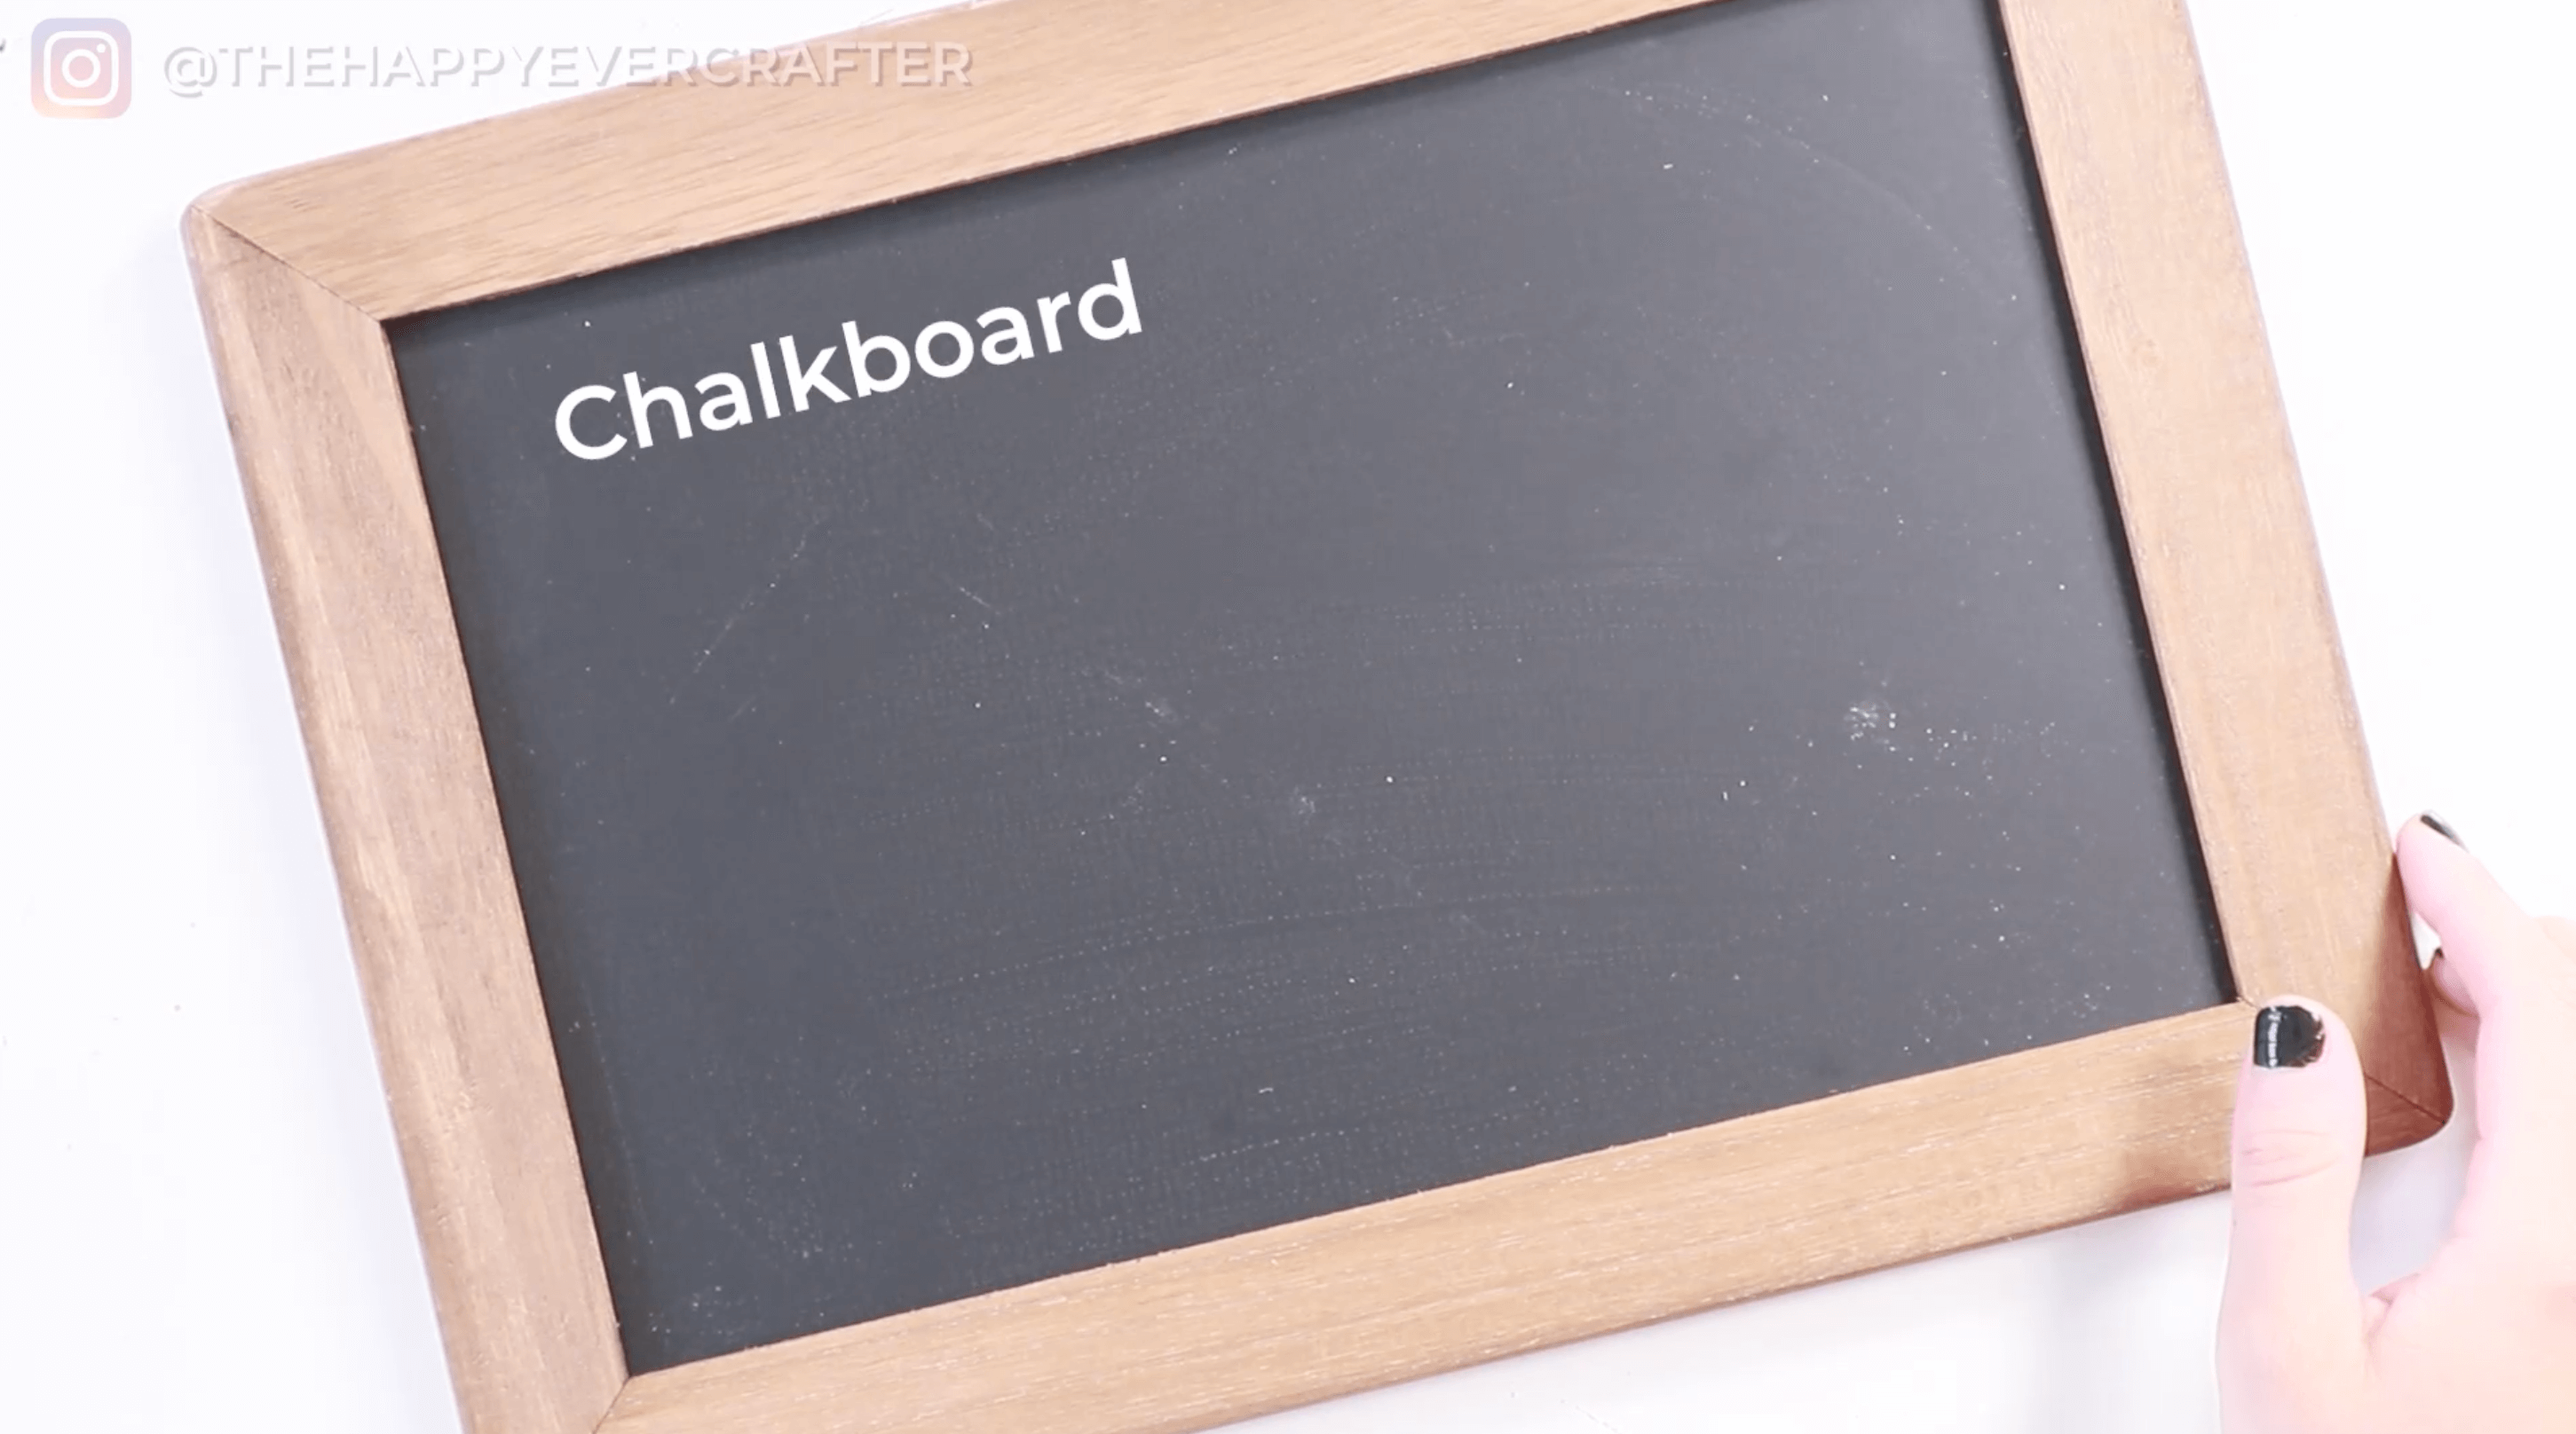
- Chalkboard
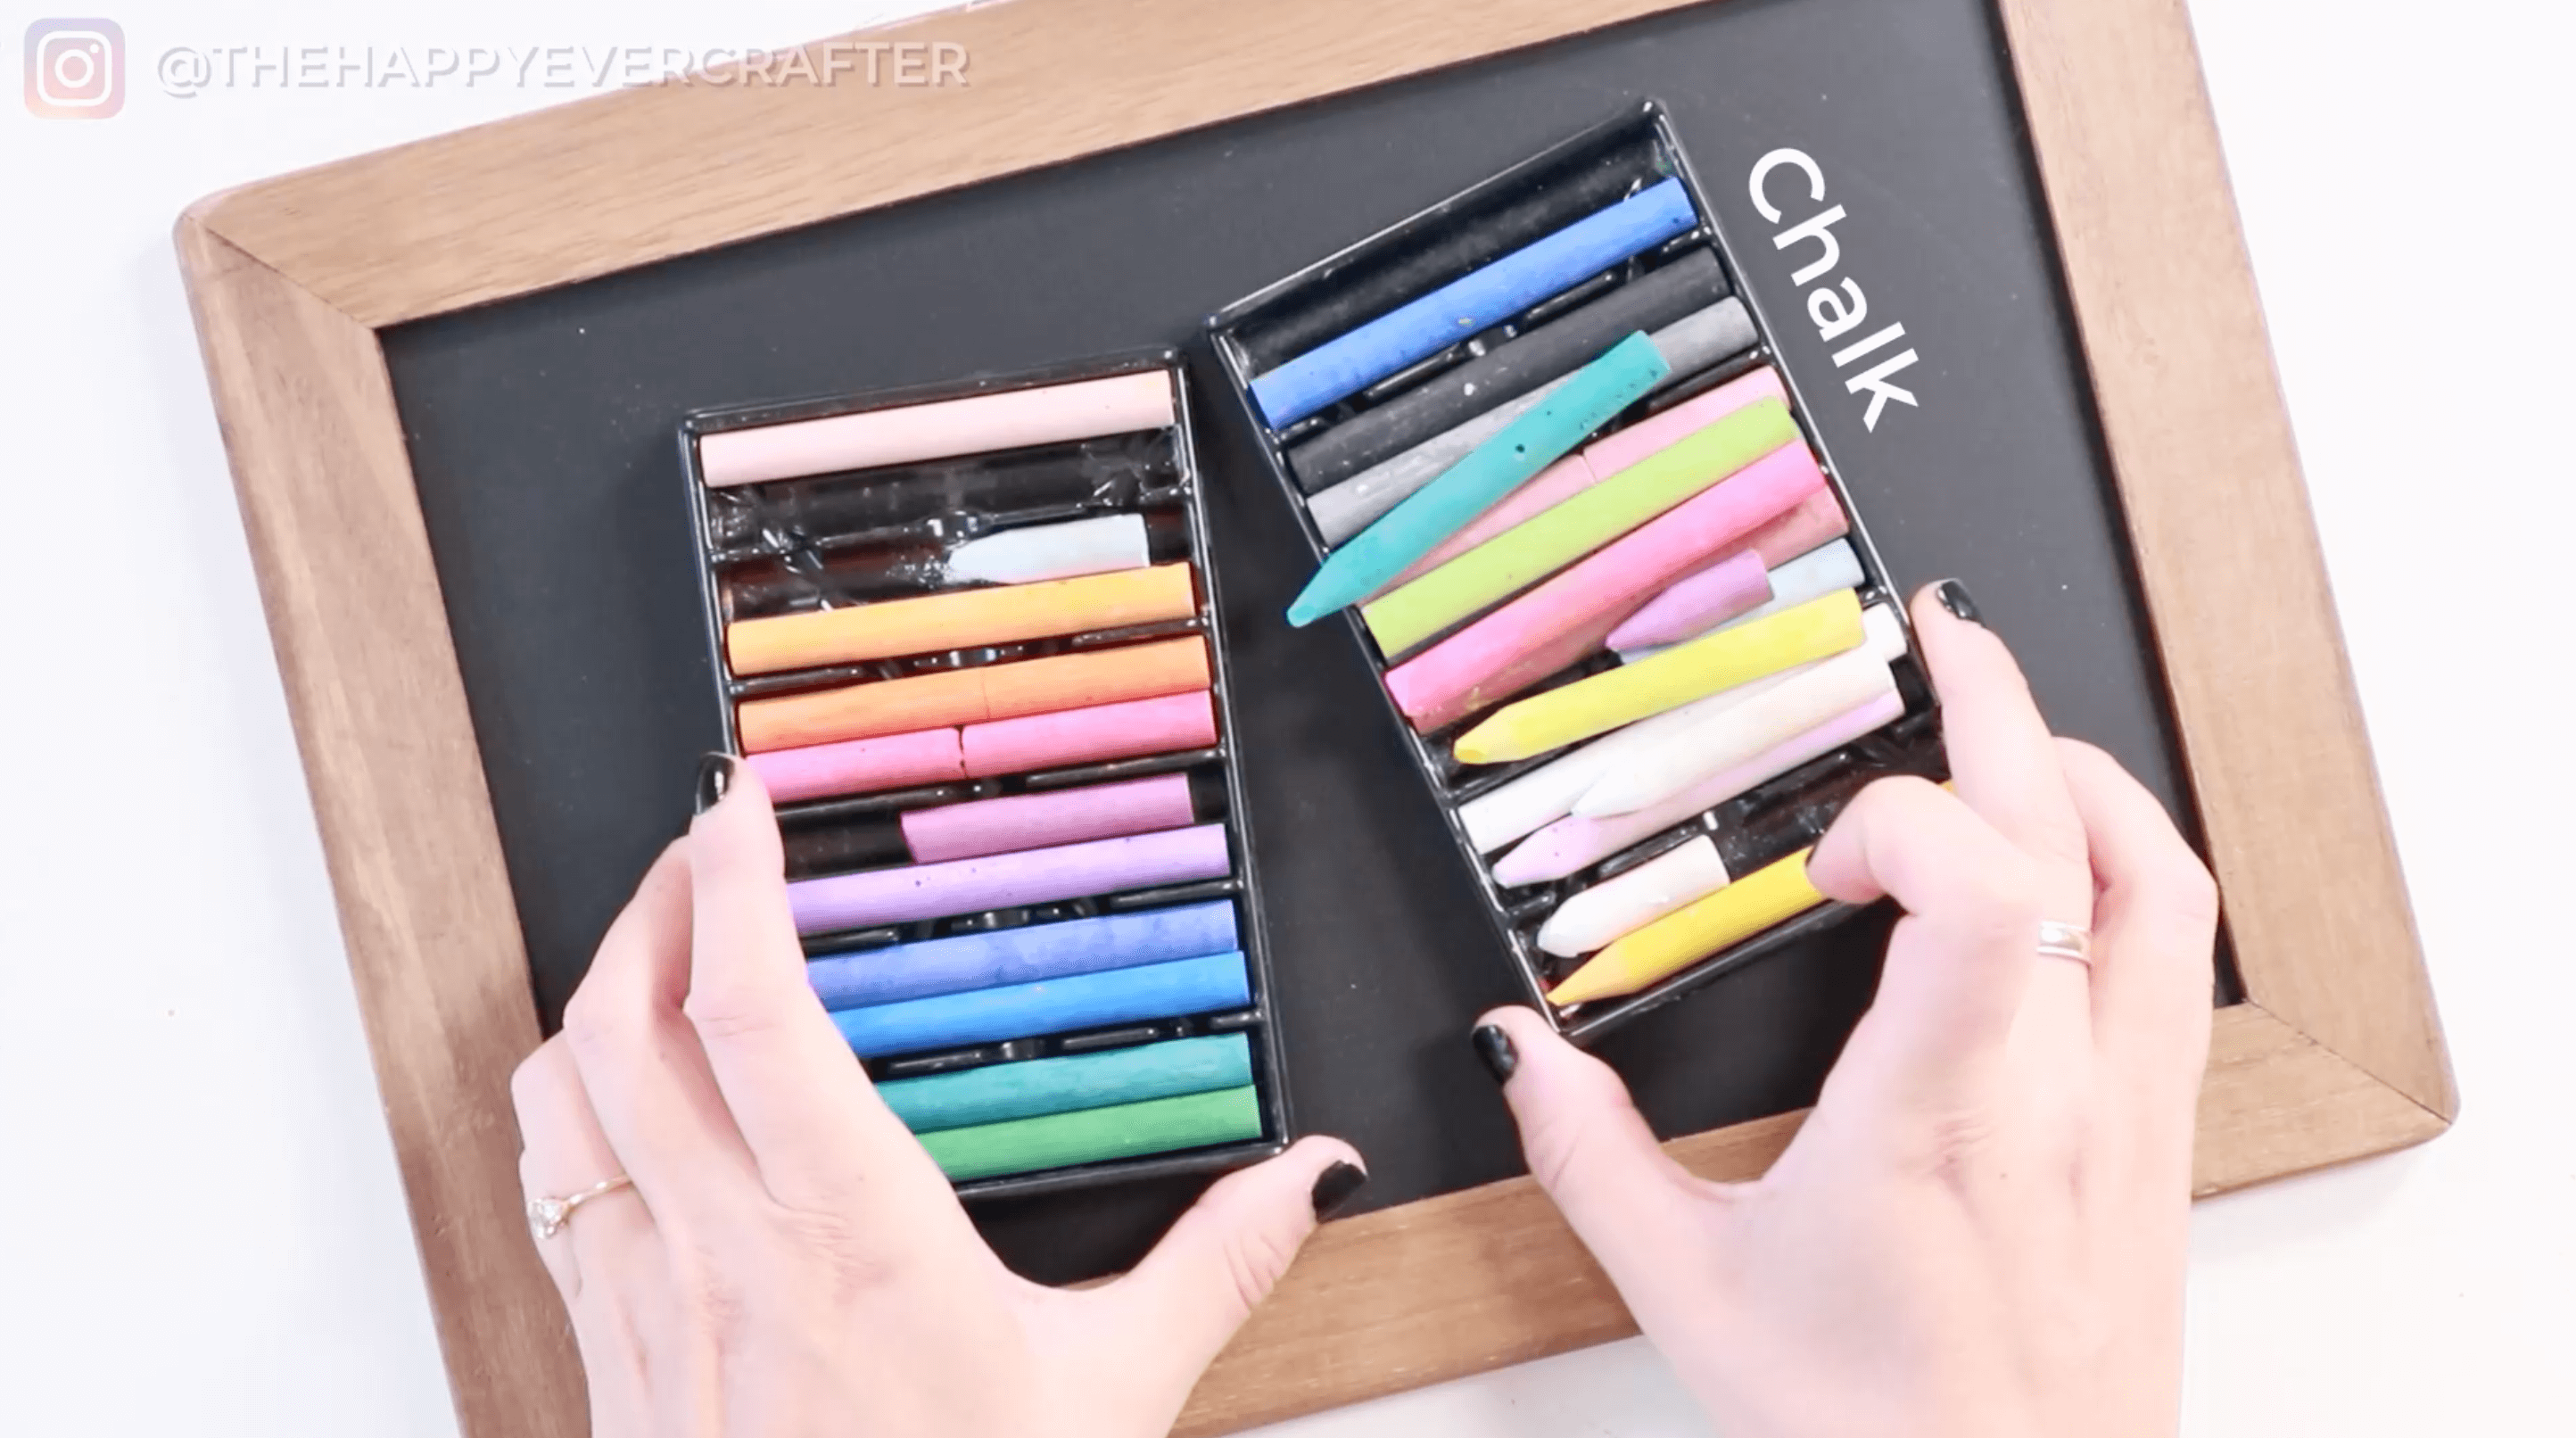
- Crayola Chalk
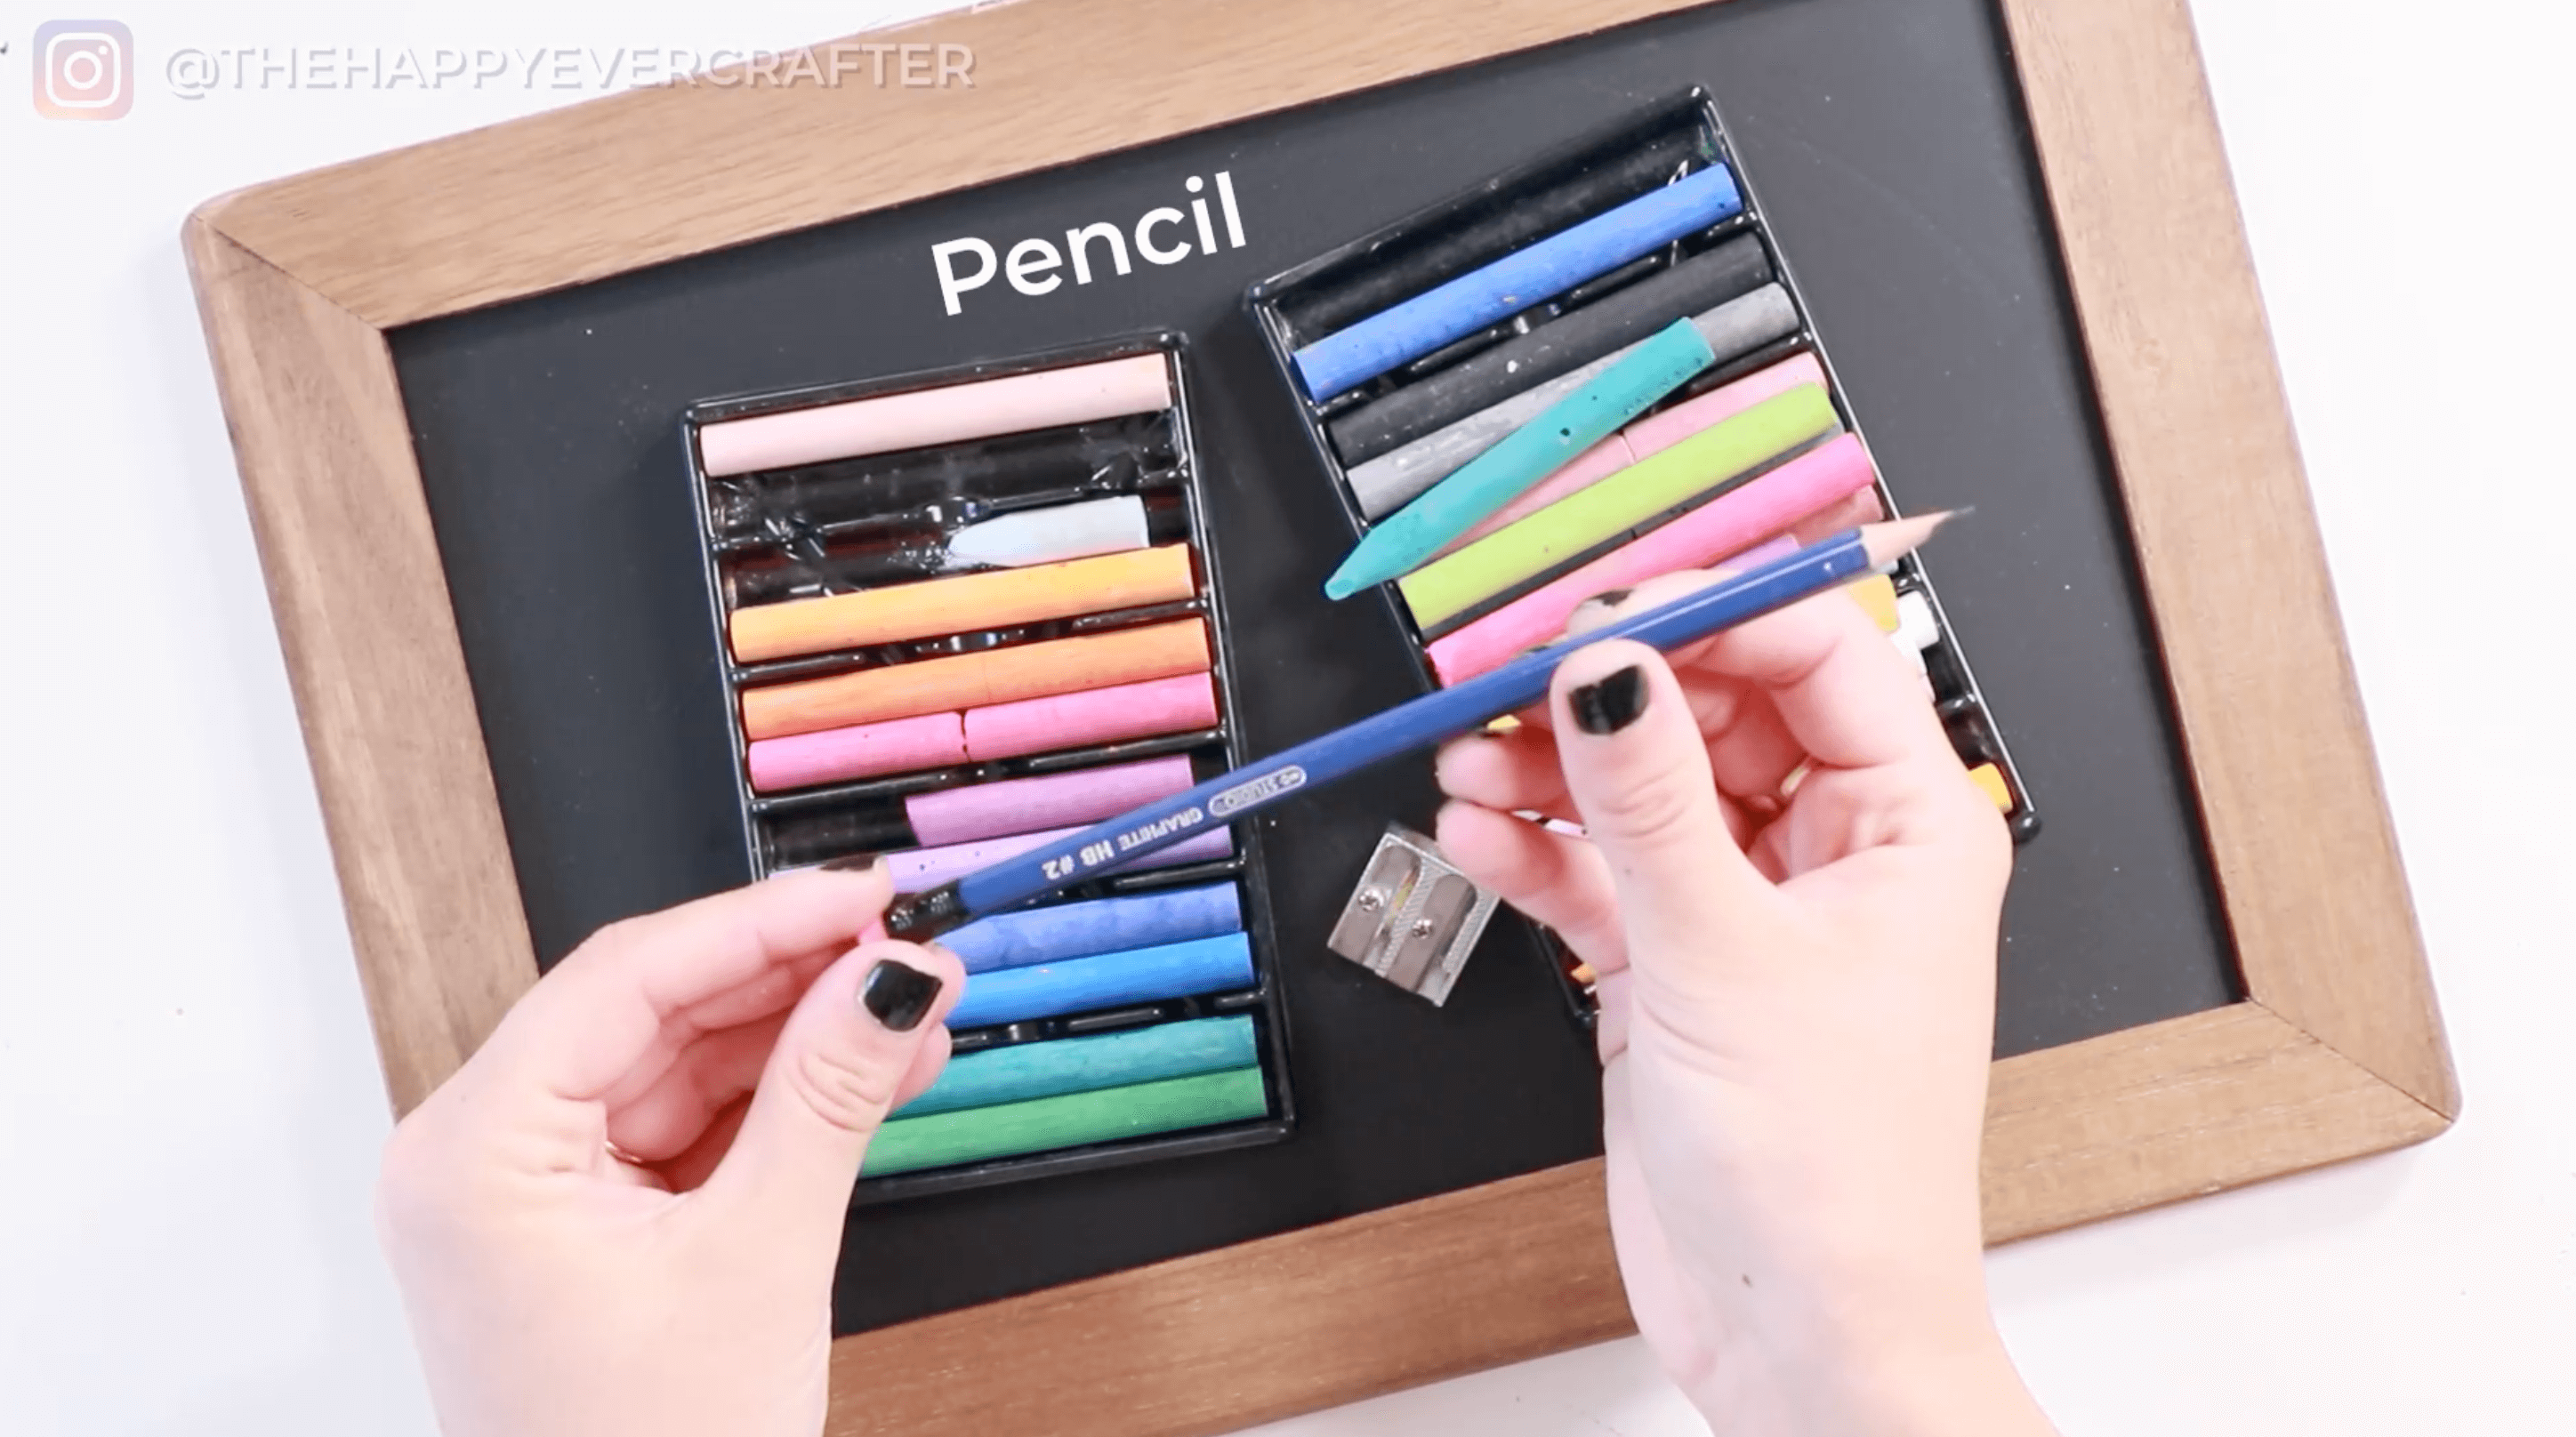
- Sharpener
- Pencil
- Sketch
Rather watch than read? No problem! You can watch me create this cute Easter chalkboard in real-time by clicking the video below!
Let’s Get Started!
All of the supplies you need are listed above. Essentially you need a chalkboard (any size) chalk (any colours – even just white!), a sharpener (one with a bigger opening), a pencil (with an eraser), and your sketch.


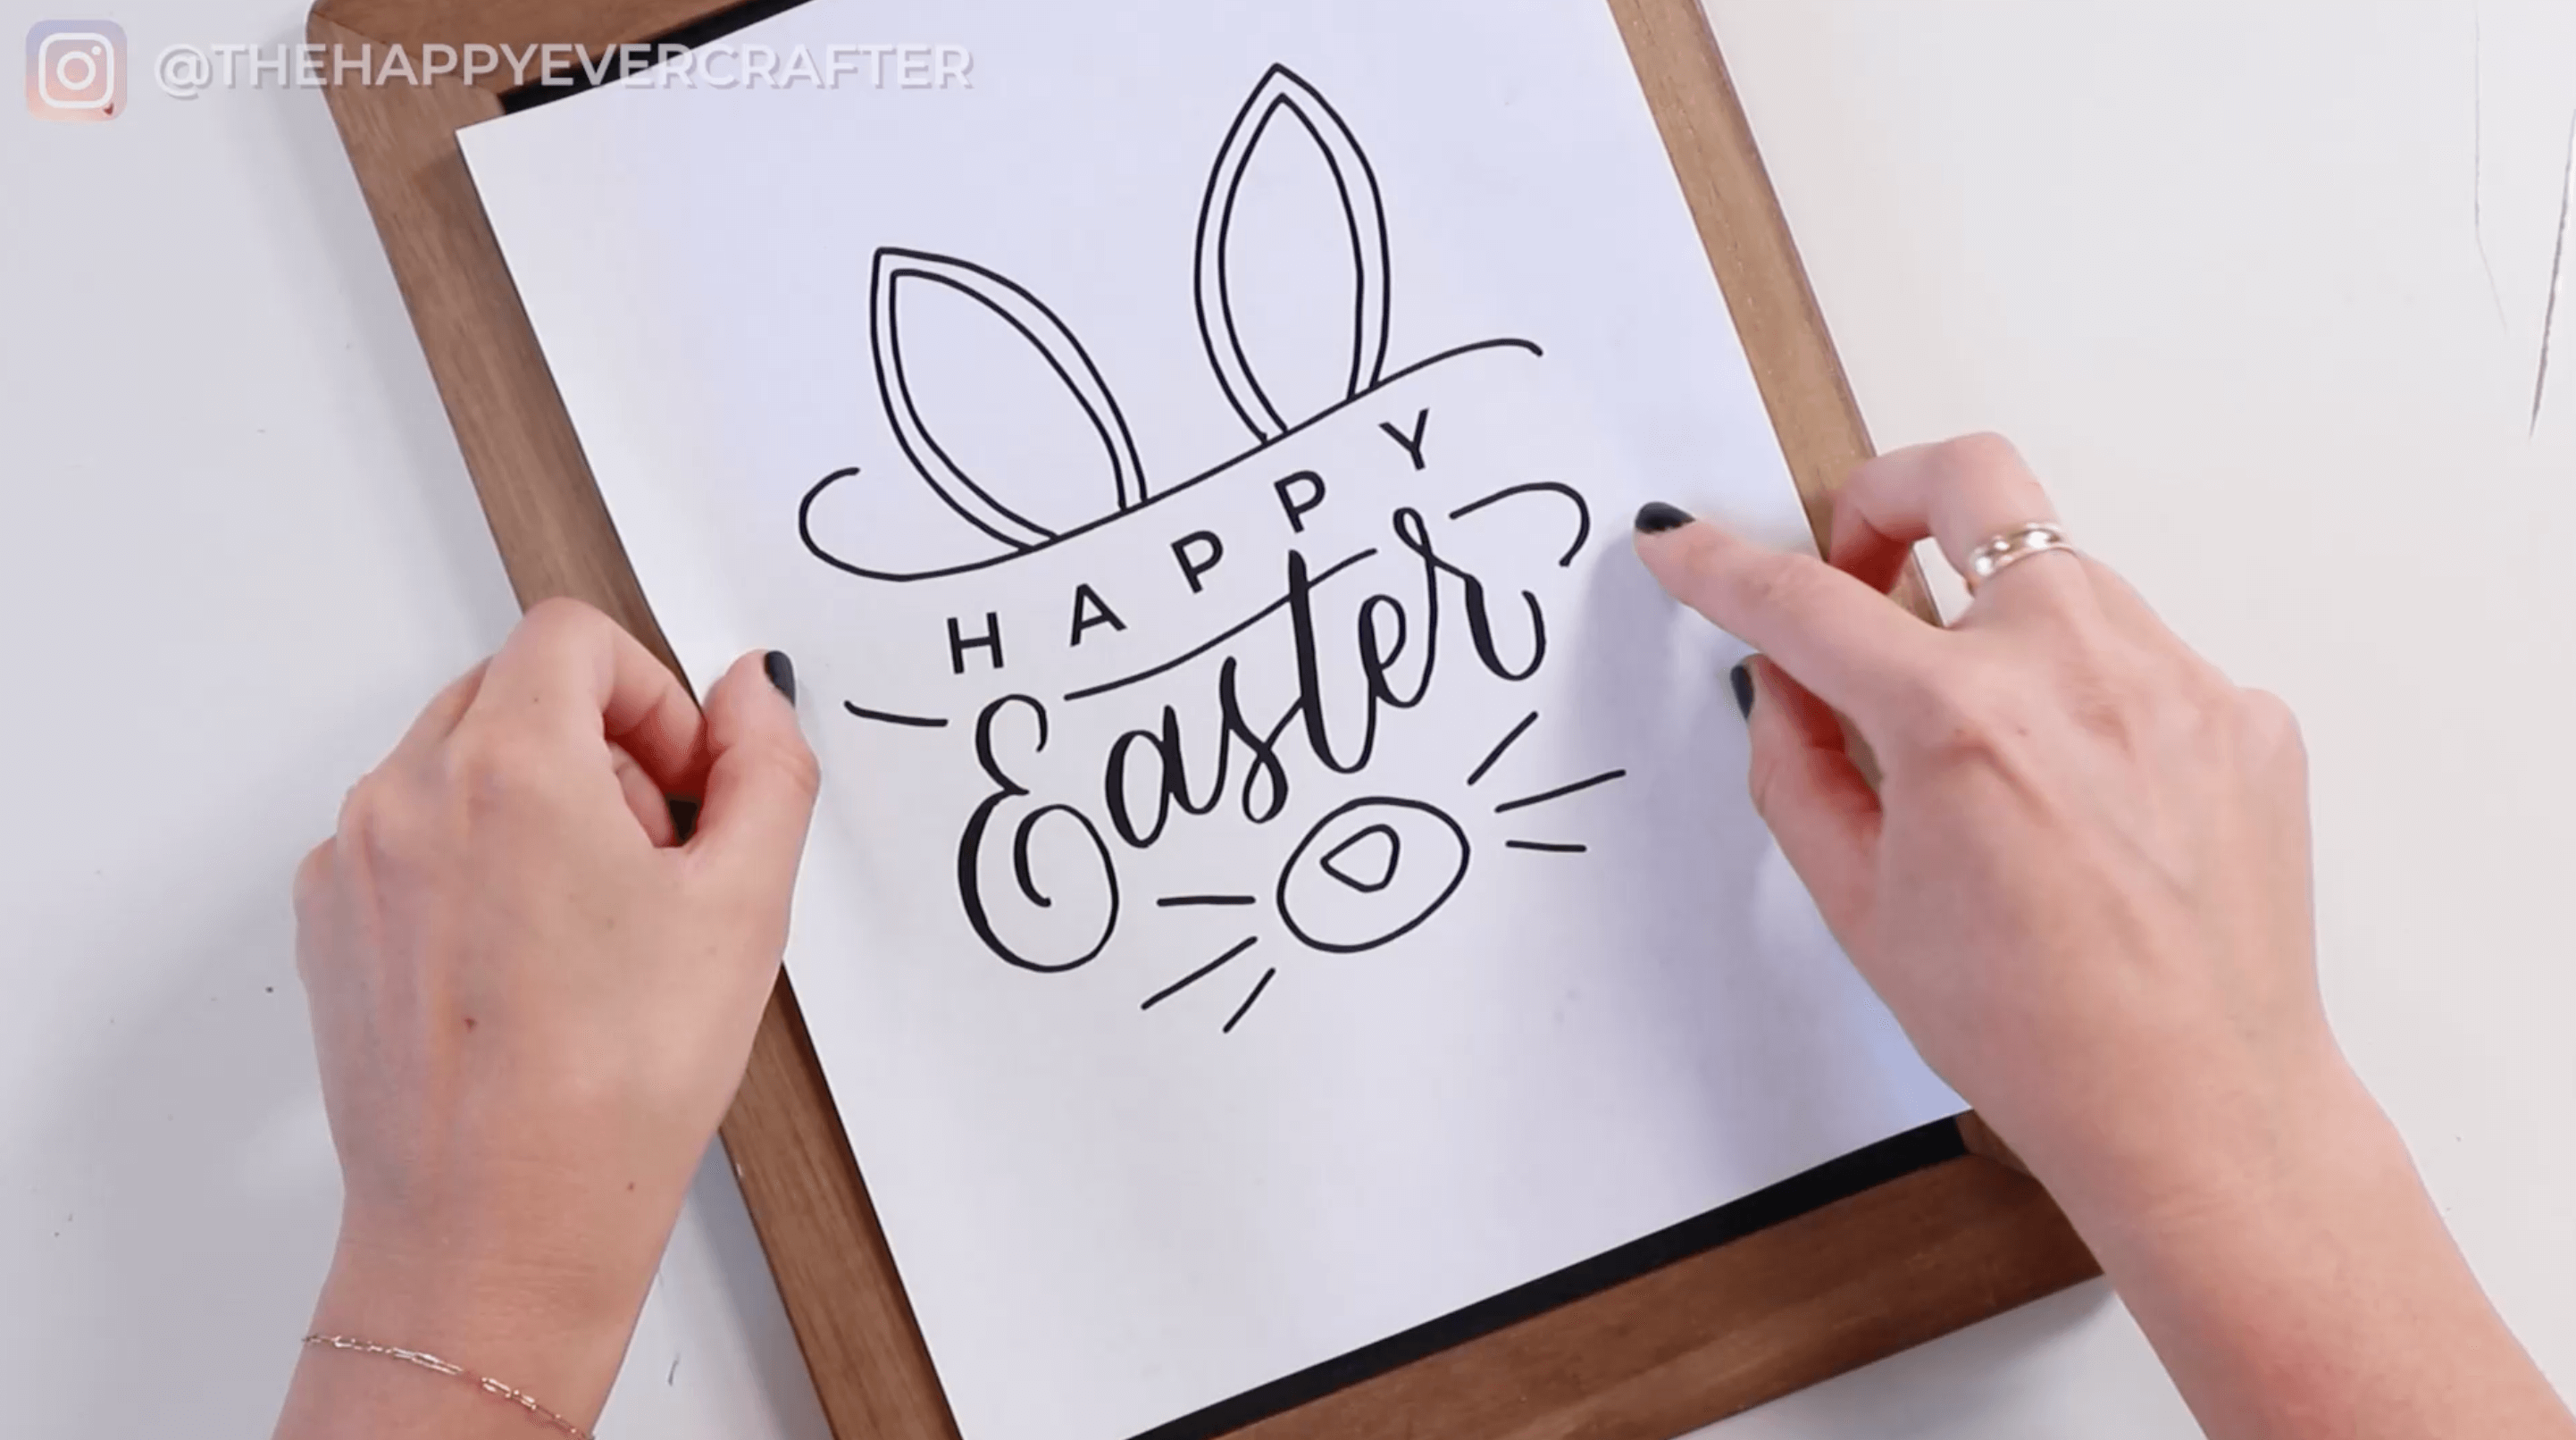
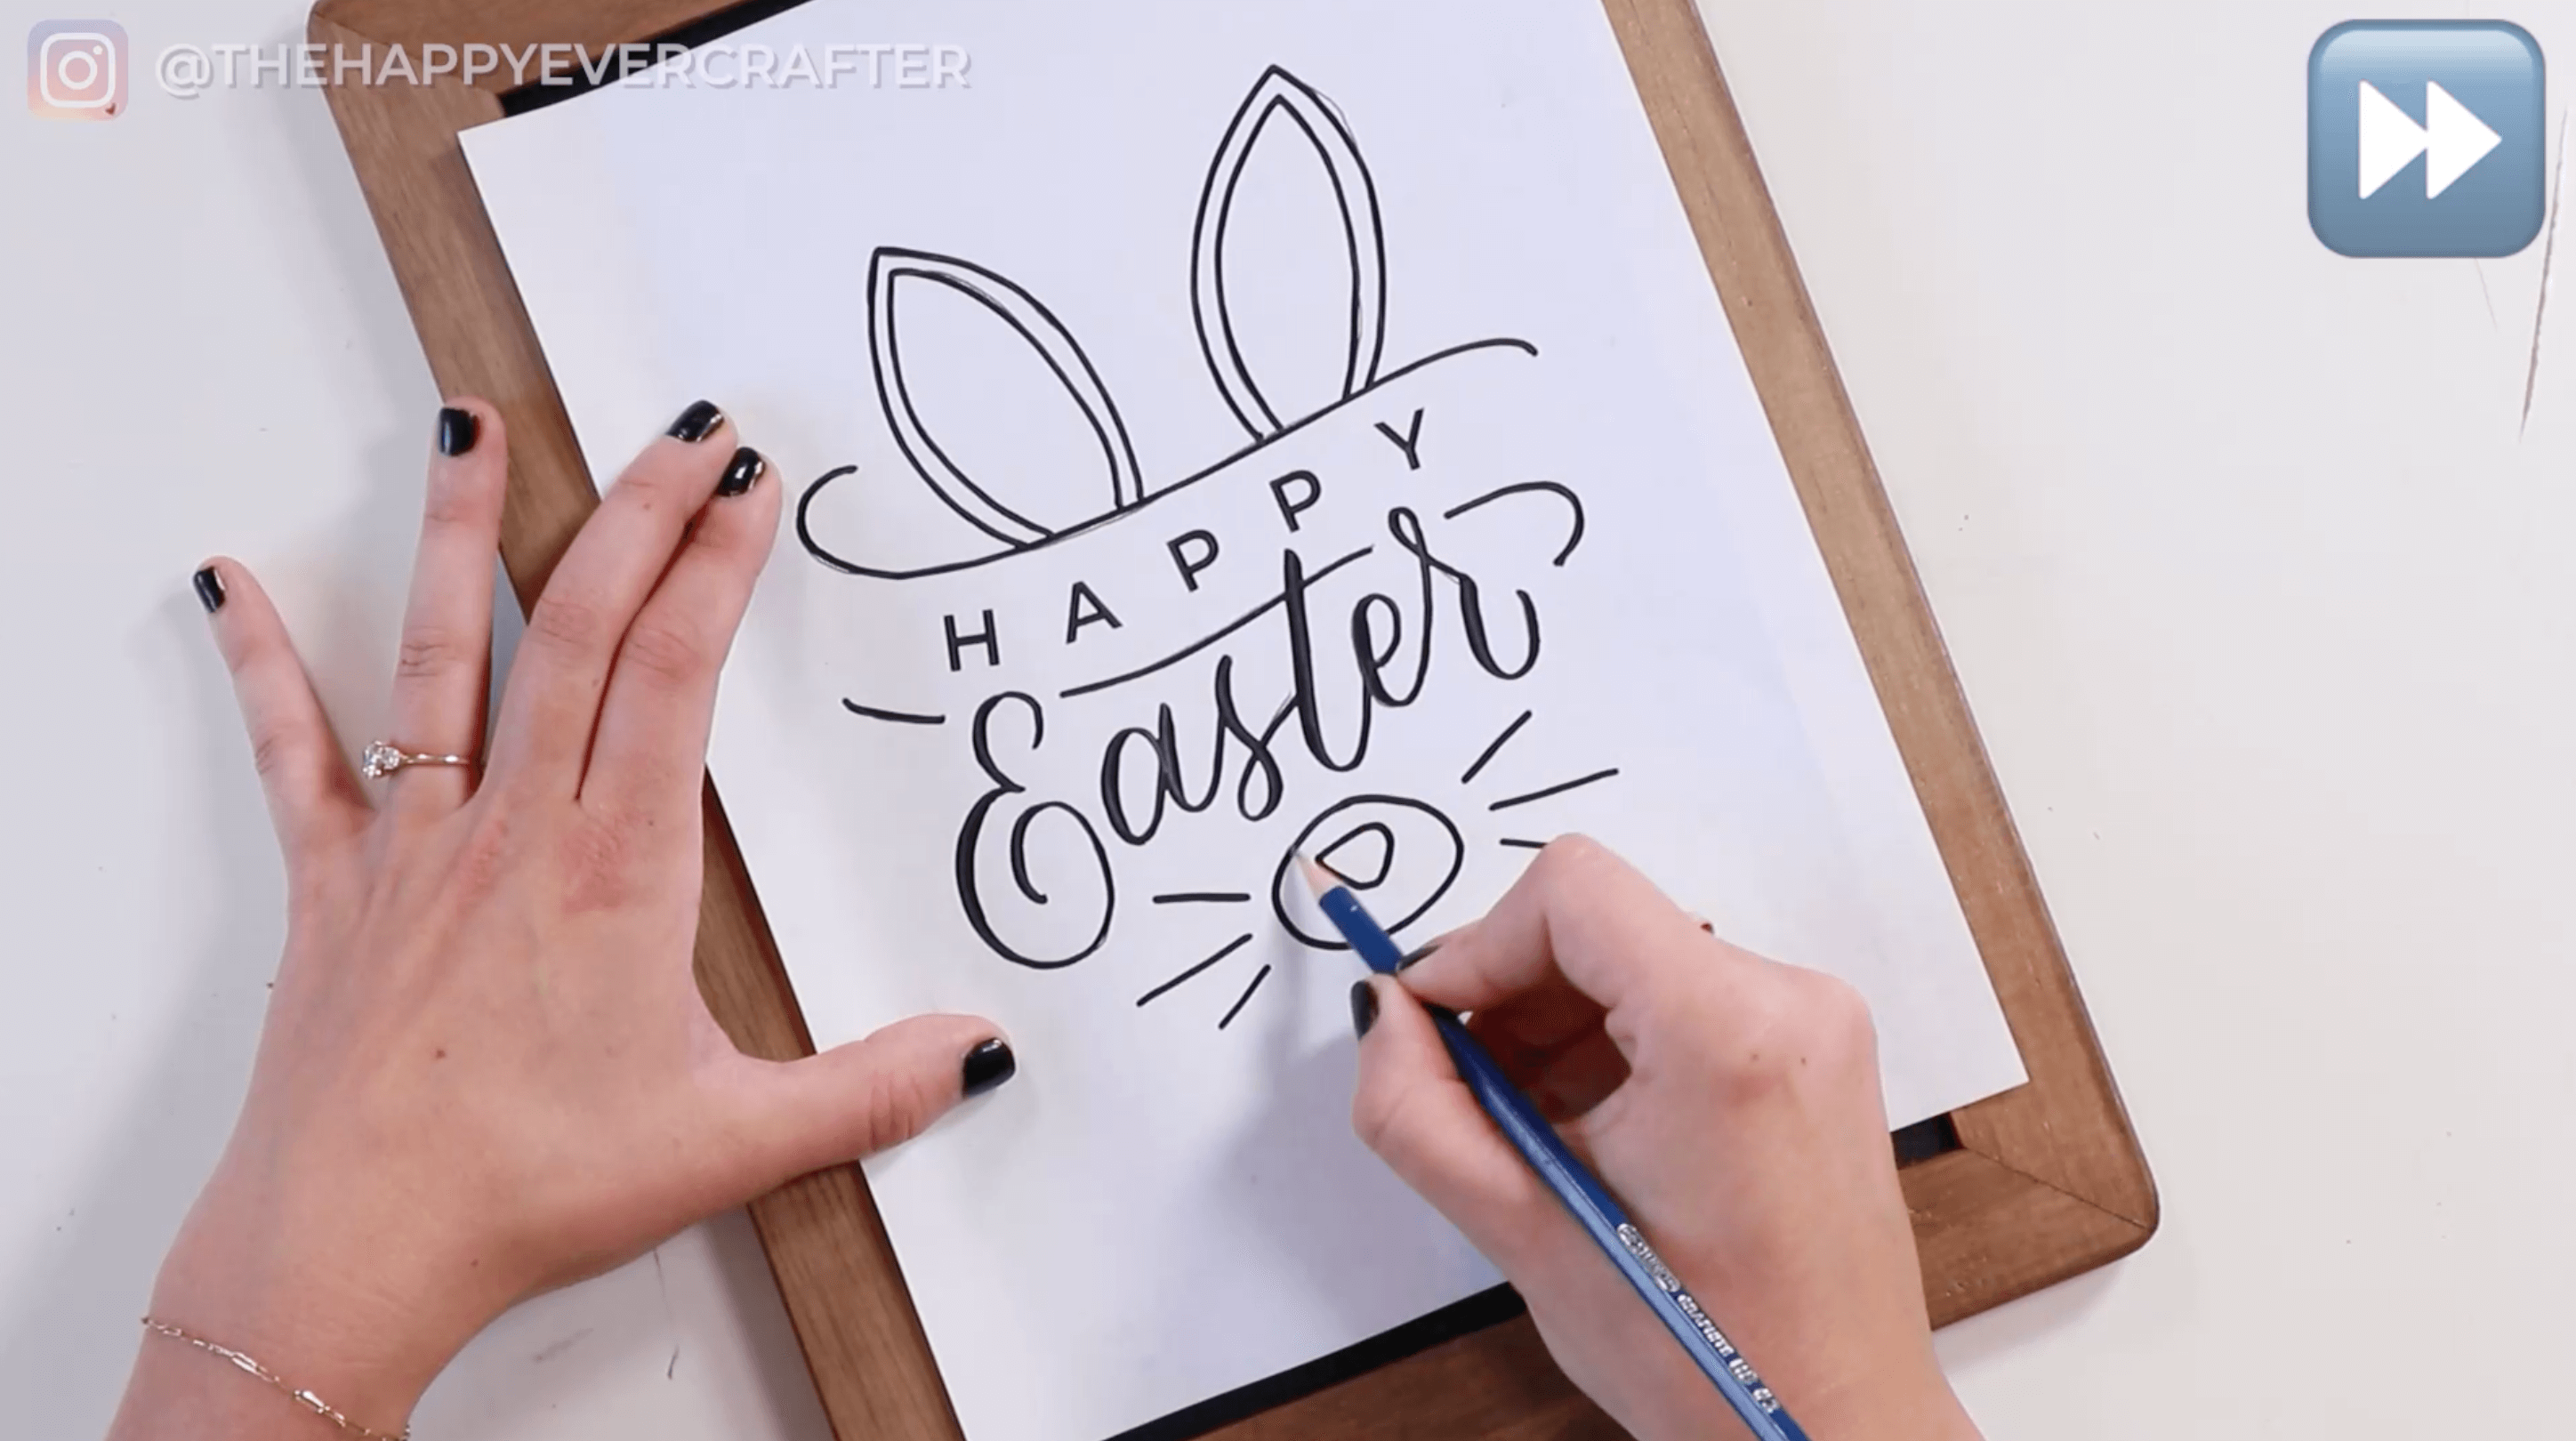
Step #1: Prepare your design on paper
For my design, I sketched it out on Rhodia paper with a pencil first. I don’t normally digitize simple designs like this, but I went ahead and digitized it, so I could share with you! If you want to use this exact design, you can download yours at the bottom of this post! If you want to use your own sketch/design, that’s totally fine!
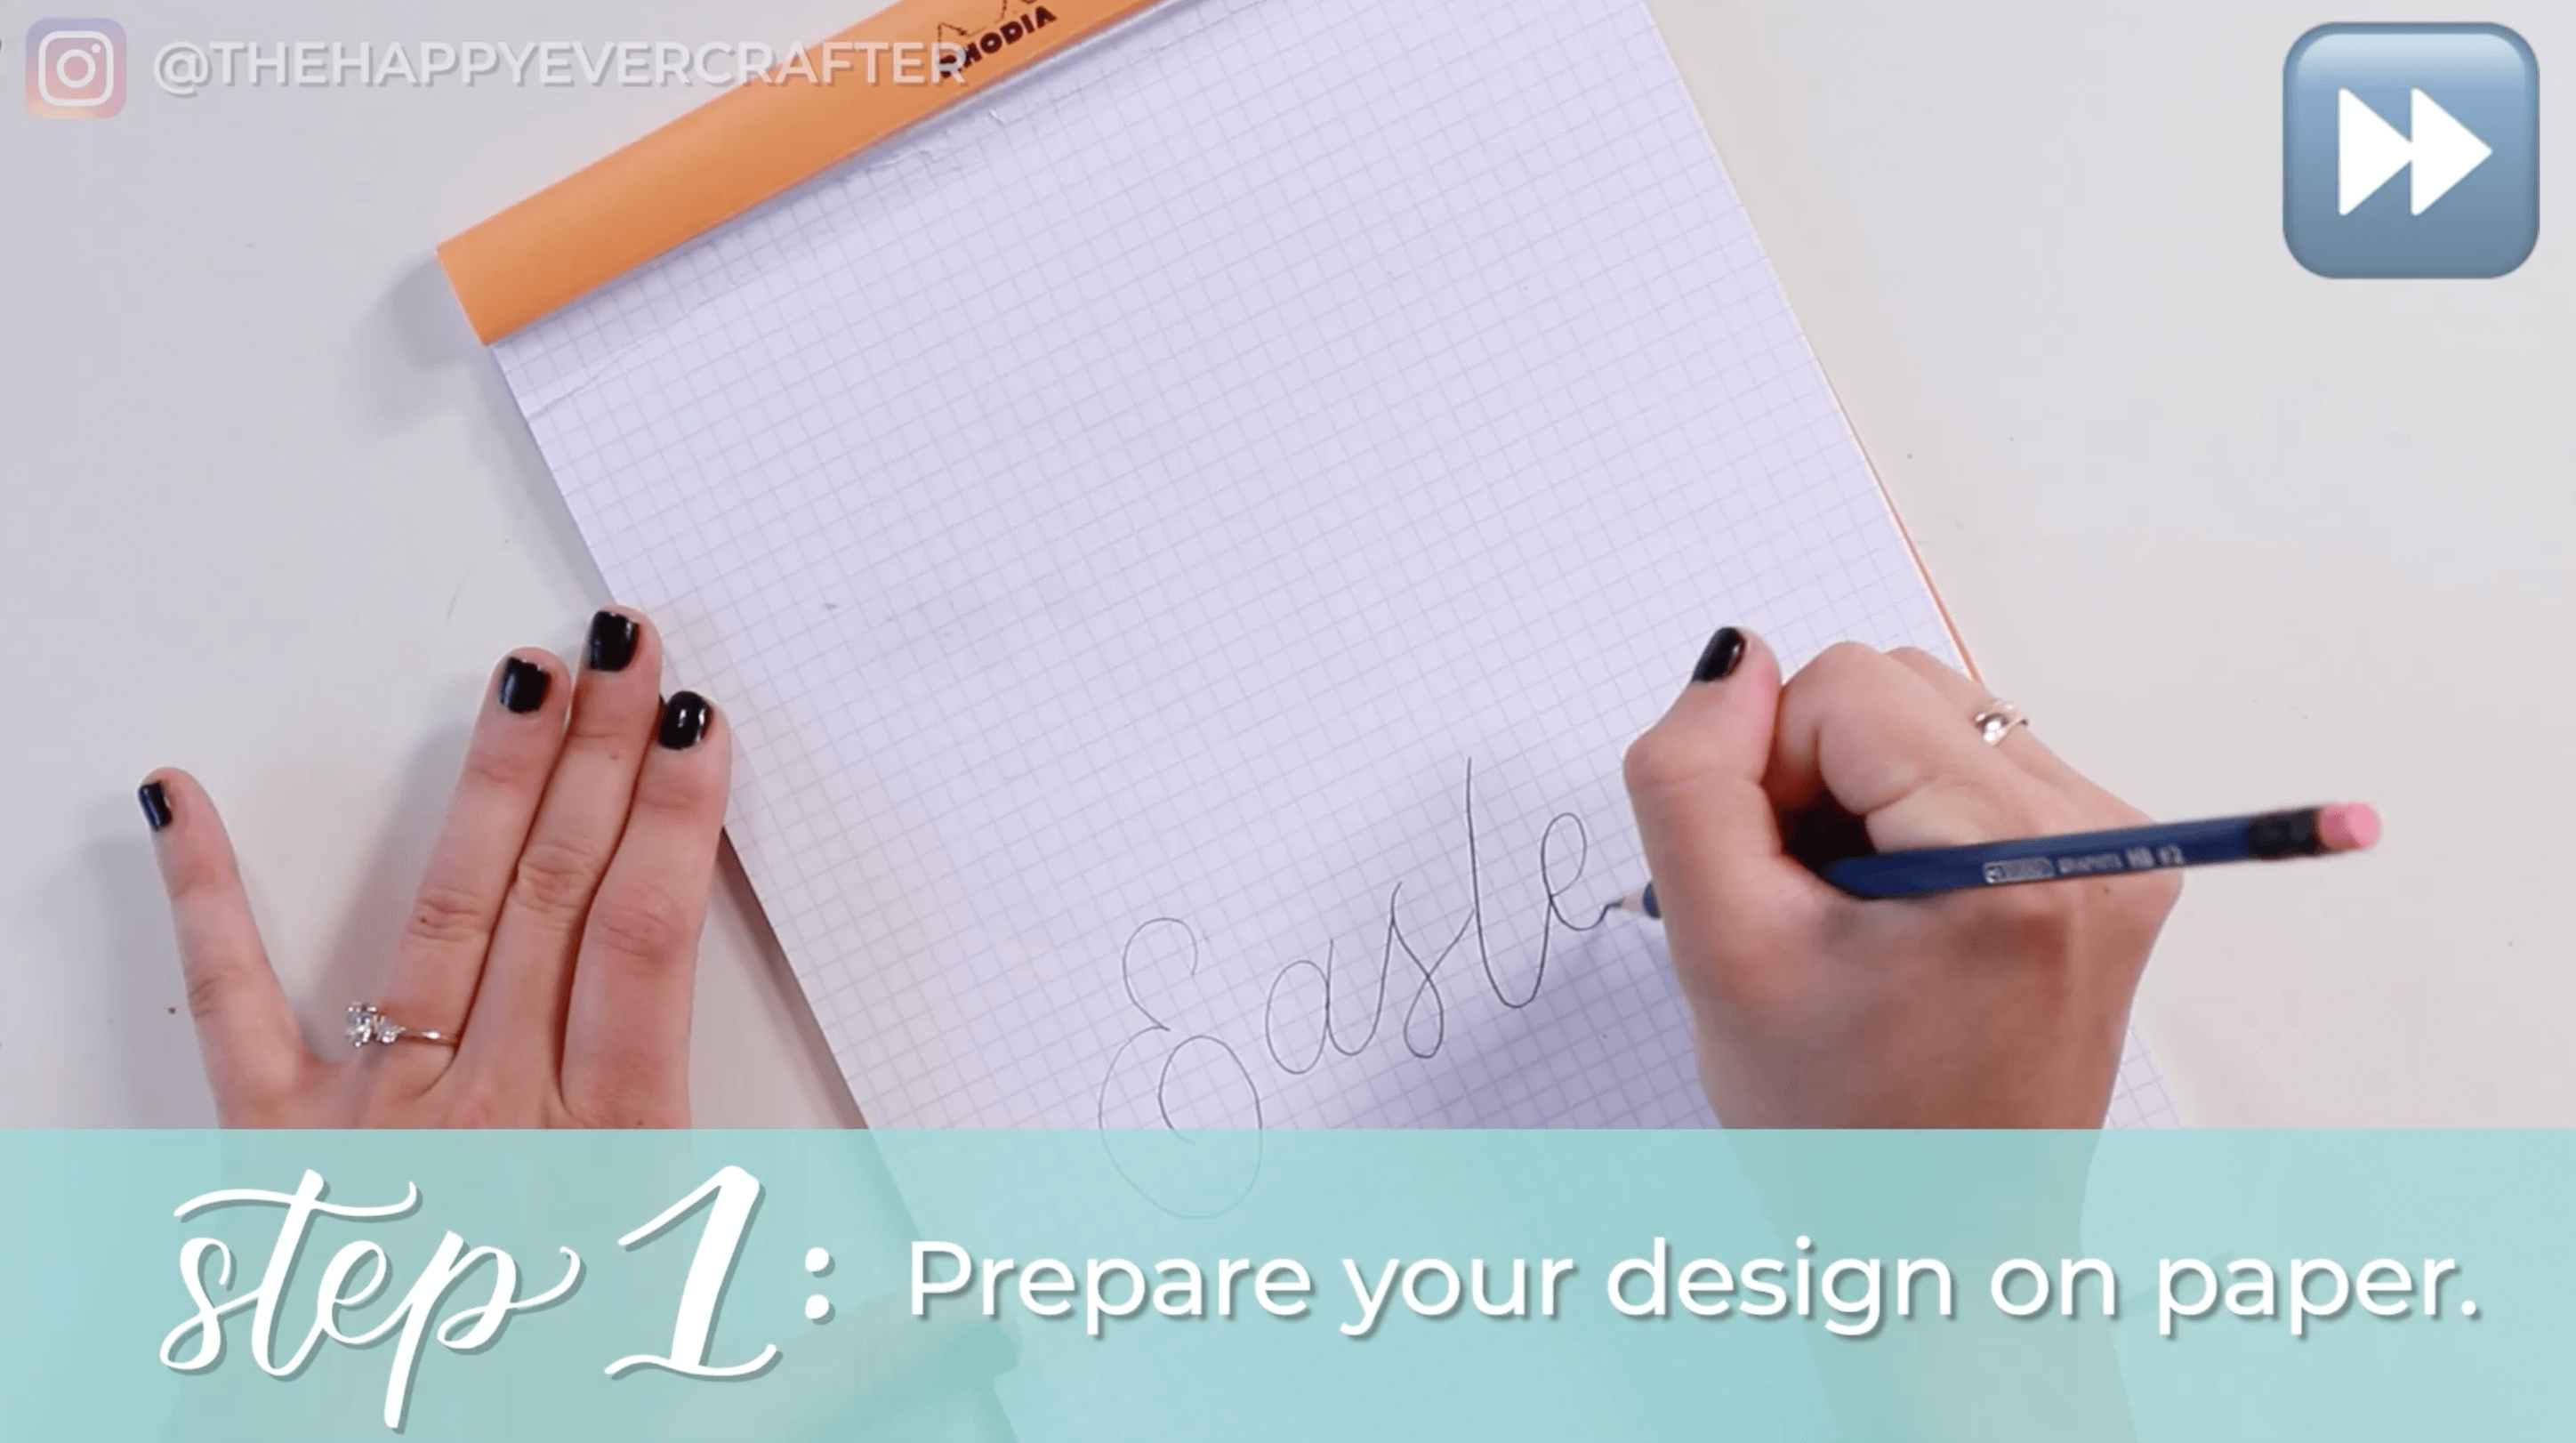
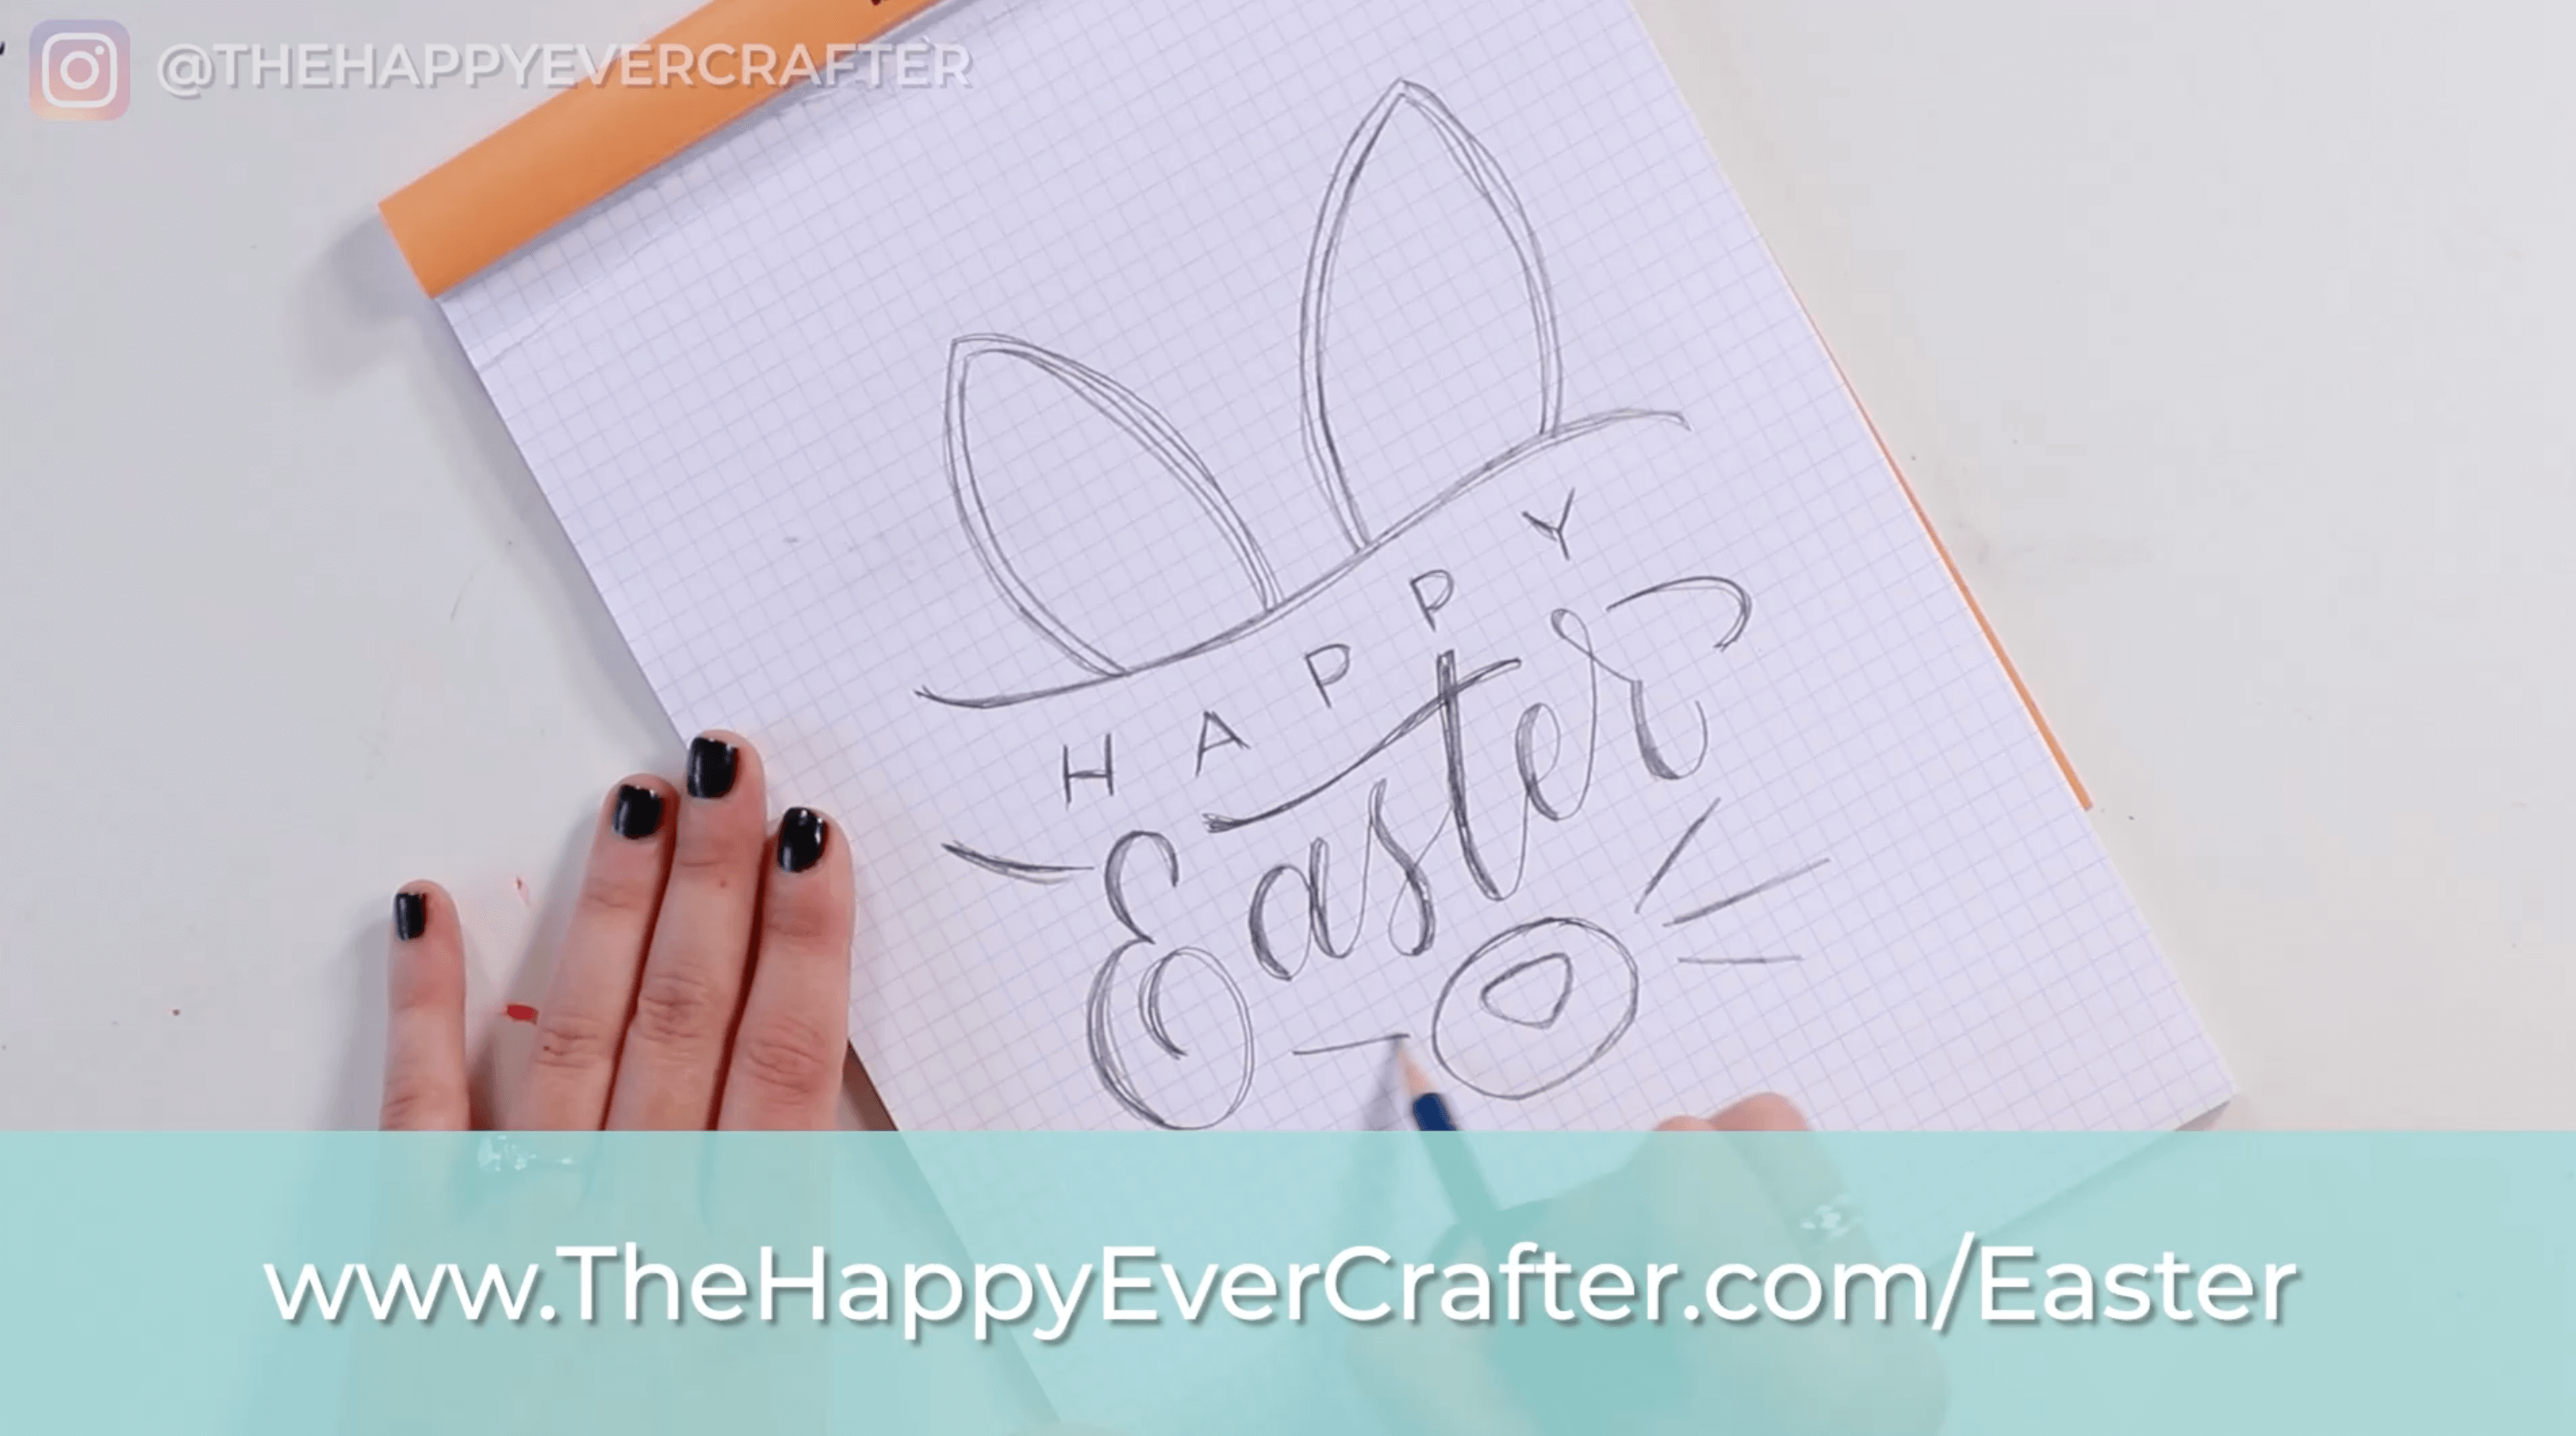

Since my chalkboard is pretty small, I printed my design on 8.5×11 paper. Feel free to adjust depending on the size of your chalkboard.
If you want more info on digitizing your designs, check out this post here.
B
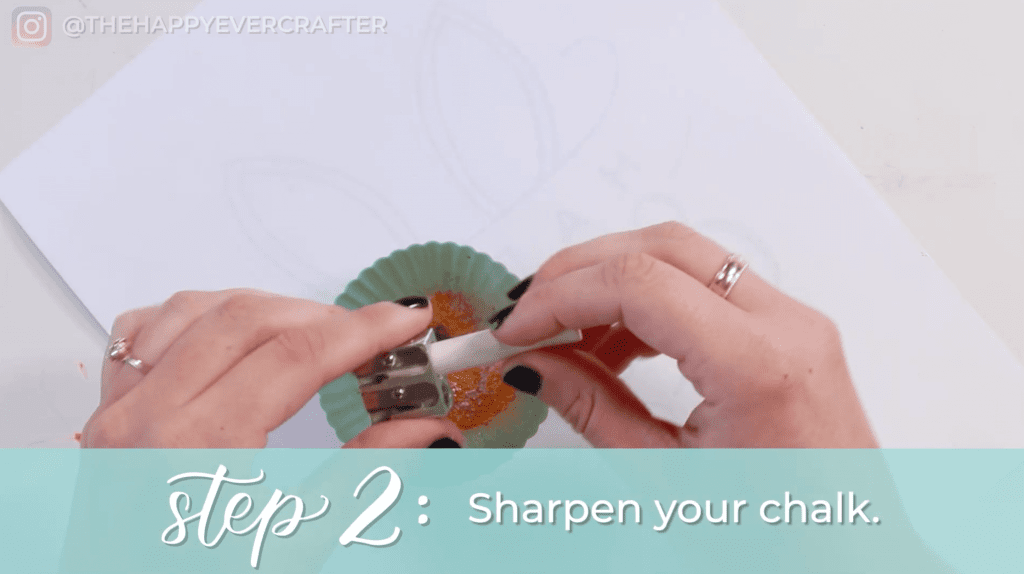
Step #2: Sharpen your chalk
To get your design onto your chalkboard, you need to sharpen a piece of chalk.
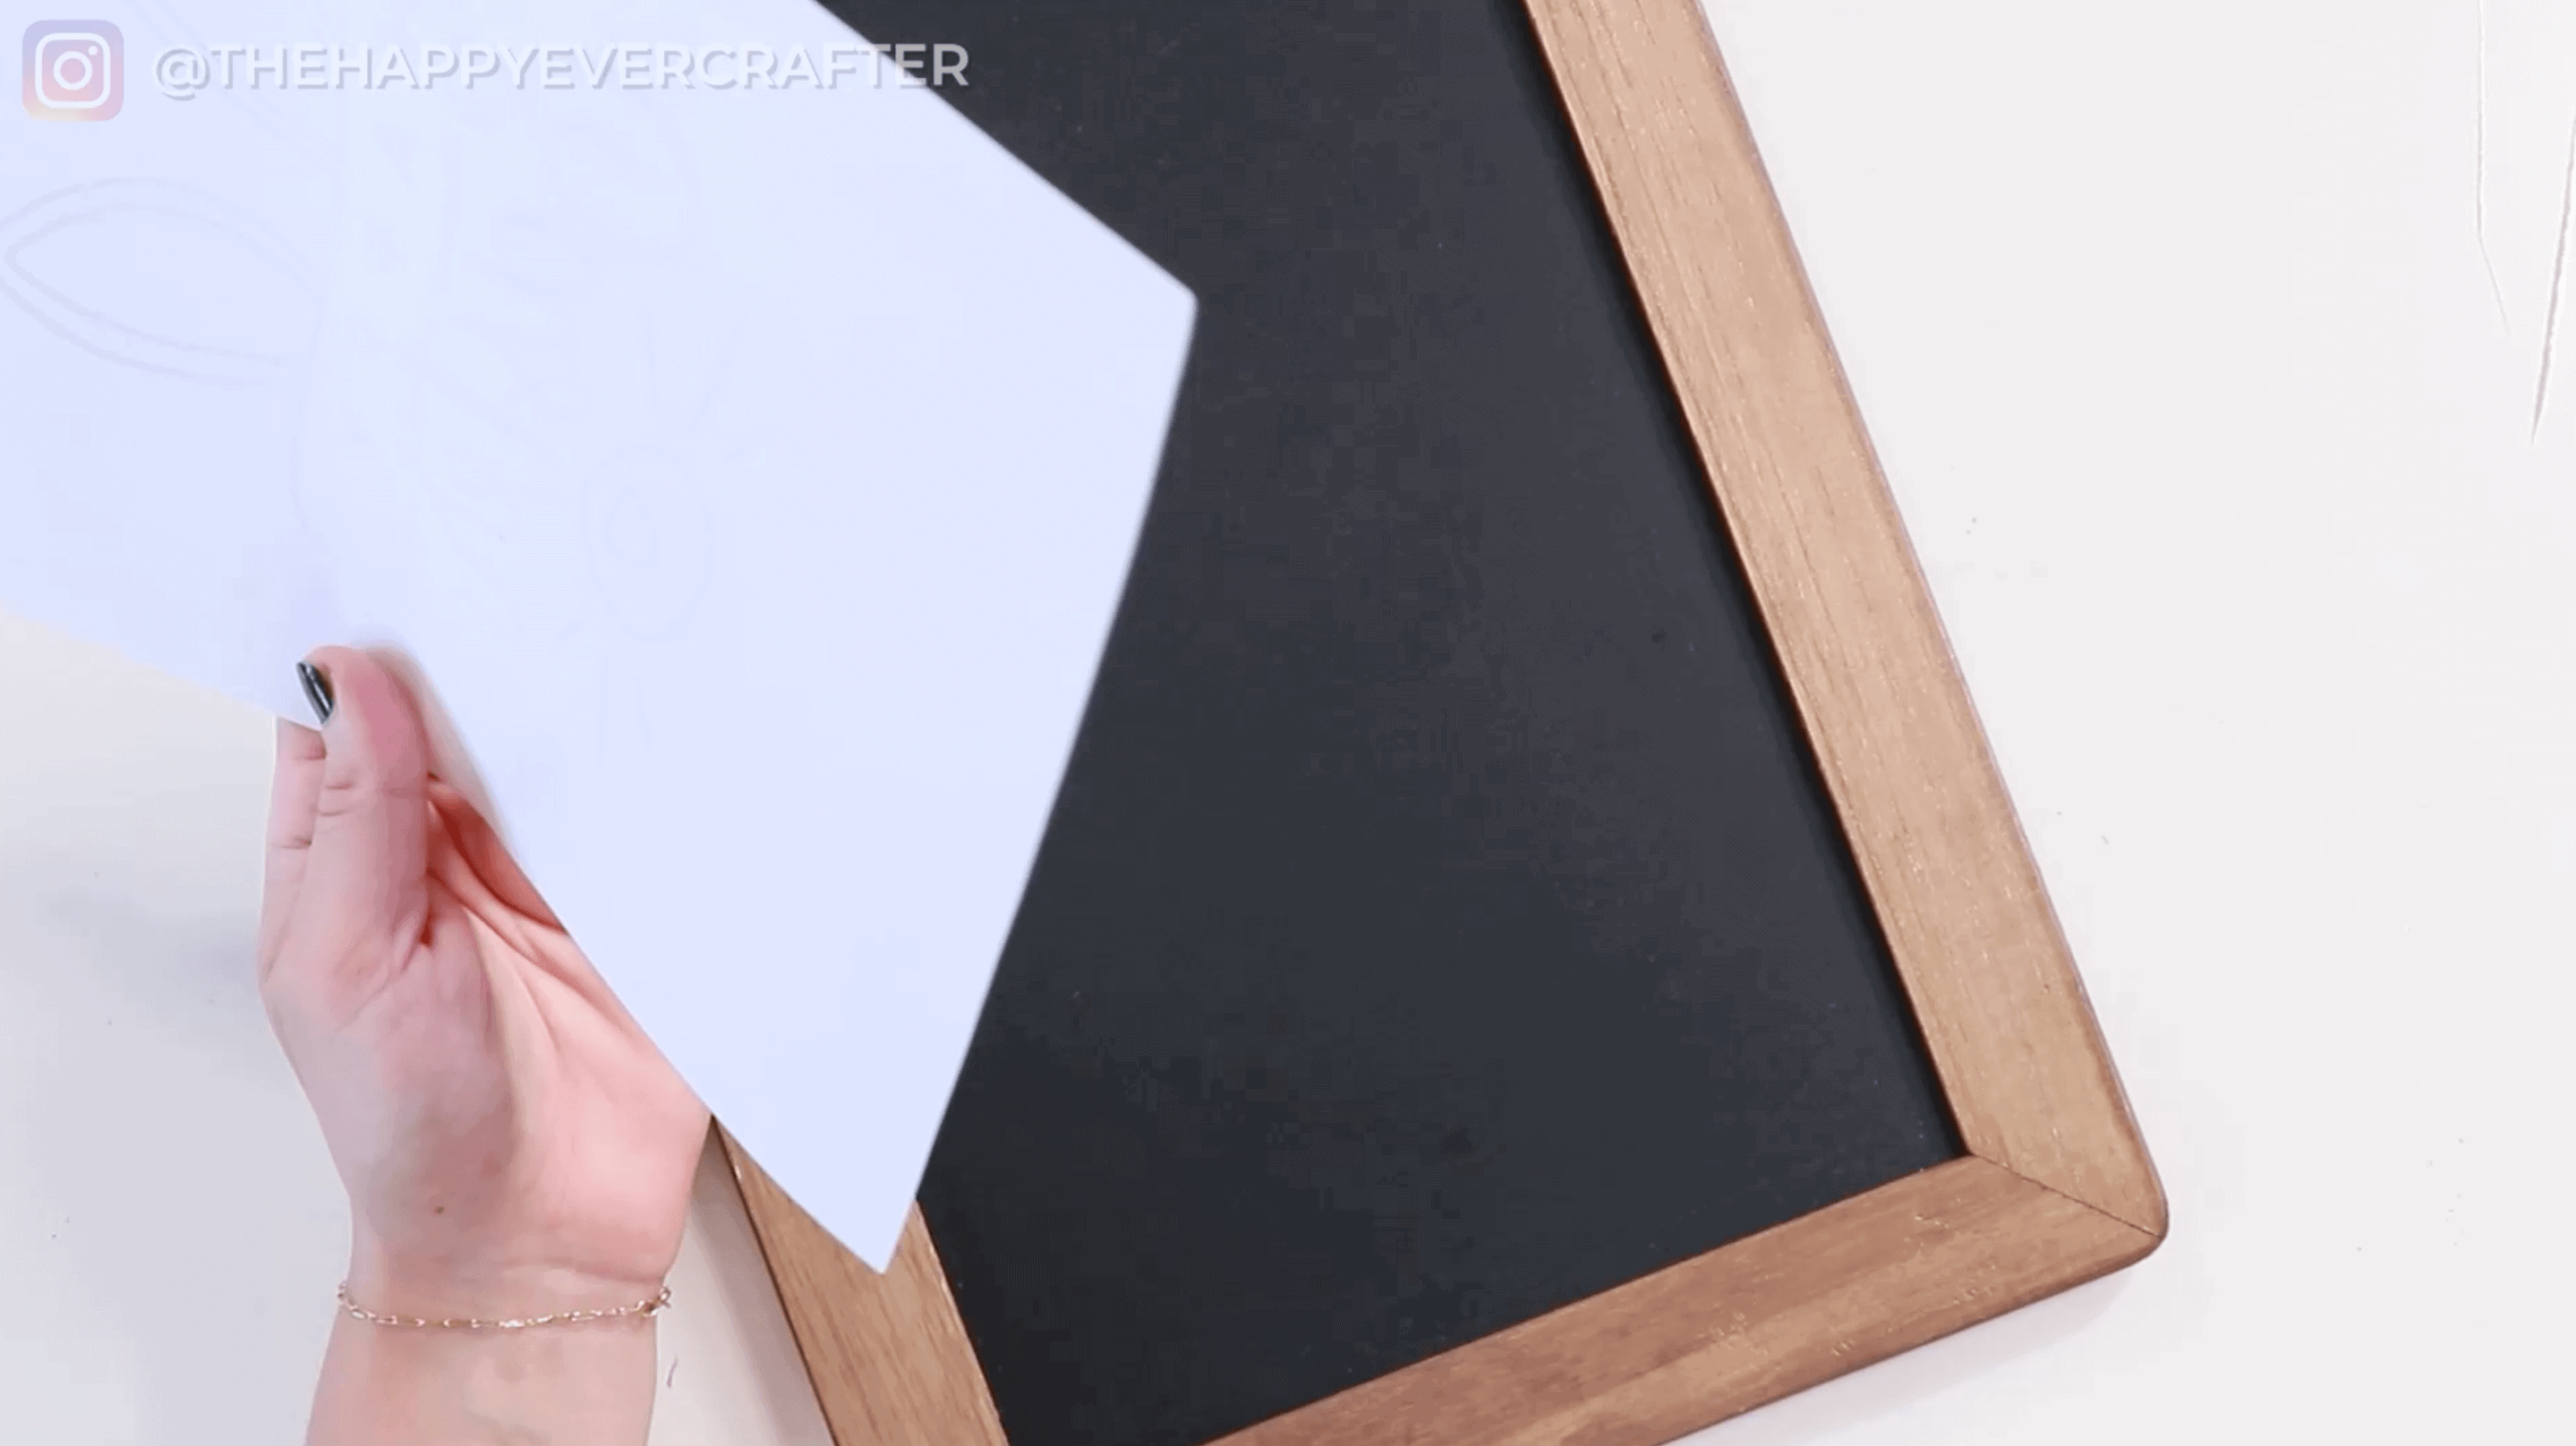
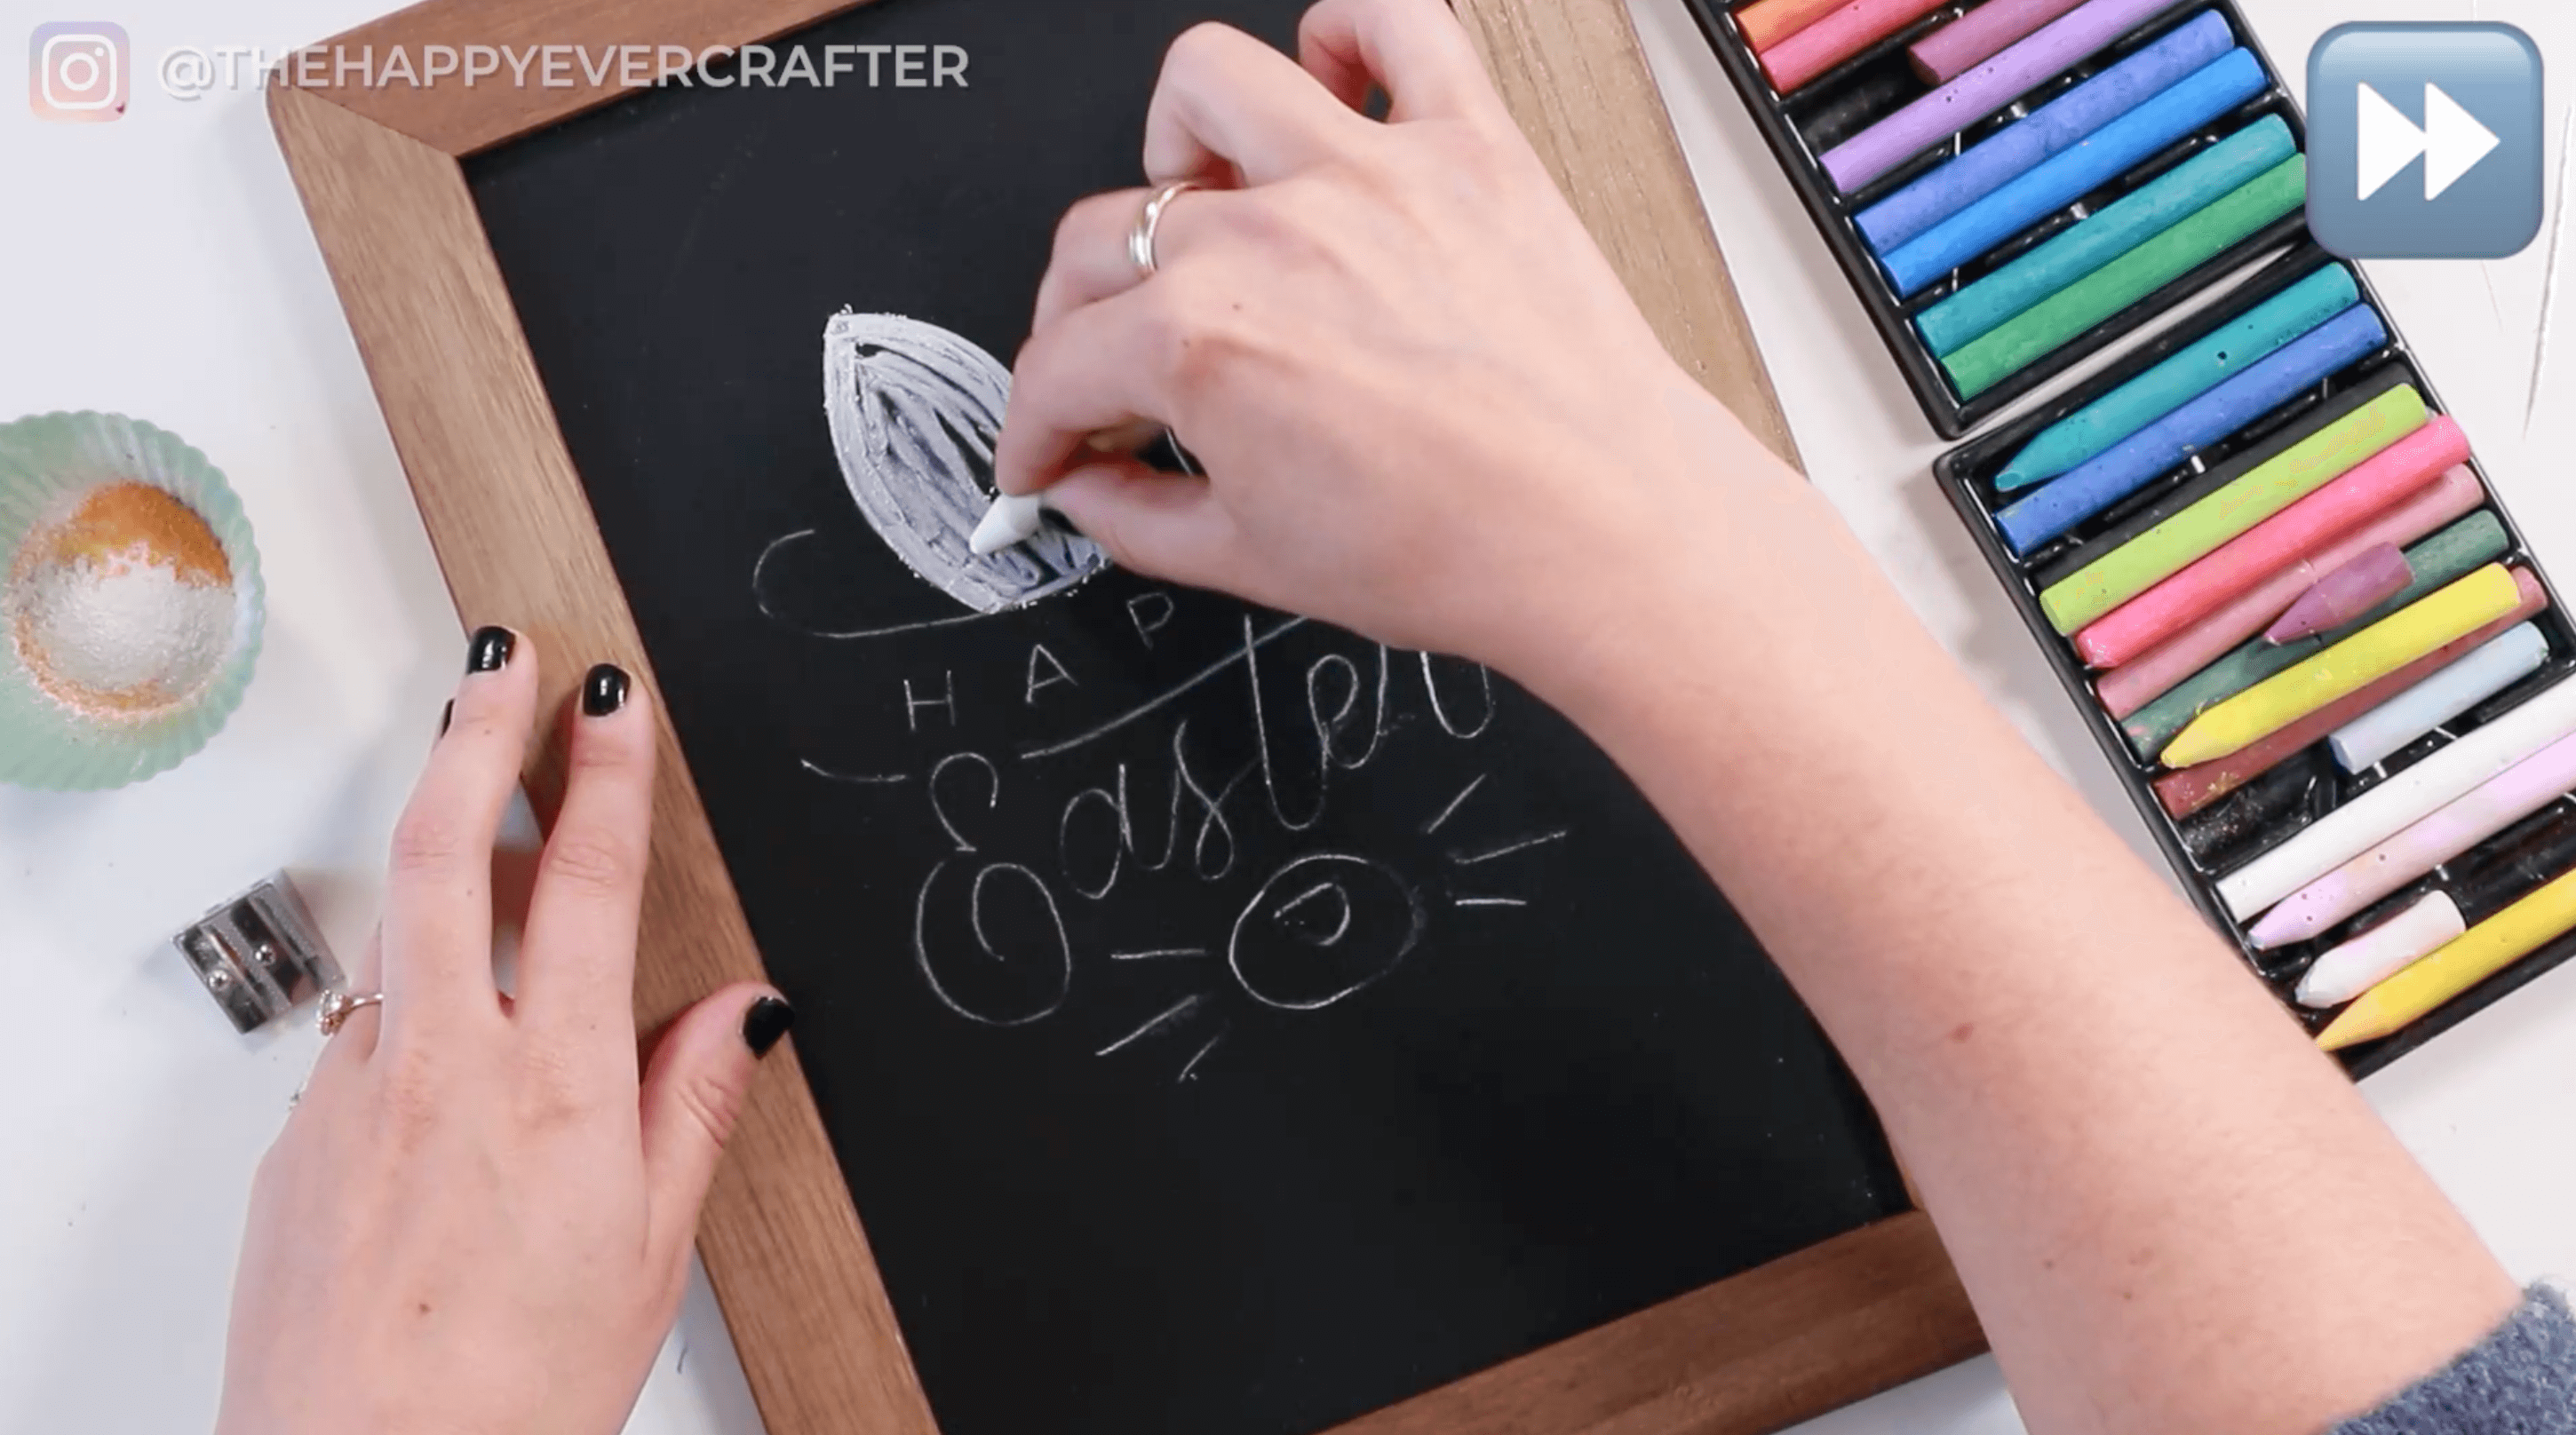
Step #3: Chalk the back of your design
Once sharpened, use your chalk to go over every line on your sketch. The neater you can be here, the better. You don’t want a ton of excess chalk outside of your actual sketch. Go over each line of the full sketch as nicely and neatly.
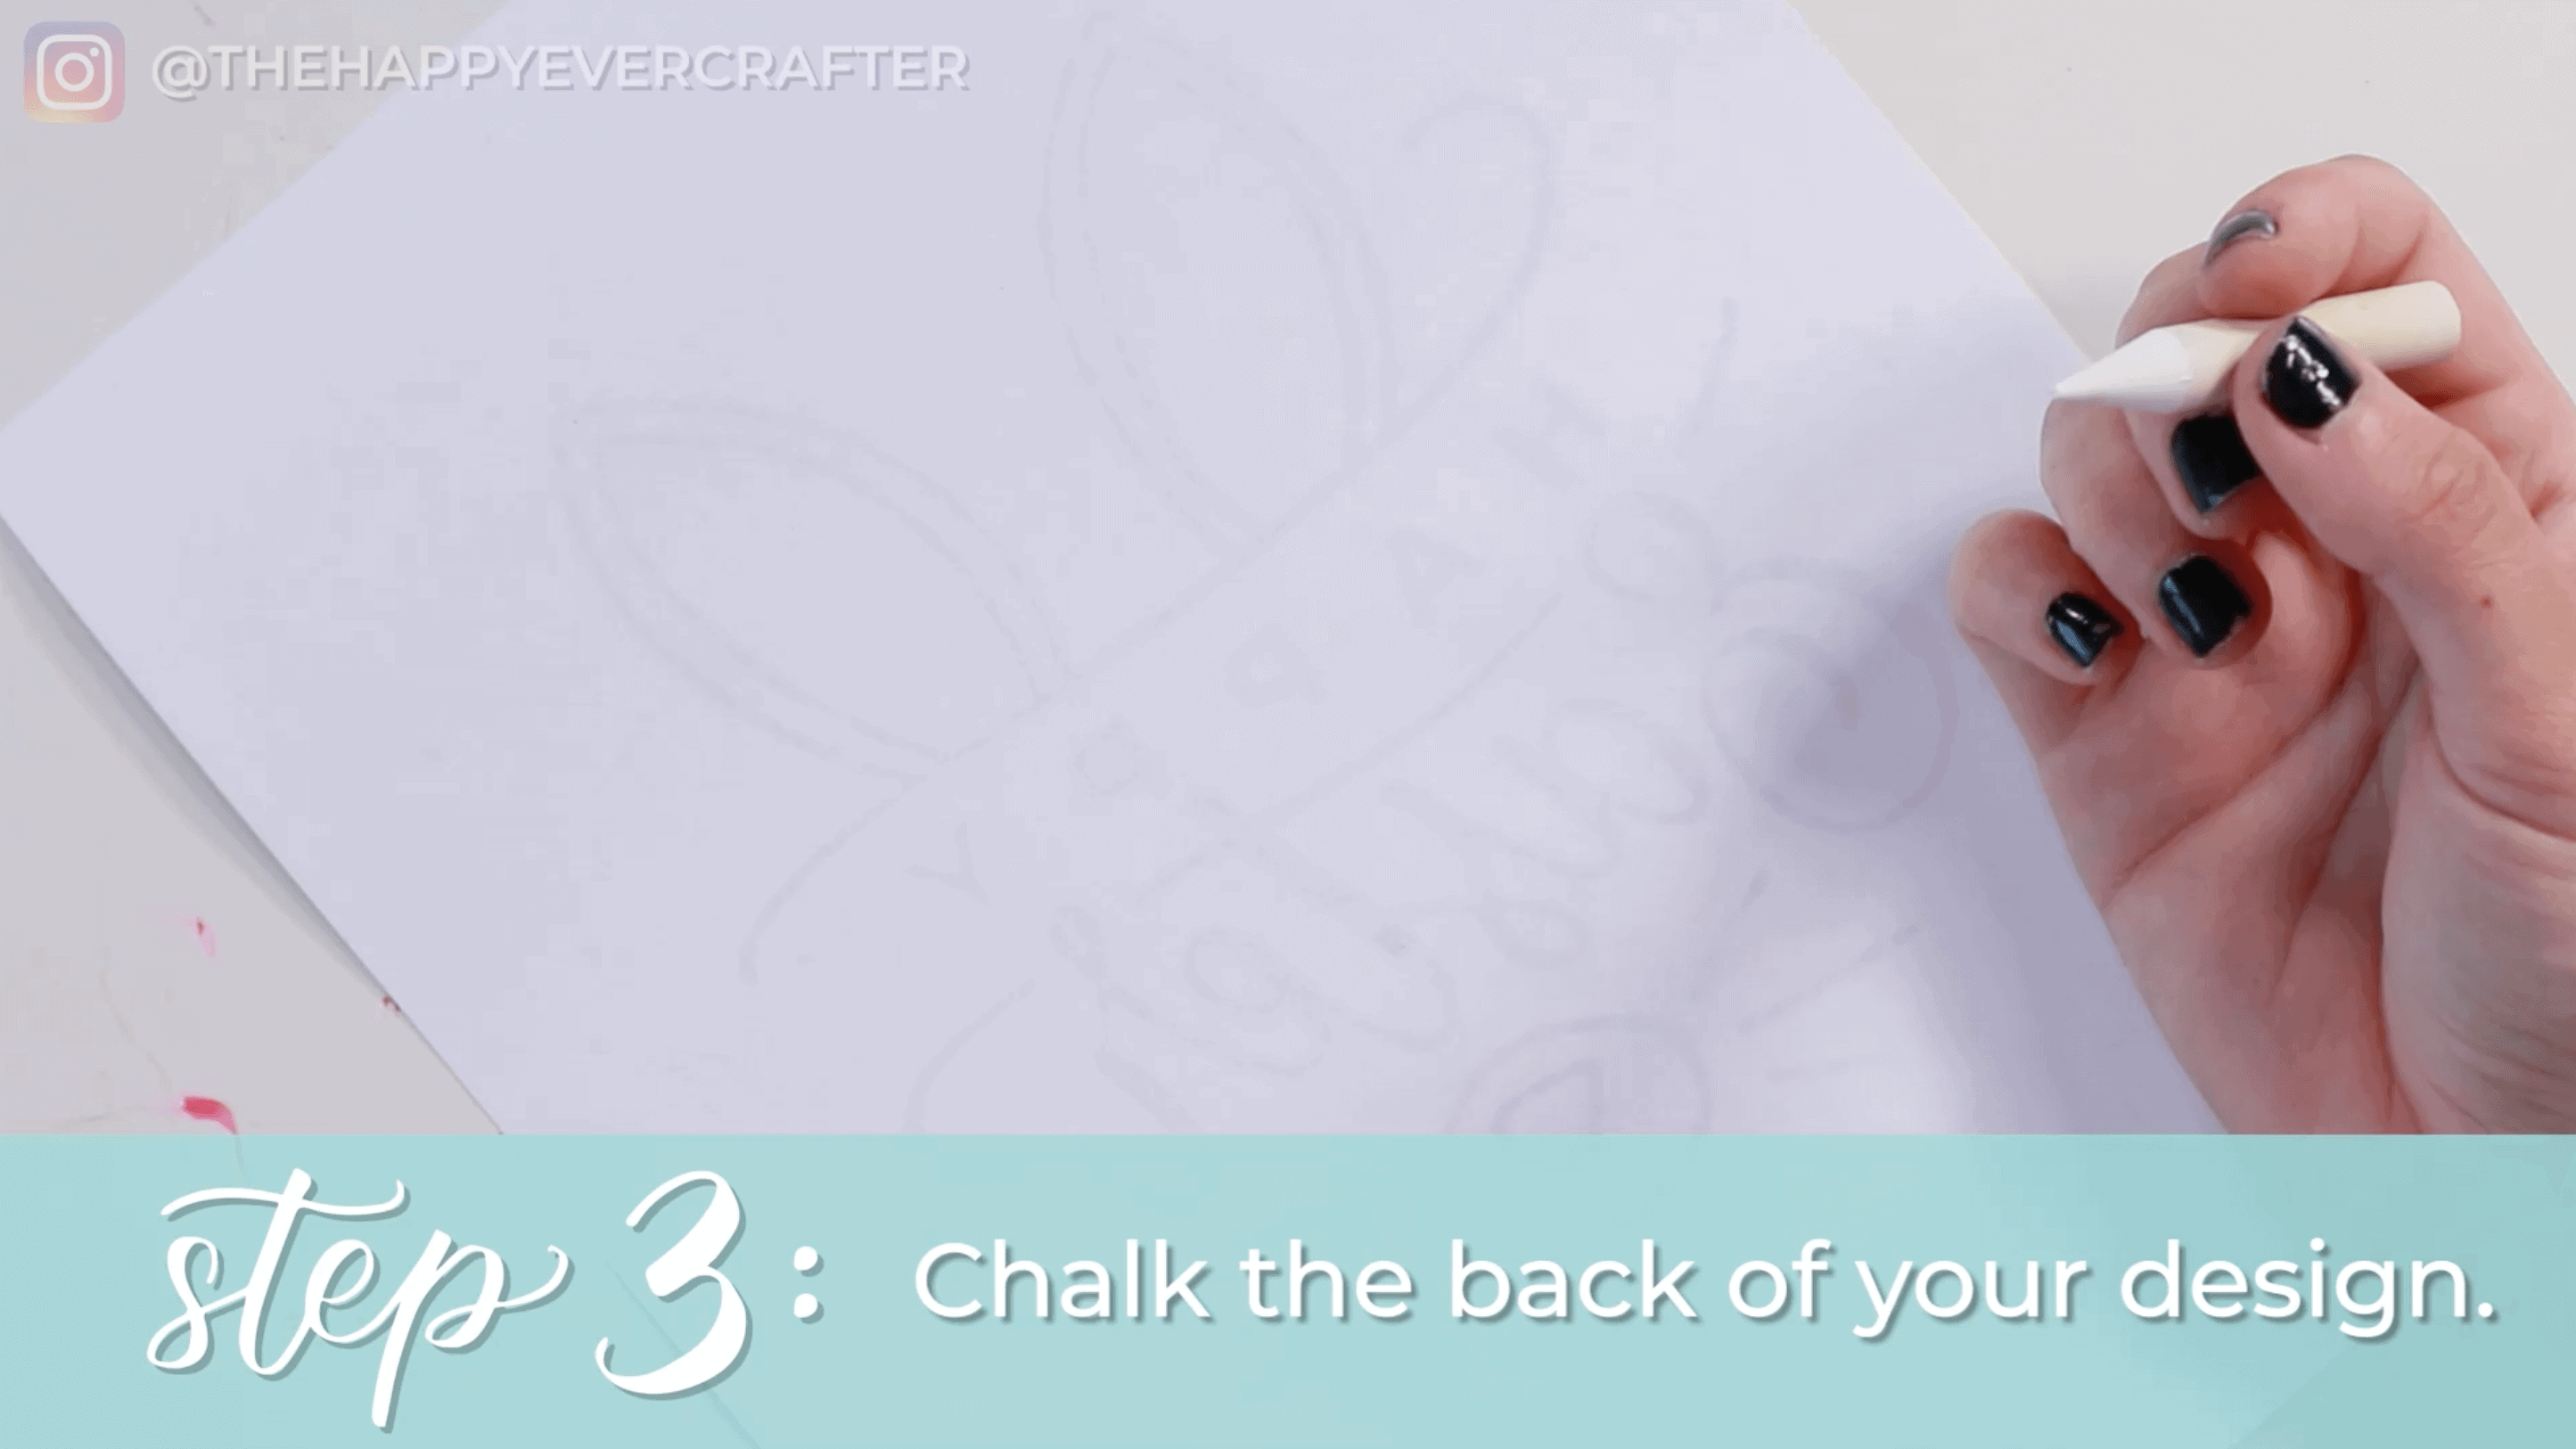
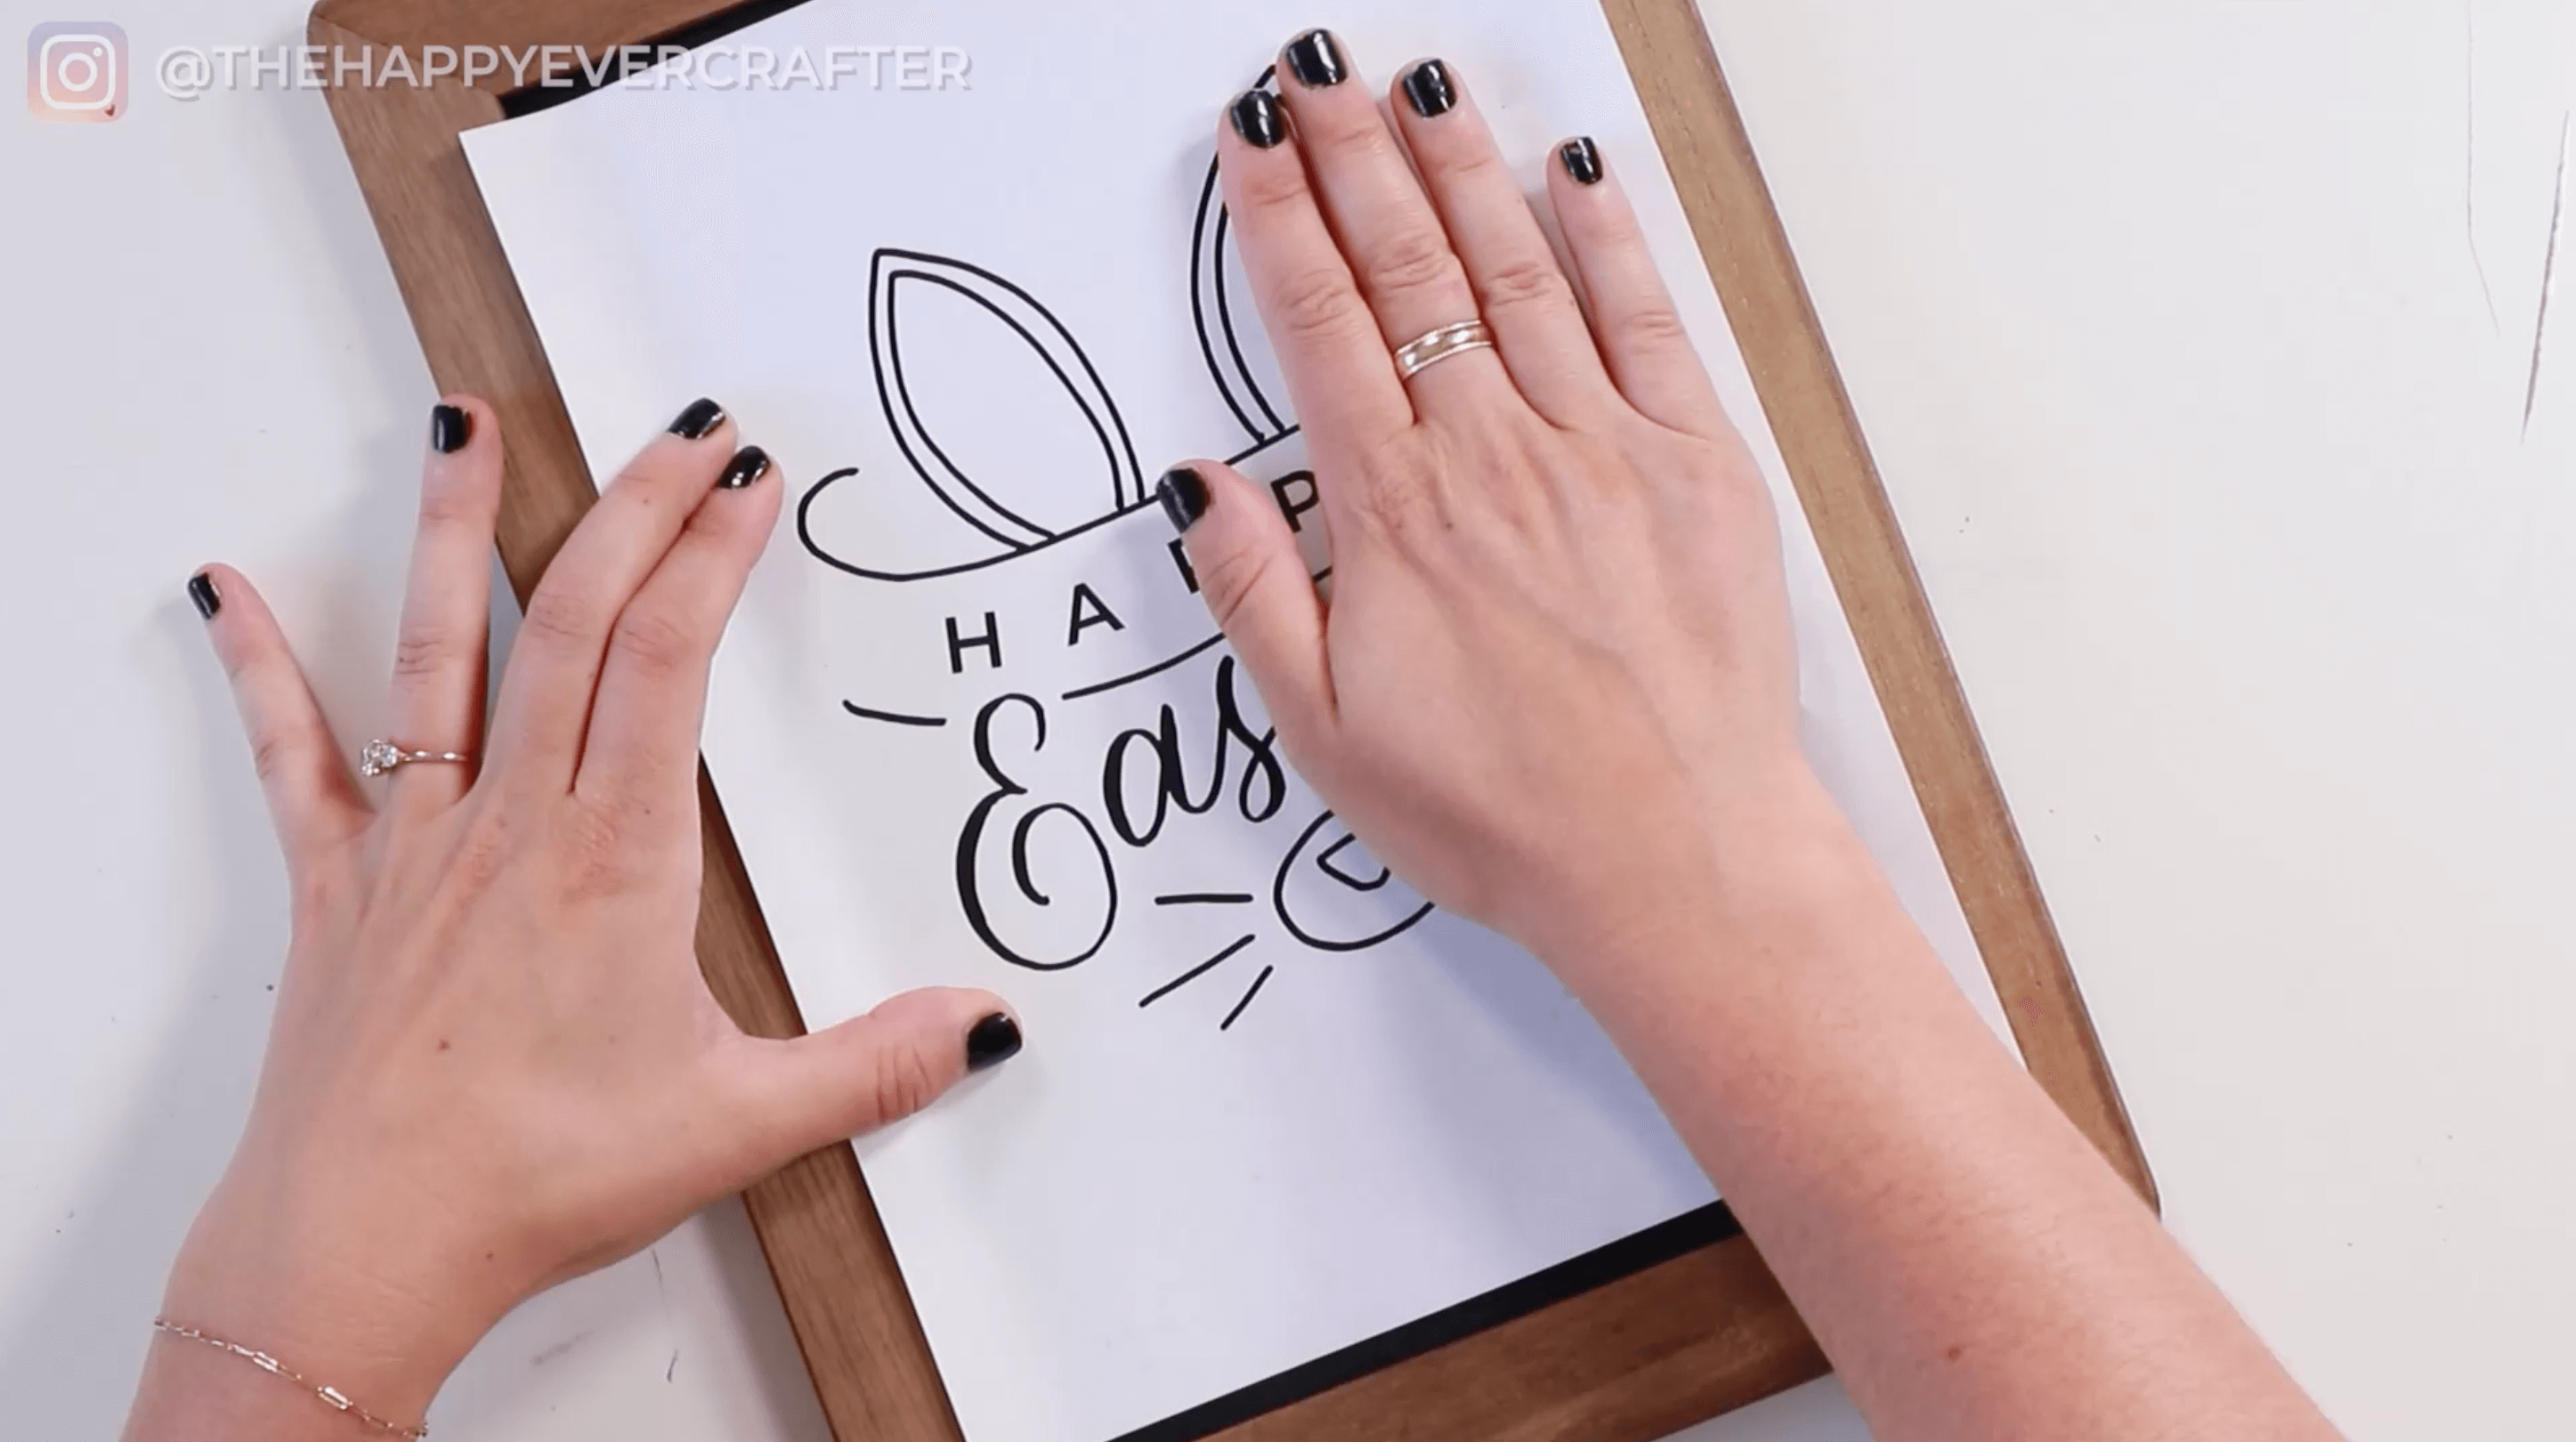
Next, grab your chalkboard and align your sketch with the chalk side down wherever you want it to be on your chalkboard. Feel free to tape it down if you want to. (I didn’t tape mine down since it was so small, but if yours is big though, you might want to tape it down.)
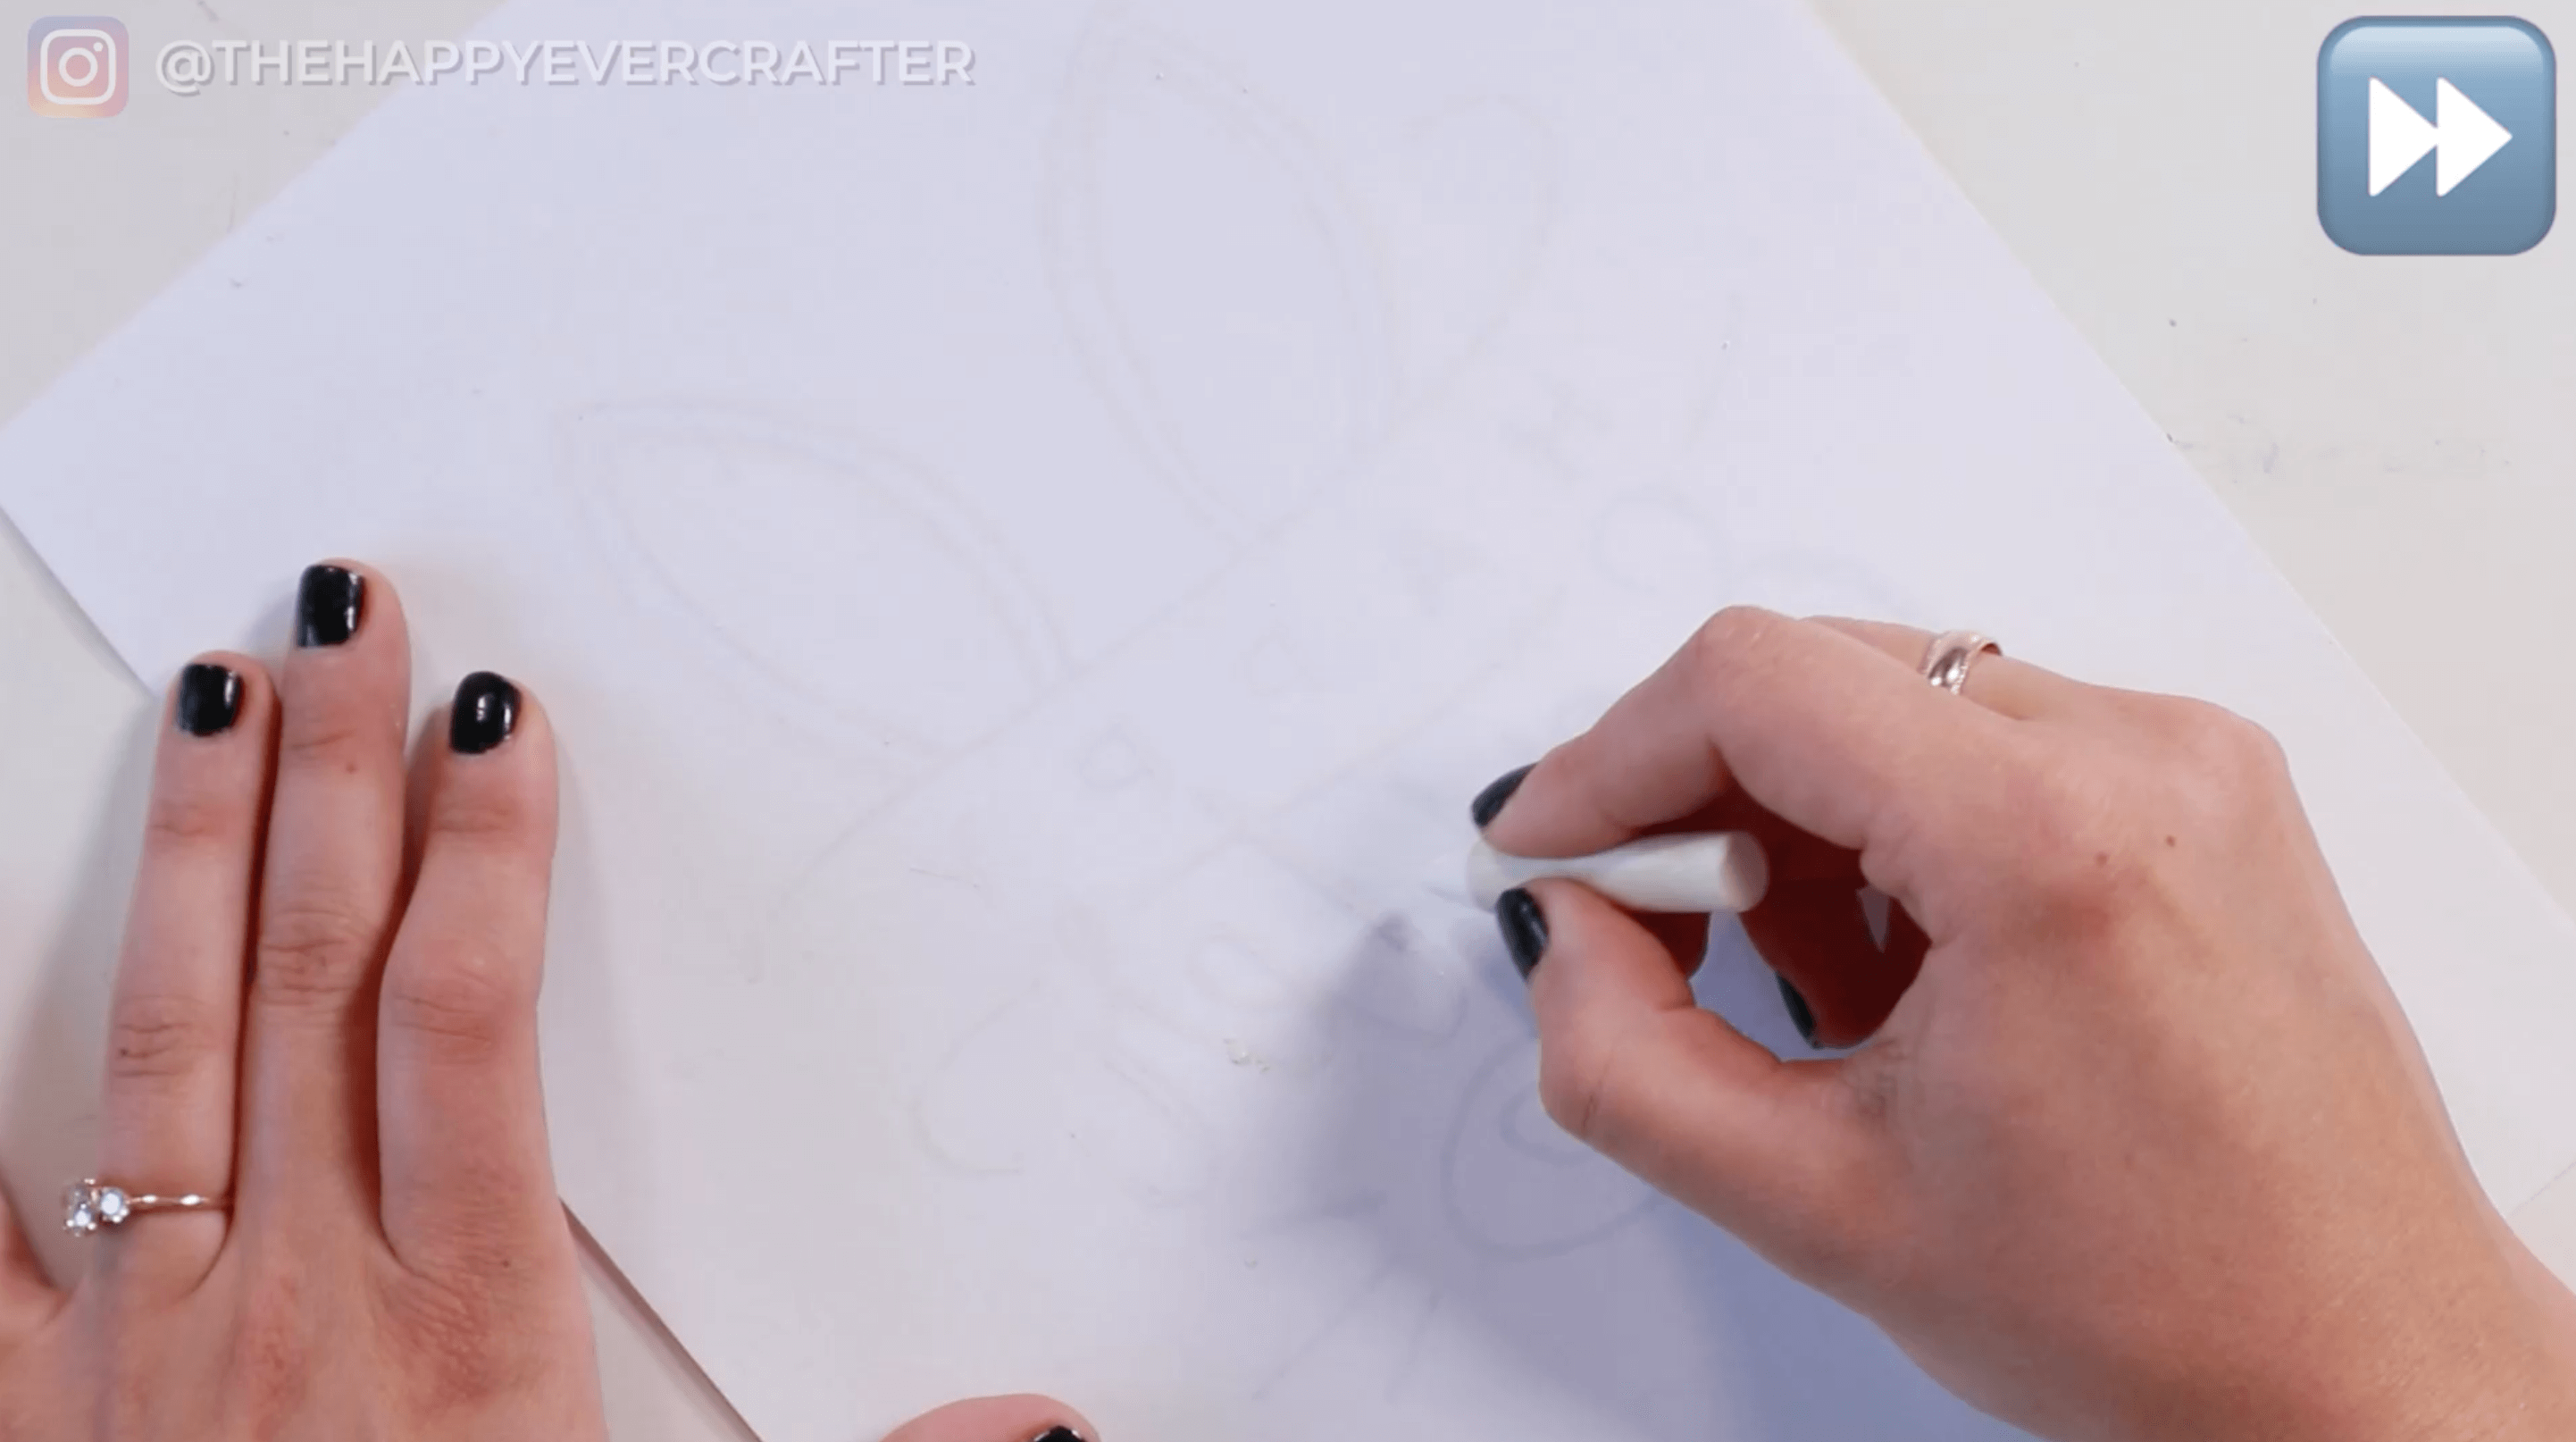
Step #4: Trace the front of your design with pencil
Next grab your pencil. You’re going to do the exact same thing that you did with the chalk but now with the pencil. You’re going to go back over your sketch and apply pressure to your design that pushes the chalk on the back of your design onto the chalkboard. This will create your guidelines on the board! Go over your whole sketch with your pencil, nice and neatly. Once you’re done, you can lift up your design, and you’ll see the perfect transfer.
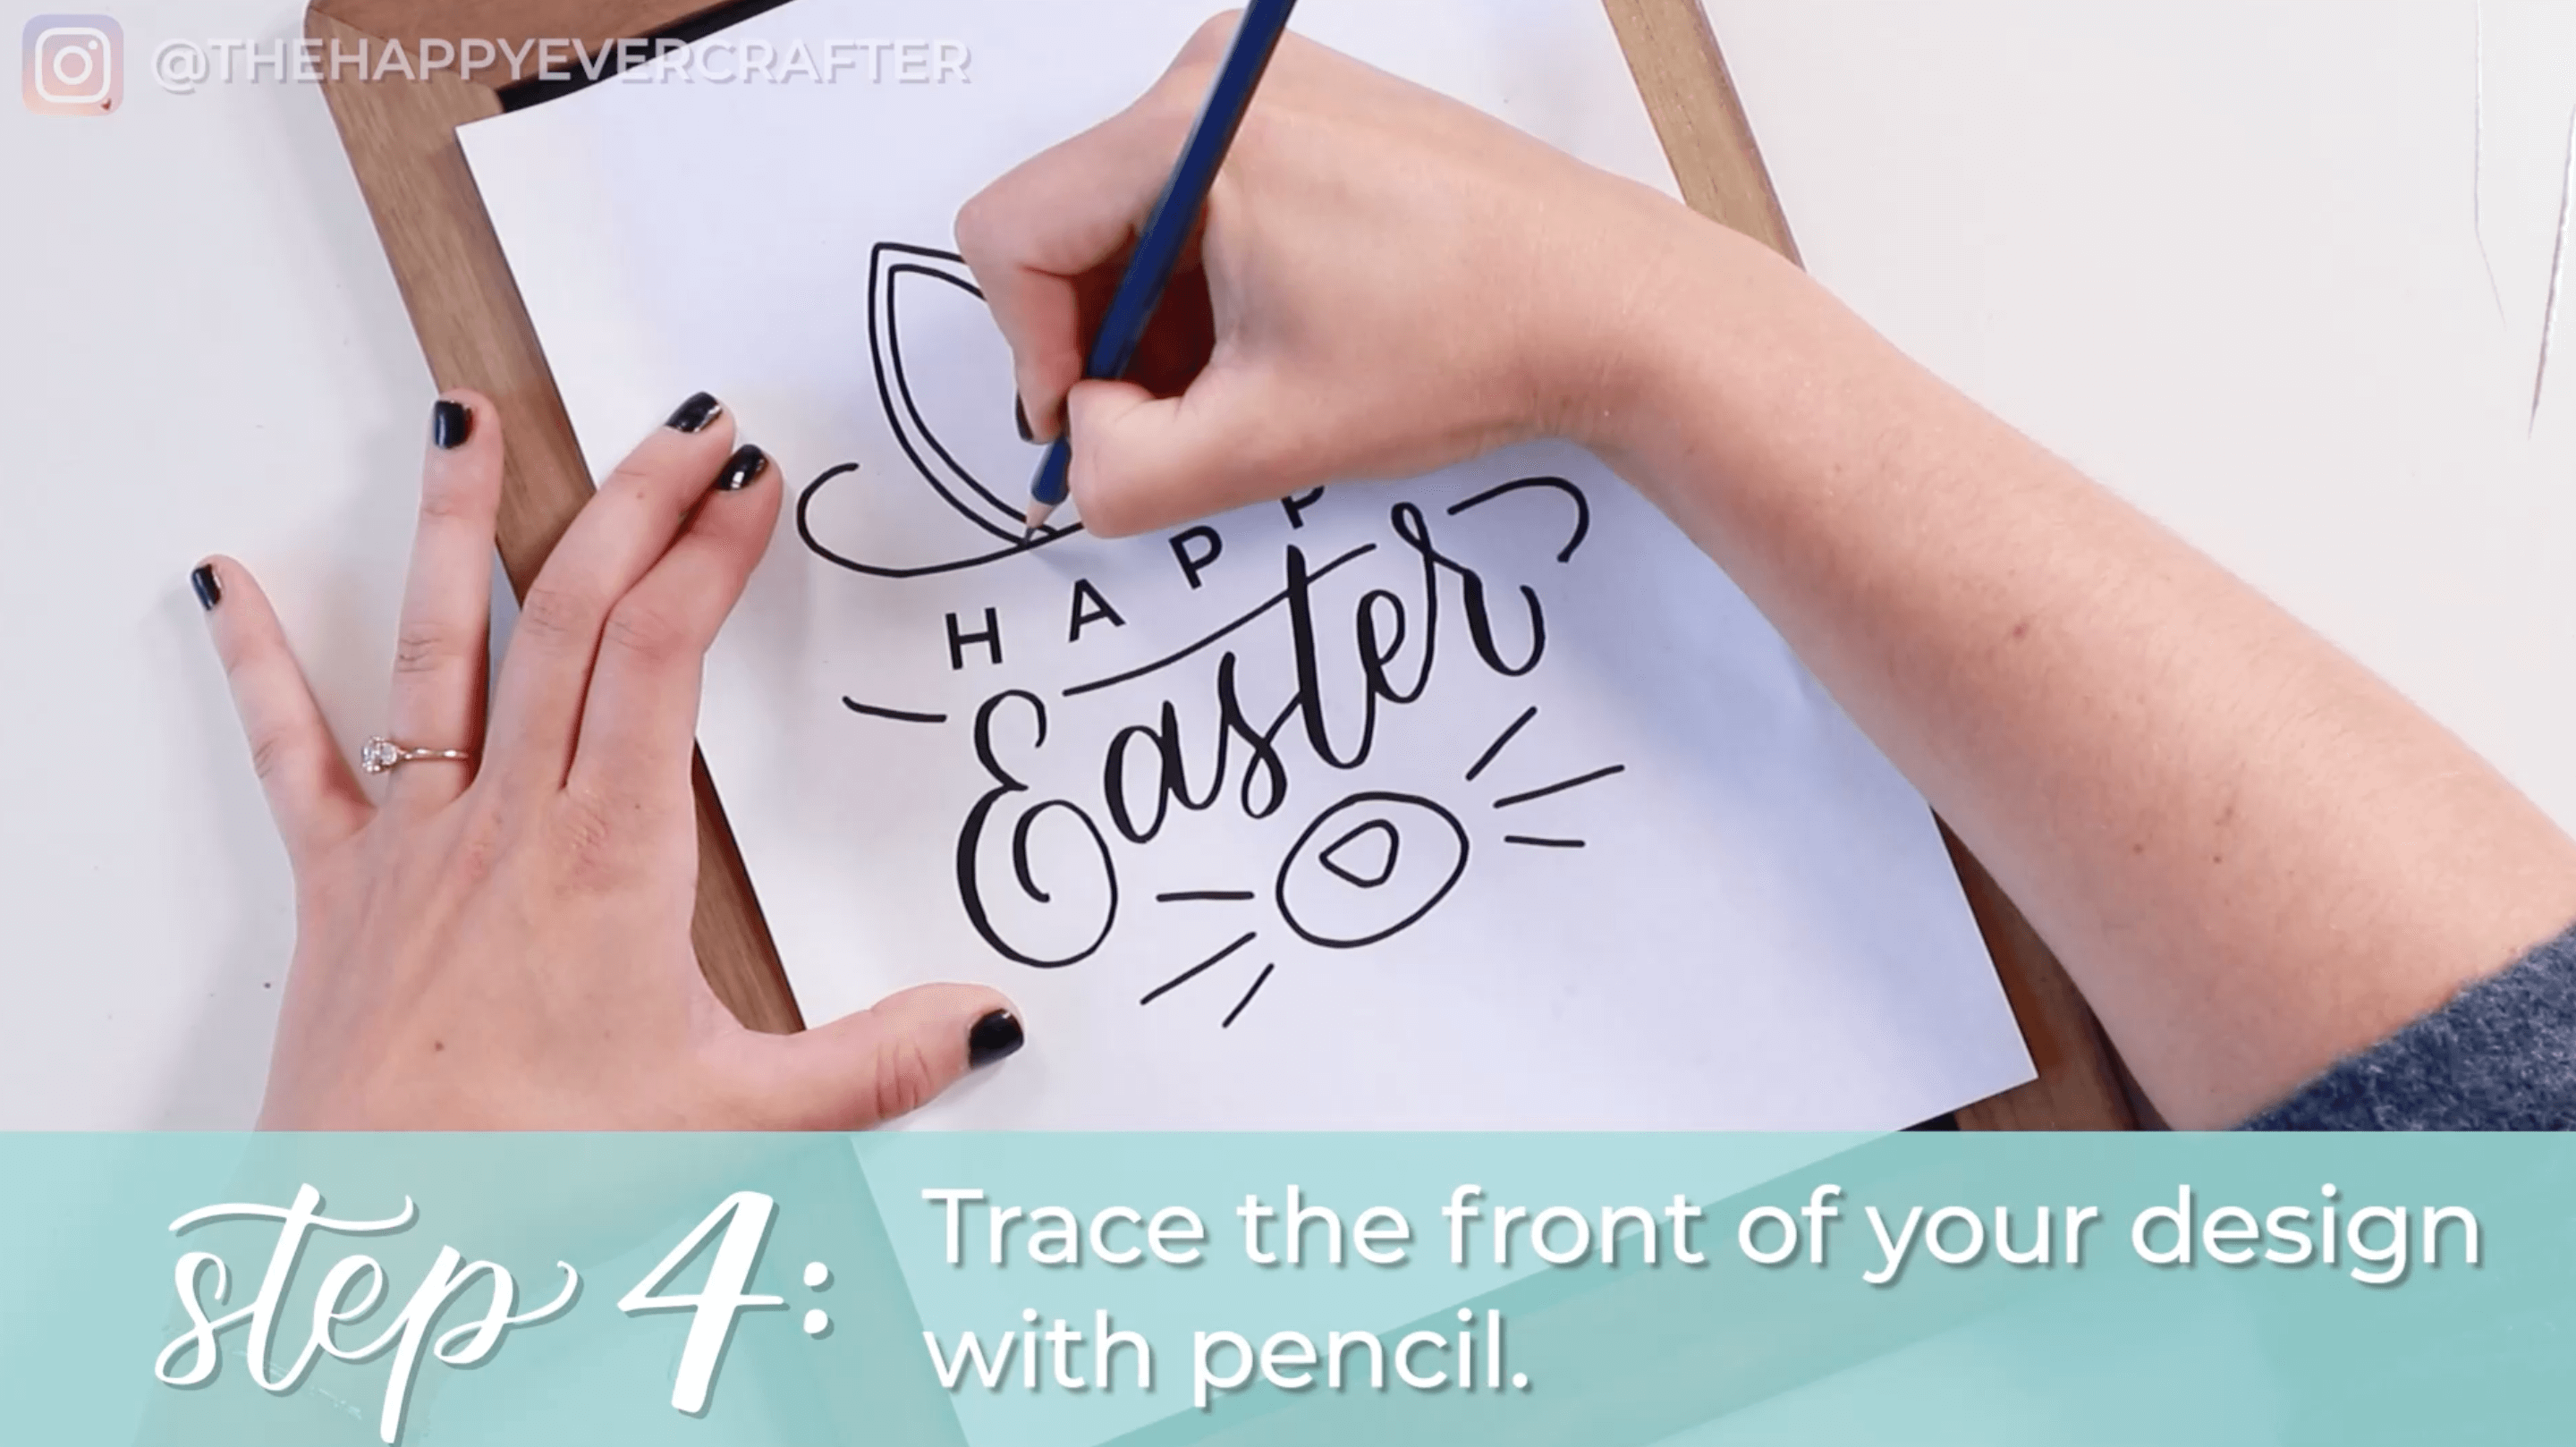

This is my FAVOURITE hack so that you don’t have to draw any rough stuff on your chalkboard itself. You can have your perfect sketch and not have to make it a mess.
If you want more info on this hack, check out this post here.
Step #5: Finish your design any colour(s) of chalk you like!
Ready for the fun part? You can choose whatever colours you want to complete this design.
I am sort of a minimalist, and I don’t love to put too many colours on here. Again feel free to use whatever colours you want.
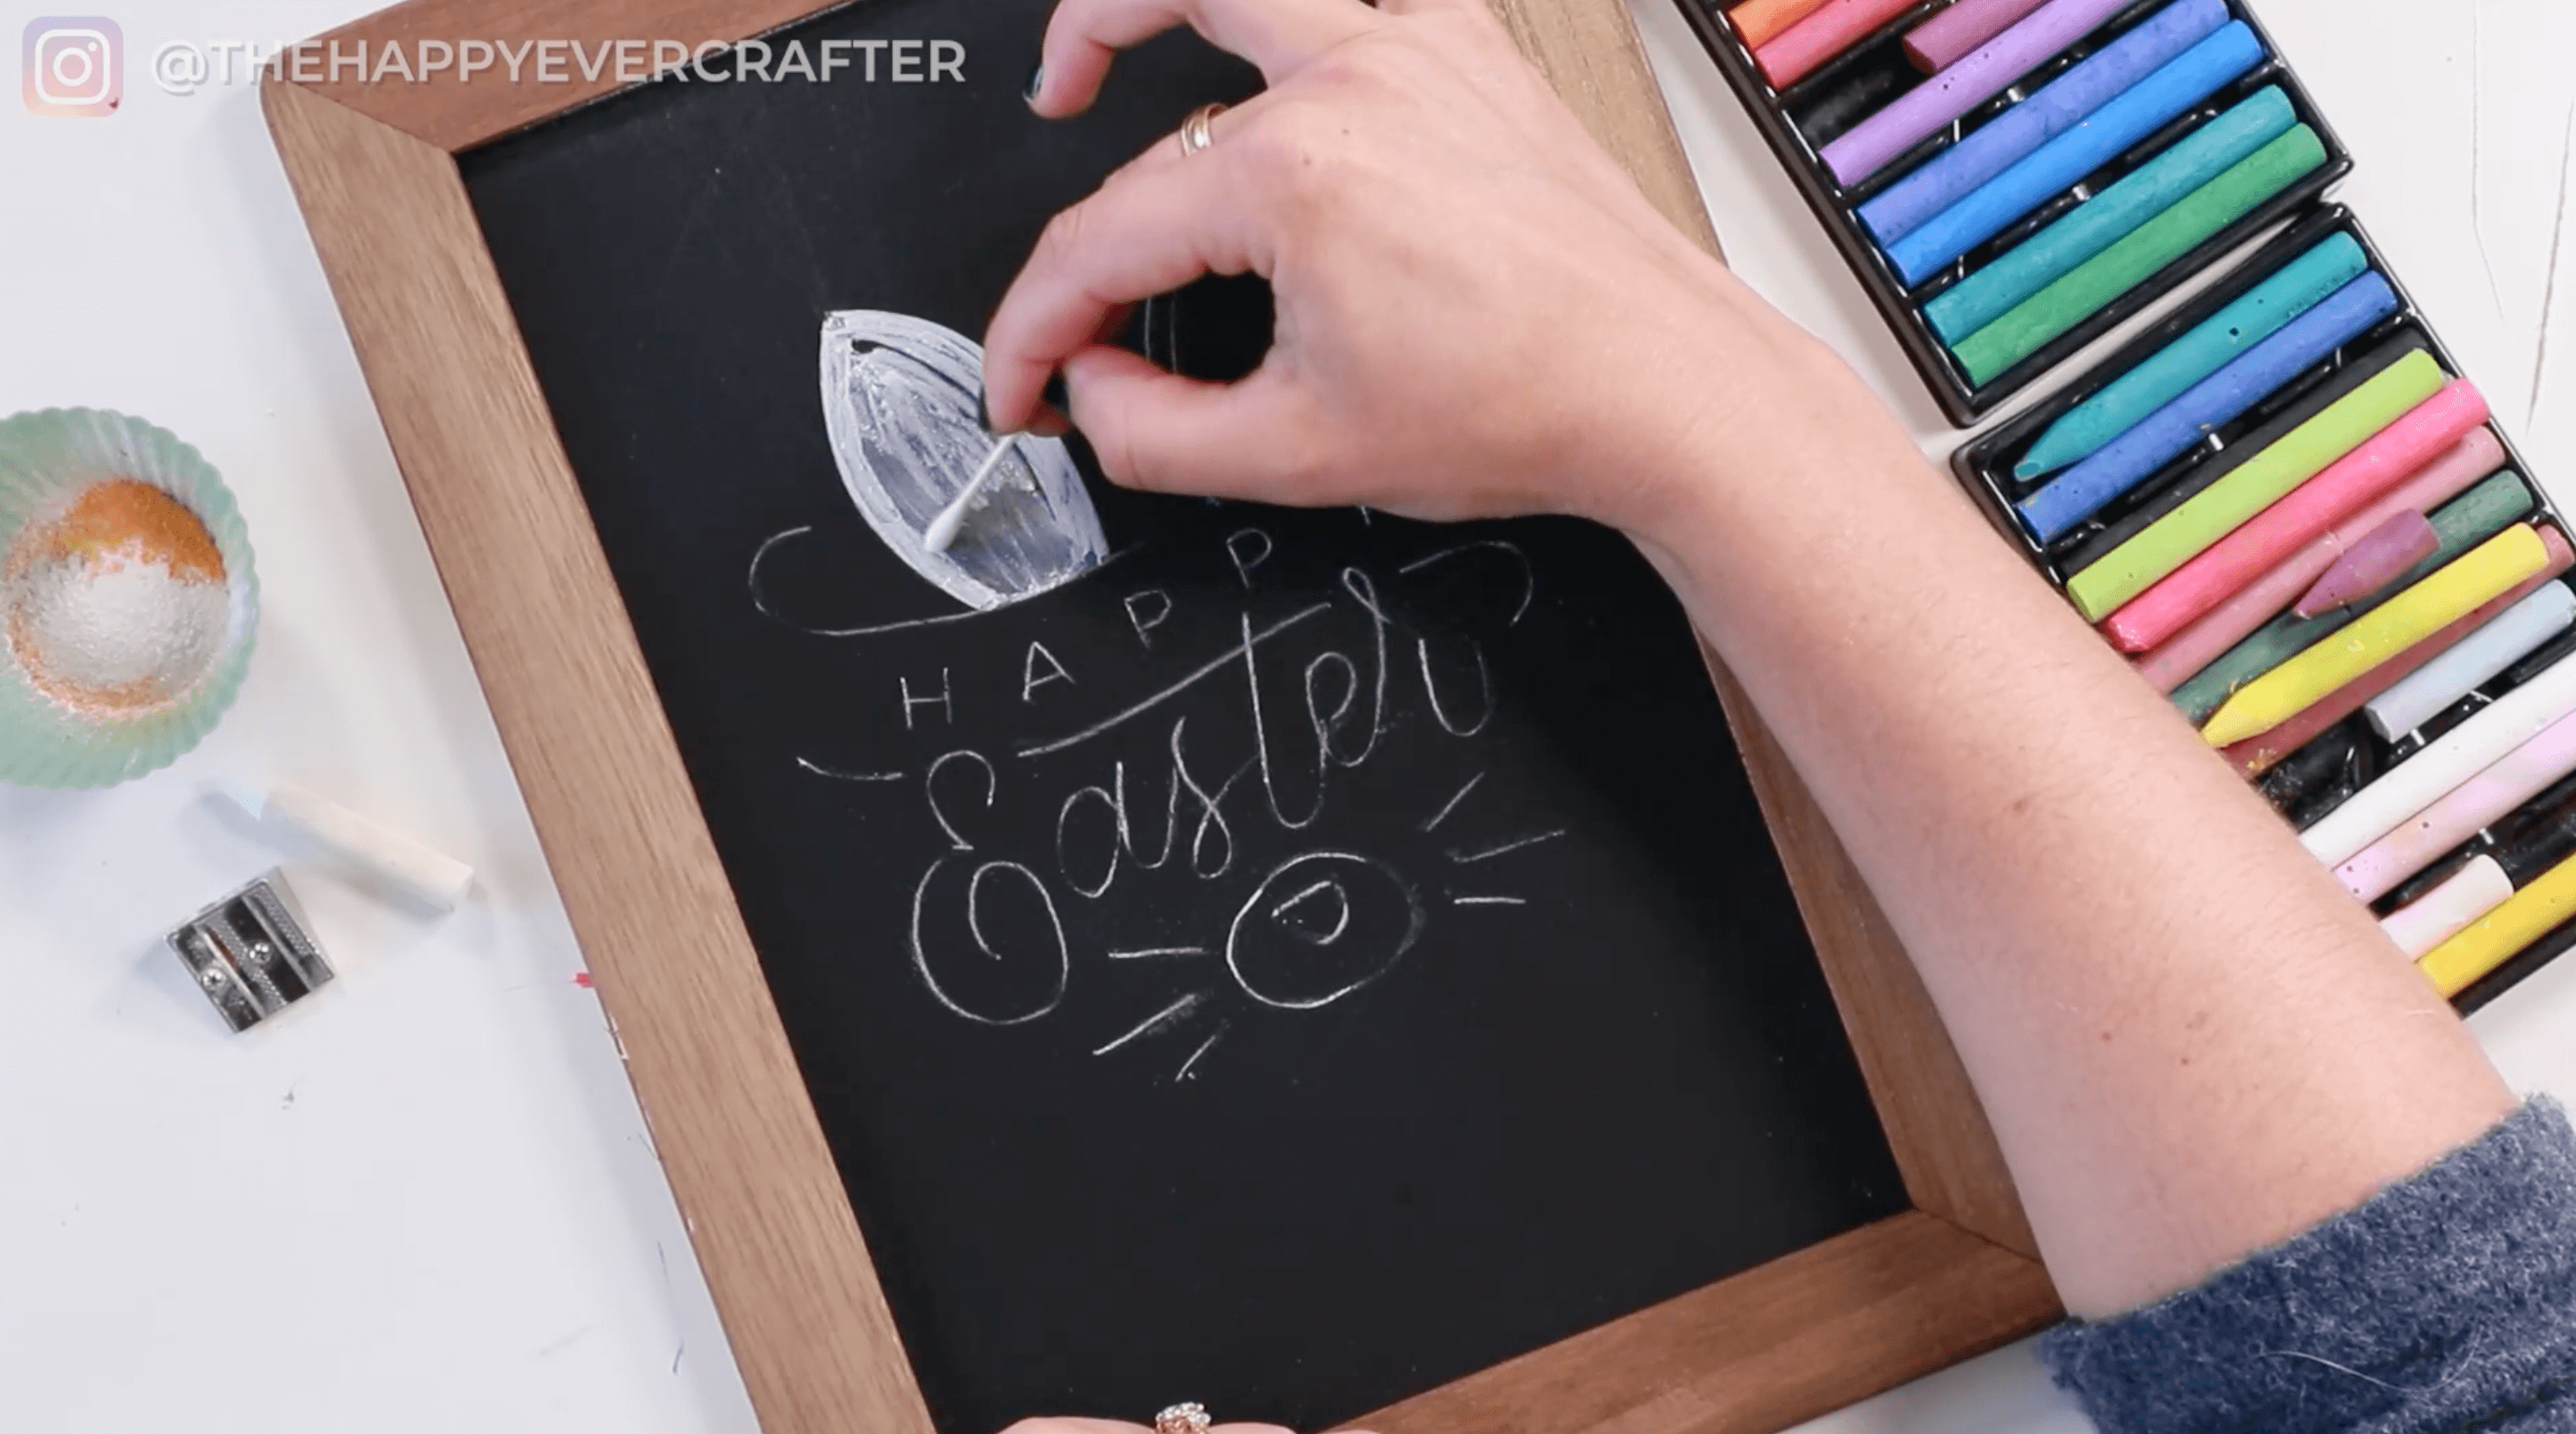
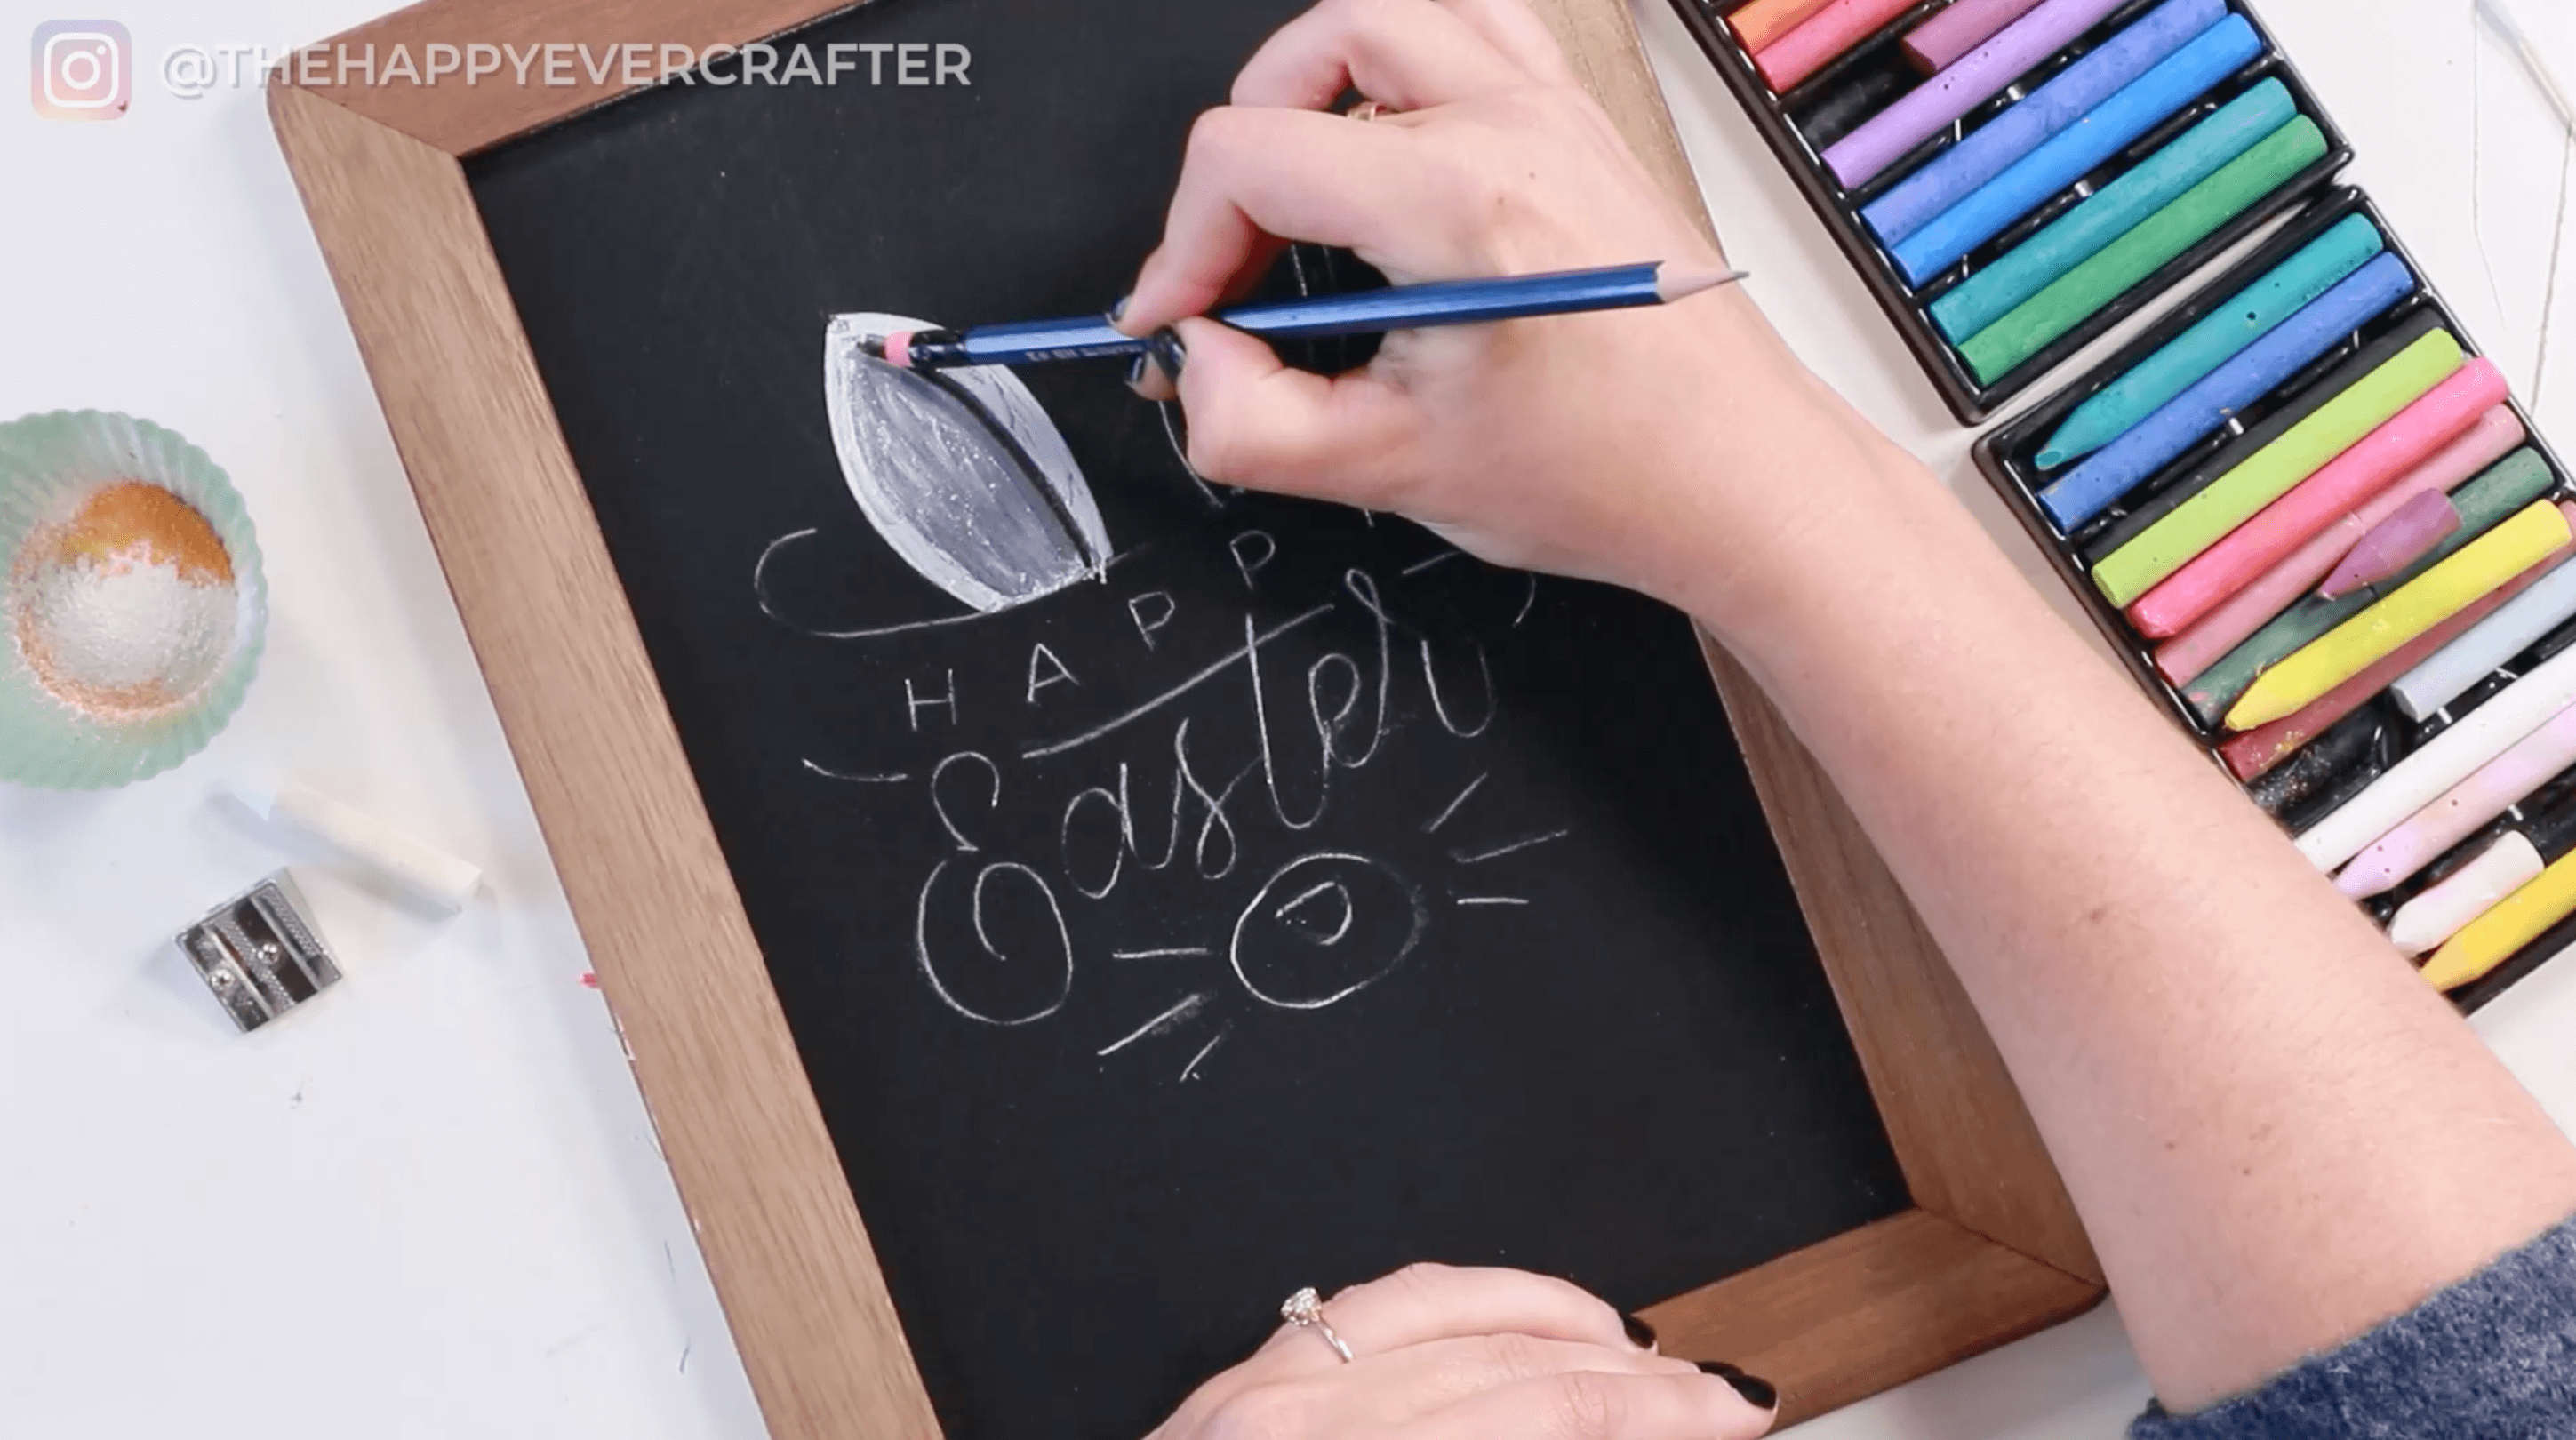
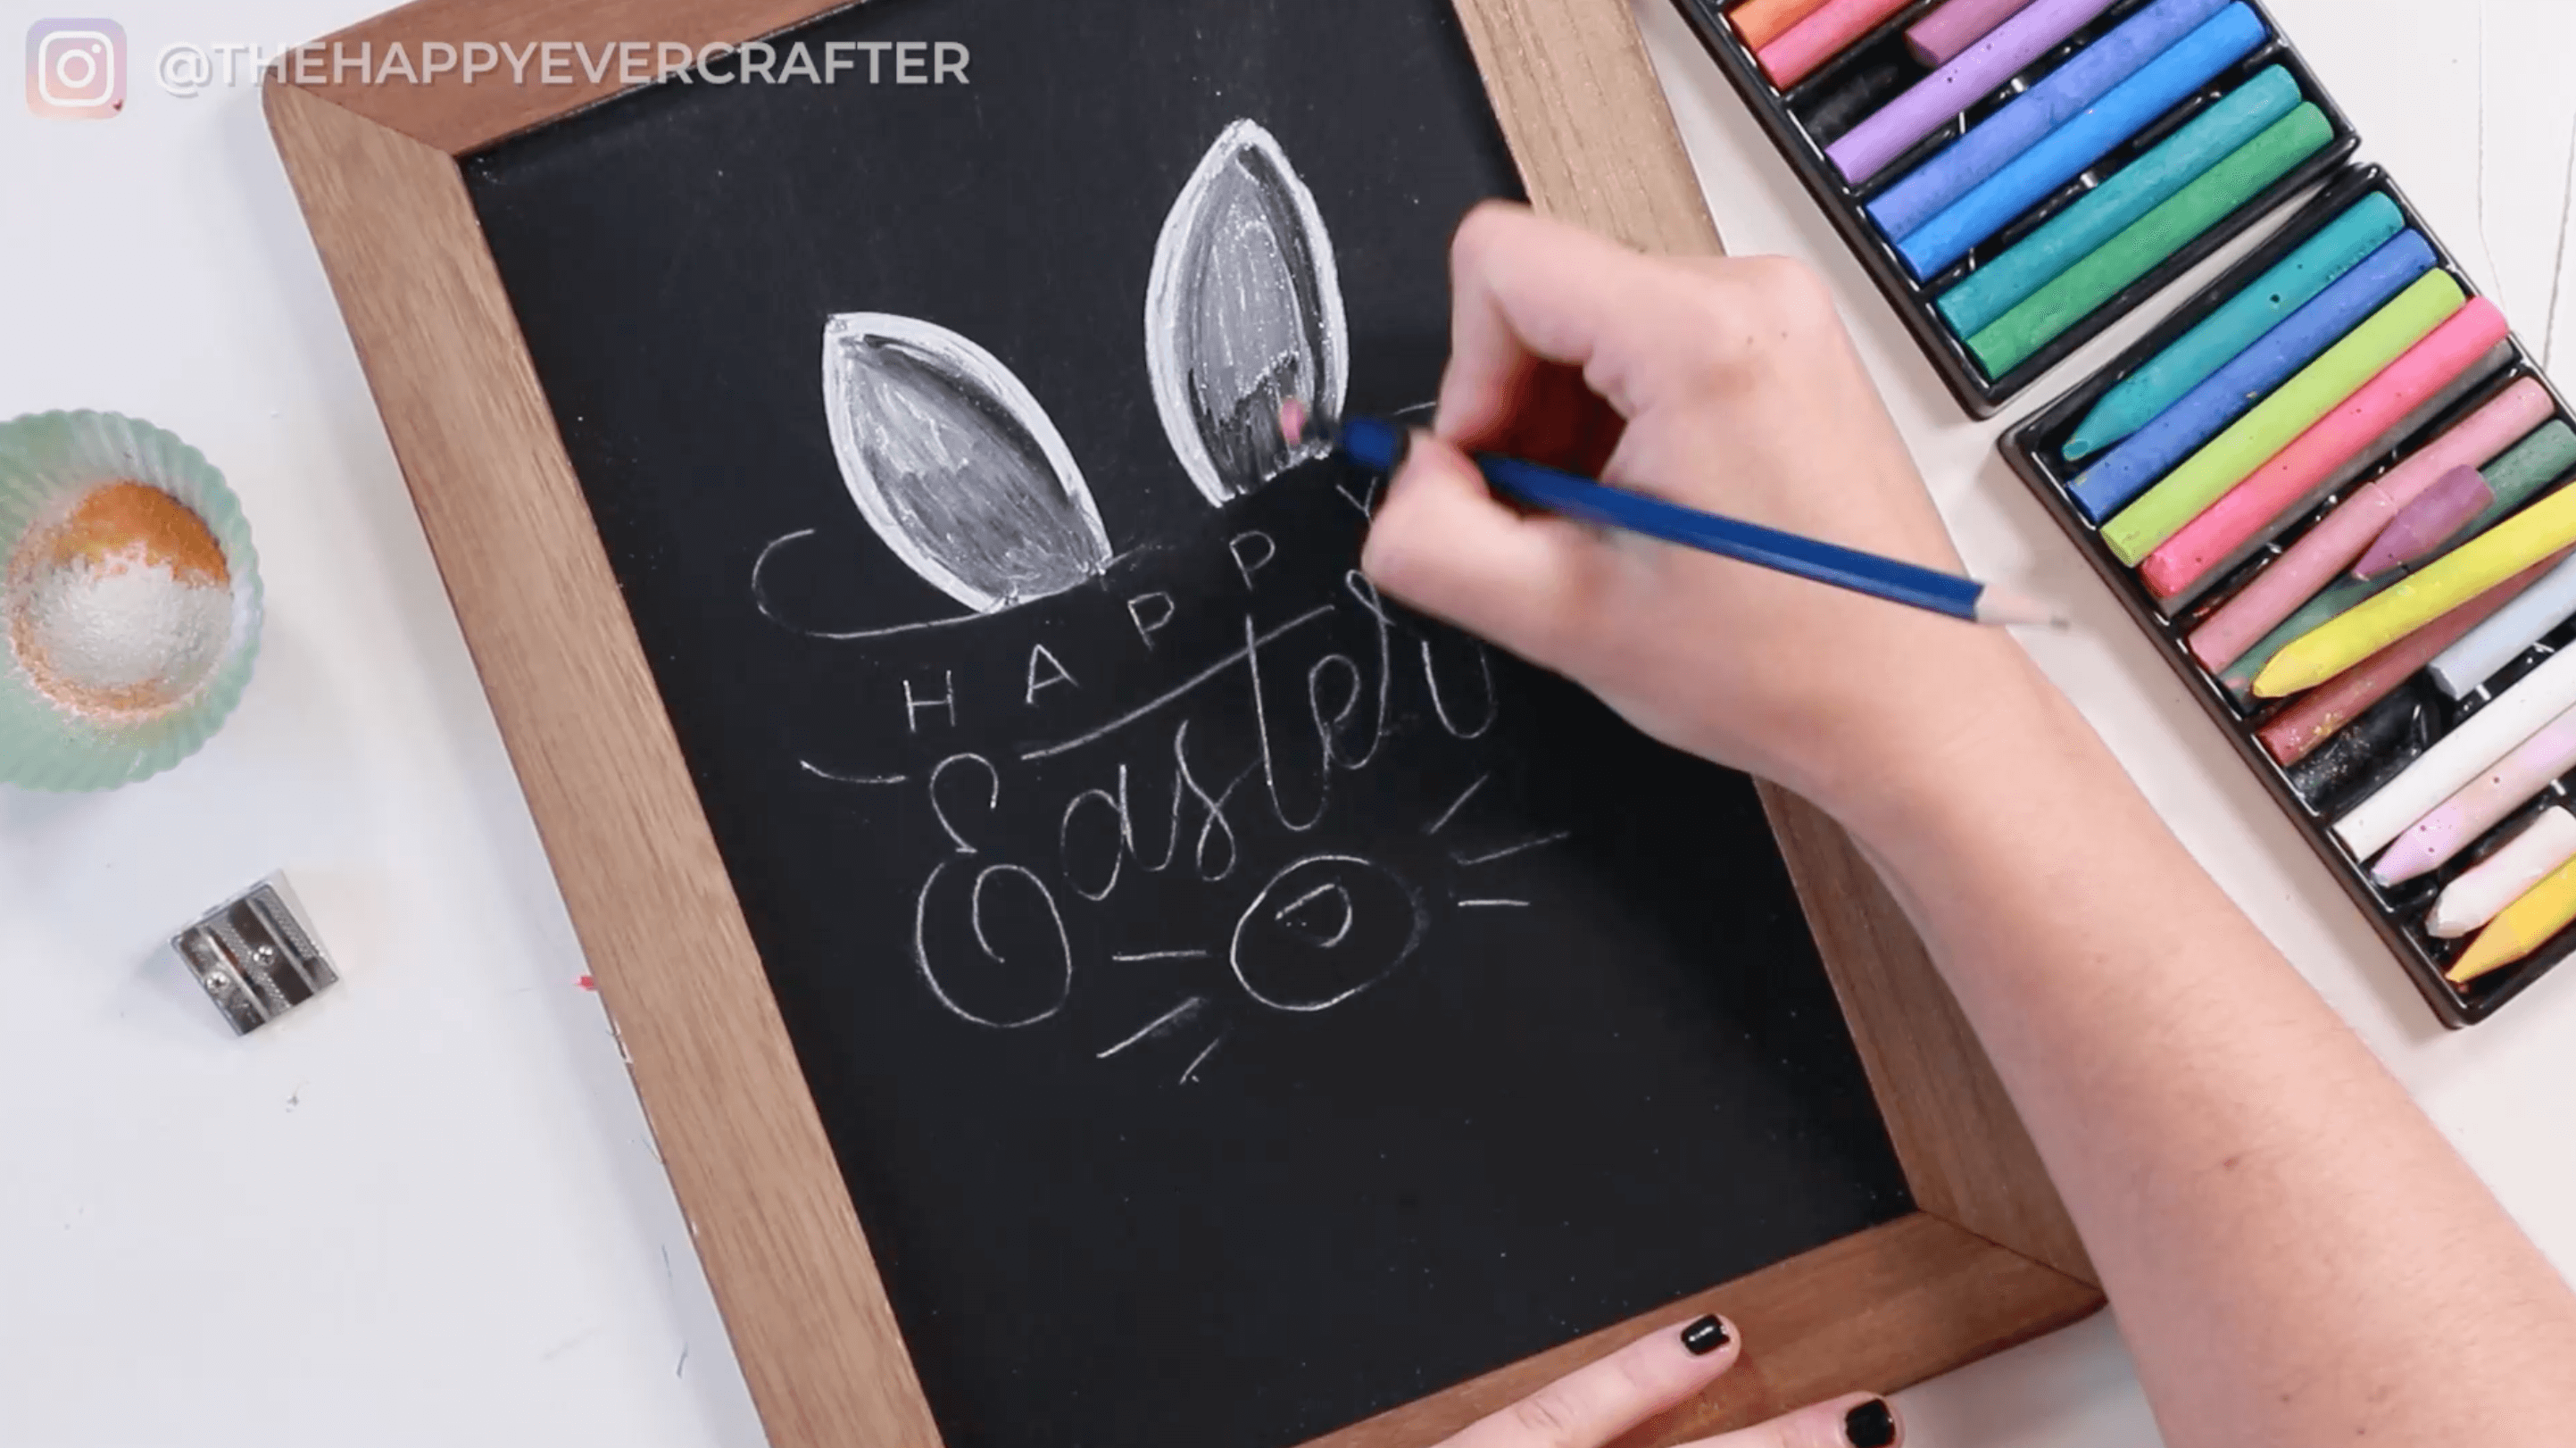
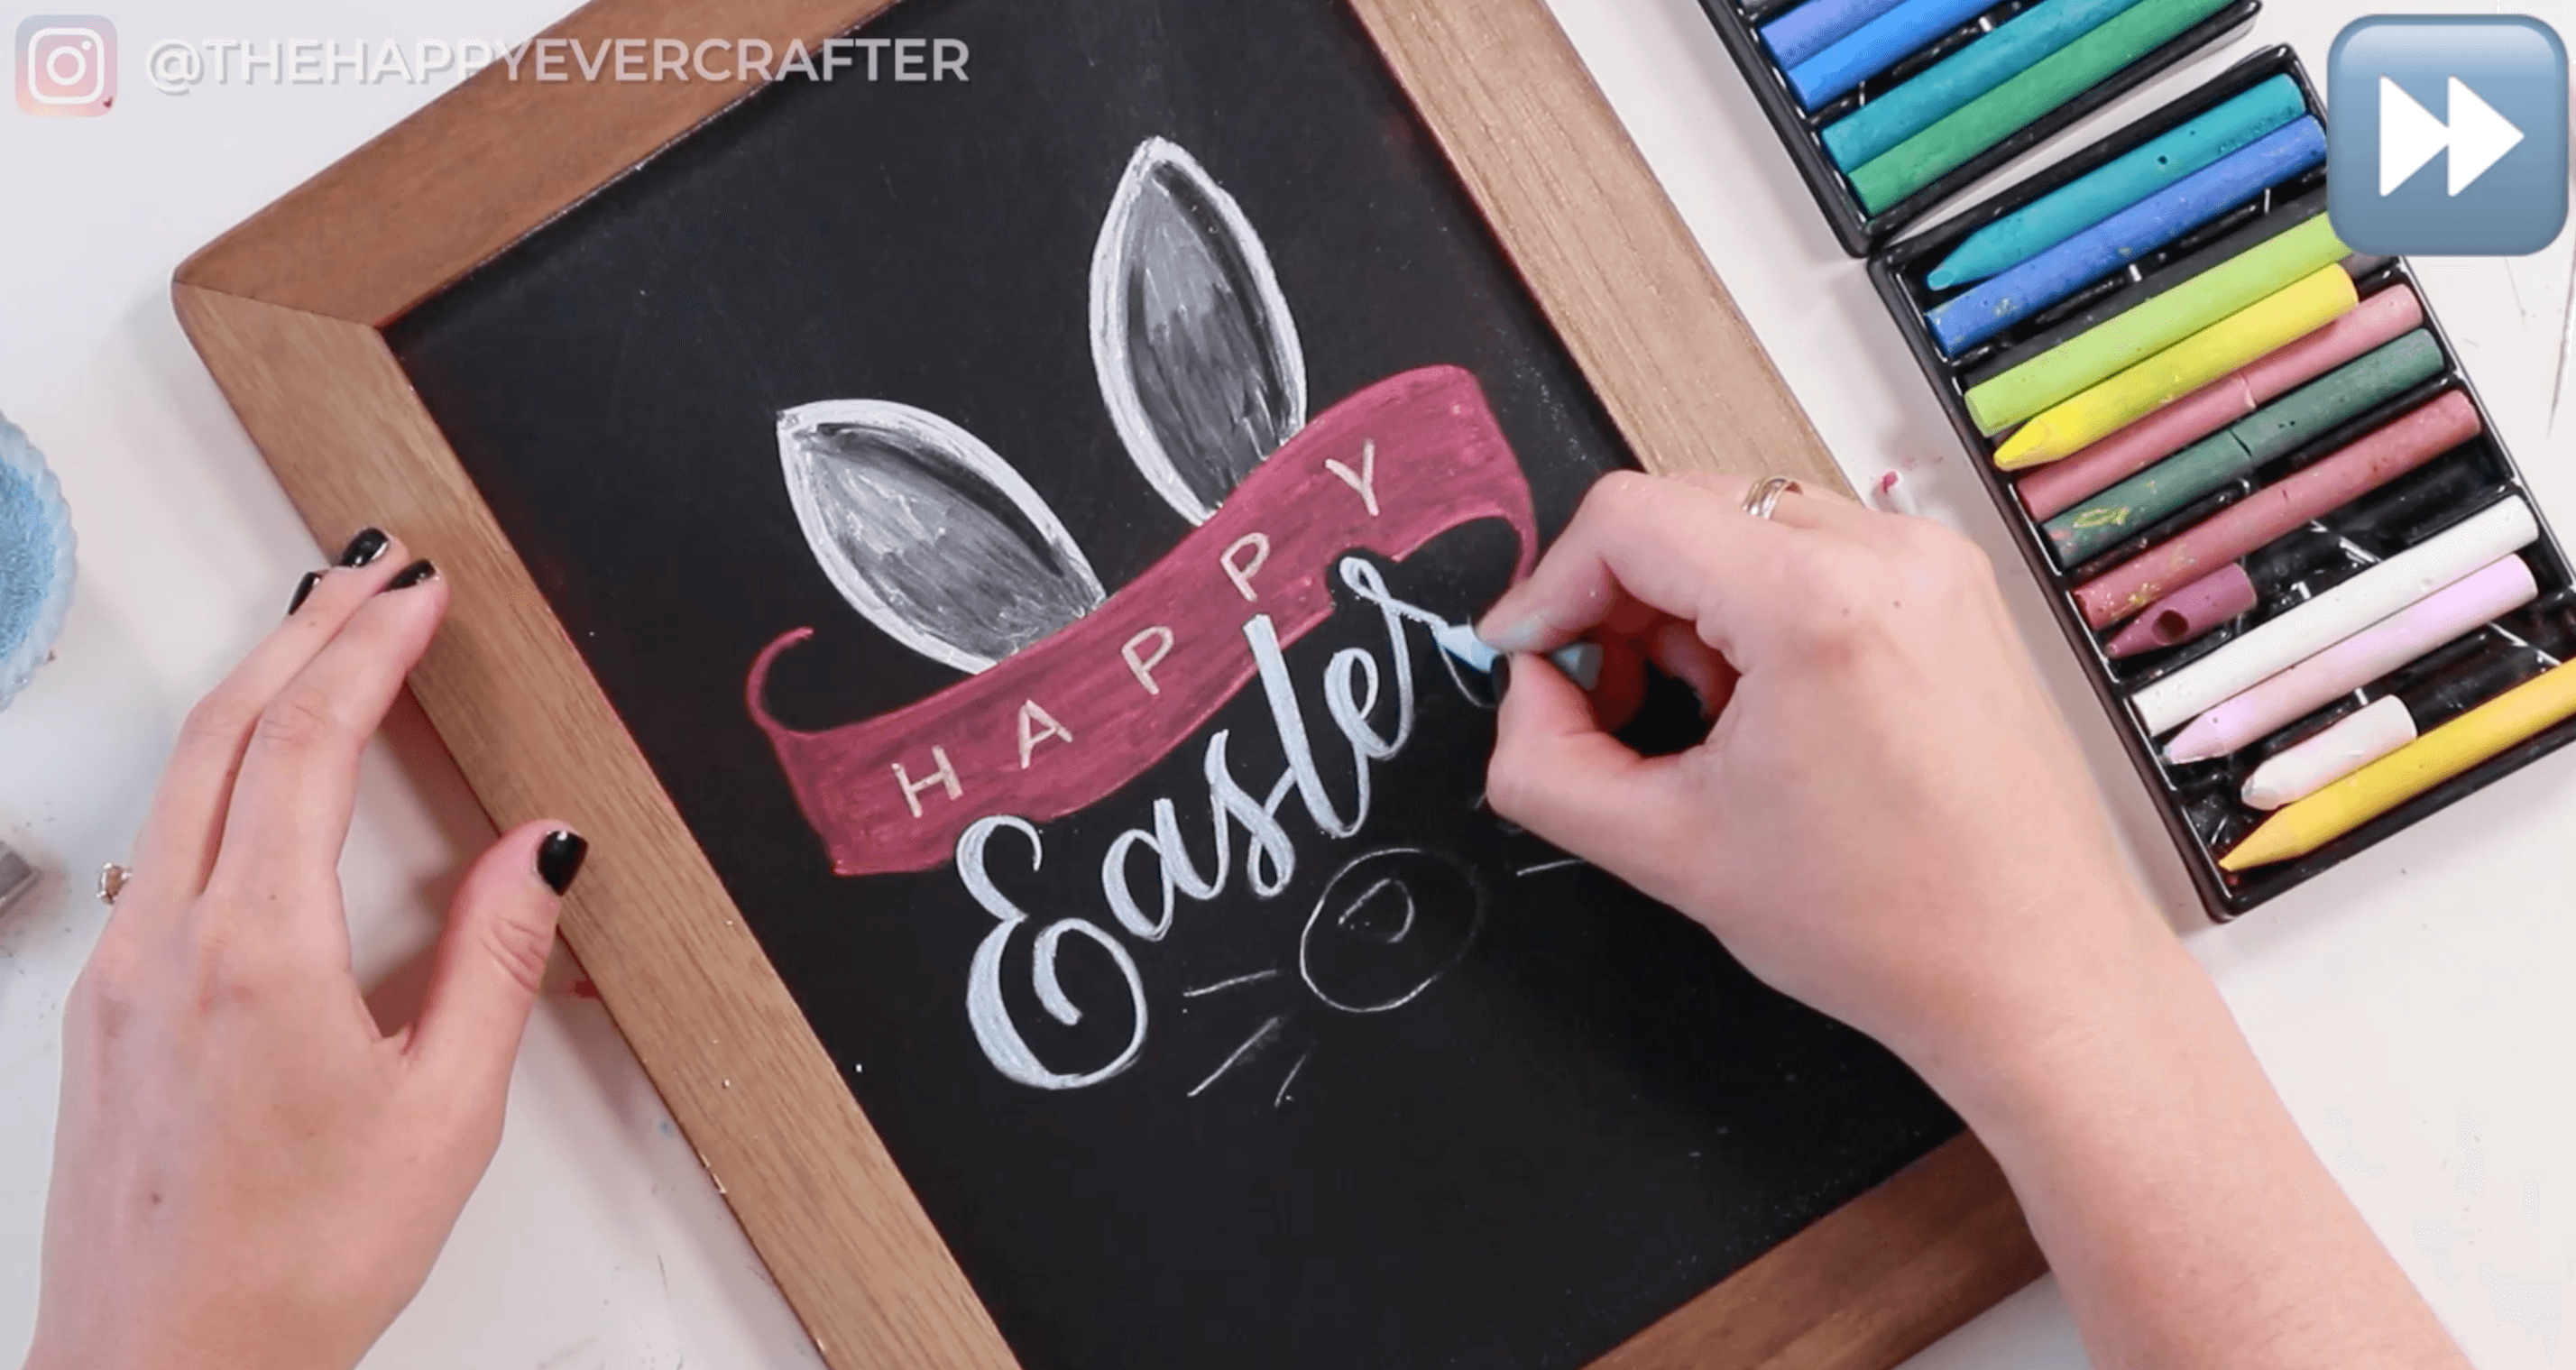
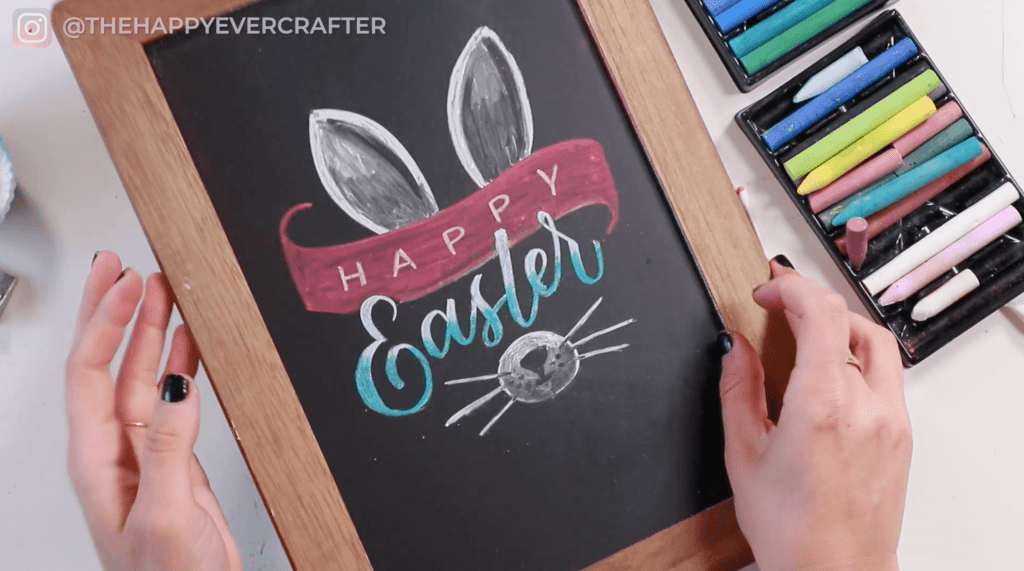
First Up: EARS
First, you’ll do the ears (I recommend using the same colour for the ears and nose). I used white. Feel free to copy exactly what I did, or you can do whatever you want.
I started with white and filled in the bunny ears. You can do just the outline, you can fill it in, or you can add some realistic details.
One tool that I find really handy is a cotton swab or a Q-tip. These can work better than your finger if you want to smudge stuff – your finger has oils on it and tends to lift up a lot of the chalk; a Q-tip doesn’t. I used a Q-tip to smudge the chalk inside each ear a bit. It’s a lot of experimenting here – no right or wrong way. I also used the eraser on my pencil – it can lift up some of the chalk to make a shaded line. You can wipe off the chalk from the eraser each time you use it. Just keep working with the Q-tip and eraser until you’re happy with it.
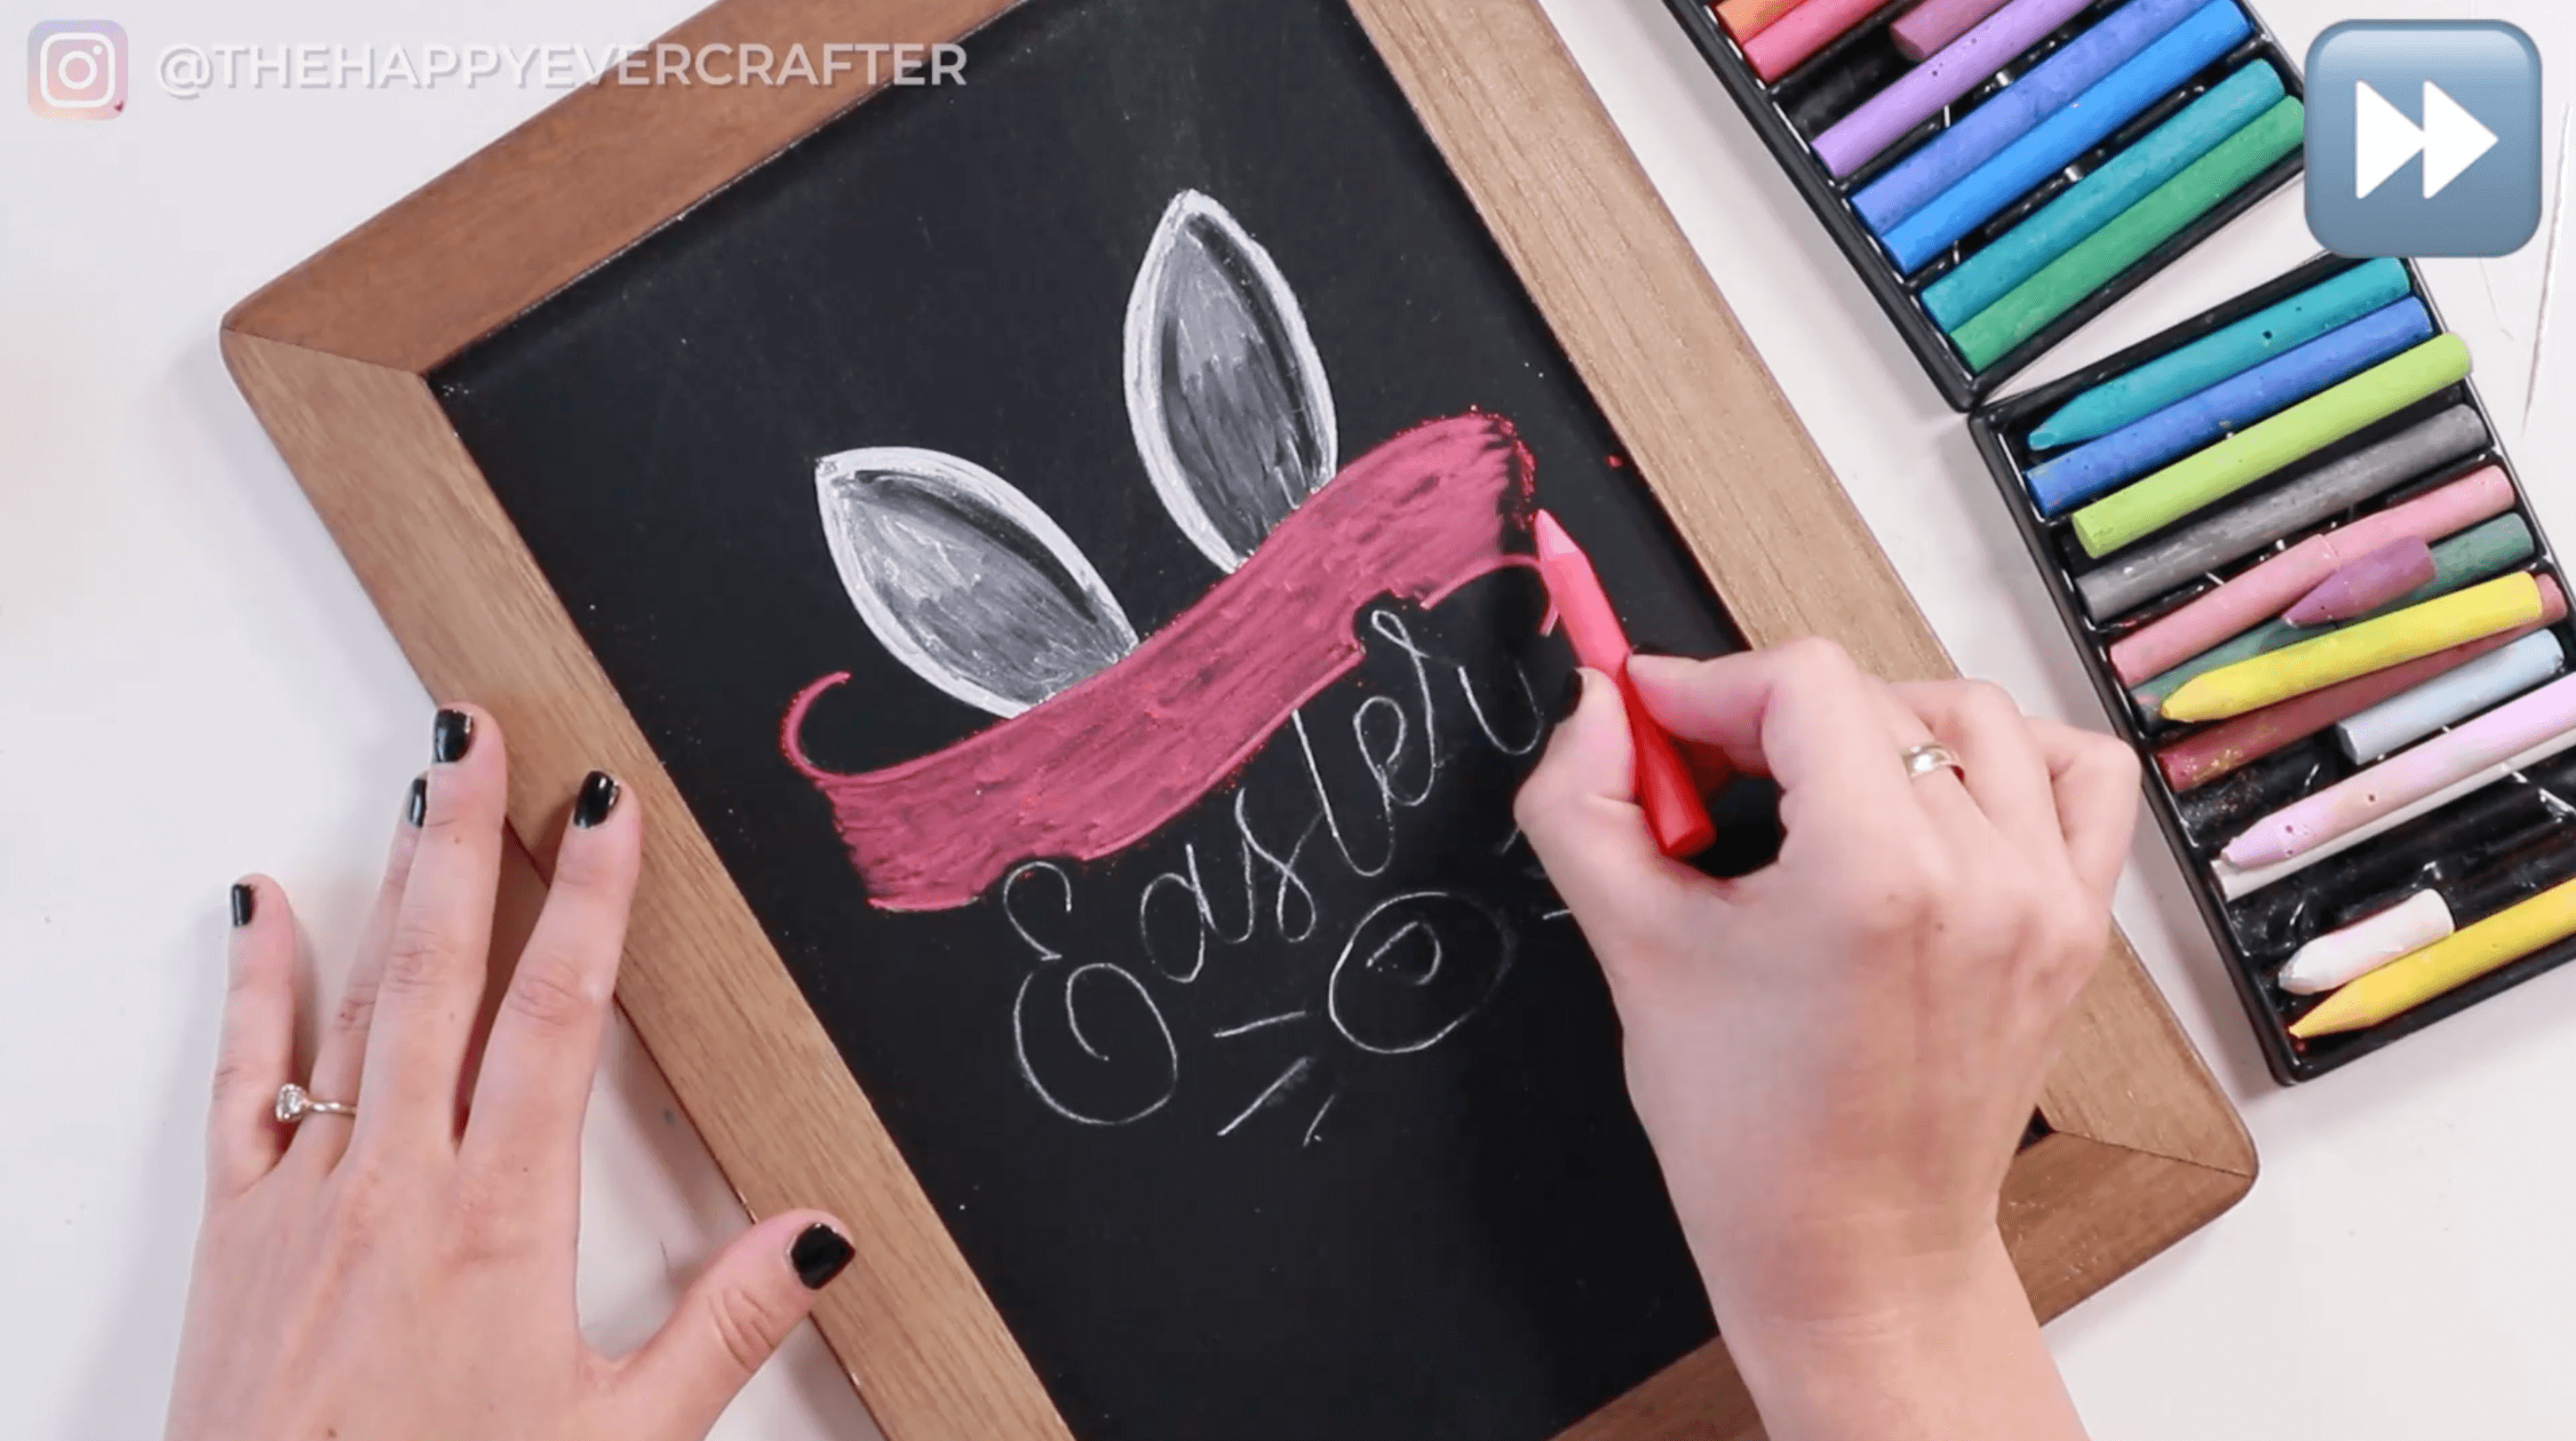
Next: BANNER
Next is the banner that will say “HAPPY”. Use any colour you want here (I used pink). One thing to note here is that you’re going to draw over the entire banner, so the HAPPY letters are going to get erased unfortunately. Just make a mental note to remember where those are. I know it seems like it defeats the purpose of the transfer you did earlier, but sometimes that happens if you’re adding colour or layers.
Anyway, sharpen your chalk and fill in your banner. If you want, grab the Q-tip and smudge your banner chalked a bit to soften it if the strokes or lines are a little harsh.
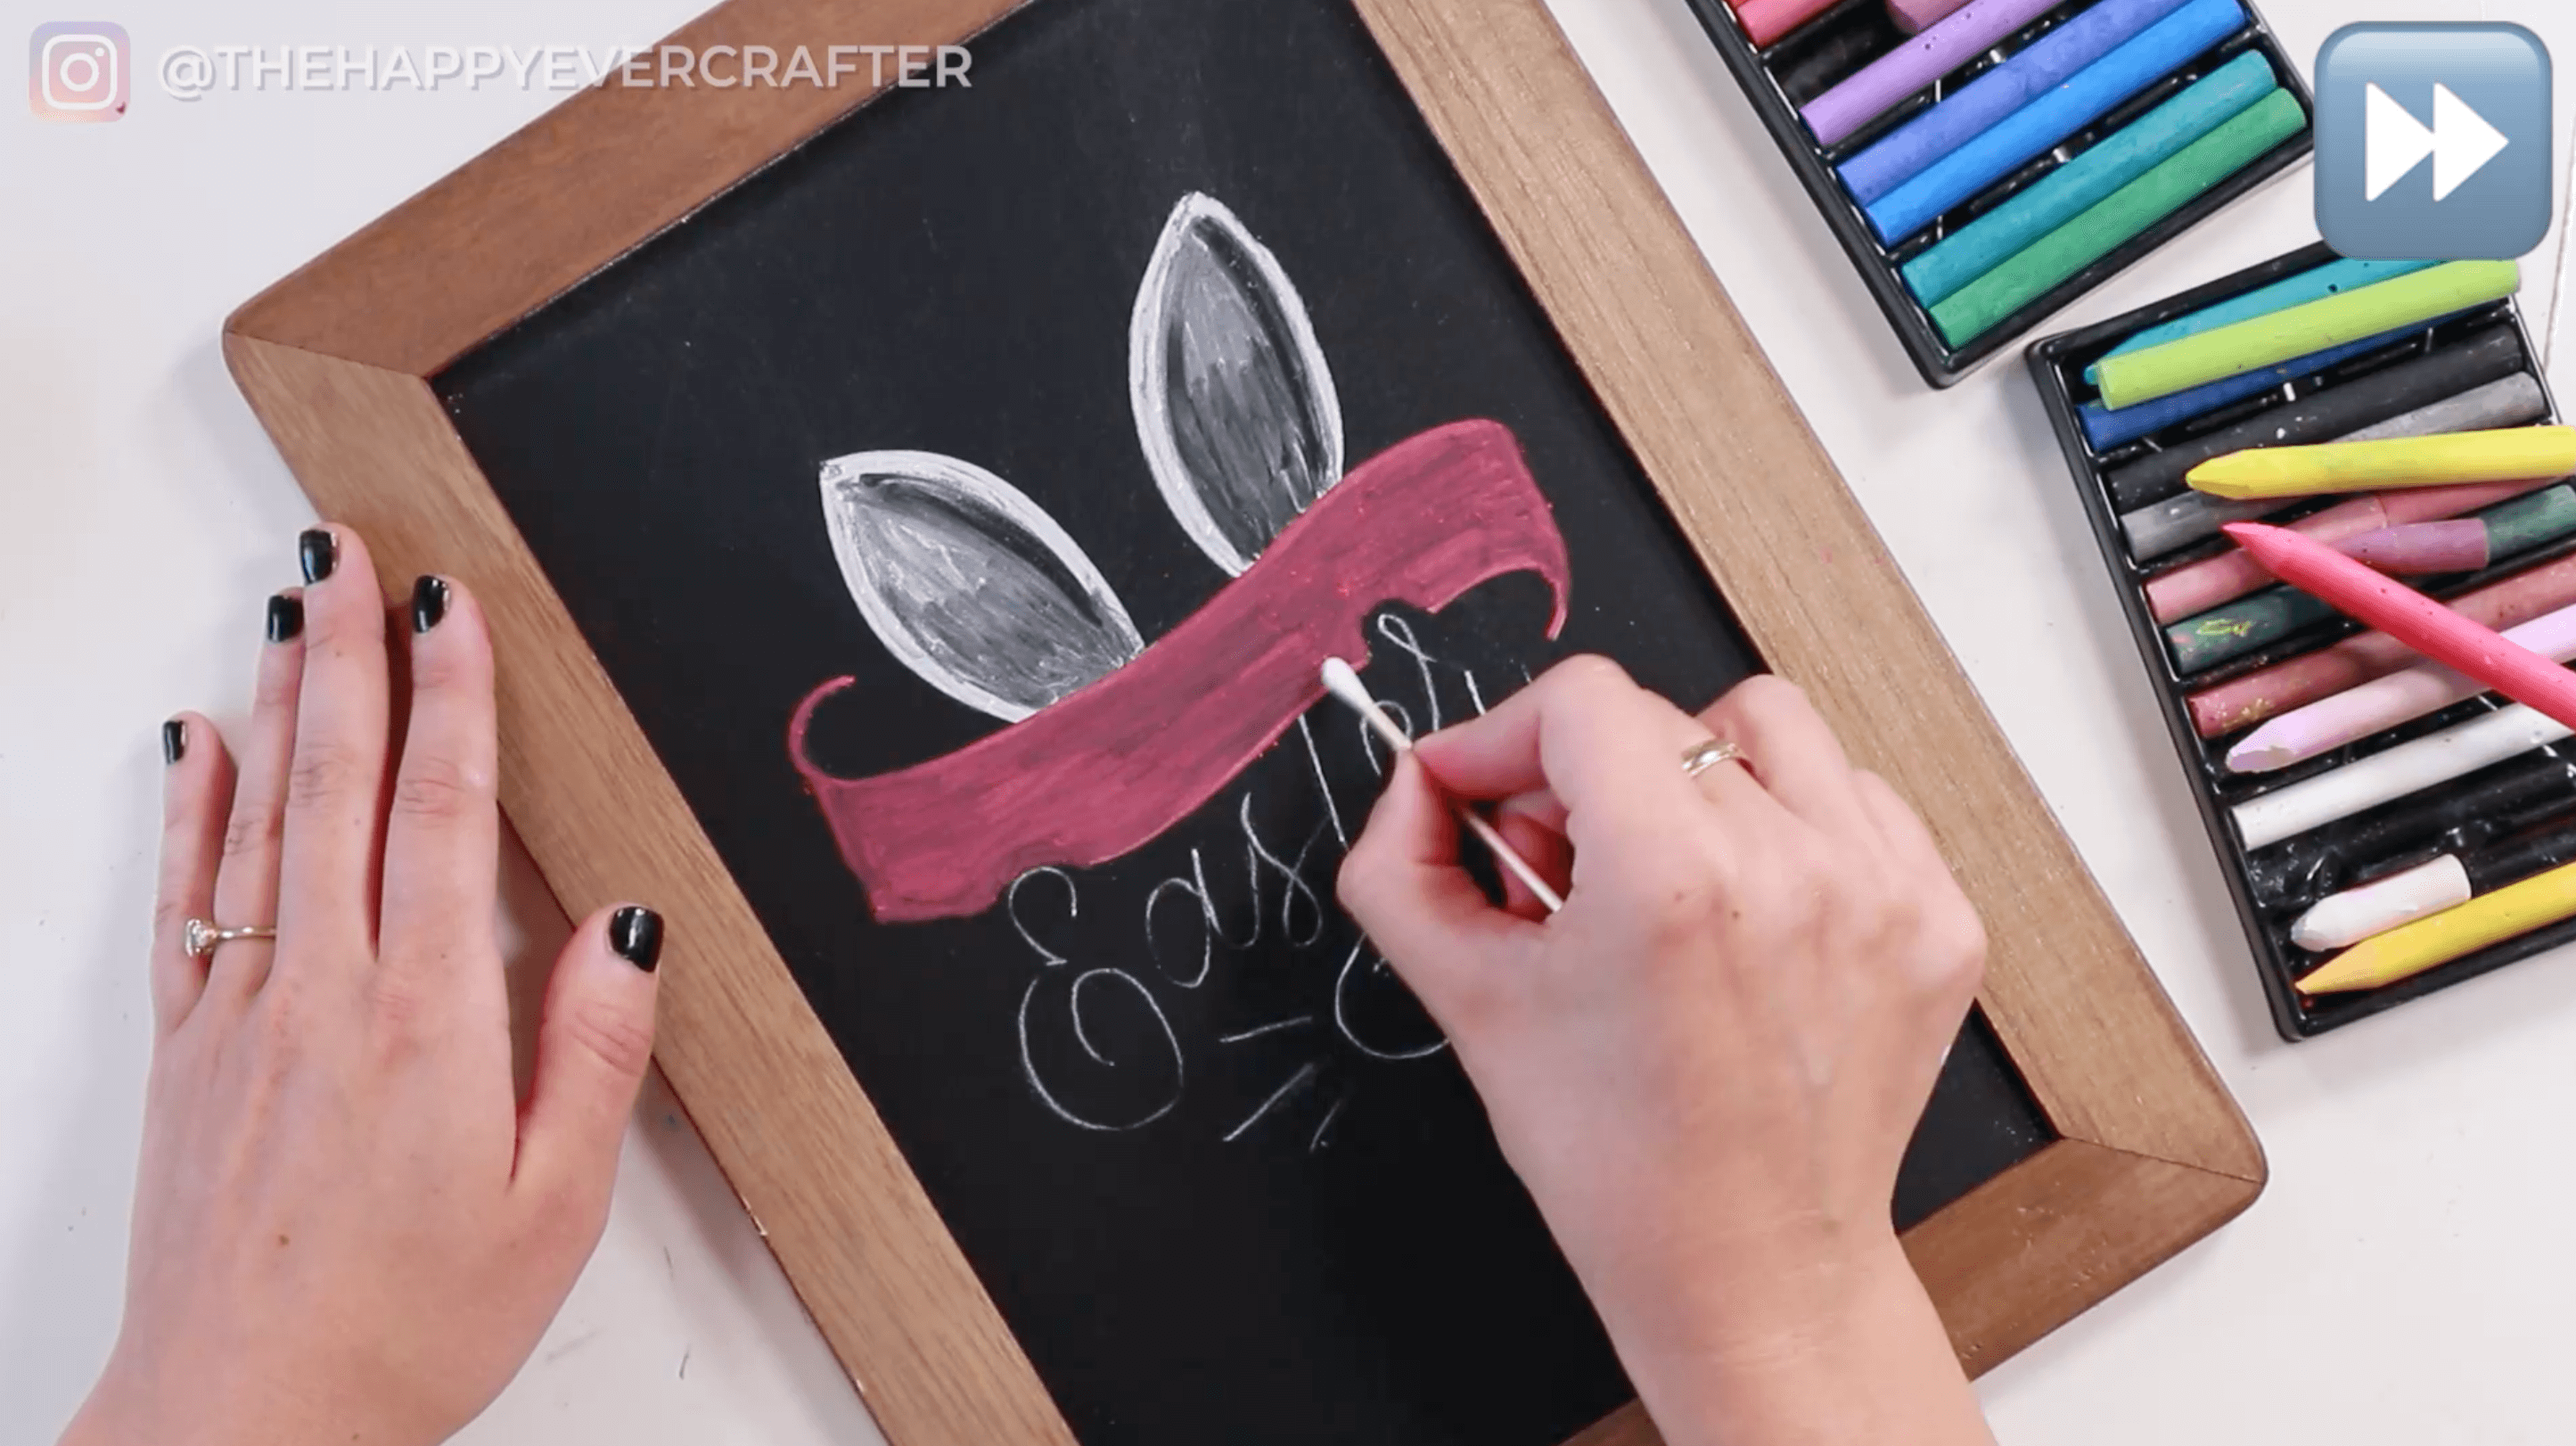
Next, pick a colour to write HAPPY (I used light pink). Be sure your chalk is sharp – you want it to be as sharp and precise as possible.
When writing something centered, start in the middle. Grab my sketch for reference where each letter sort of falls. Look at the word Easter underneath, and see where your middle letter (P) falls. Put the P in the middle first and work your way out to finish the word. Feel free to continue sharpening your chalk if needed.
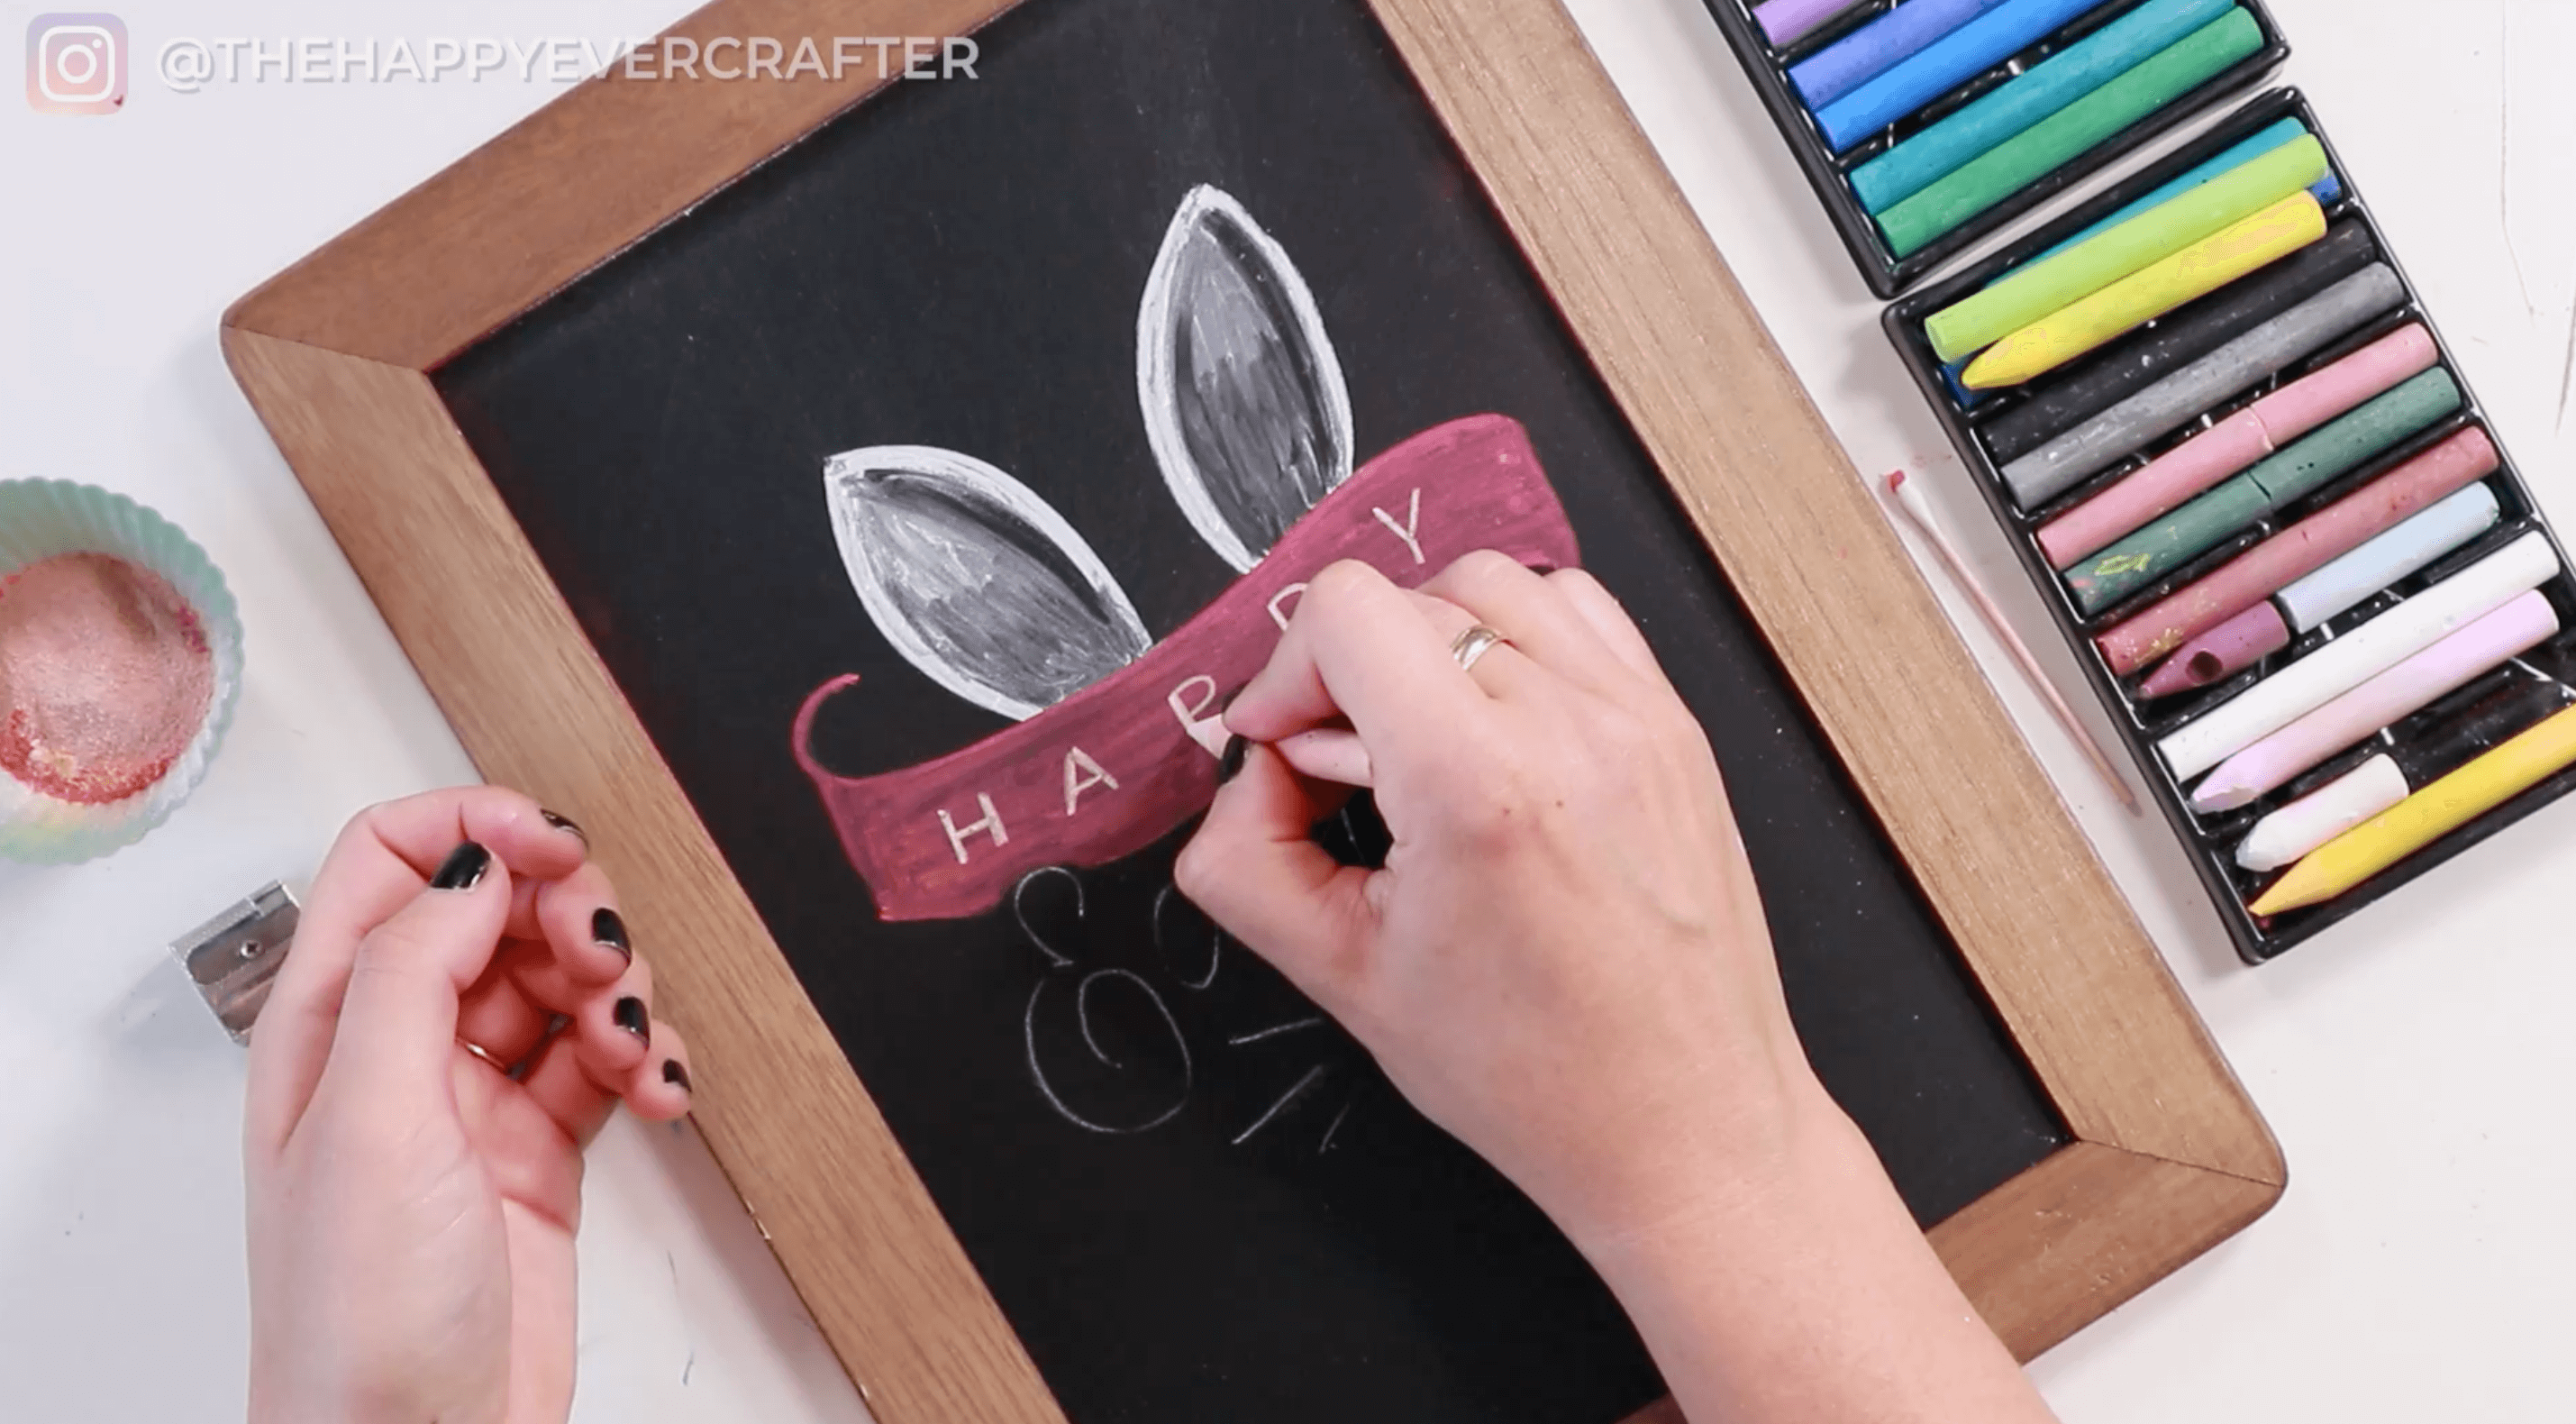
Chalk is forgiving, so feel free to add more colour, smudge more, thicken your letters – whatever you need to get the look you want.
NEXT: EASTER
Next up is the word Easter (I used light blue). Sharpen your chalk and use faux calligraphy to fill in the word. Do your outline first and then add thickness.
For more info in faux calligraphy, check out this post here.
Fill in your word completely with whatever colour you’re using (again, I used light blue). You may need to clean up some areas that touch the banner. Just work with it until you’re happy with the result.
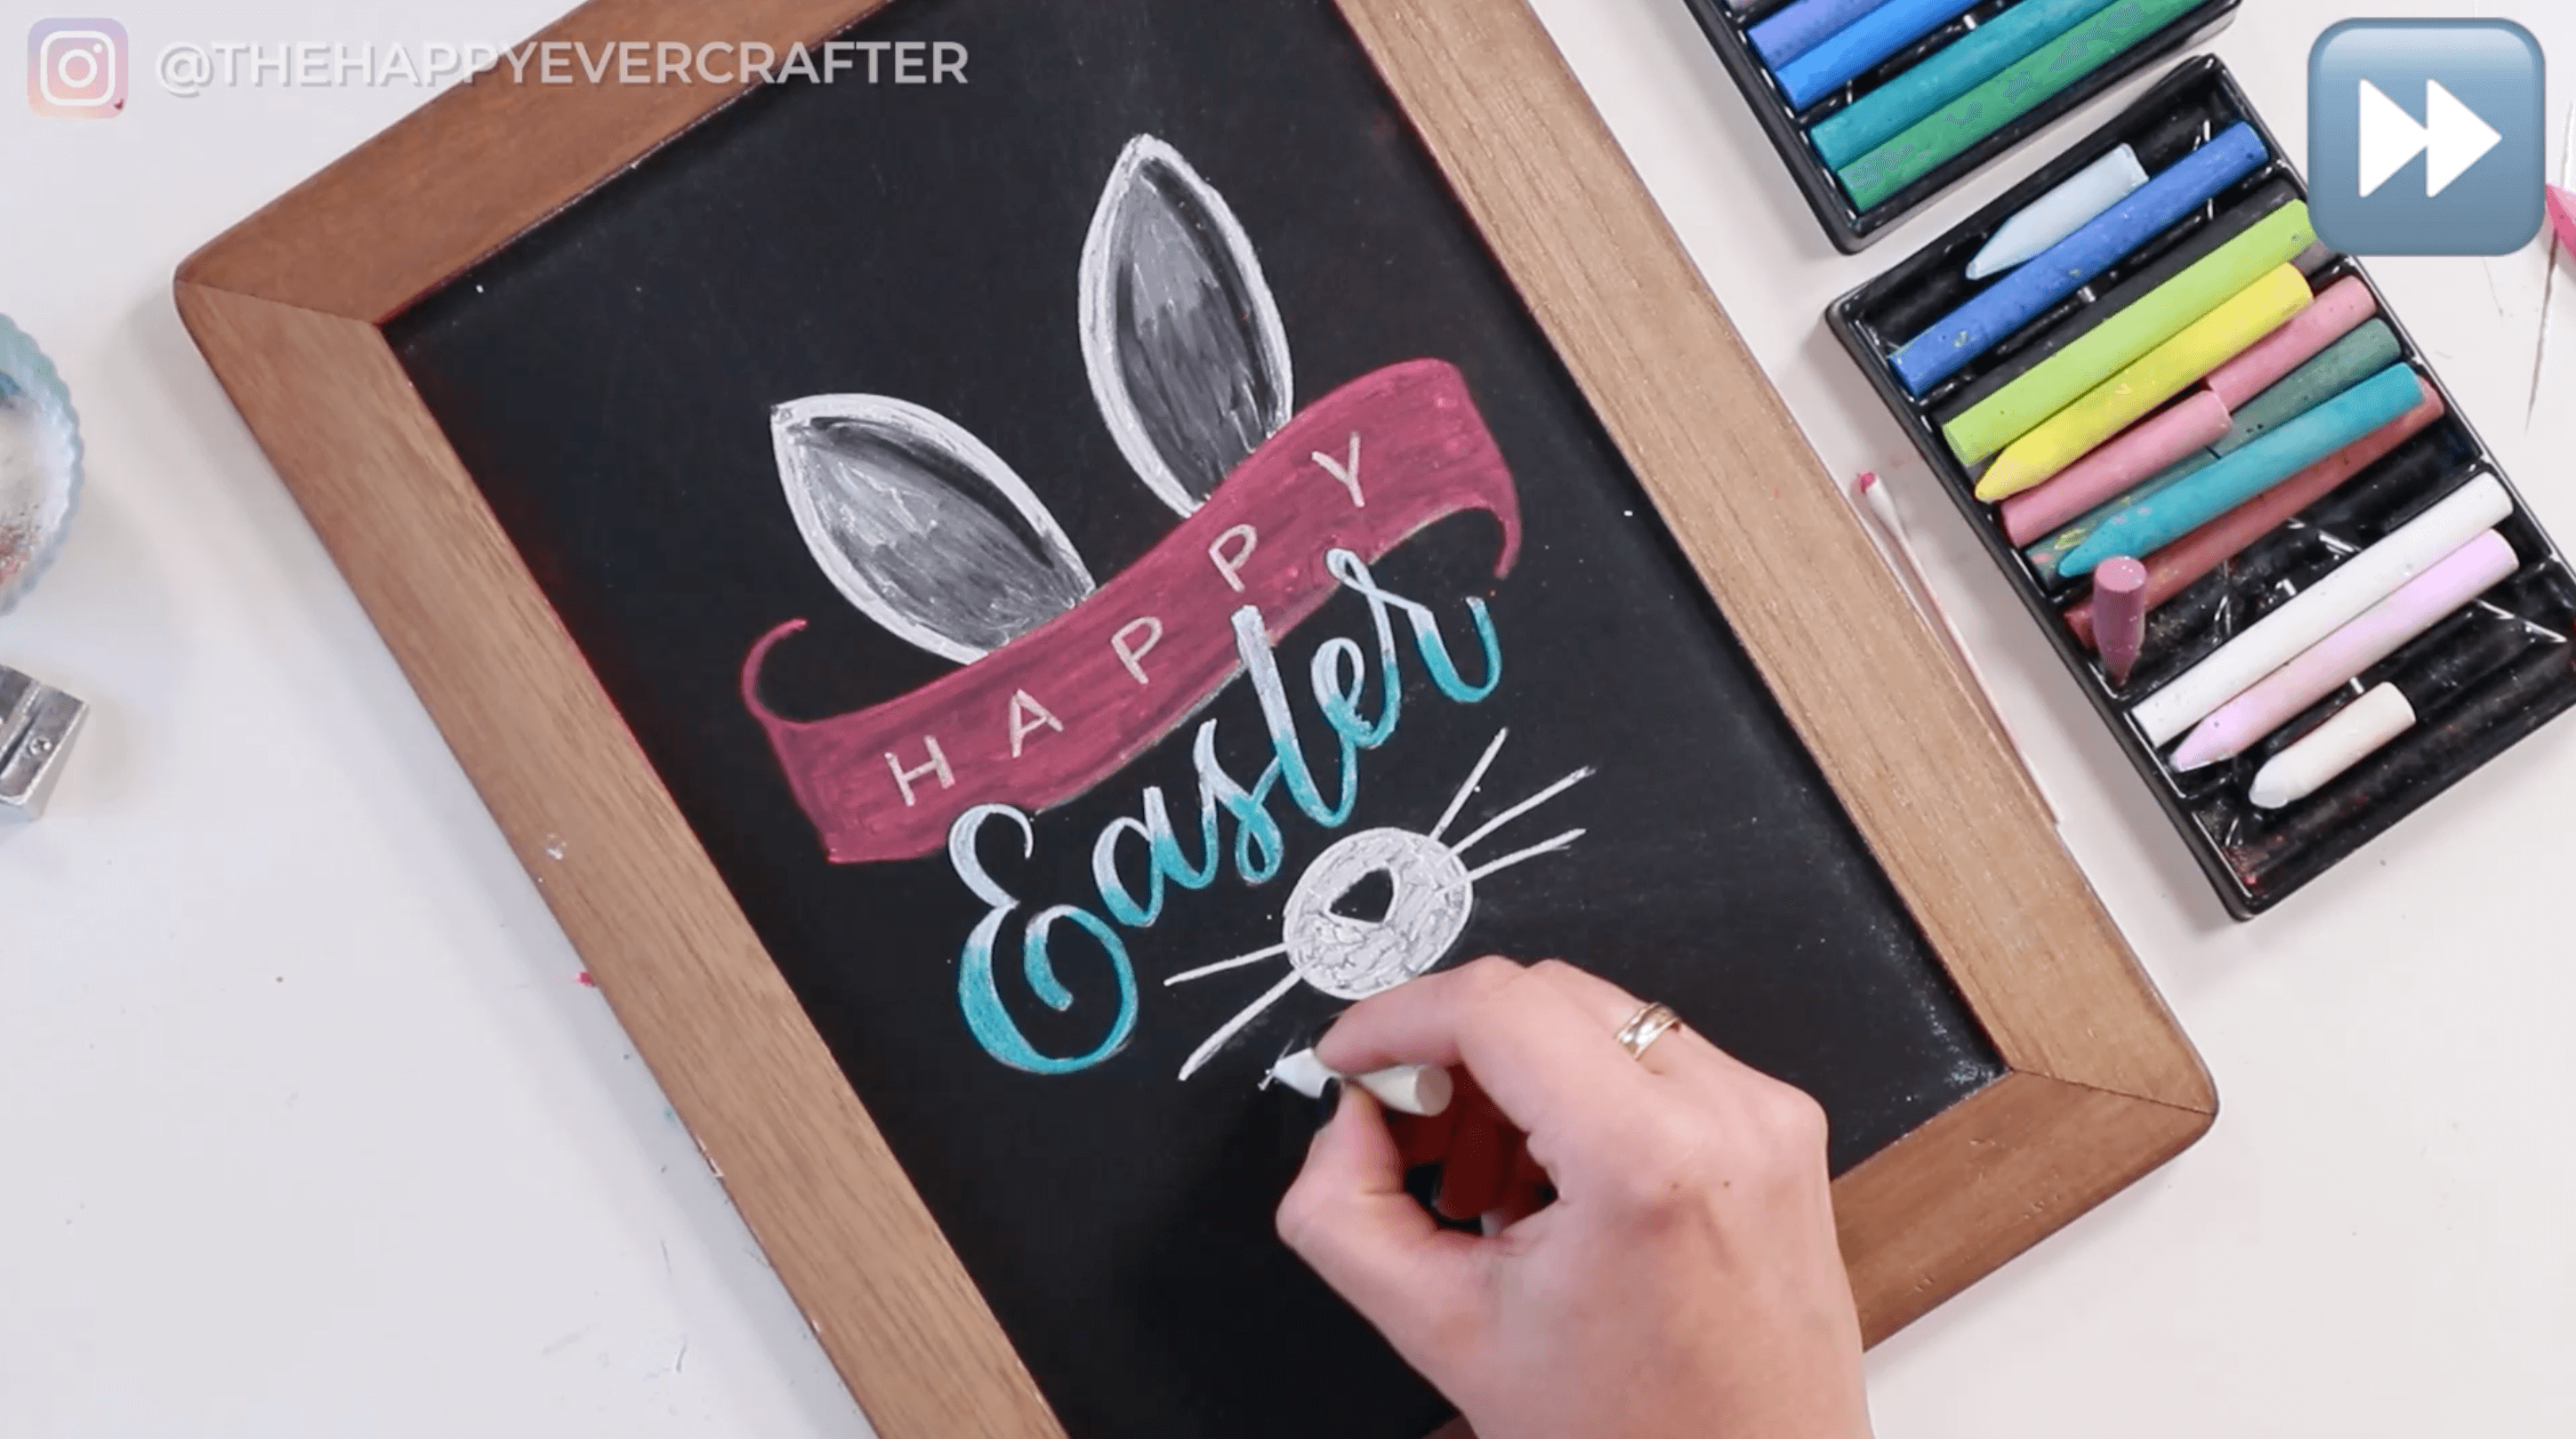
Next, you’re going to grab your darker colour (I used darker blue) and add some shading on the word Easter. On about the bottom third of every letter, add this darker blue. This will give it some extra fun and some extra shading. Go on the bottom of every letter and add in the darker chalk. Keep going until you like the way that it looks.
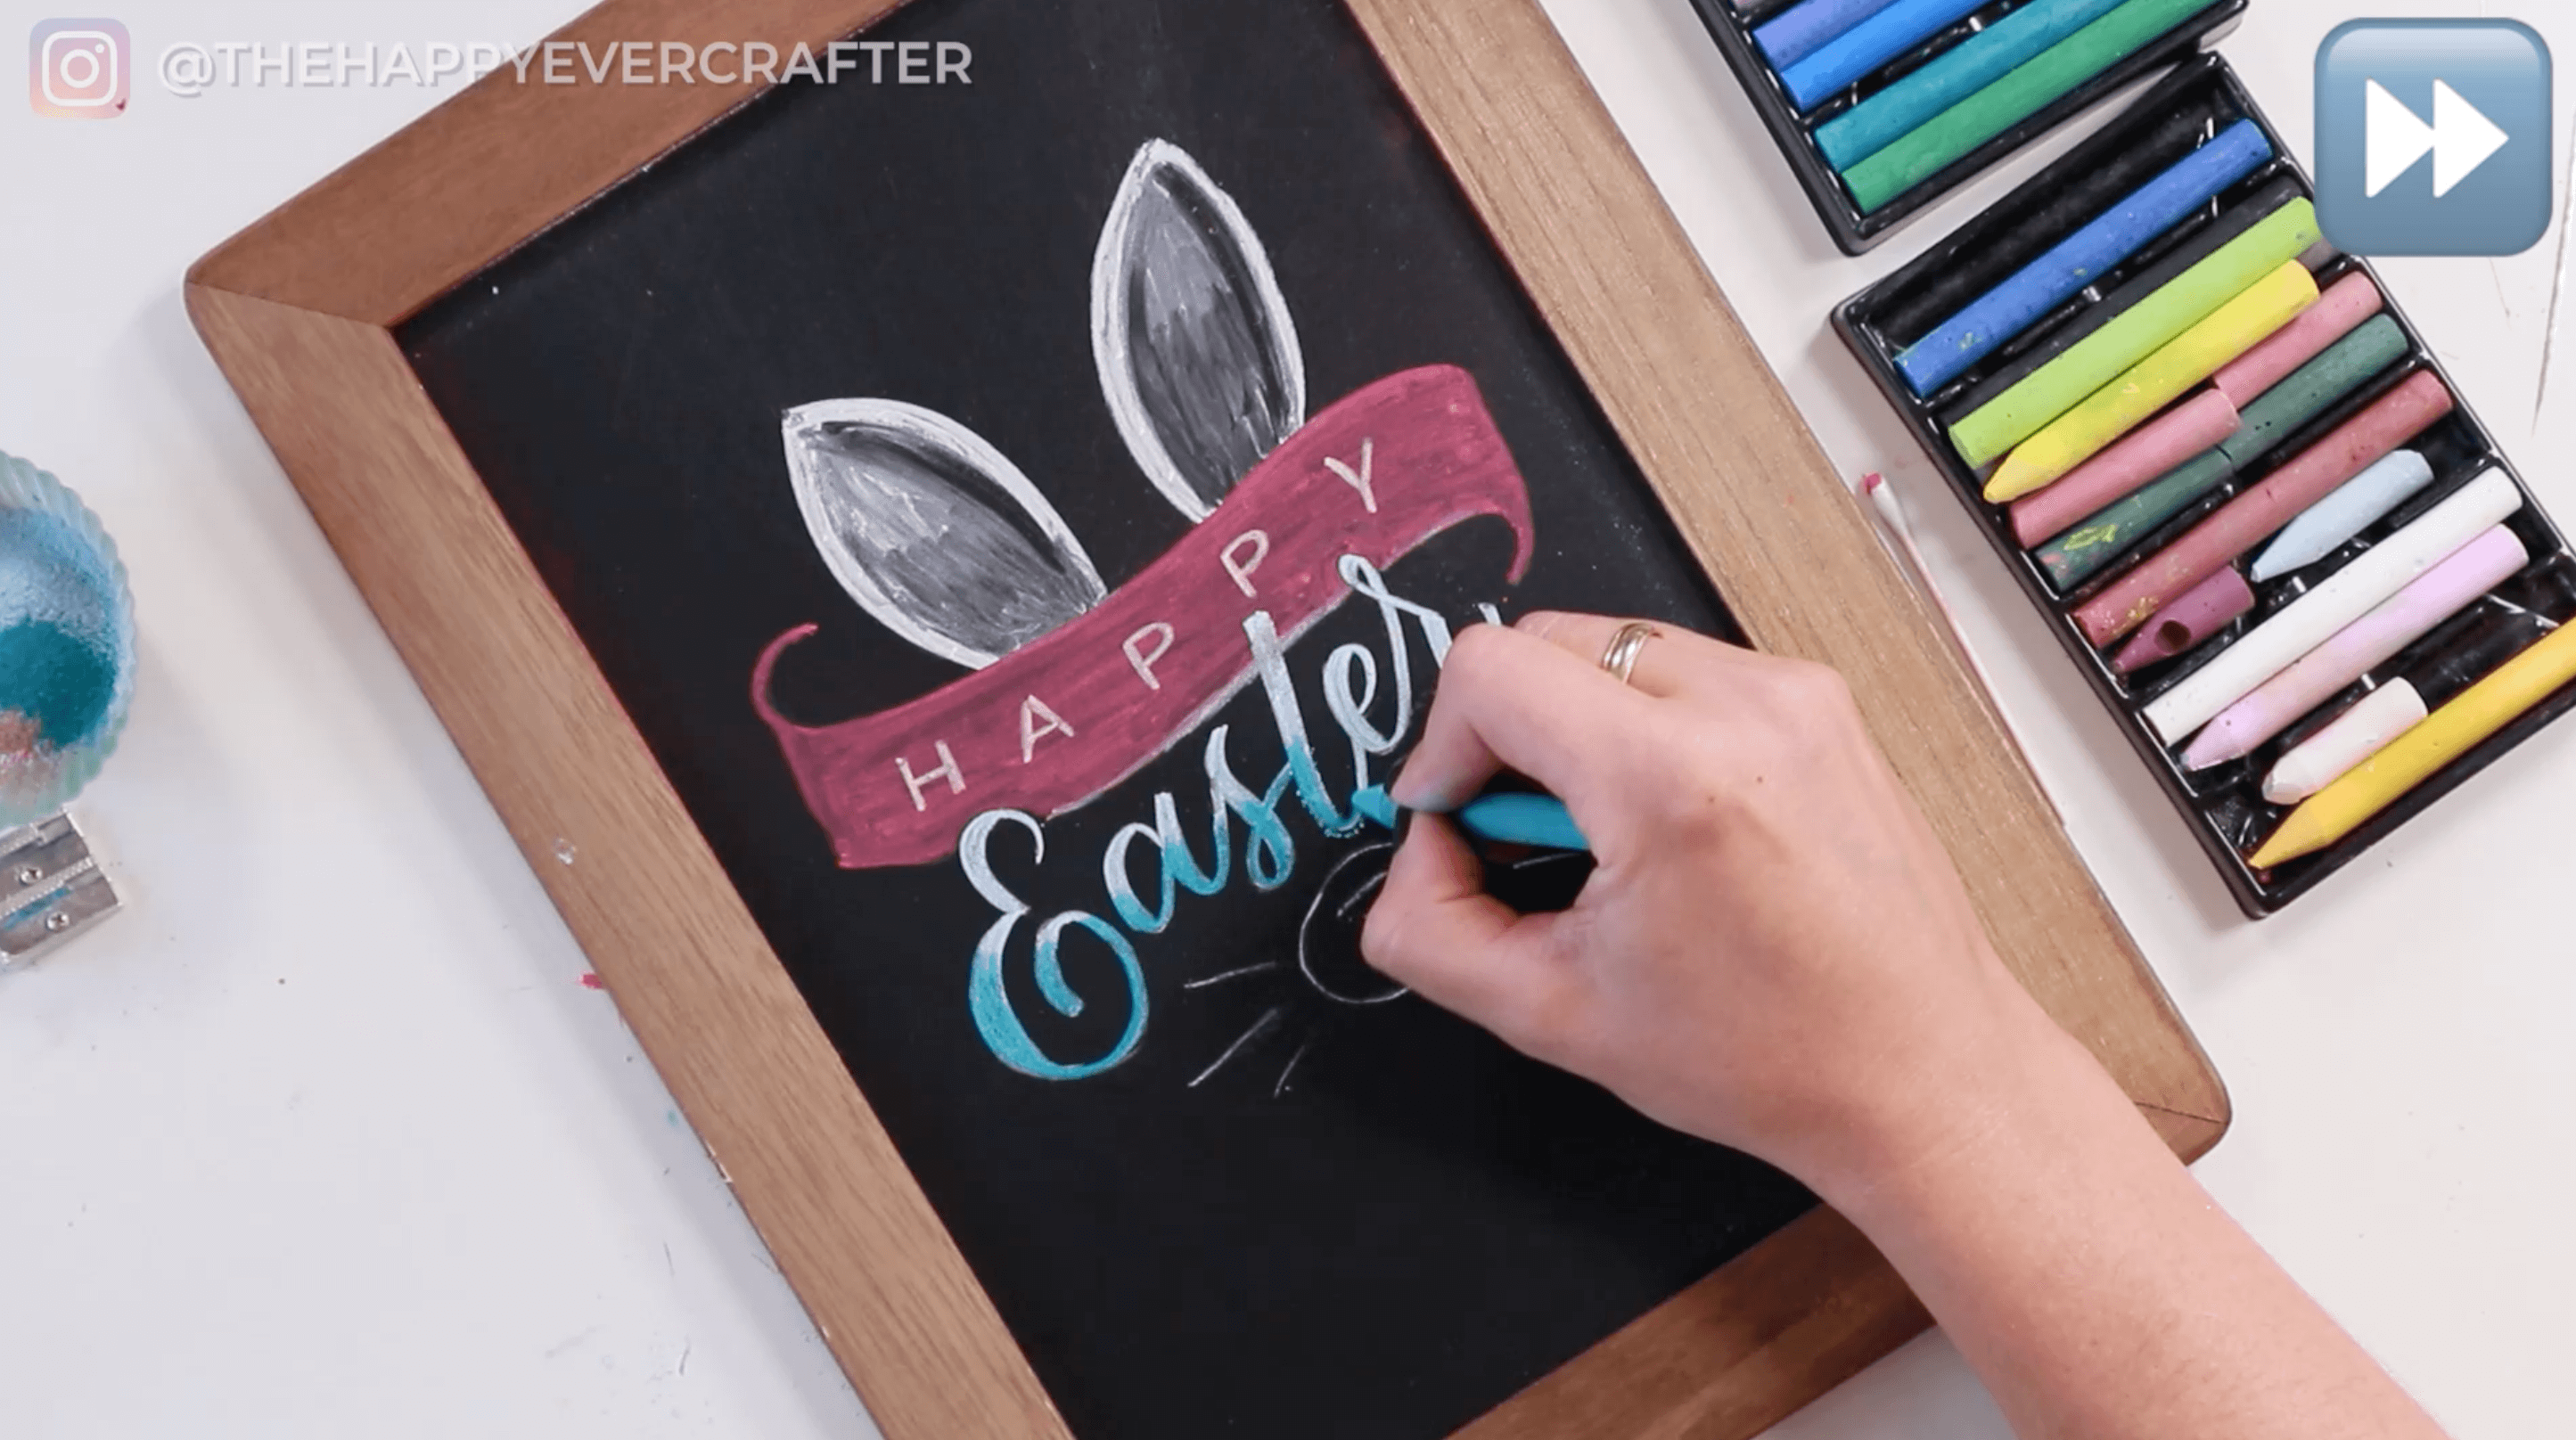
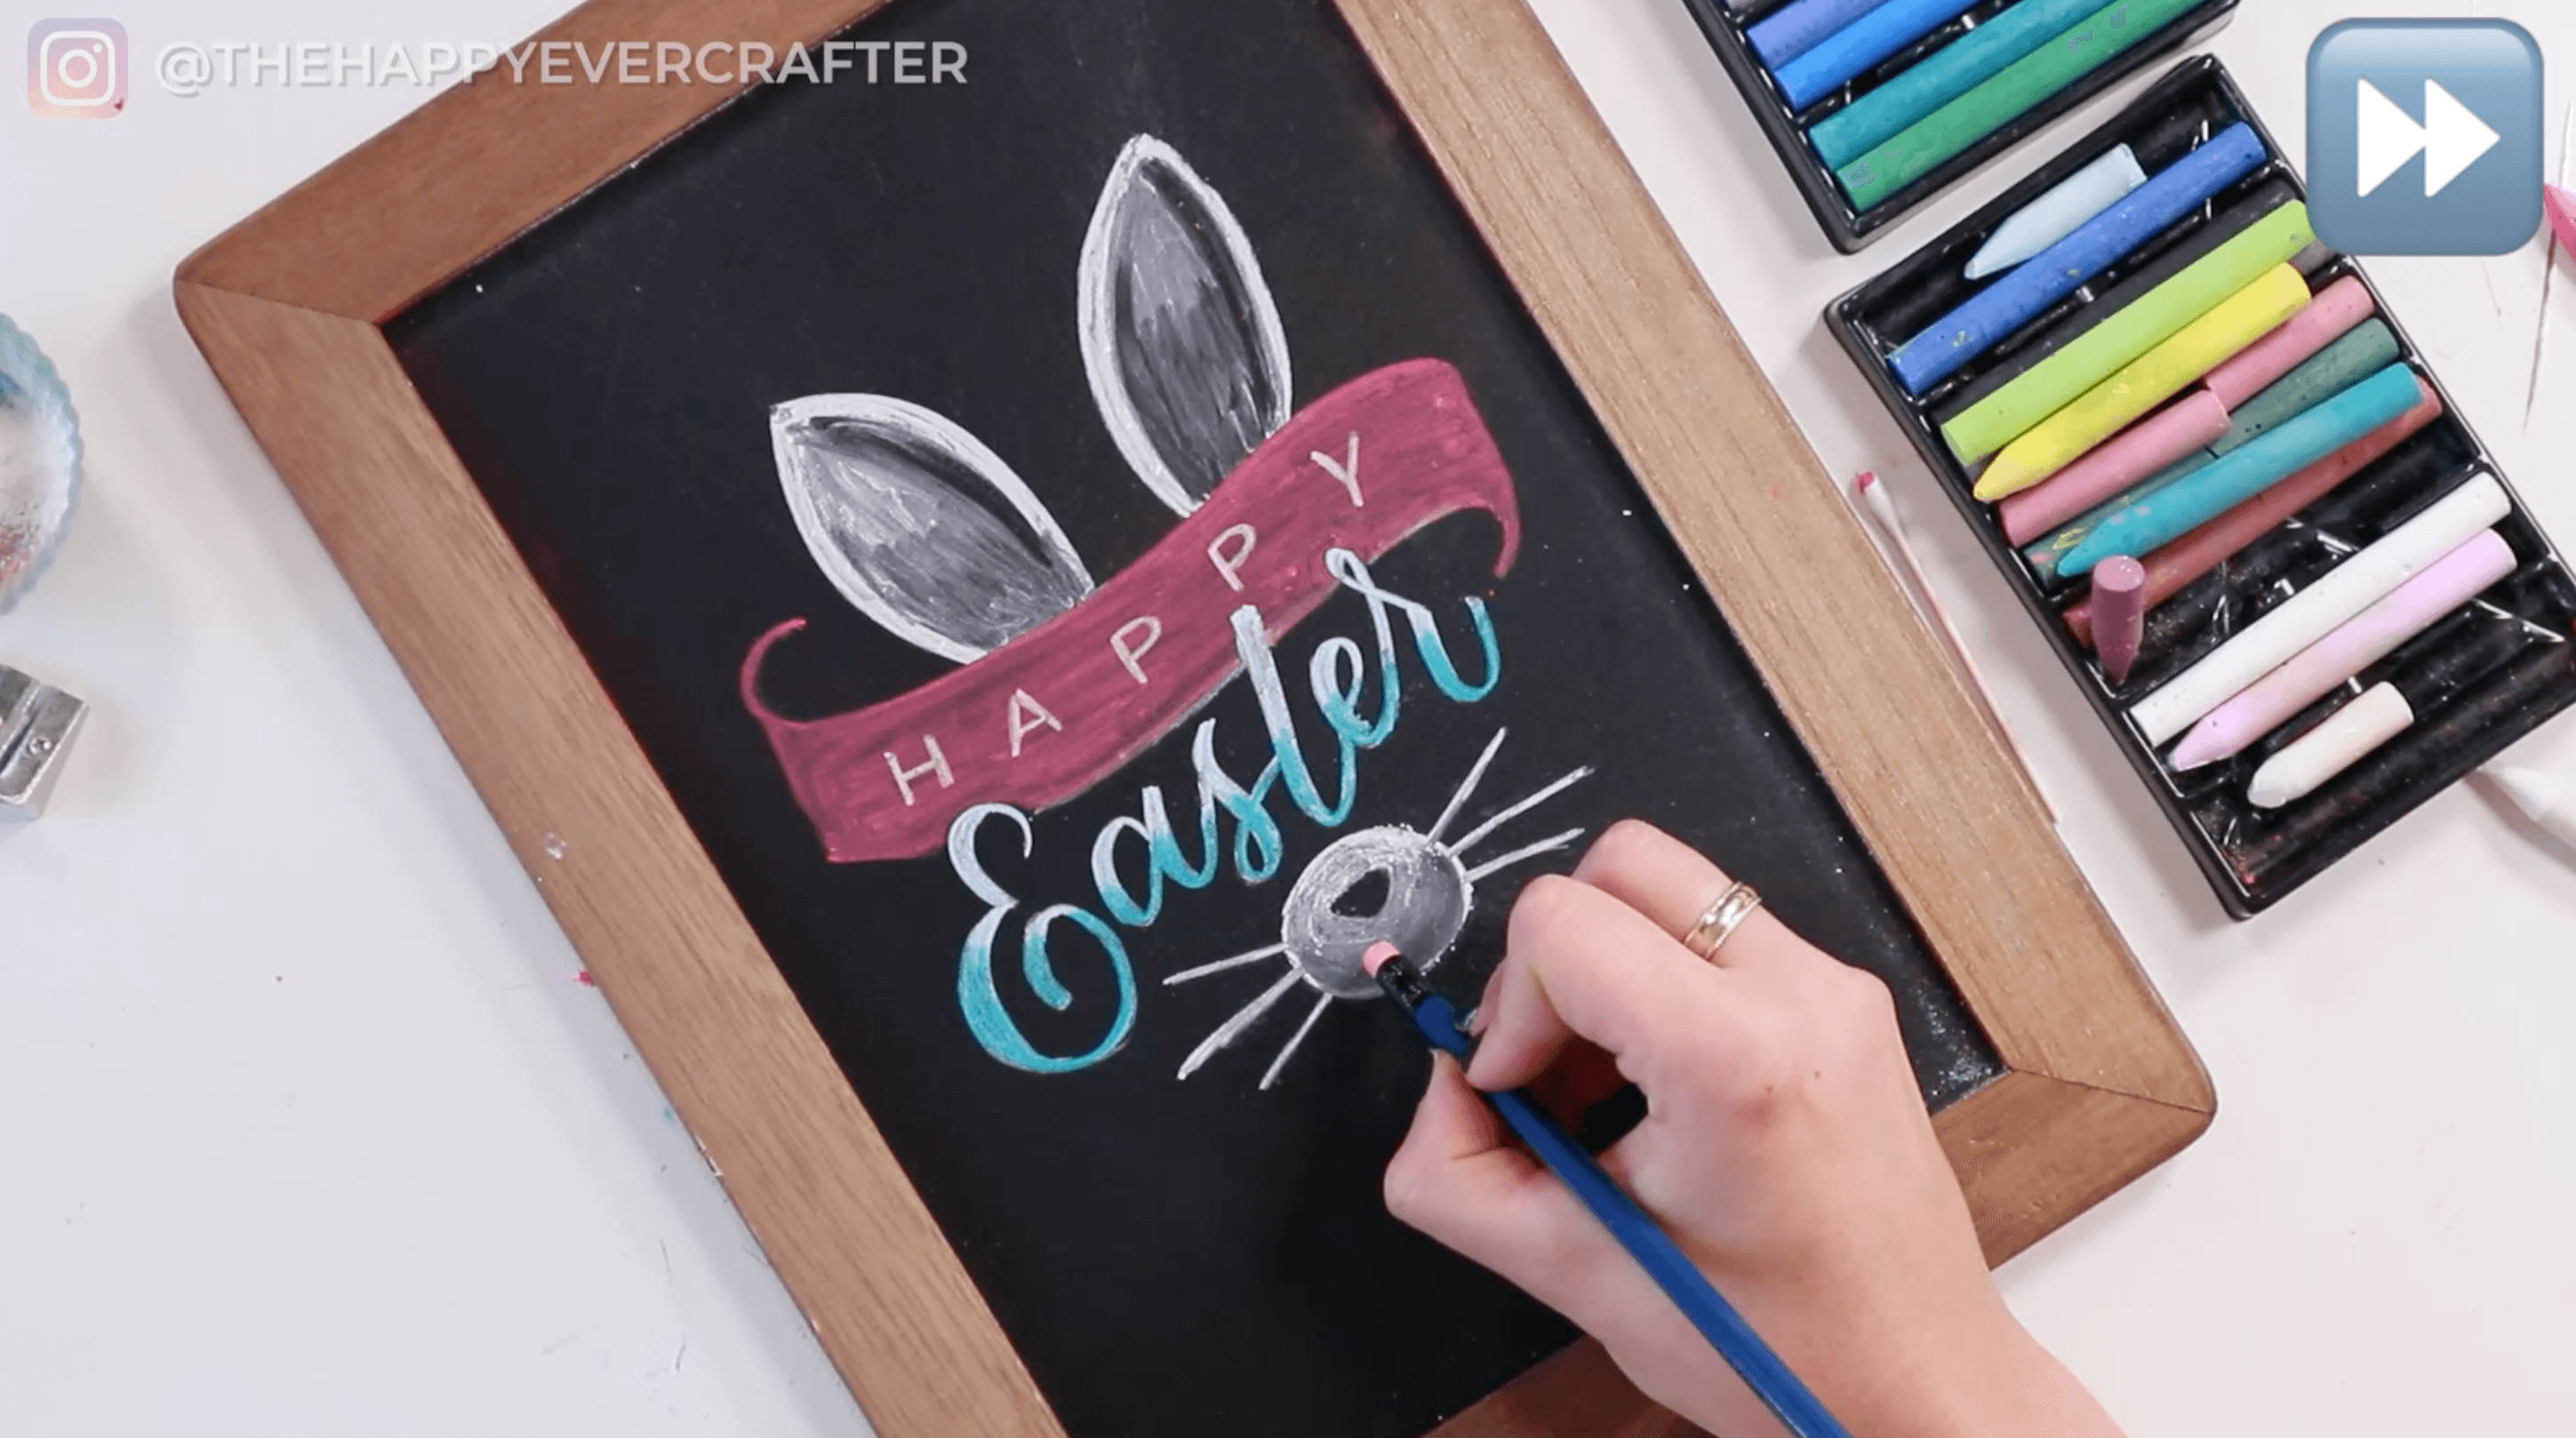
FINALLY: NOSE
The very last step you have to do is fill out the nose of the bunny. You want to match what you did for the ears – same colour, same effects, etc. There’s not really any rules of how you should do this. Add some chalk, outline things – experiment with smudging with your Q-tip and pencil eraser. Just keep going and keep playing with it until you’re happy.
And that’s a wrap!
You did it! You completed your Easter chalkboard.
If you’re looking for more Easter crafts, check out this post here.

DOWNLOAD YOUR HAPPY EASTER TEMPLATE HERE!
And finally, your dad joke…
What is the Easter Bunny’s favorite music genre?
Hip hop!


That was a cute bunny joke! I love this Easter Bunny Chalk design! Thank you for sharing your talent with us!
Bunny joke:
What’s invisible and smells like carrots?
Bunny toots
Have a blessed day!
So Fun!
So Cute!