I know they say it’s the thought that counts and that your mom will always like whatever you make for her. That’s probably true, but how about you make her a card she actually likes?
This card technique is super easy, super cute, and doesn’t require you to actually know how to draw. It’s a win for you AND for your mom.
First Things First…
The links below may be affiliate links where appropriate. This means that your purchase through these links may result in a few cents in payment to me, to support creating further resources like this one! That being said, I will never suggest supplies that I do not personally use and fully recommend.
Supplies Used
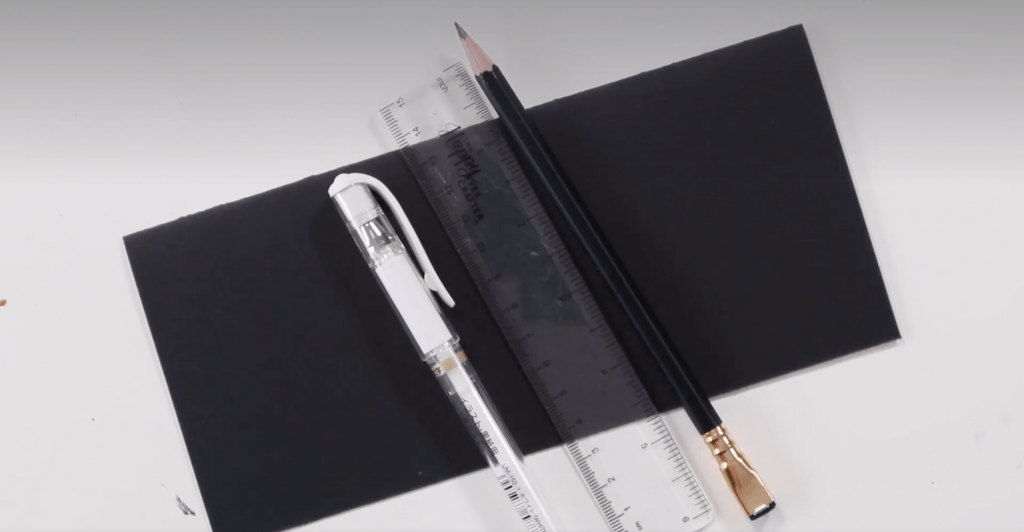
- Black cardstock – You can use any cardstock for this. Feel free to fold into whatever size card you want, but I recommend a longer more narrow size for this particular design.
- White Uniball Signo Gel Pen – You can use any colour ink and paper though – it doesn’t have to match mine!
- Palamino Blackwing Pencil – Literally any pencil will work, but these are my favourite.
- Ruler
- Eraser
Rather watch than read? No problem! You can watch me practice calligraphy with my left hand in real time in the video below.
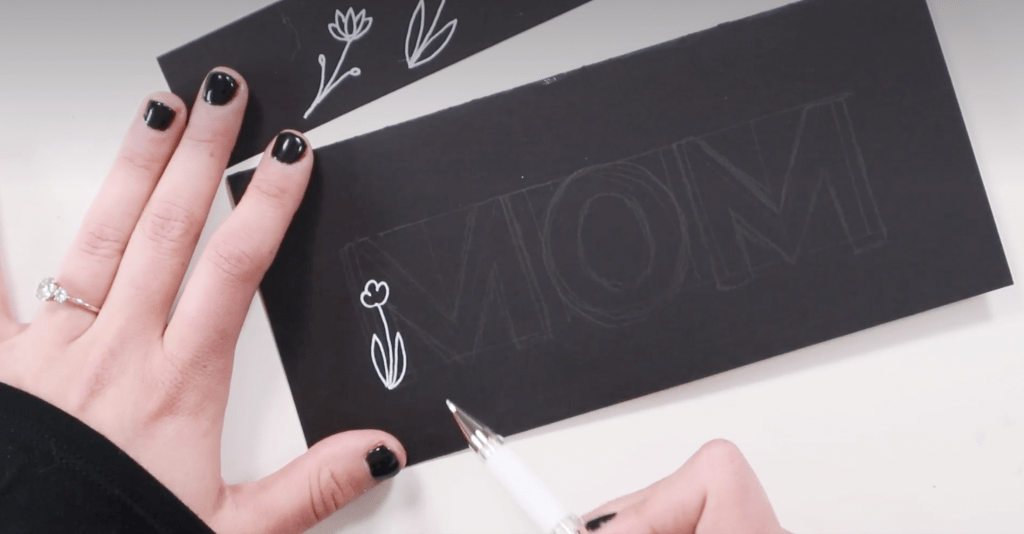
Step 1: Sketch out your design using pencil.
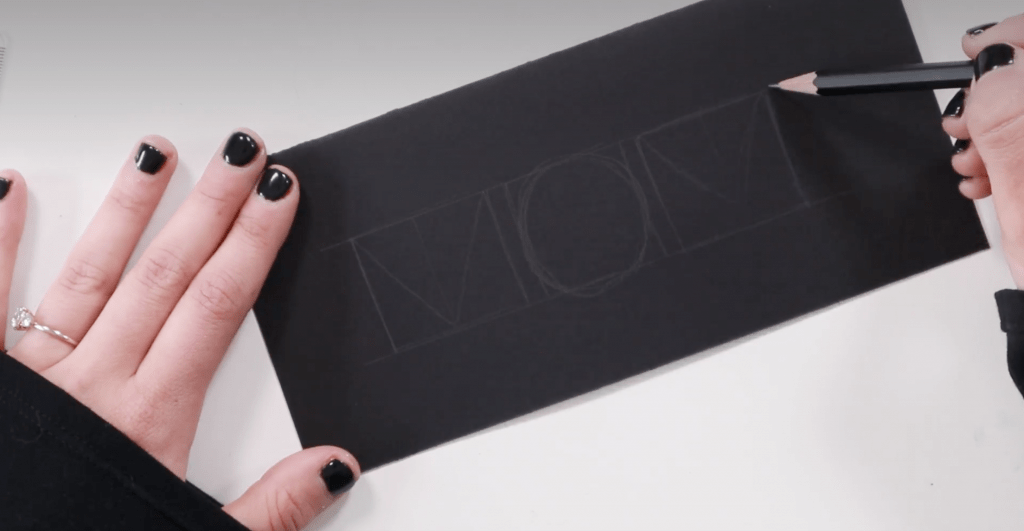
Write out the word mom in big bold block letters. Kind of like the big bubble letters from when you were a kid.
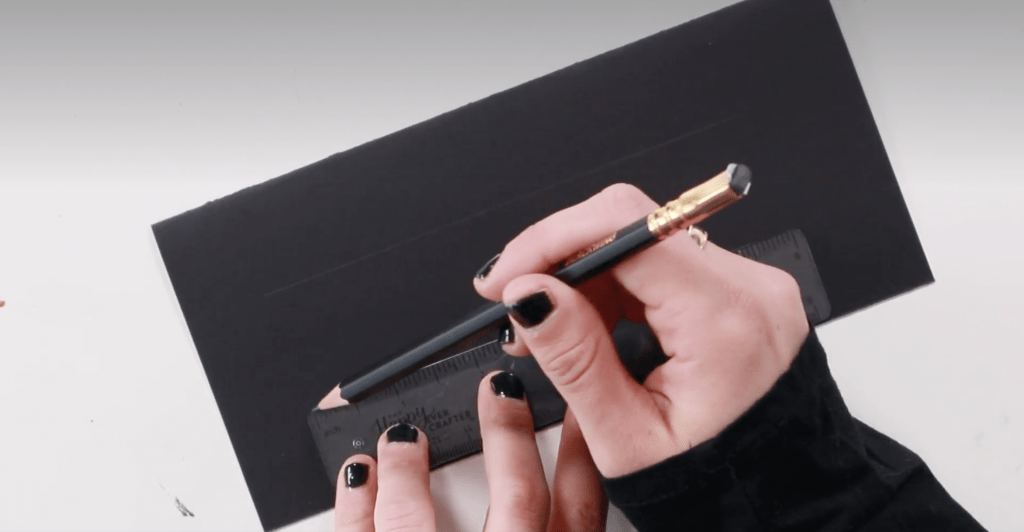
Make a guideline – a ruler width from the top and the bottom to get consistent spacing.
I like to draw out squares for my letters. Three squares for M – O – M. The O square is slightly smaller but not much. Then add your letters to the squares.
Feel free to sketch this out until you’re happy with your letters. You want them big and bold because you’re going to fill them in.
Once you have your sketch done, you’re going to add in some little floral doodles.
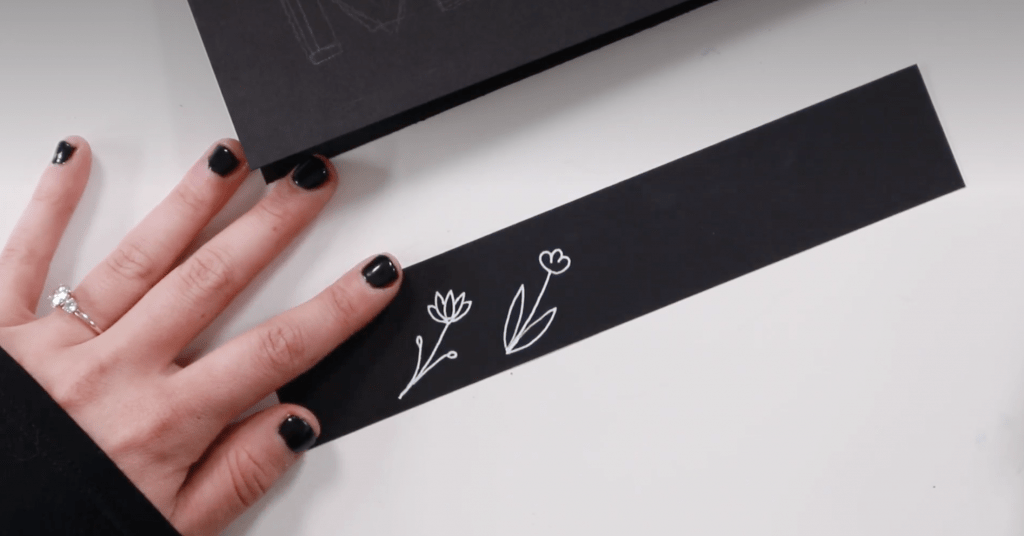
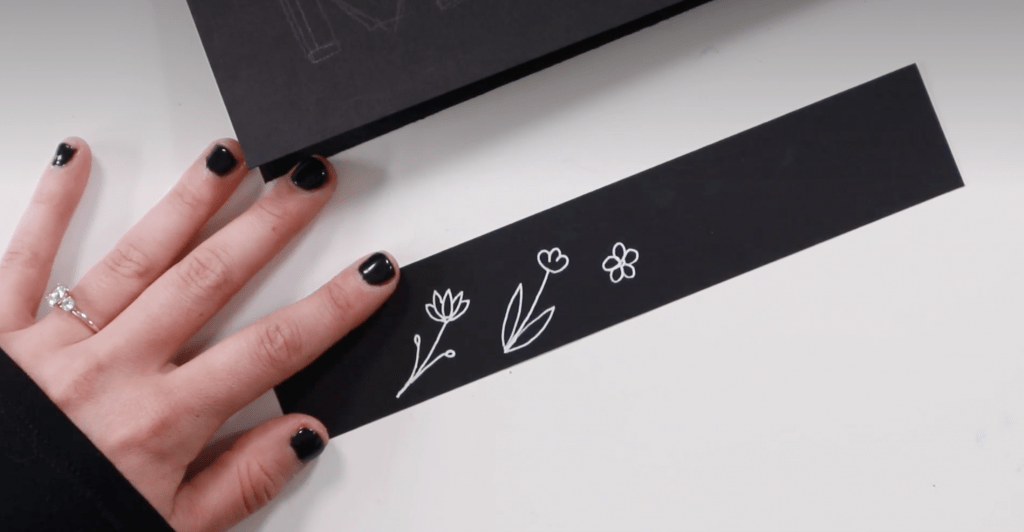
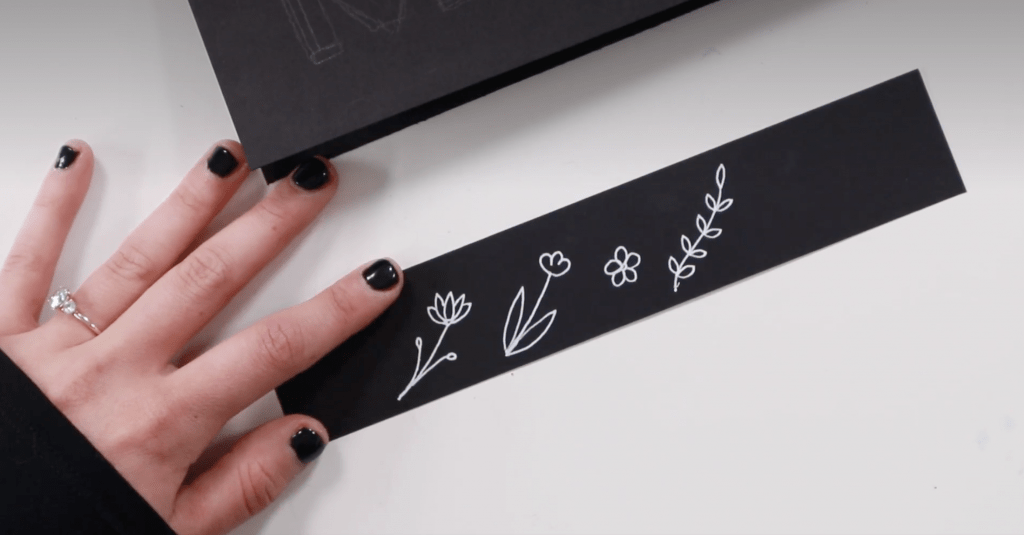
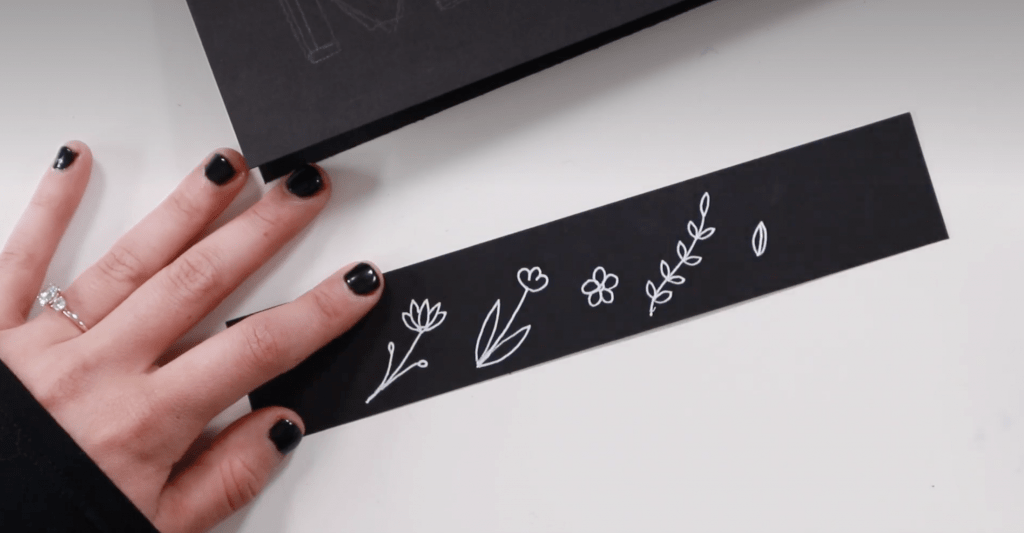
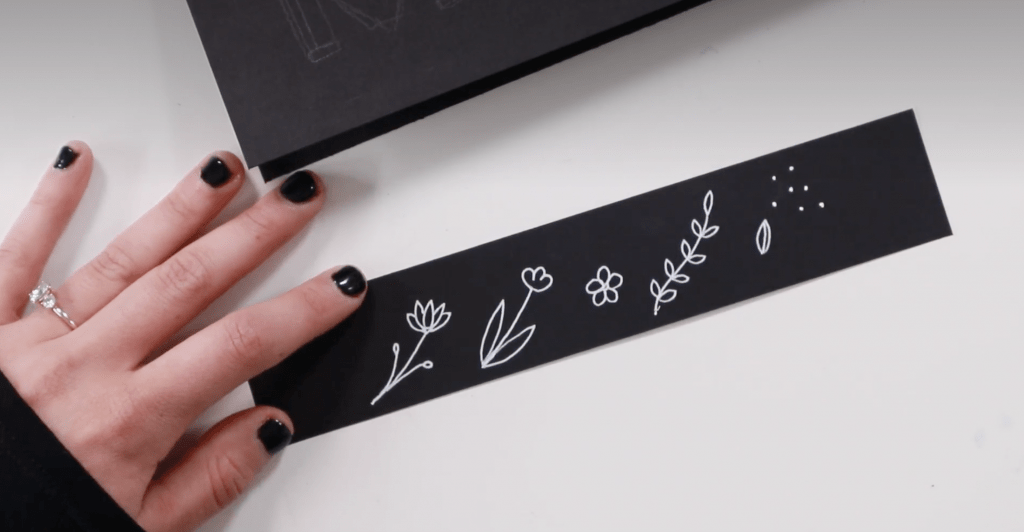
You don’t have to know how to draw. I created a little cheat sheet of floral doodles for you.
Step 2: Sketch out your floral doodles.
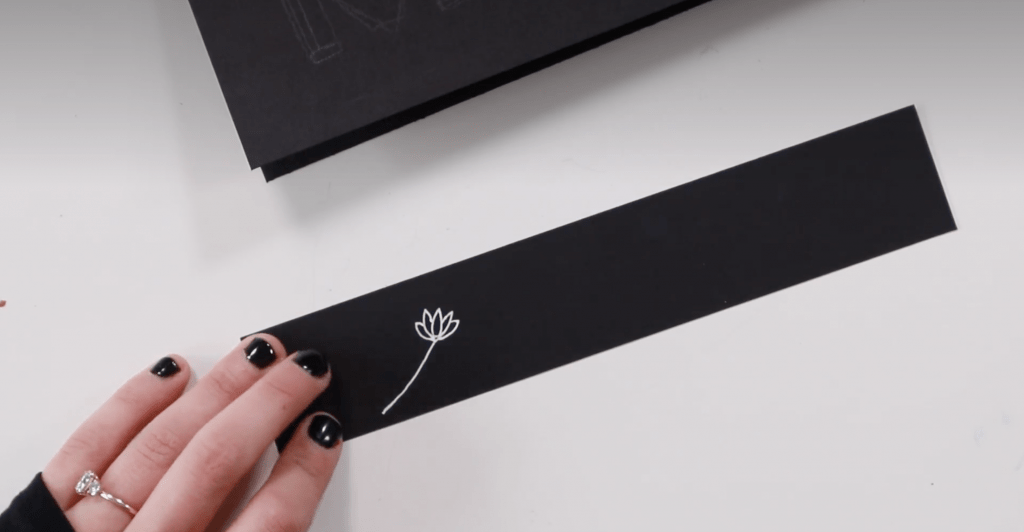
Draw a line with a little triangle on top and one leaf coming. Then add a leaf on each side and repeat – five total leaves. Then add some stems with circles to create some more leaves. This a cute little leafy doodle.
Draw another line and add three loops at the top. Then add some big leaves at the base of your stem. It’s a little tulip-type floral.
Draw a circle and add some circle petals to it. Super simple little flower doodle.
Draw a curvy line. Add some leaves coming out the sides all the way down to make a leafy vine.
Last shape is a little leaf shape with a line through it. Super simple.
You’ll also add some dots later on too. Hopefully those don’t require a step-by-step tutorial. 😉 You’re going to use these super simple doodles to fill up the letters in your MOM sketch!
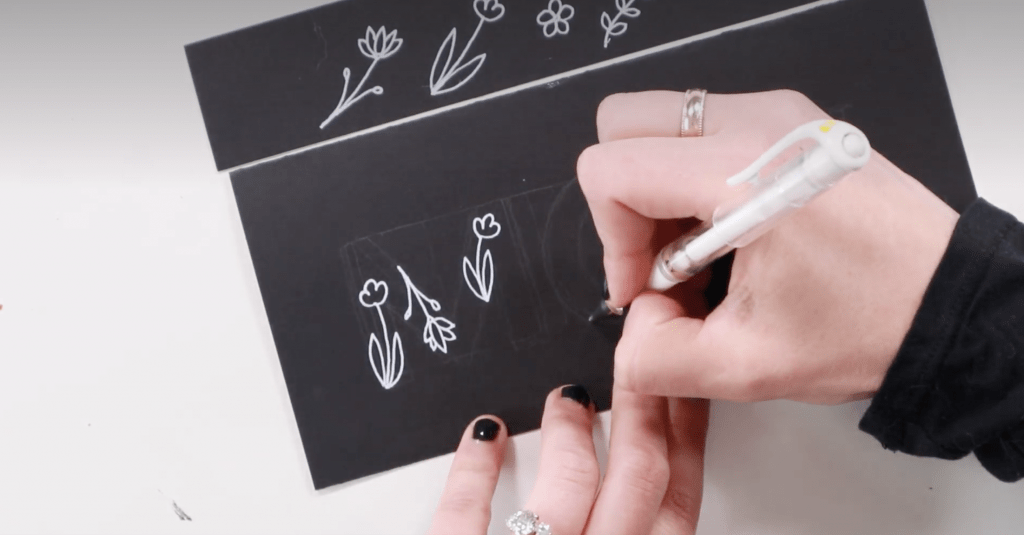
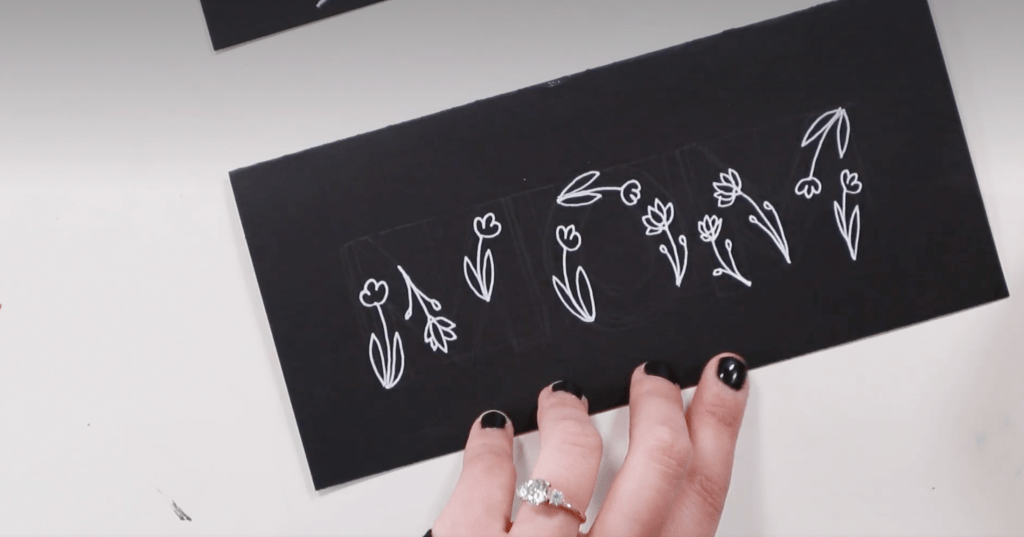
Step 3: Start filling in your letters with your larger floral doodles.
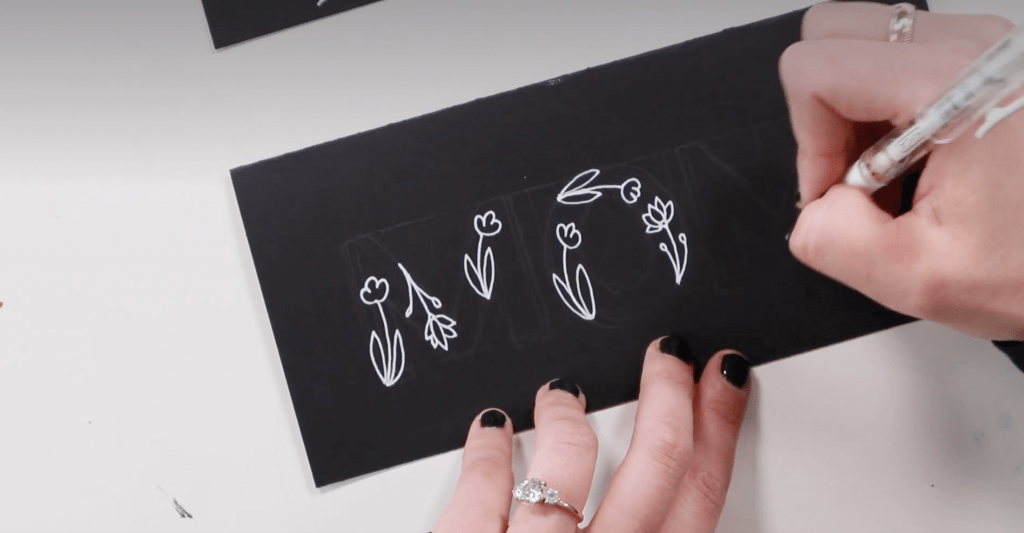
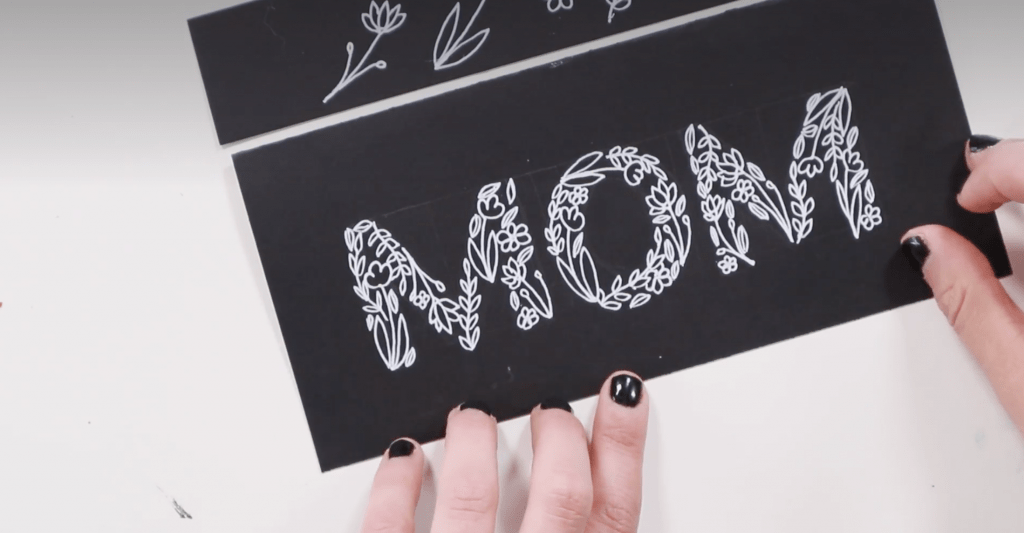
You will use the floral doodles you drew in Step 2 to build up each letter without needing to outline the actual letters.
Hack: Make sure you’re hitting the edges of your letters to give the look of an edge without an actual outline. Just keep that in mind as you add your doodles. The more stuff that touches the edges the better.
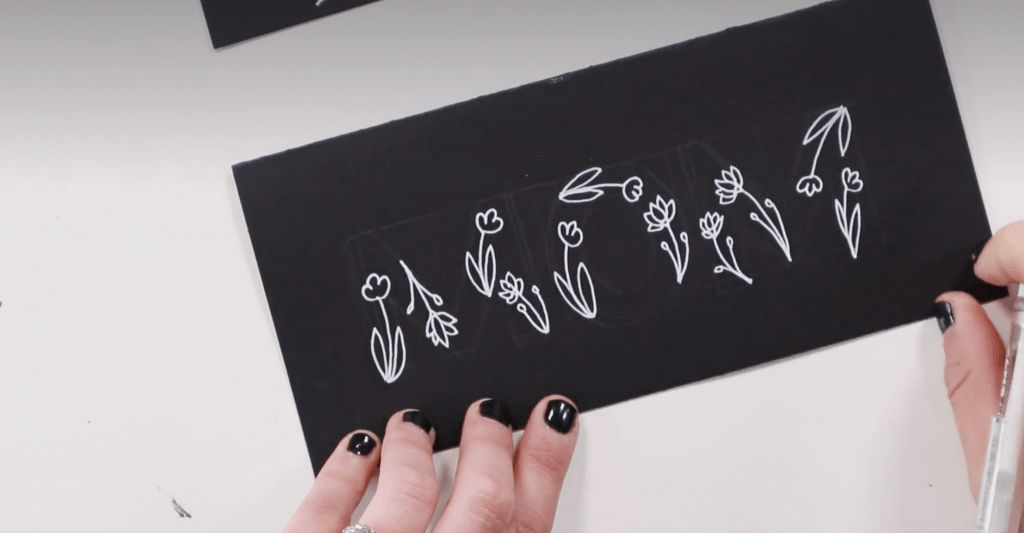
Start at the bottom left corner of your M and add in your #1 and #2 doodles (the larger ones). Take the leaves and touch each side of your M without crossing over the line of your sketch. Feel free to edit any of your doodles to fit within your letters. It won’t look weird if you have to edit any of them.
Go ahead and fill in your letters with the first two large doodles (#1 and #2 floral doodles). You want to fill up the letters with the bigger pieces and then go back with the smaller doodles to fill in the gaps.
It’s okay if it still feels a bit empty. You’re going to keep adding more things to fill it in!
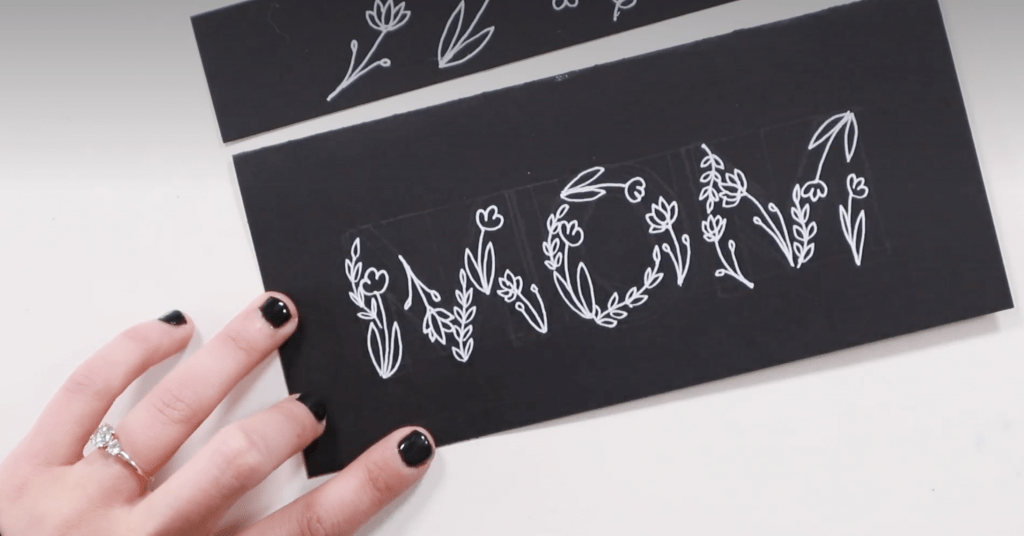
Step 4: Add some of your leafy vines (doodle #4).
The vine is the next biggest doodle, so put it in some of the bigger gaps. Make sure you’re touching as many edges as you can.
Add as many of the vines as you want, and then you’ll move on to the smaller elements.
Now you should be able to see the build up of the letters a bit more.
Step 5: Add in your super simple flowers.
You can make them in multiple sizes. Use them to fill in as many gaps as you can. Remember to touch as many edges as you can. Feel free to manipulate the size and positioning a bit to get those edges.
This can be a bit challenging. You don’t have a ton of room left. That’s okay – just make them smaller.
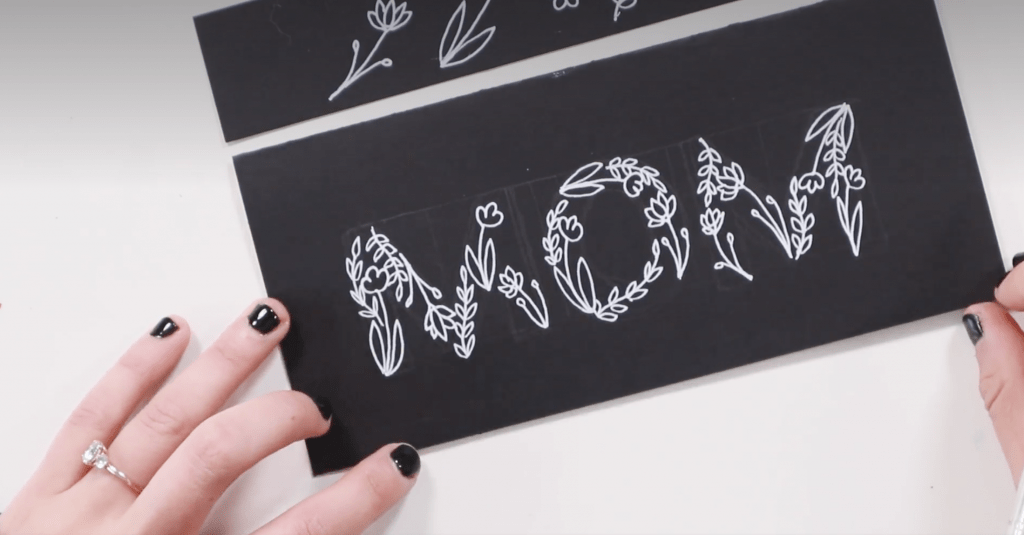
Step 6: Add in your little leaves.
Again, feel free to use different sizes, making an effort to touch as many edges as you can. The leaves are super helpful in hitting those edges. Fill as many gaps as you can with these. You should really see it all come together here.
Step 7: Finishing touches!
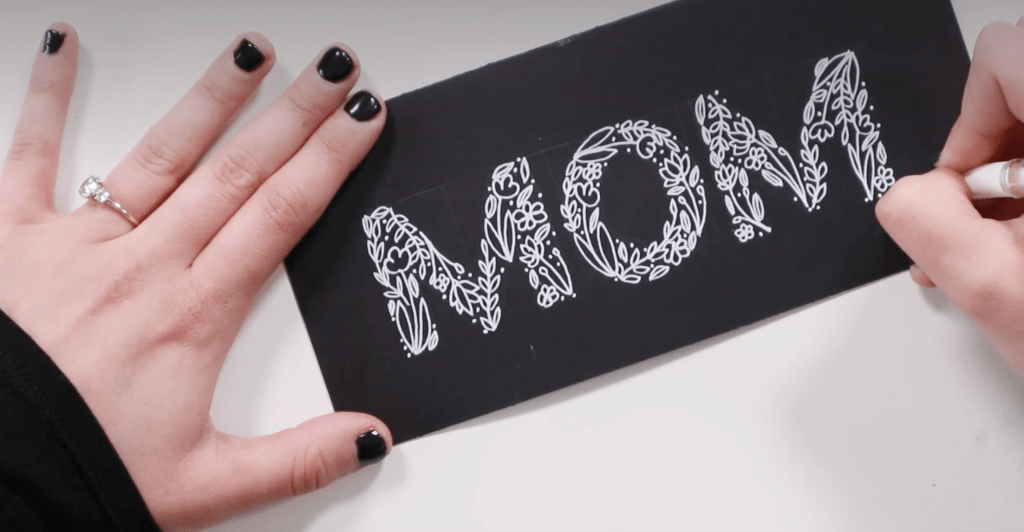
Hopefully you’re pretty happy with how this looks. If you’re seeing any gaps remaining, you can add some dots. Super easy. Feel free to go in the middle of the letters – it doesn’t have to just be along the edges.
This finishes it all off and makes it look super polished. It also helps define your edges a bit better.
Step 8: Erase!
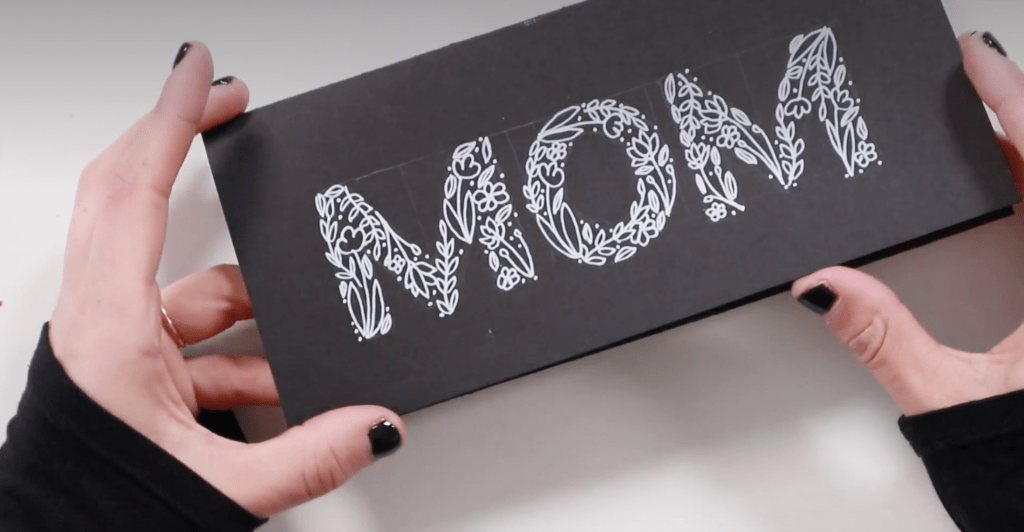
The final step is to erase those pencil marks from your initial sketch.
DO NOT ERASE UNTIL YOUR CARD IS DRY.
Let it sit for a while until you know FOR SURE it’s dry. Like really really really know. No one wants a smudgy card.
And that’s a wrap!
Voilà! A card for your mom that she will love.
I’d love to see your cards! Please post yours to your Instagram (stories or posts) and tag me (@thehappyevercrafter). I’d LOVE to see your cards!!
Interested in more card designs? Check out this one! It can be applied for any occasion (just change the colours and words if needed). 🙂
And finally, your MOM joke…
Why is a computer so smart?
It listens to its motherboard.




Comments