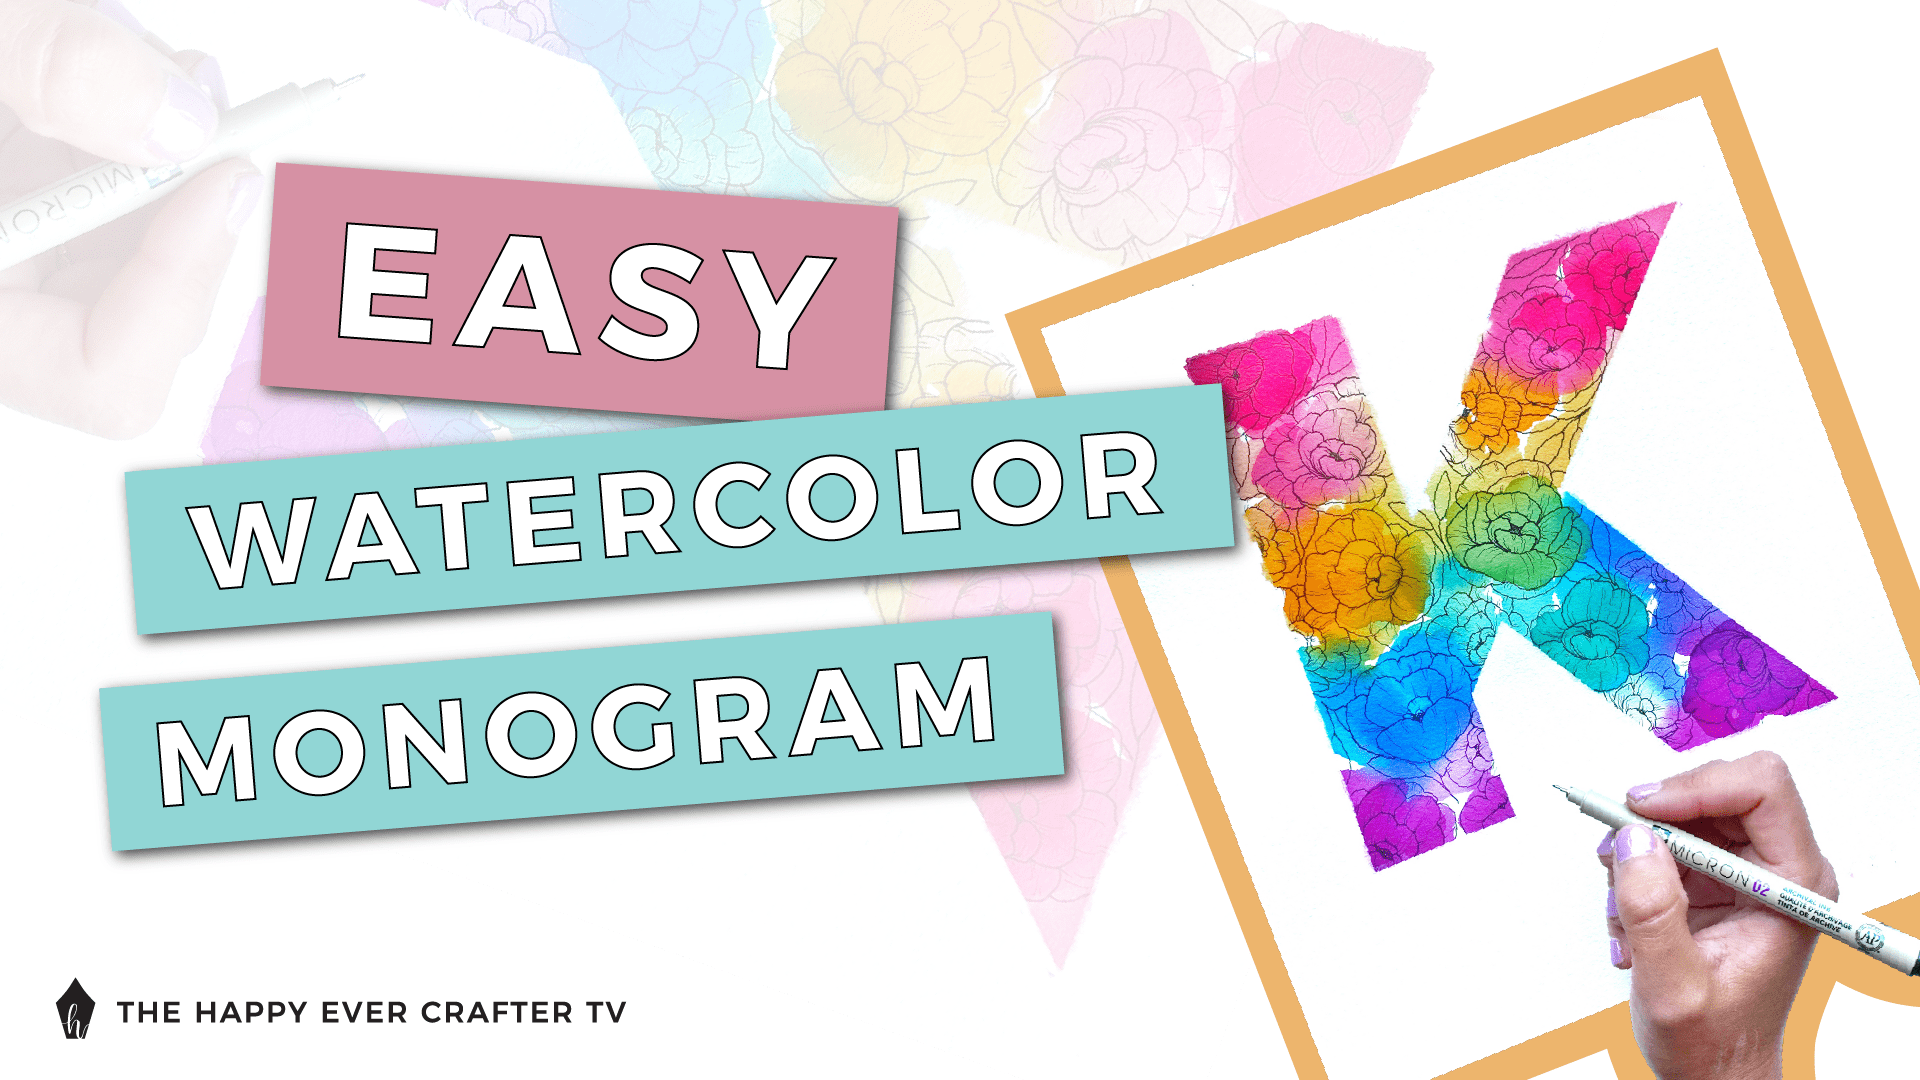
In this tutorial, I’m going to show you how to make a watercolour monogram with easy florals!
Looking for a fun, personalized gift idea? These make suuuuch awesome gifts!
OH and by the way: if you don’t feel super comfortable or are brand new to watercolour painting, I have a free watercolour course you should join… you can find it at www.showmeyourflorals.com.
First Things First…
The links below may be affiliate links where appropriate. This means that your purchase through these links may result in a few cents in payment to me, to support creating further resources like this one! That being said, I will never suggest supplies that I do not personally use and fully recommend.
Tools Mentioned
- Ecoline Watercolor Paints
- Princeton Snap Watercolor Brushes
- Strathmore Watercolor Paper
- Arches Watercolor Paper
- Eraser
- Sakura Pigma Micron Pens in 03 and 05
- Cup of Water
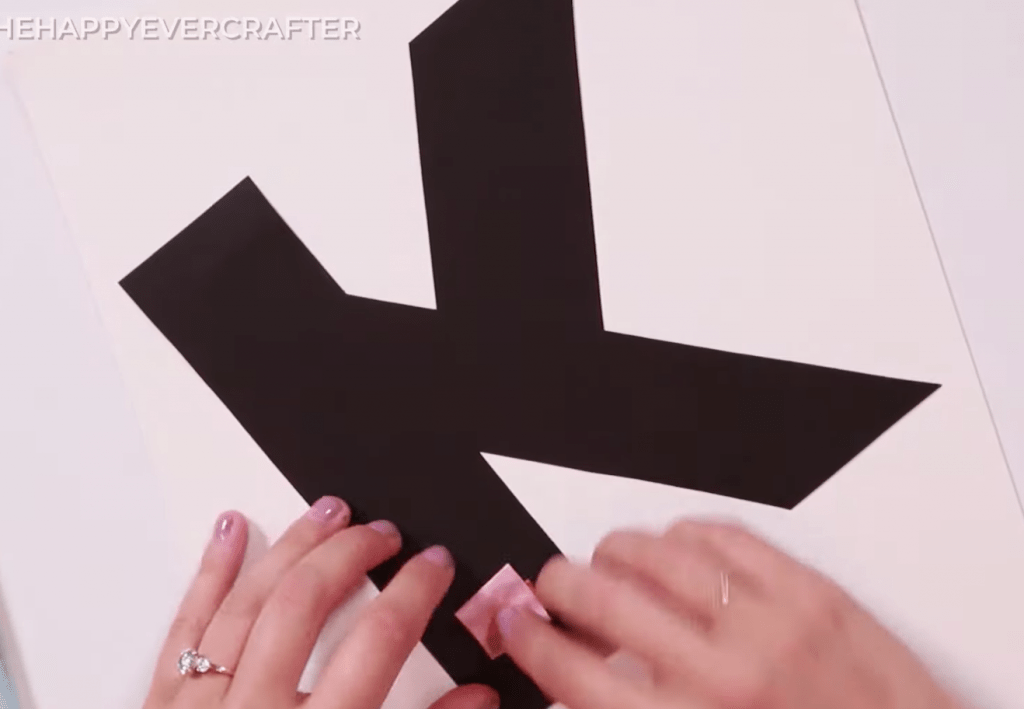
- Painter’s Tape
- Grumbacher Masking Fluid
- Fineline Masking Fluid Pen
- Molotow Masking Fluid Marker
- Heat Gun
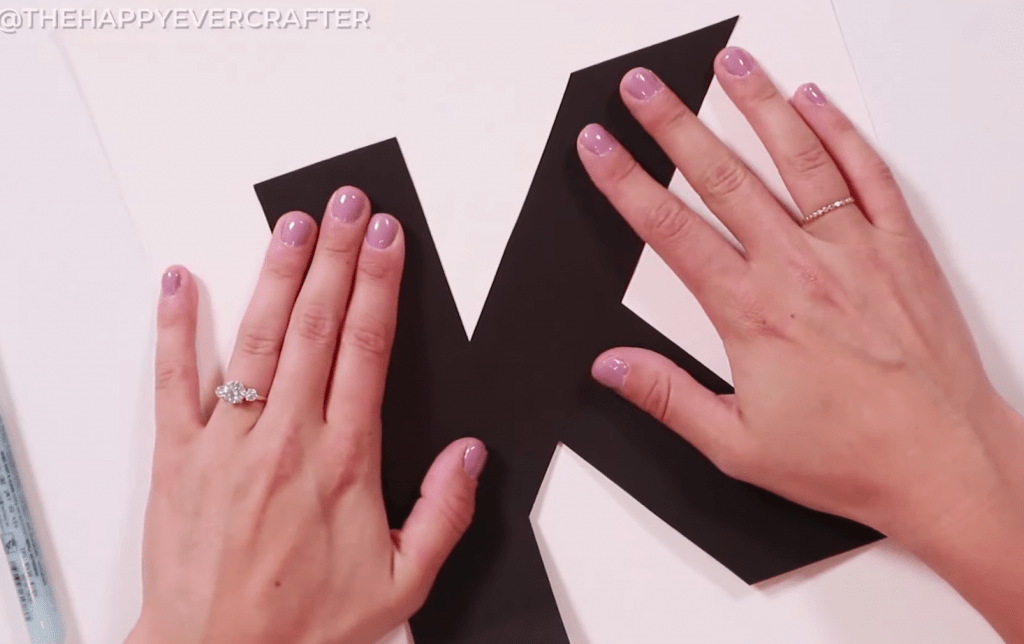
- Letter Cut Out
- Tombow Mono Sand Eraser
Prefer watching over reading? Feel free to skip right to the video and see these in real-time! ??
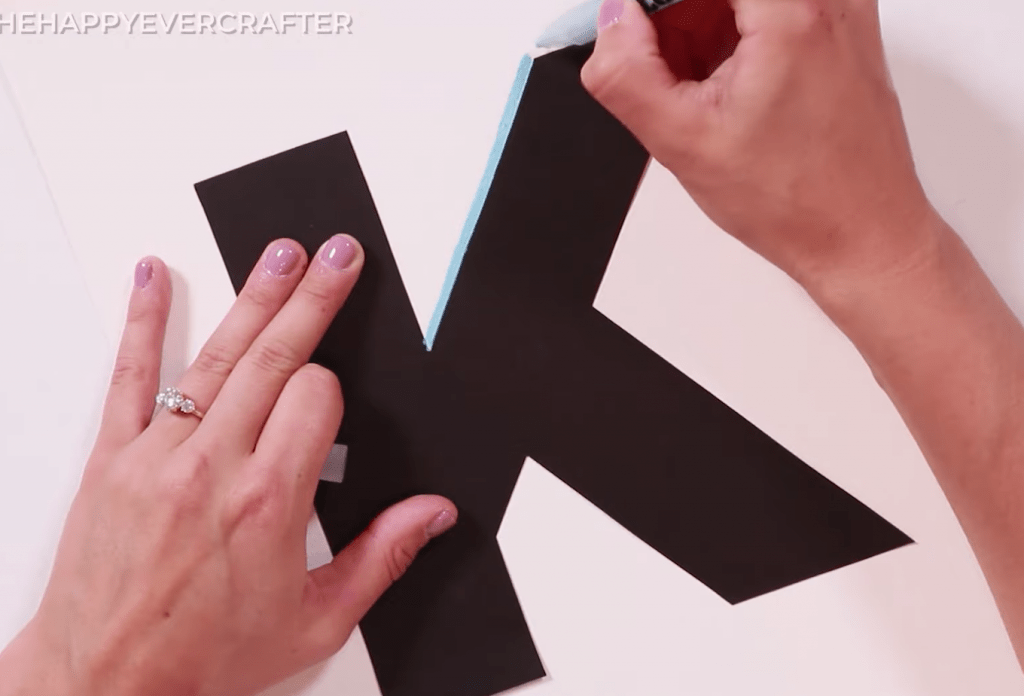
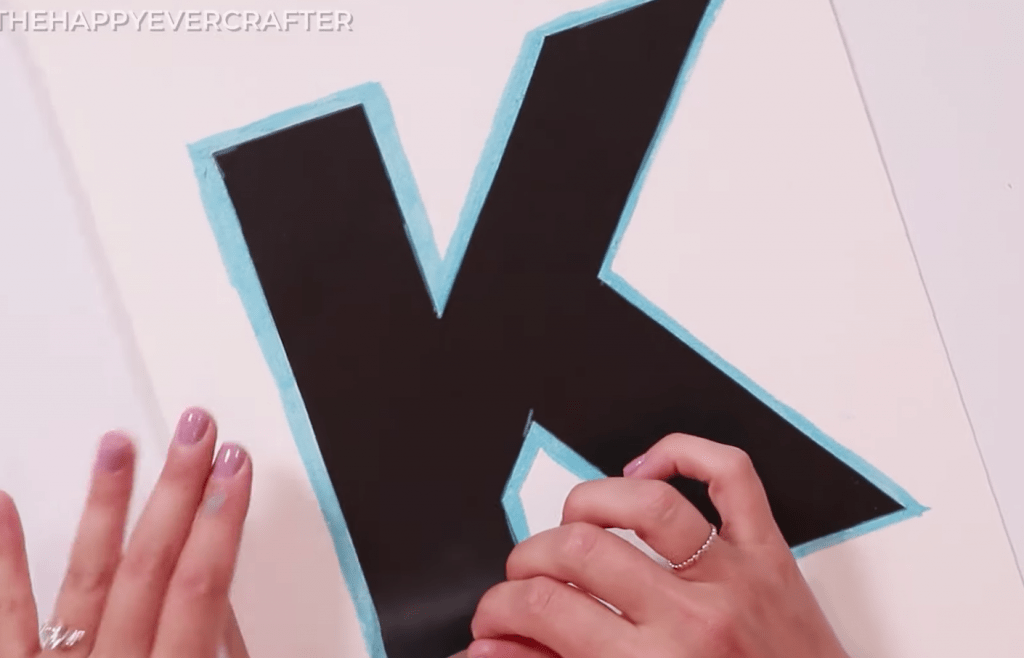
Step 1: Outline the letter with your masking
Put masking fluid around the edges, and remember, a thicker mask never hurts!
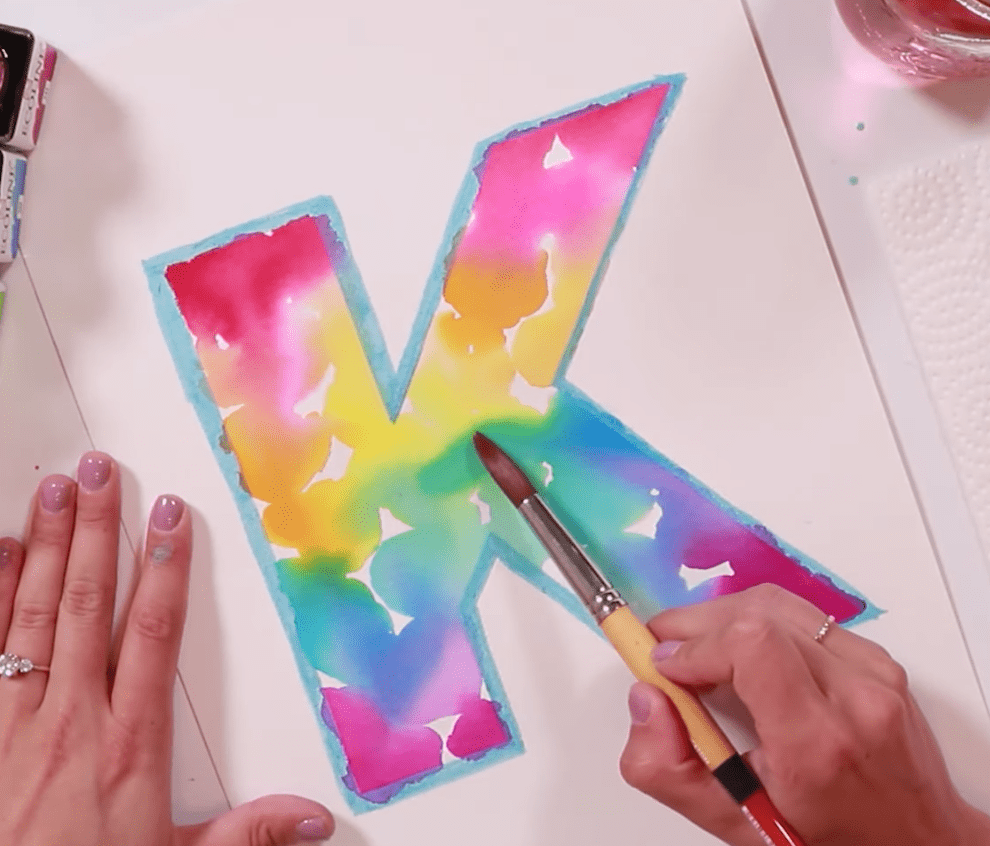
Step 2: Paint your design
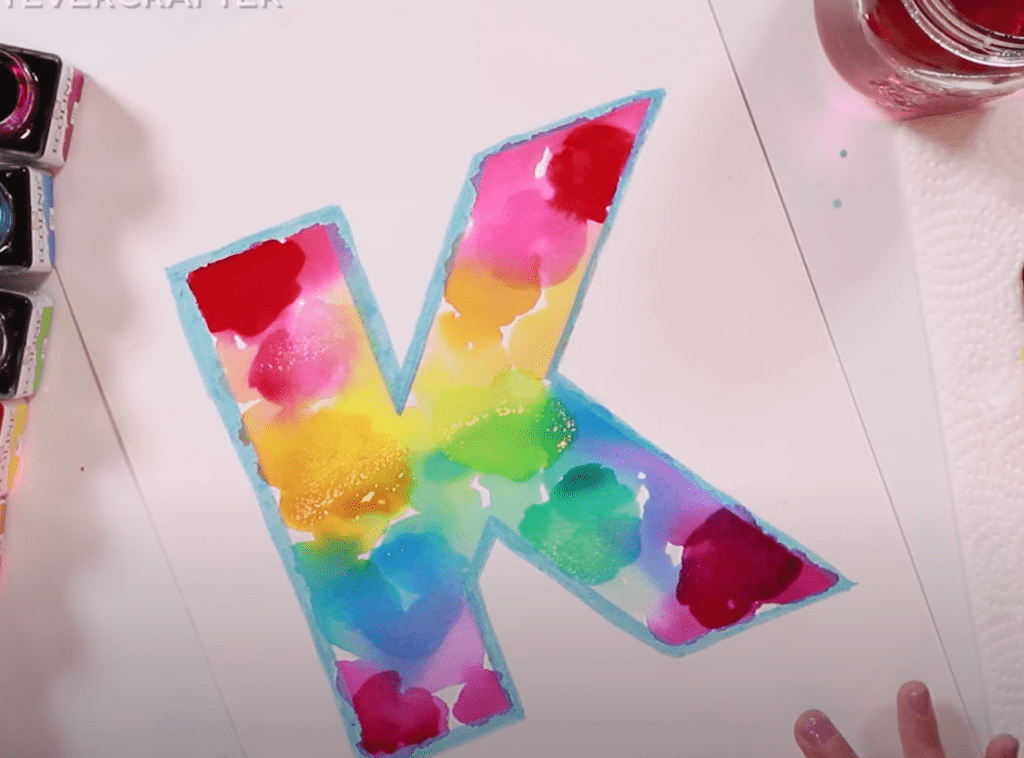
Now paint in watercolour blotches, however, you want! I’m going to do pink and blue – I love them solo but I also love them when they mix!
If you don’t’ know how to use liquid watercolours, wet on wet technique, etc., please check out my FREE watercolour course where I go into detail at www.showmeyourflorals.com.
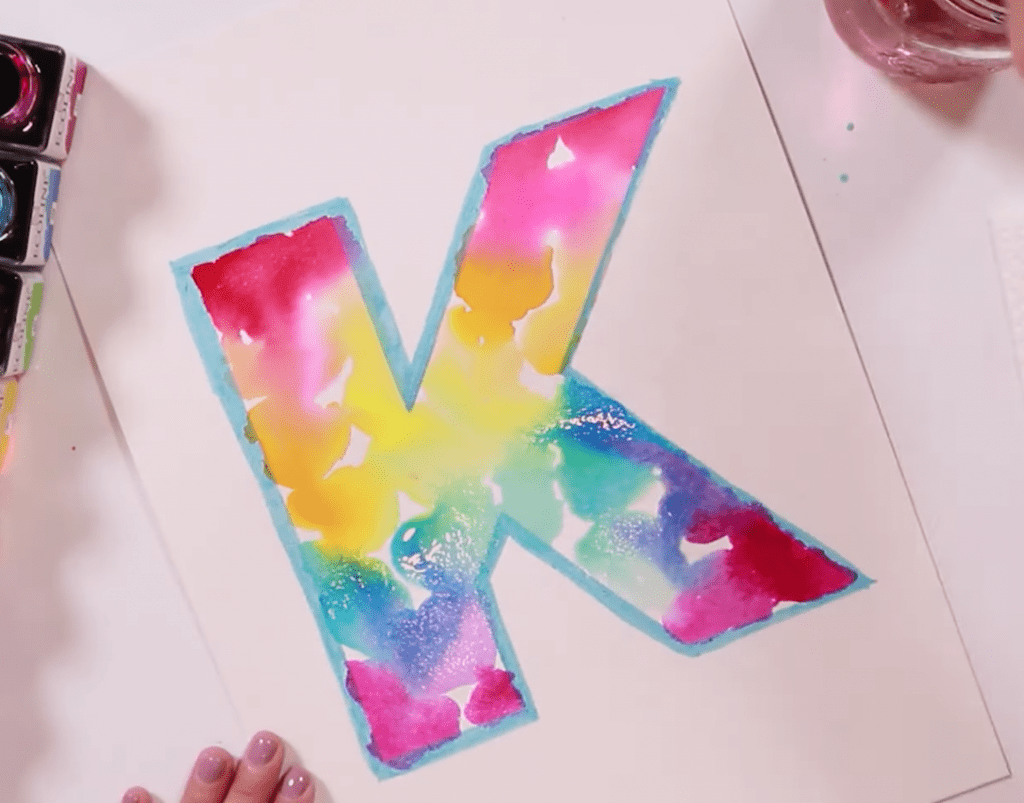
If you accidentally get a little extra water, just dab it with a papertowel.
Step 3: Touch up the colours once the paint is dry
Step 4: Draw your florals
If you’re feeling a bit nervous drawing in your flowers, be sure to check out my playlist here, where I go over multiple flowers in detail. Depending on the “blobs” of beautiful paint, you can choose which type and direction to draw in your flowers (using your Micron pens).
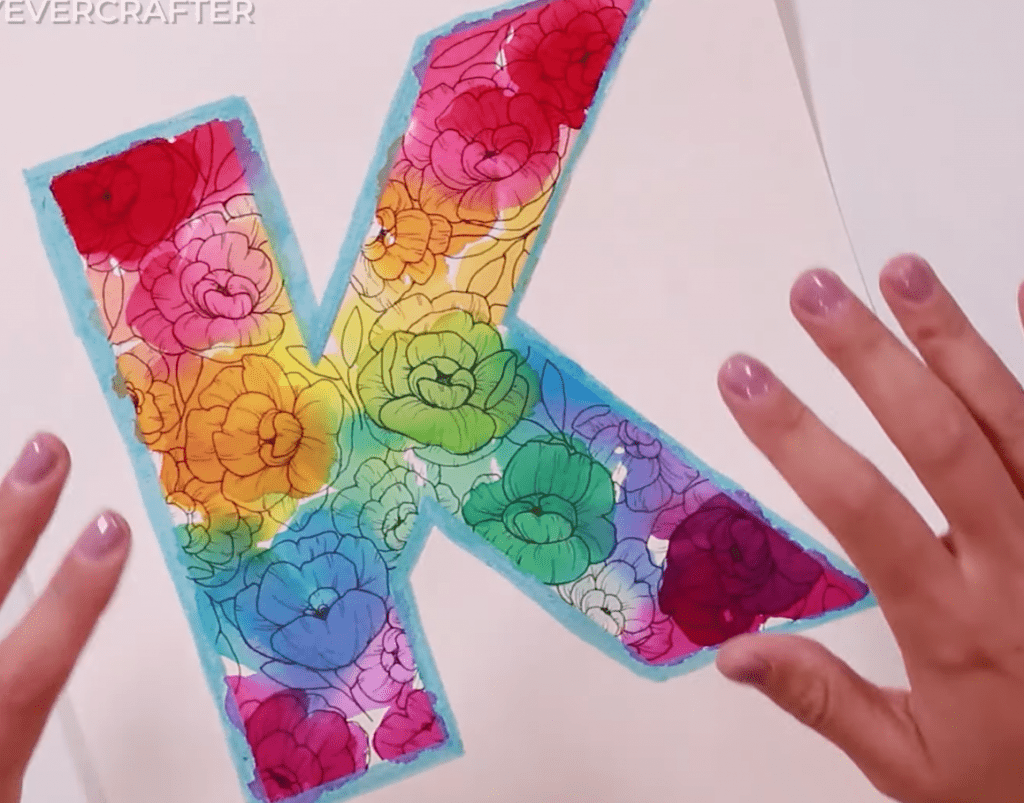
Step 5: Remove the masking fluid!
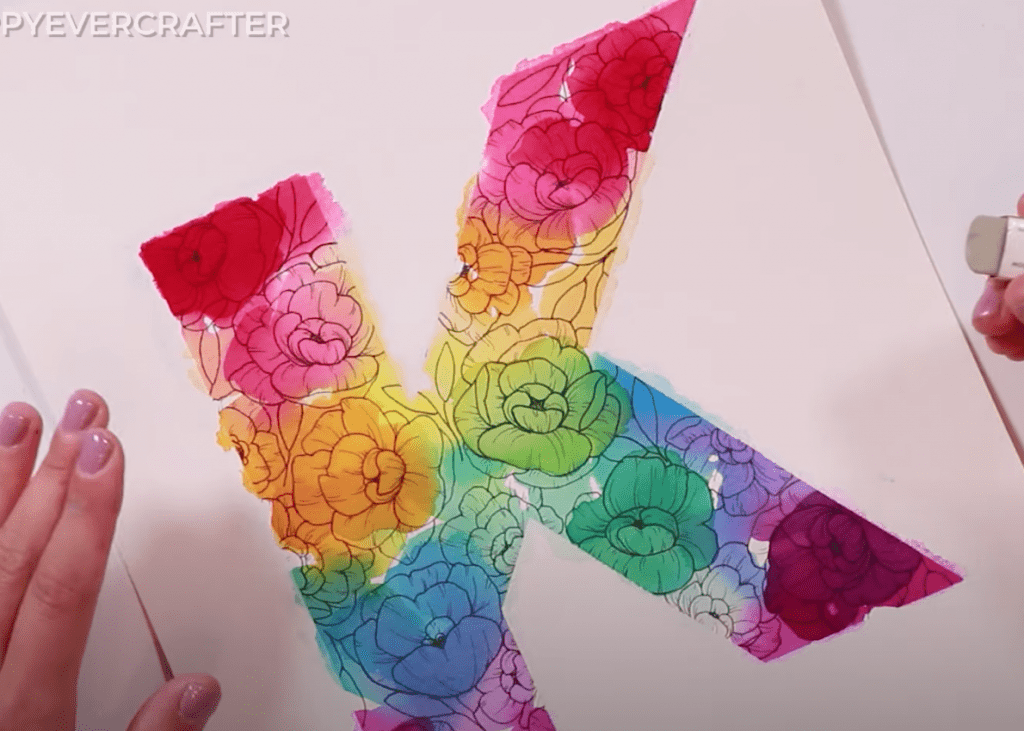
As you can see, I may have used a bit too much water and my heat gun may have also helped spread over the edges of the masking fluid as well.
I’m going to go ahead and use my mono sand eraser to help take off as much as I can!
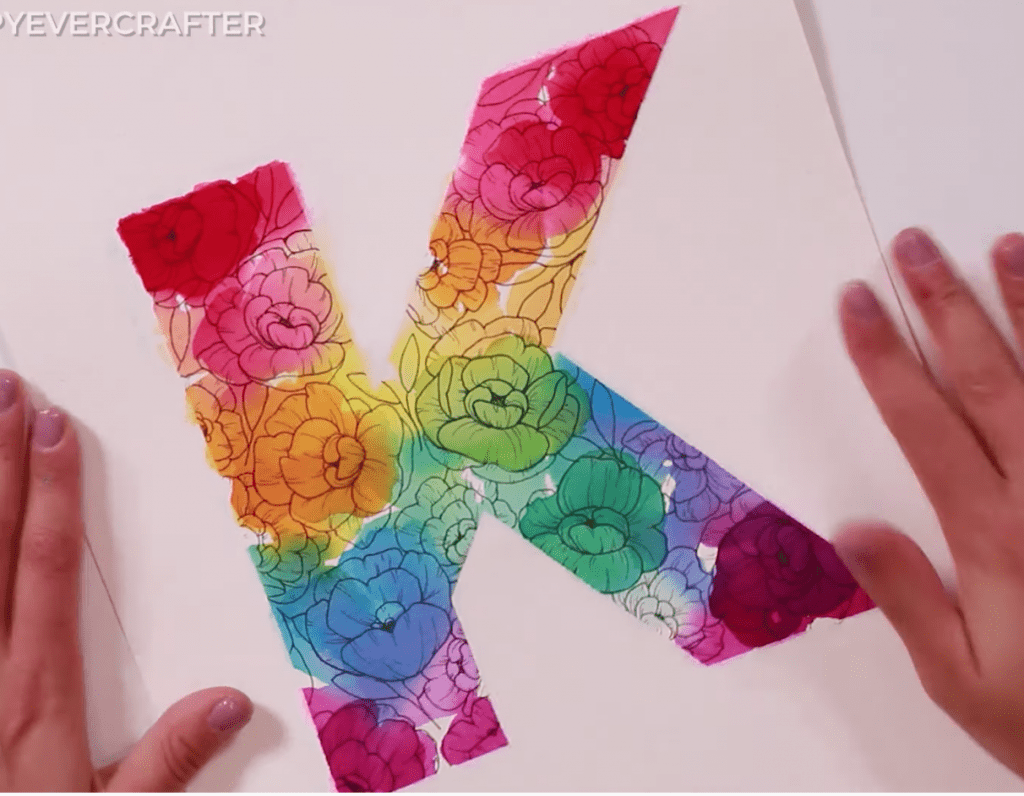
If you’re more of a perfectionist than I am, you can always use a black (or white) pen to outline the edges, and you can also always cut the letter out and place it on a new watercolour sheet – perfect for framing!
And that’s a wrap!
I hope you enjoyed this tutorial! Again, if you want to know more about how to do florals and watercolours, be sure to sign up for my FREE Show Me Your Florals course. I go into detail all the way from the basics to more advanced detail work!
I loved this tutorial. Signing up for your free Show me your florals course now. Thank you!
Once again Becca, you have amazed me with your talent and your ability! Really looking forward to continuing with Majascules and the whole course again. I will be signing up for the water color class also.