I’m going to show you step-by-step how I create a weekly spread in my Bullet Journal! If you want to get your hands on my limited edition Goodies box, you’re in luck! We have a limited number of boxes available to order.
To clarify, this isn’t a bullet journaling tutorial. I don’t really consider myself a bullet journaler, however, as someone who could not find a planner / journal I liked, I made one in a bullet journal and want to show you how I created and use a weekly spread!
First Things First…
The links below may be affiliate links where appropriate. This means that your purchase through these links may result in a few cents in payment to me, to support creating further resources like this one! That being said, I will never suggest supplies that I do not personally use and fully recommend.
Tools Mentioned
- Everything in my brand new goodies bag!
Prefer watching over reading? Feel free to skip right to the video!
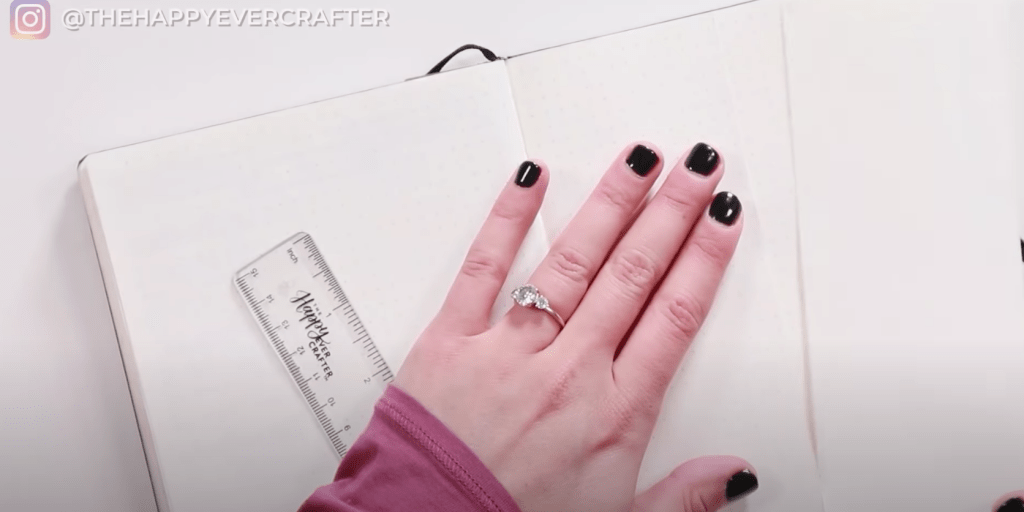
Step 1: Cut the middle page in half
And, tear the half off. This gives your open journal a little extra piece of the spread to work with.

Step 2: Tape (or doodle!) a design at the bottom of the page
One of my favourite things inside of my goodies bag is this tape! If I were drawing this in, I would do it last. But with the tape, I like having it there ahead of time to work on the spacing of the rest of the page.

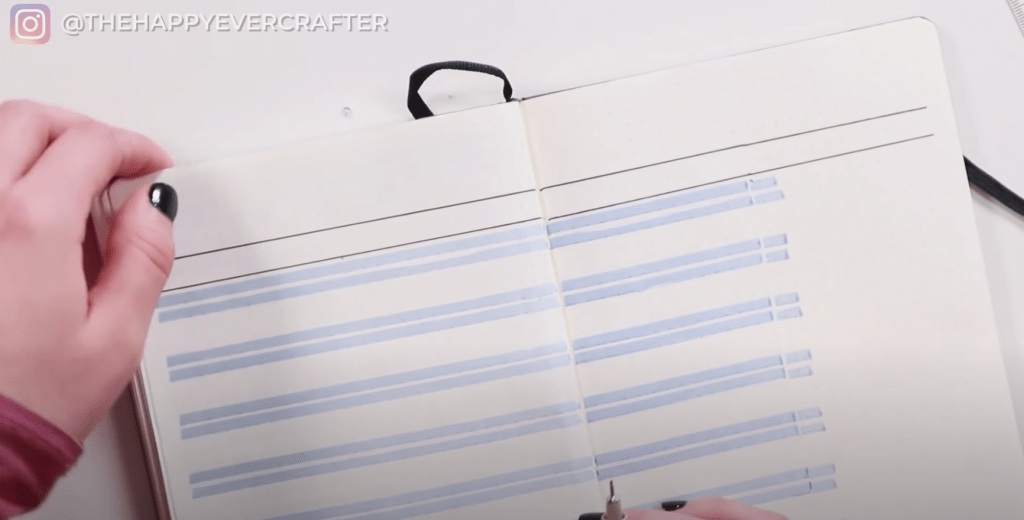
Step 3: Highlight your daily dividers
Using the midliner pen and a ruler from my goodies bag, I choose a more mild coloured pen so they’re not too distracting. I count 8 dots down from the top and using my ruler, highlight two lines at a time, skipping two lines as I go. If you’re new to this, feel free to make these lines first with a pencil!
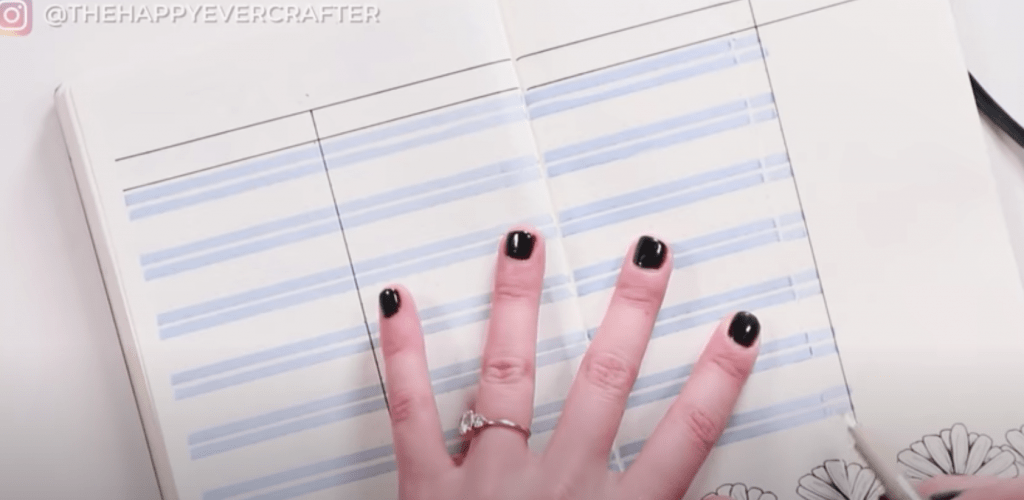
Step 4: Add black divider lines
Using a Micron pen, I’m going to draw in lines at the 6th dot and 8th dot followed by vertical lines – one in the middle of each full page.
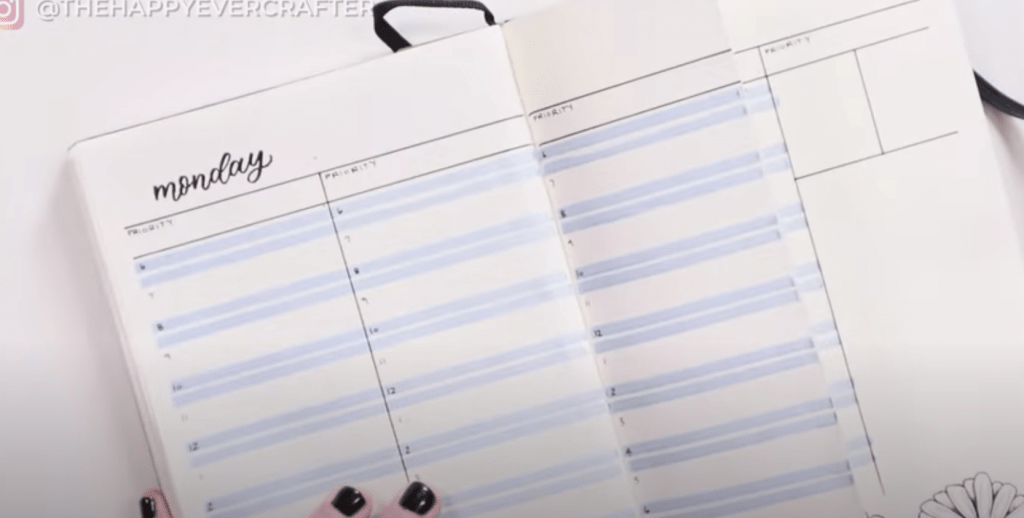
Step 5: Write in your small labels
Now, using my smaller Micron pen, I’m going to write in priorities hour by hour.

Step 6: Write in the days on the week
If you don’t have my goodies box, you can totally use a brush pen for this. However, I’m going to use these stamps that I am super excited about!
Step 7: Complete your “To Do” section
For this, I’m going to use one of the black brush pens to write in some block letters and my stencil to add in checkboxes with one of the Micron pens (and a little drop shadow to jazz it up even more!). Additionally, I’m going to add in some dates at the top with a white gel pen (also in my goodies bag, dontchya know ?).
And that’s a wrap!
I hope you enjoyed this tutorial! If you’re curious about any of the items I used, check out my unboxing video, where I show you exactly what is in my goodies box!


Comments