

In this tutorial, I’m walking you through the basics (and not-so-basics!) of how to connect your letters in MODERN calligraphy.
We’re talking here about MODERN calligraphy – not italic, copperplate or Roman. I’m talking about how to connect letter so they VISUALLY look appealing to you, and that might mean breaking some of the traditional calligraphy rules. And if you’ve never done calligraphy, be sure to check out this video on the Basic Strokes, FIRST.
First Things First…
The links below may be affiliate links where appropriate. This means that your purchase through these links may result in a few cents in payment to me, to support creating further resources like this one! That being said, I will never suggest supplies that I do not personally use and fully recommend.
Tools Mentioned
Prefer watching over reading? Feel free to skip right to the video and see these in real-time! ??
Step 1: How to connect an “a” and and “h”

Step 2: Connect the letters

Using the upstroke in your “a” as a transition into the “h” (omitting the upstroke that normally happens in an “h.”

Step 3: Now, swap the letters!
Some letter combos will be super straightforward like above, but others are a bit tricker.
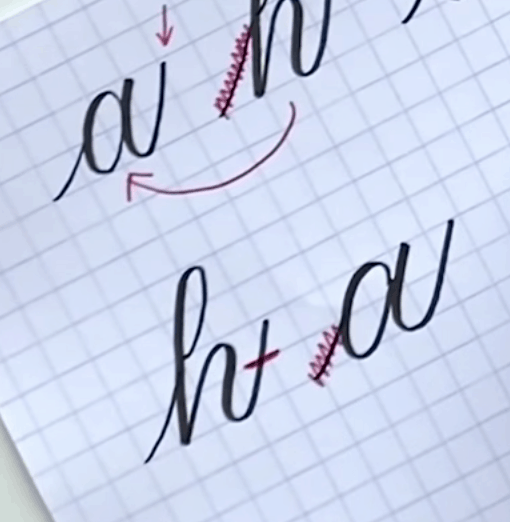
Because you’re now connecting a letter to an oval (the h to the a, which has an oval in it), you have to shorten the transitioning upstroke.
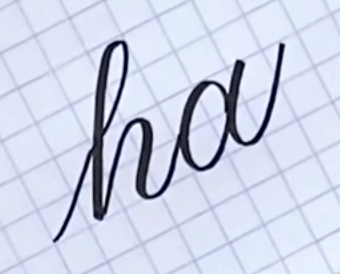
You’re always thinking about the letter that’s coming next1
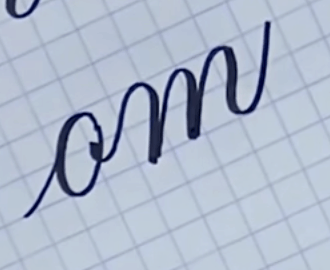
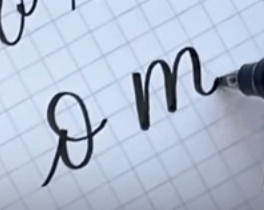
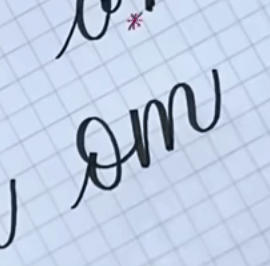
Step 4: Getting tricker…an “o” to an “m”
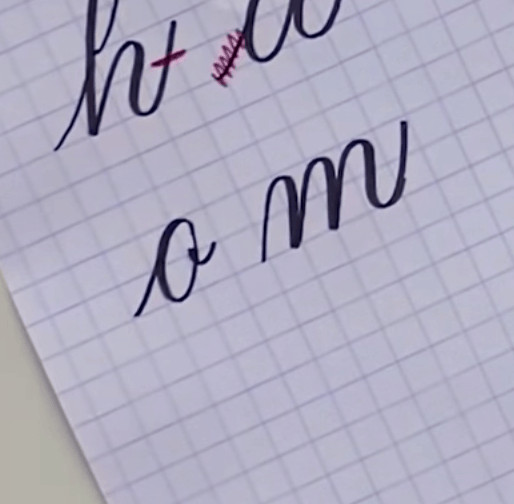
As you can see, the “o” doesn’t have the usual upstroke.
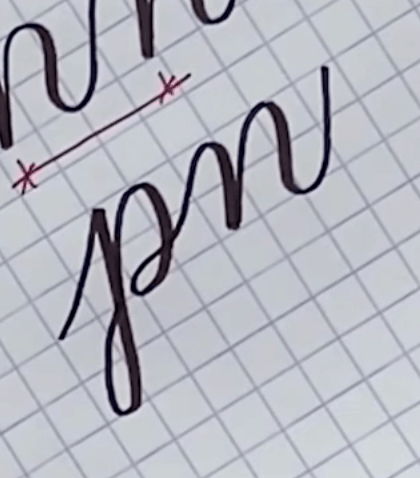
Step 5: Tricker combos…
The double n’s:


A “p” to an “n”

Step 6: Making your own style
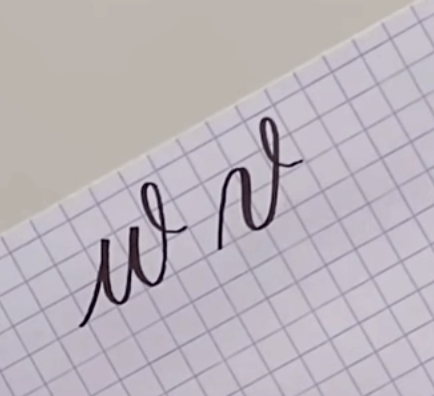
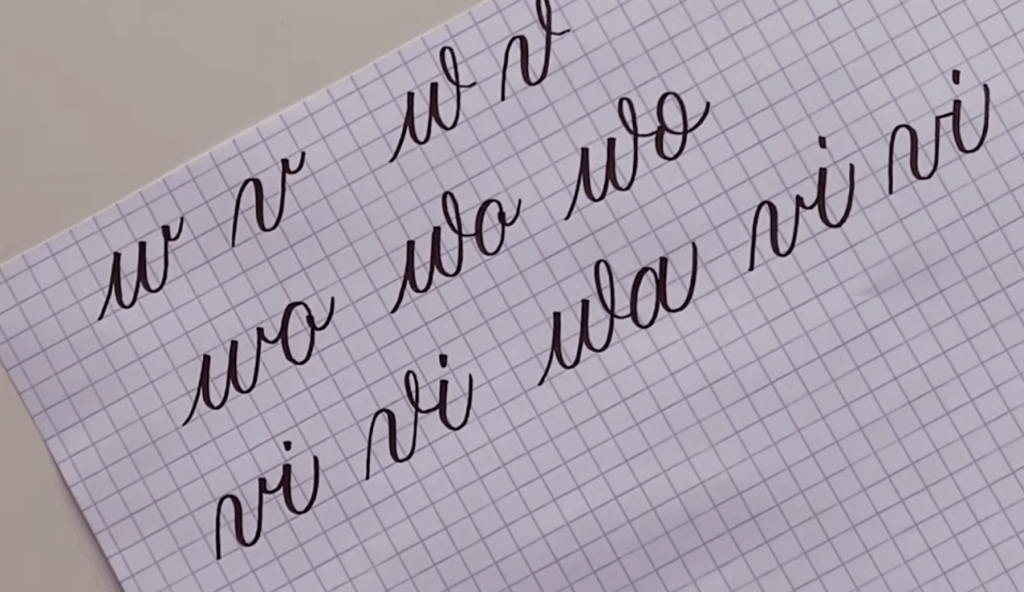
Step 7: And the wild cards!
Those w’s and v’s ?…


And finally, the doozy of them all, drum roll…the “w” to the “r” !!!


The first solution above is not my favourite, but the other two are great options! In the second one, “write,” keeping the “w” and “r” next to each other as if they were connected but not actually connecting them works, as does changing the “r” style a little bit.
And that’s a wrap!
I hope you enjoyed this tutorial! By the way, I have a full workbook and video course that walks you through all of this stuff in more depth. I also include a bonus chart that shows you how to connect EVERY letter in the alphabet! Check out right here.


This was such a big help to me. This blog helped me through joining the two letters together.
Thanks!
Thank you so so much! This was so helpful.
Loved it, but MORE MORE MORE! I’m really poor at connections on a number of letters both upper case and lower case. Thanks! RG
Thank you so much… but the link with the bonus chart is not working. I hope you can fix it
Hey Aurora—the connections workbook will be available again later this week!
its great to see the different styles too. connecting the letter ‘w’ can be challenging. but here you are, making it look soo easy! I love you. You are the best teacher in the world!
Loved it and all of your other videos. I’ve been going through your courses. Love them too! I’m on the connections one now. Maybe I’ve missed it or it’s still coming but is there a video/course that shows how to add majuscules to the beginning of a word and connect or not connect to the minuscule? Thank you!