
The links below may be affiliate links where appropriate. This means that your purchase through these links may result in a few cents in payment to me, to support creating further resources like this one! That being said, I will never suggest supplies that I do not personally use and fully recommend.
Getting your lettering into digital format is not nearly as hard as you think. Digitizing your lettering allows you to easily resize, reshape, and reproduce it on a variety of different projects.
This tutorial will walk you through how to simply digitize a single word written in black- with nothing but paper, a brush pen and a cellphone camera!
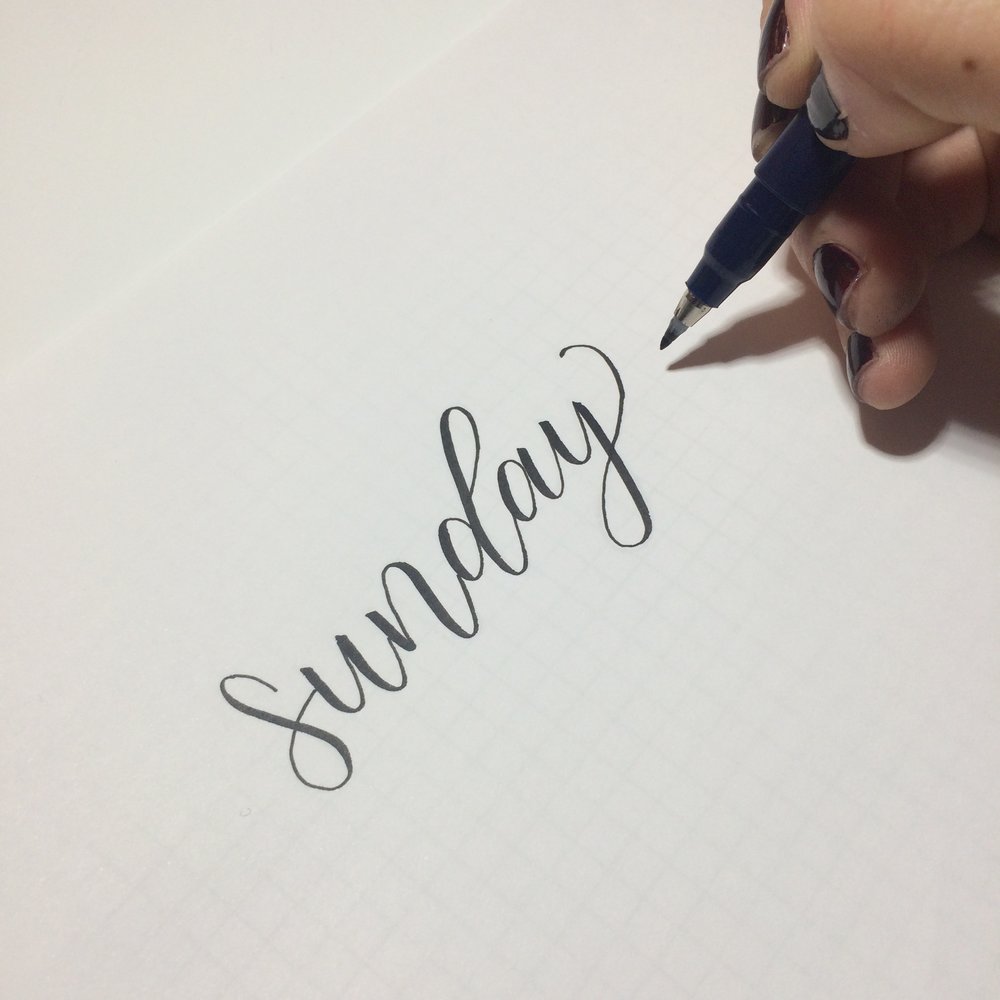
Step 1: Write your word.
For this step, you can use whatever pen you want. You could even do faux calligraphy! Here, I’m using a Tombow Fudenosuke Hard Tip– my favourite recommendation for beginners.
Digitizing your lettering will be easiest if your words are written on plain paper. If you write your word on ‘grid pad’ or ‘dot pad’, Illustrator will pick up the tiny graph or dots when you digitize. Those are a pain in the @$$ to edit out! My suggestion? Write your word out on your grid or dot paper, then trace it through onto plain, like below.

Step 2: Thicken your upstrokes.
I know, it’s counter-intuitive. Your upstrokes should always be as be thin as possible– but in this case, your computer will pick them up clearer if you just carefully make them a liiiiiiittle thicker. Don’t go overboard- just go back over them once or twice.
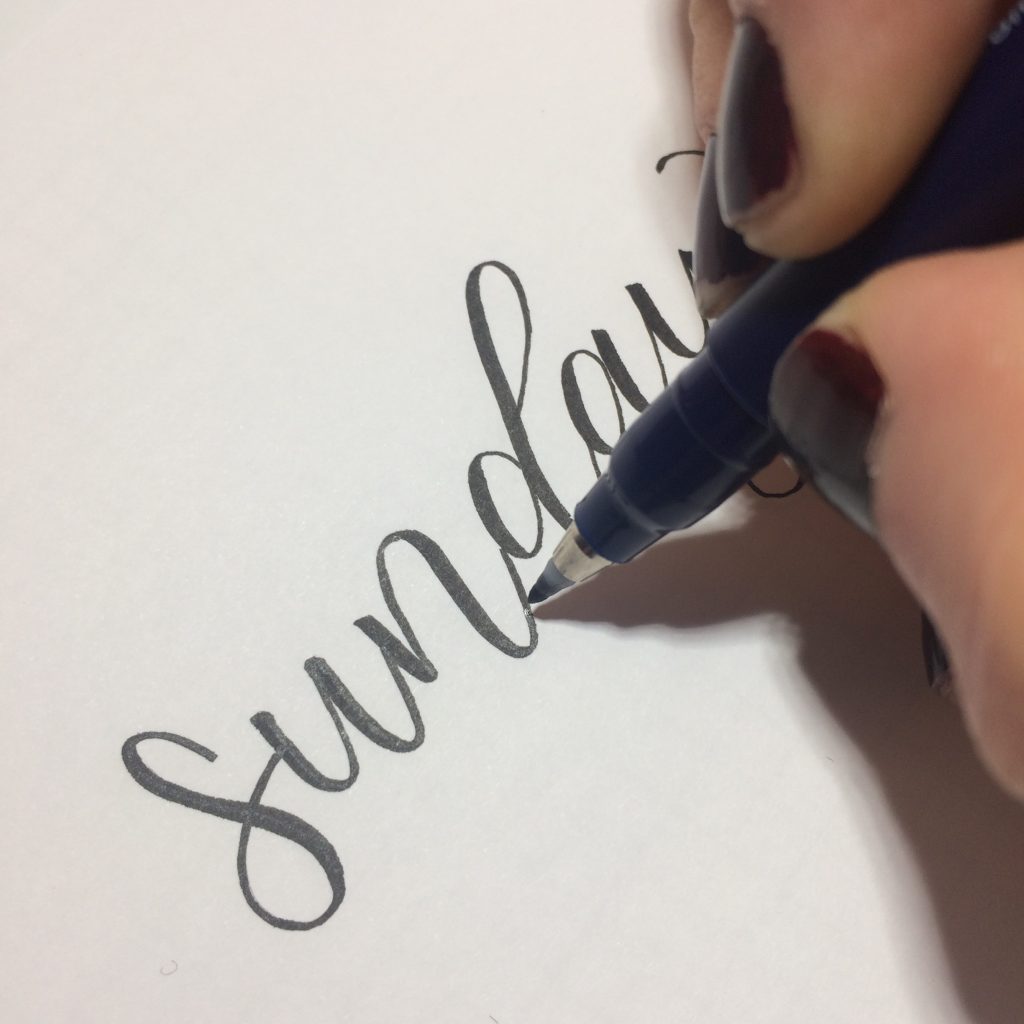
Step 3: Take a closeup photo.
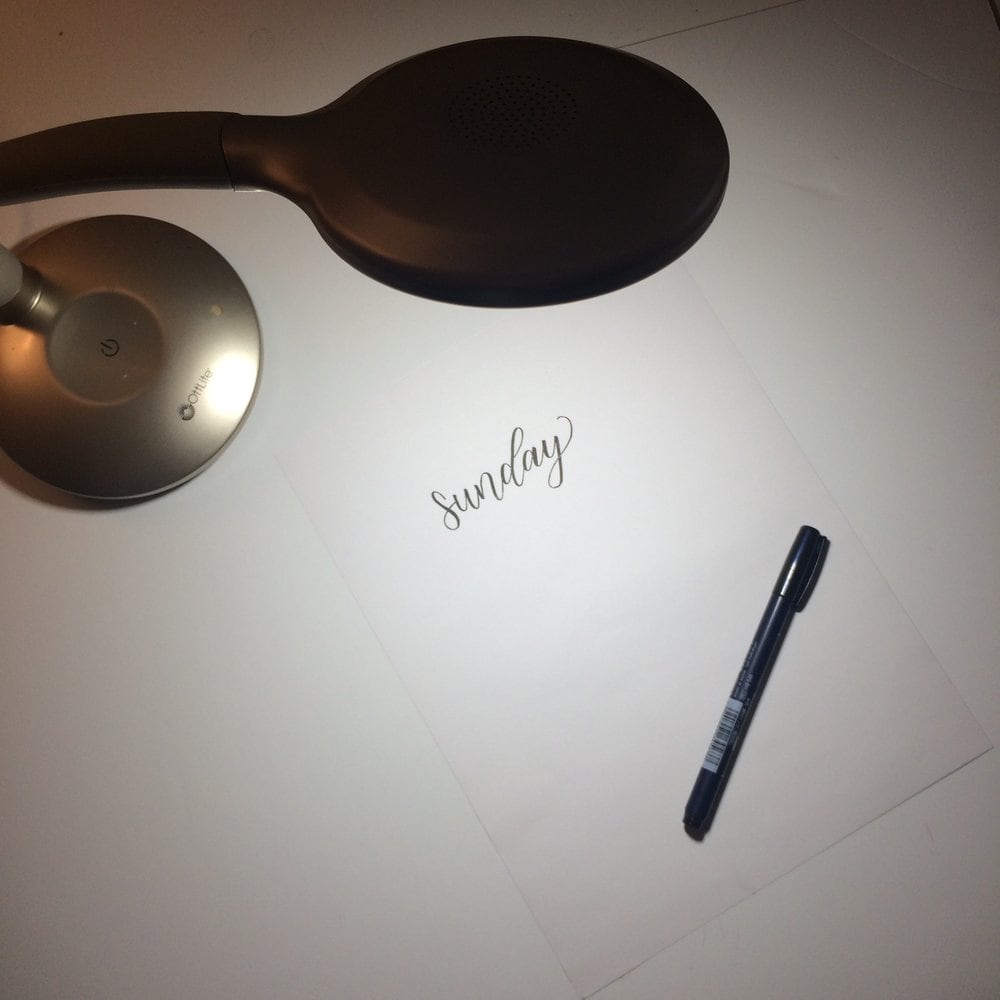
You do not need anything special for this step. A closeup photo on your smartphone of your word is all you need. Do try to make the light as bright as possible, though, and the less shadows there are, the better. Here is what my lighting/photo taking space looks like. I use an OttLite lamp that I picked up at my local Michael’s store.

Step 4: Get your image into Illustrator.
Don’t have Illustrator? Get a trial version.
Step 5: Use the “live trace” button on the main bar.
Make sure your photo is selected- and on the top bar you should see a button called “live trace” (image 1). Once you hit “live trace”, there are a bunch of options to fiddle with (image 2). I typically use “black and white logo”- but try each one and see which one gives you the effect you want. You can also adjust the degree of accuracy at which Illustrator “traces” your word by using the ‘threshold’ toggle.
If your word is on a blank page, you can adjust the ‘threshold’ toggle, and you should be able to get a pretty high degree of accuracy.


But see how the exact same options applied to a word on a graph paper pick up the background in the photos below? This is why it’s important to write your word on blank paper before you digitize!


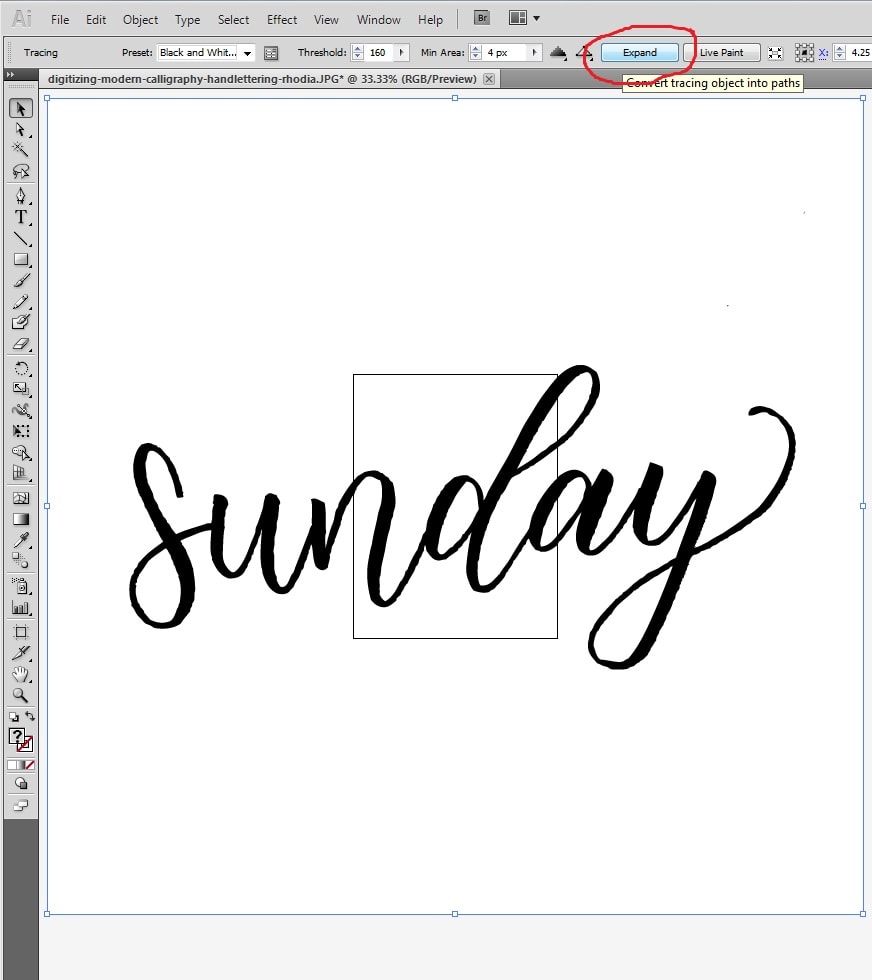
Step 6: “Expand”.
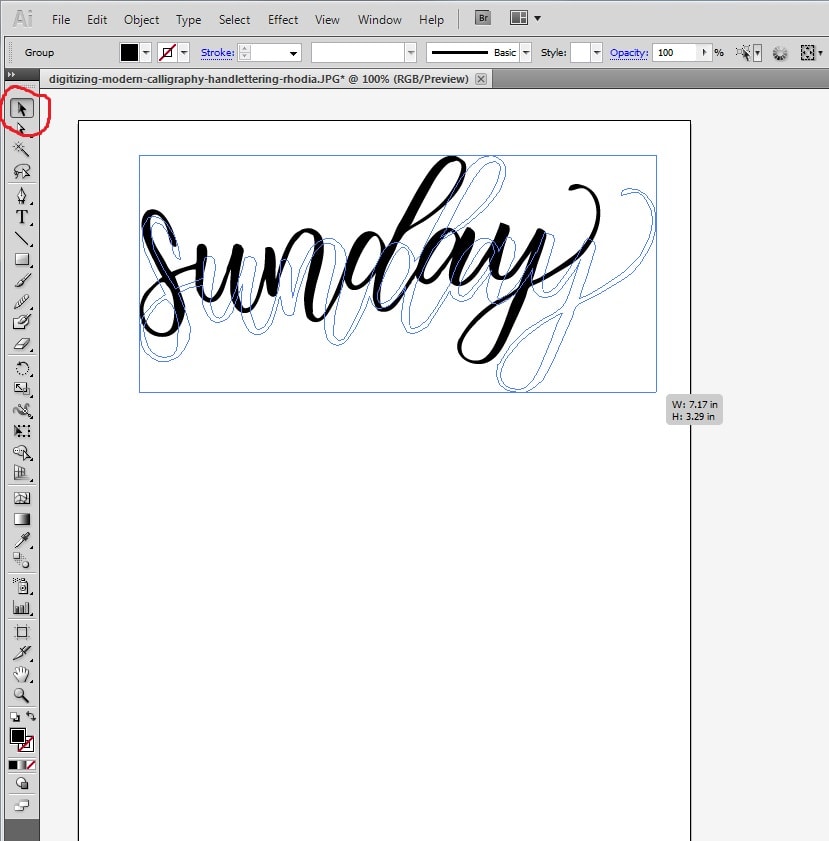
The expand button (image 1) will turn your letters into a series of “anchor points” that you can then move around. In order to select those anchor points individually, you’ll need to switch to the ‘direct selection tool’ (image 2).
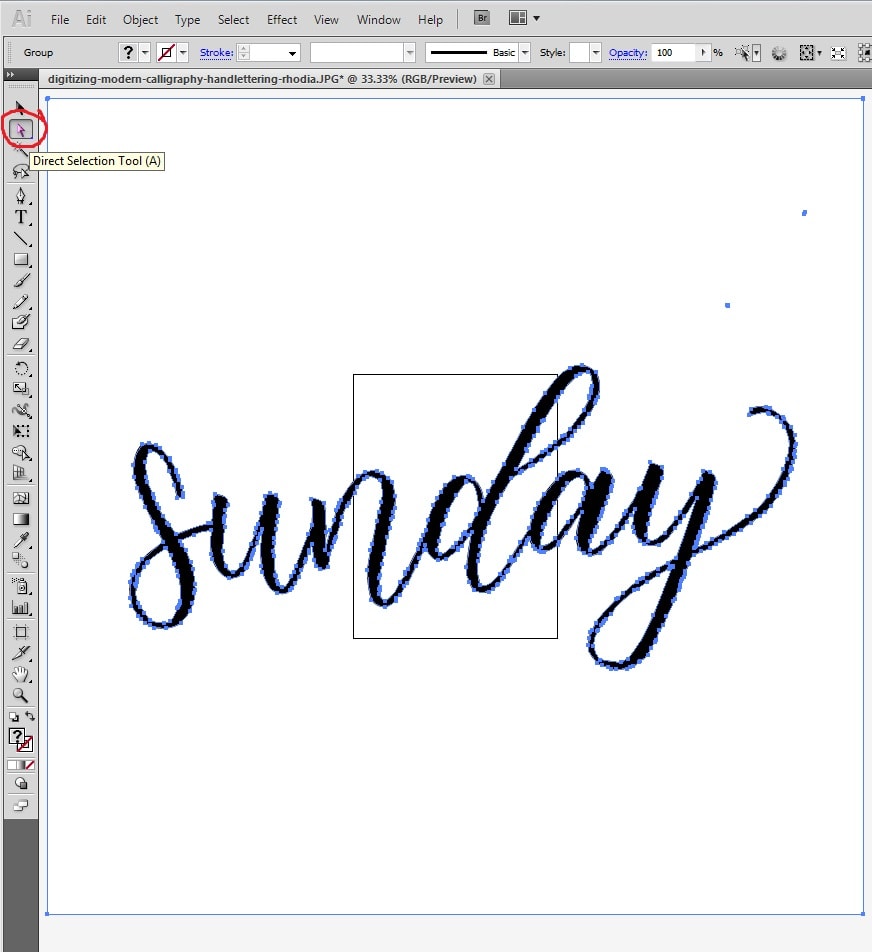
Step 7: Delete the background.
Here, you’ll want to delete the background as well as the spaces in all of the ‘loops’ of your letters. This will make sure that white space doesn’t show up if you lay this word over top of an image. Make sure you are using the ‘direct selection tool’, click in the spaces you want to delete, then use your ‘delete’ key on your keyboard!
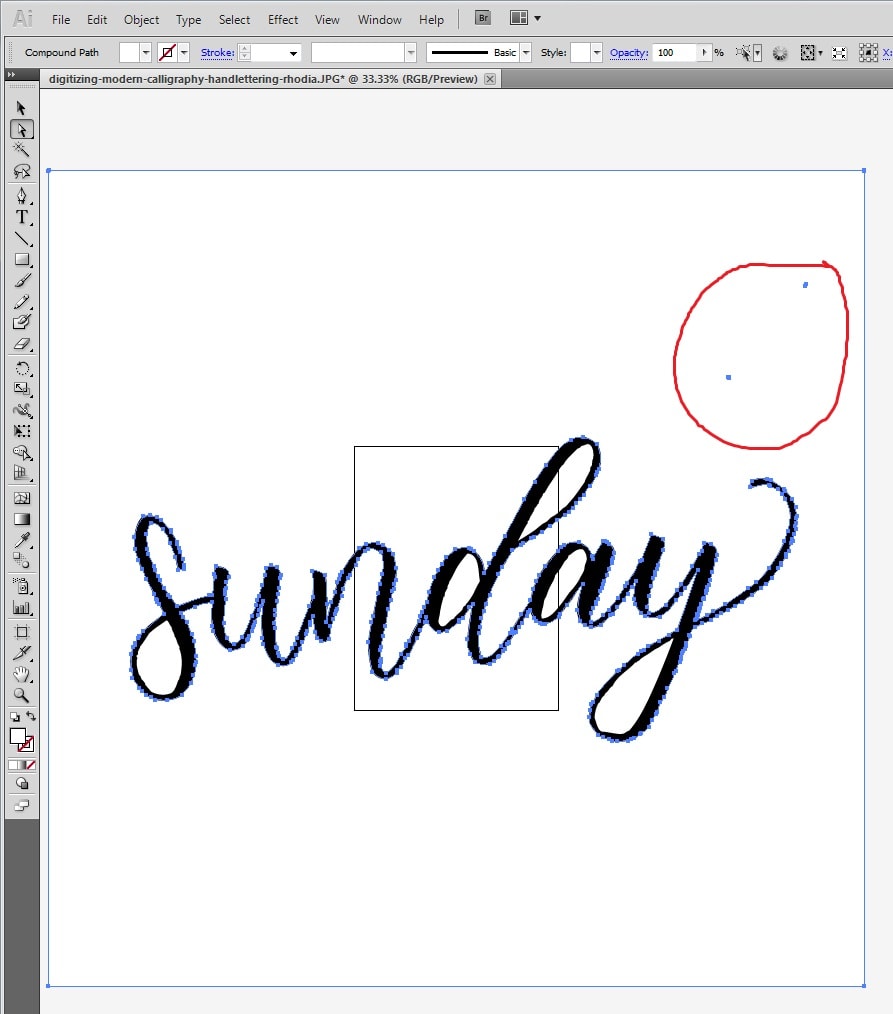
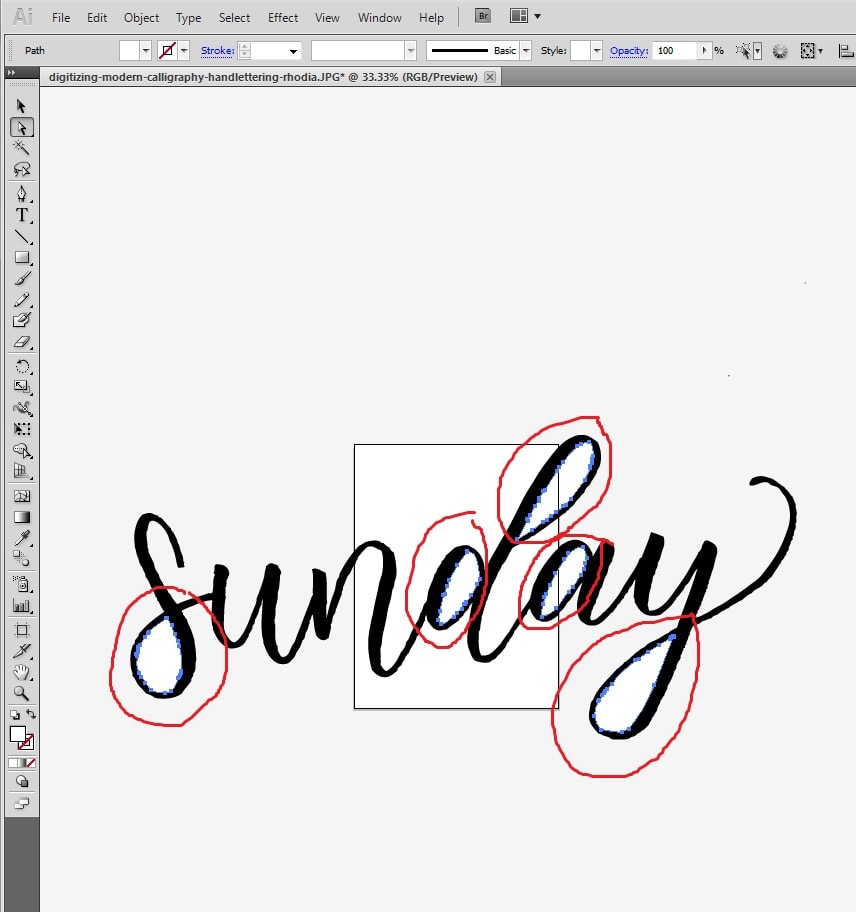
Step 8: Select your word, then select the ‘smooth’ tool in the sidebar.
Again- make sure you are using the “direct selection tool” (the white arrow- not the black one!) for this step!
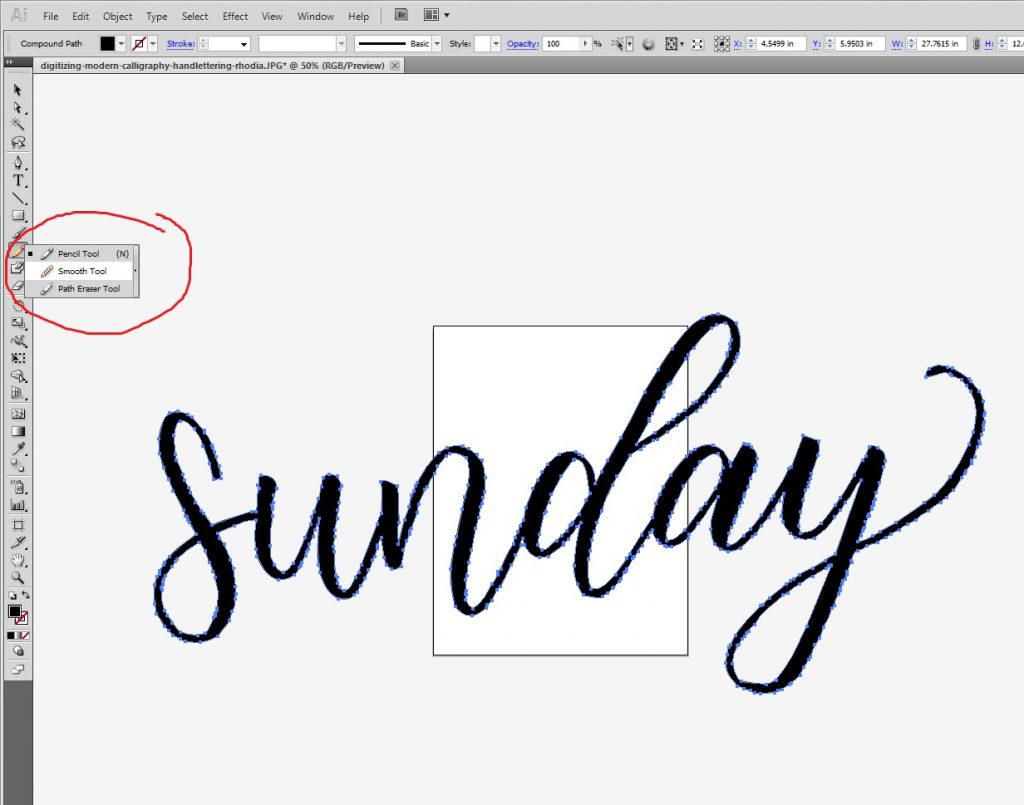
Step 9: Drag the ‘smooth’ tool over the edges of your letters, and watch it get rid of jagged edges!
Continue this process until you are happy with the look of your word! Below is an example of the before/after magic of the smooth tool.

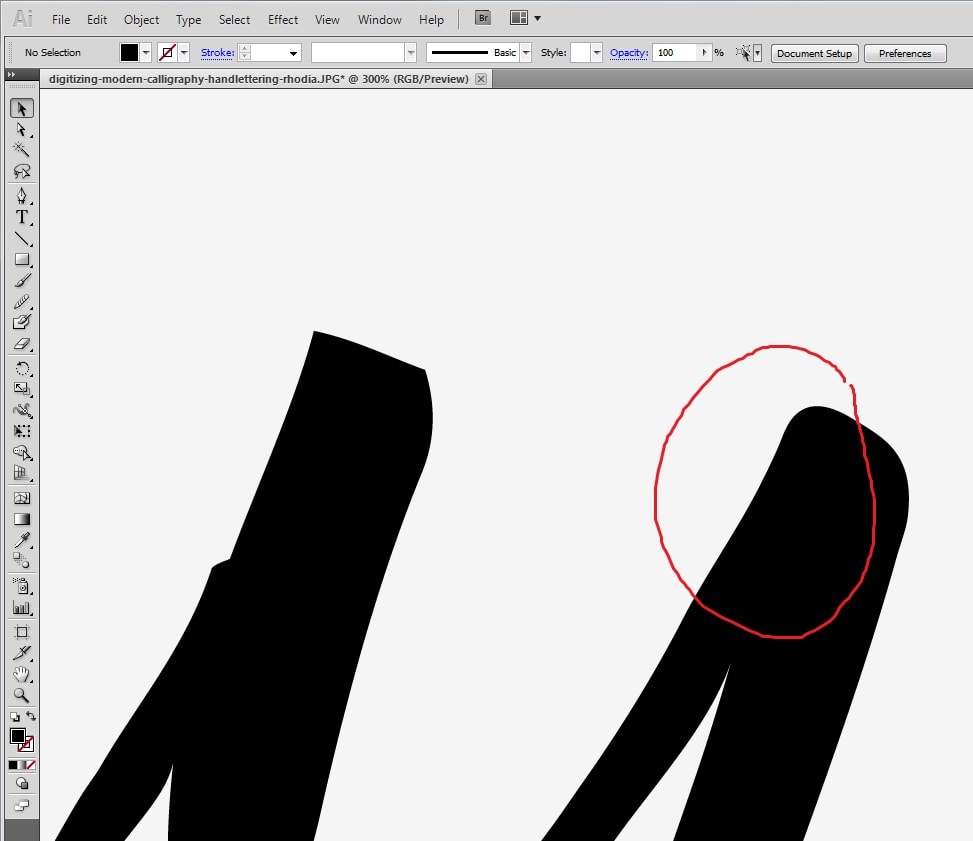
Step 10: That’s it! Now switch back to the regular selection tool (black arrow), and resize and reshape your word as you please.
You can change the colour, too! Now you can copy/paste that word wherever you want- onto images (mine is from Google- click photo for the source!), onto other projects, etc!


Hey, Sweets! Great post! You can skip the background removal process by choosing "Ignore white" in the Image Trace dialogue box (Advanced options) 😉
Ooooooh good to know! 🙂 Thanks!
Thank you for this! I’ve really been struggling with digitizing lettering! It looks so simple and sometimes I think I understand and then it gets hard again. Great post!
I’m a designer, and I learned so much from this post! Thanks Becca.
This is the perfect post! I use Illustrator all the time – do you know how much "manual" smoothing I have done!?
Wow, Becca! I always read your e-mails, but I usually don’t come to the blog posts and had not read them. I’m bingeing right now on all of them and although a lot of the info I knew even before I started following you (back in Dec 2016), I have to say that I still learn A LOT. Your tips are great and this post is the easiest and most concise I’ve seen to teach/explain how to digitize lettering! I’ve been putting it off because, though I’ve been paying the CreativeCloud for almost 2 years now, I’ve been "afraid" to use it since I find it so intimidatingly overwhelming. Not anymore after reading this old post of yours! Now I can’t wait to try it!! Thanks so much!
Omg thanks for this post. Going to try this tomorrow! Can’t wait ?
Hi Becca! Thank you so much for this tutorial, it’s exactly what I’ve been looking for, very well and simply explained. Can’t wait to try it out this week!
Hi there, um… Well, I love your posts. This uh… Has been a great experience for me. I wanna try to this too. Well um… Thanks ☺️