

Here’s how it went!
My whole shtick is that I can teach just about anyone how to do calligraphy – even people with terrible handwriting. Why? Because handwriting doesn’t matter when it comes to calligraphy. Check out this post to find out what I mean.
Even though I can teach calligraphy to those with bad handwriting, I wondered about those with no handwriting experience. So I taught myself left handed calligraphy – I have no left handed handwriting experience.
As always, I started with the basic strokes (if you don’t know what that means, you can find out more information here). I focused on the basic strokes over the course of 10 days. My lines of daily drills took me about 15 minutes each time. If you’re a beginner doing drills for the first time, I’d recommend doing them for at least 20 minutes a day, though.

Do you think it went well or not?
First Things First…
The links below may be affiliate links where appropriate. This means that your purchase through these links may result in a few cents in payment to me, to support creating further resources like this one! That being said, I will never suggest supplies that I do not personally use and fully recommend.
Rather watch than read? No problem! You can watch me practice calligraphy with my left hand in real time in the video below.
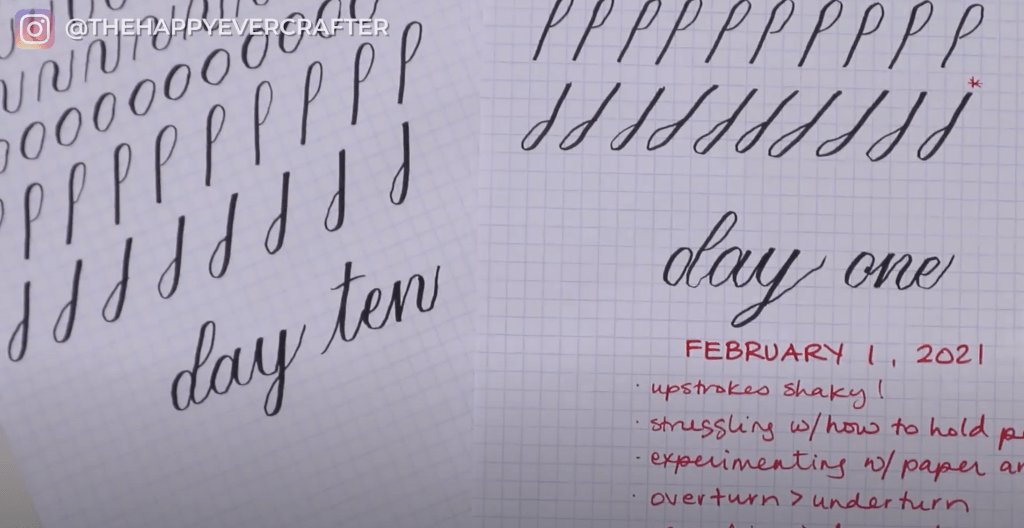
DAY ONE
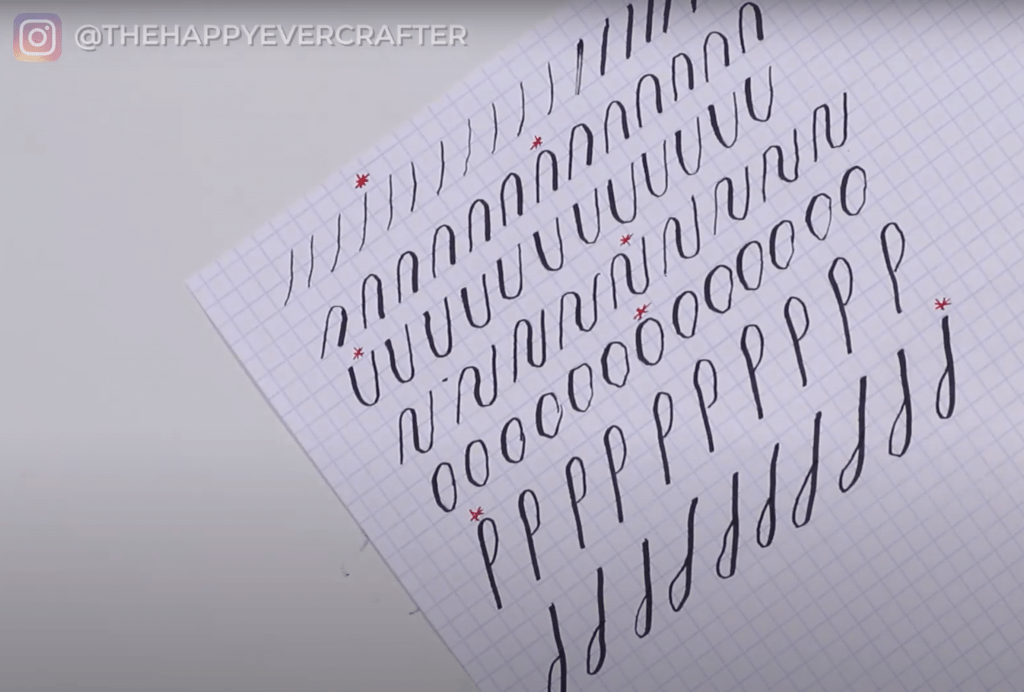
So on Day 1, I was defffffffffinitely shaky.
It took me a bit to figure out how I wanted to hold the pen – whether I wanted one finger on top or two and really just making myself comfortable with how to hold the pen. I was also experimenting big time with the angle of my paper. That’s one thing I know from having taught so many lefties – that there’s a big difference in ease of writing when you find the right angle for you. So I played with that a lot.
Overall though, I was actually impressed with how DECENT I was on Day 1. I fully attribute that to knowing the shapes of these strokes like the back of my hand already. Had I had to learn the actual stroke AND do it with my left hand for the first time, I wouldn’t have been anywhere near as good. If you’re just starting out, keep that in mind. I didn’t have the extra burden of having to remember the actual strokes – I know them SO well already.
DAY TWO
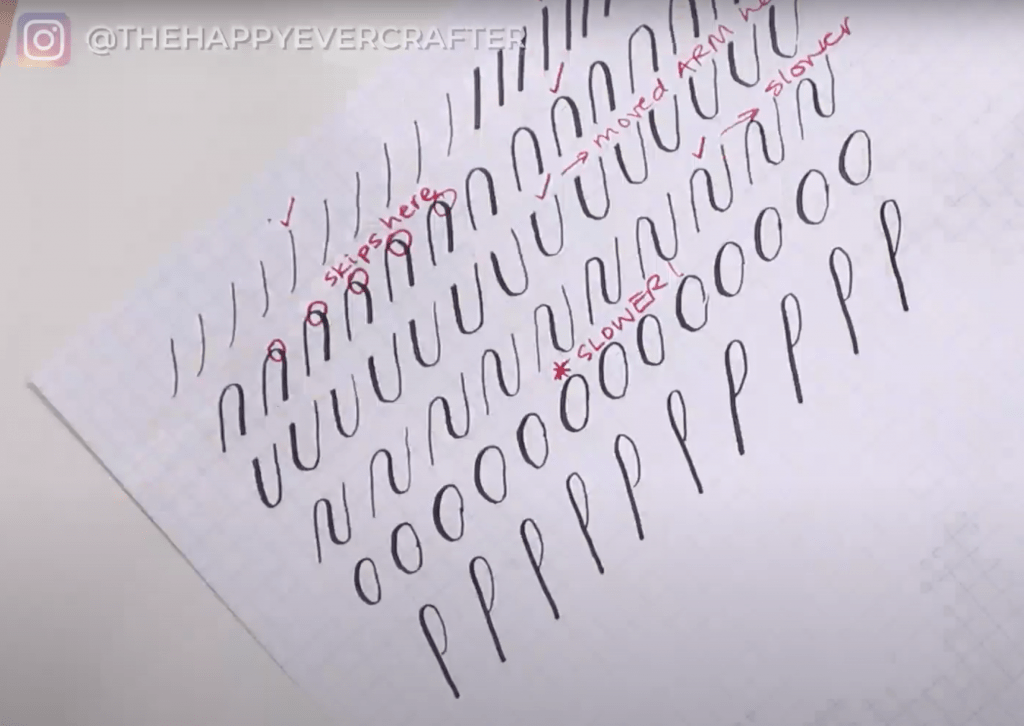
On Day 2, I started catching myself going waayyyyyy too fast. I was still super shaky, so I felt like going faster would make it easier… and then I laughed at myself because I alllllways have this conversation with beginners. I always have to tell them that going faster will not help with shakiness, but then I was doing it myself. I definitely had to majorly slow myself down.
I also totally noticed myself holding my breath and biting my lip!!!! Aaaaaaand I had a super tight grip on the pen. Moral of the story for Day 2: slow down and breathe!
DAY THREE
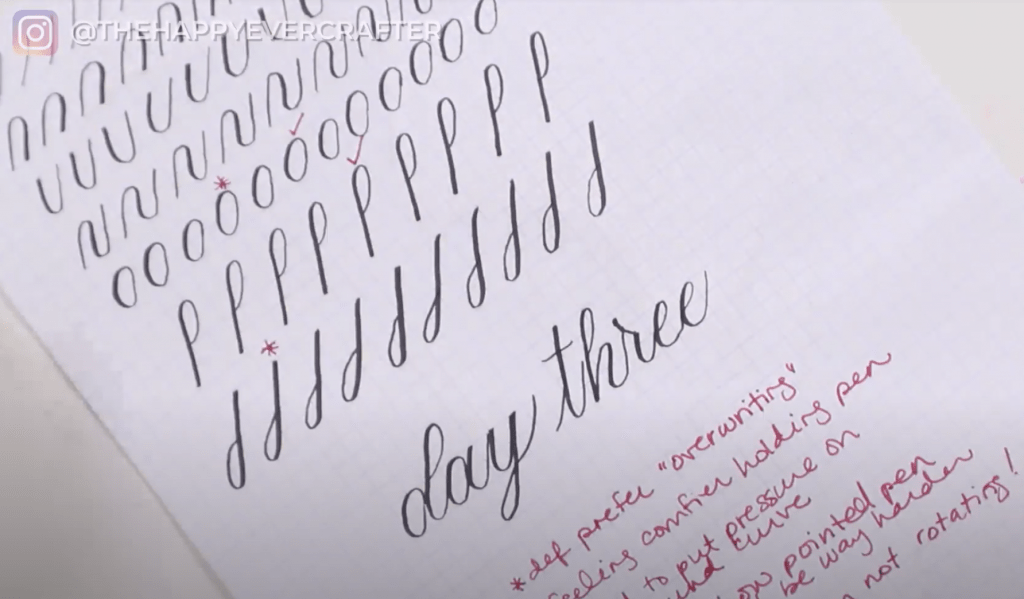
Day 3 I started to get into a groove. I really felt like things were flowing well that day! I also thought about how much harder this would be with pointed pen because my hand would have been smudging so badly as a lefty. To all you lefties doing pointed pen… I bow to you!
DAY FOUR

Day 4 I noticed I was getting super comfy with holding the pen. It didn’t feel awkward in my hand anymore. Now that it felt normal in my hand, it got easier to rotate my pen enough. I realized I hadn’t been rotating it enough because I was so uncomfortable with my hold. NOTE: If you use brush pens and aren’t rotating your pen, you should be doing that every couple strokes! It was definitely hard for me to rotate it the first three days because just holding the pen still felt really awkward – I just wasn’t comfortable enough to rotate it. It reeeeeally made a difference though once I started doing that!
DAY FIVE

Day 5 honestly I felt a little regression, specifically in my ovals. I was getting so comfy with holding the pen that I was going way too fast … classic beginner struggle! So again, I caught myself doing something I’m always telling my students not to do. Whoops!
DAY SIX
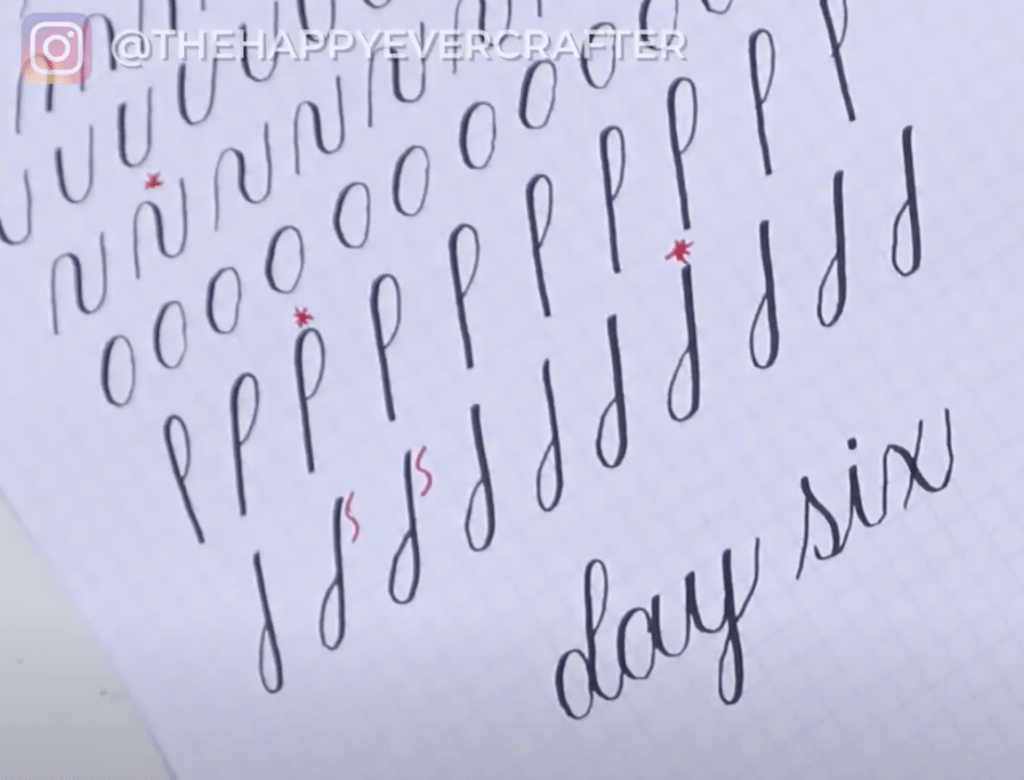
Day 6 I had a lot of coffee, and I noticed it soooo much in my shakiness!!! It’s a real thing! I also noticed this super annoying issue where sometimes my downstrokes would curve a little bit. I started catching that and wanted to try and fix that! Okay I’m a unique bullet journaler. I don’t really even consider myself a bullet journaler. I use a journal that is blank when it arrives and I make it my own fully, but I don’t do the traditional bullet journal method. I read the book, did the whole thing, but it just didn’t work for me.
DAYS SEVEN AND EIGHT
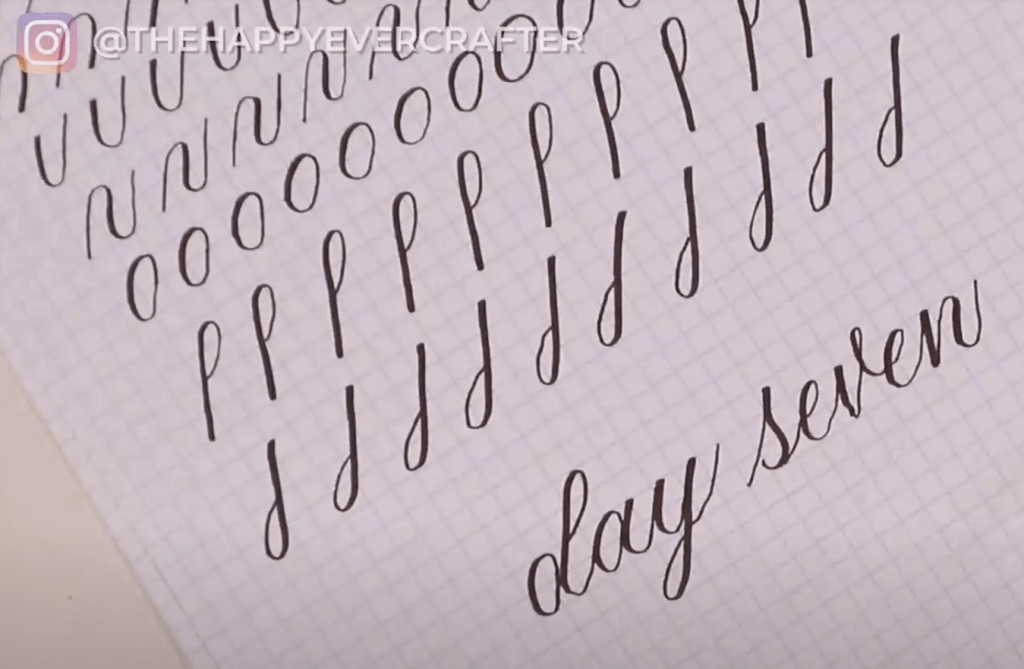
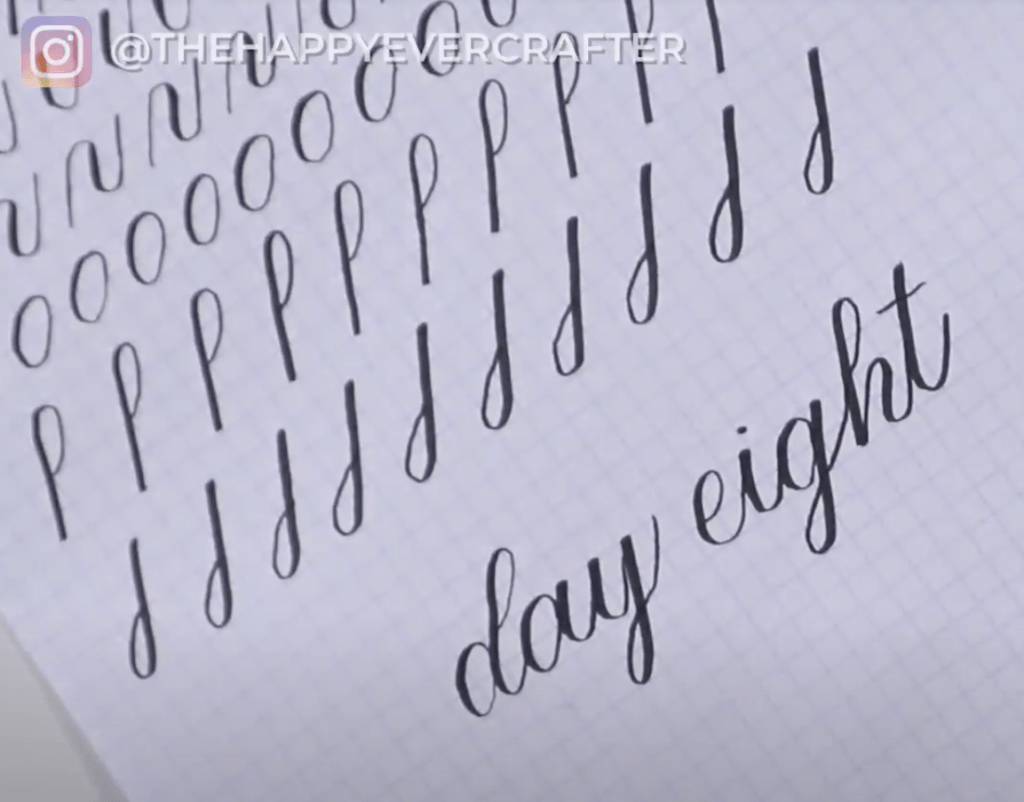
Days 7 and 8 I was really comfy holding the pen and with the shapes, so I started trying to pay attention to the weight of my downstrokes and trying to make them even. I always find that on my ascending loops, my stroke isn’t as heavy as on my descending loops. I really wanted to be mindful and try to fix that. I think it’s just a comfort thing. Some positions and angles are just naturally more comfortable to add more pressure to.
DAY NINE
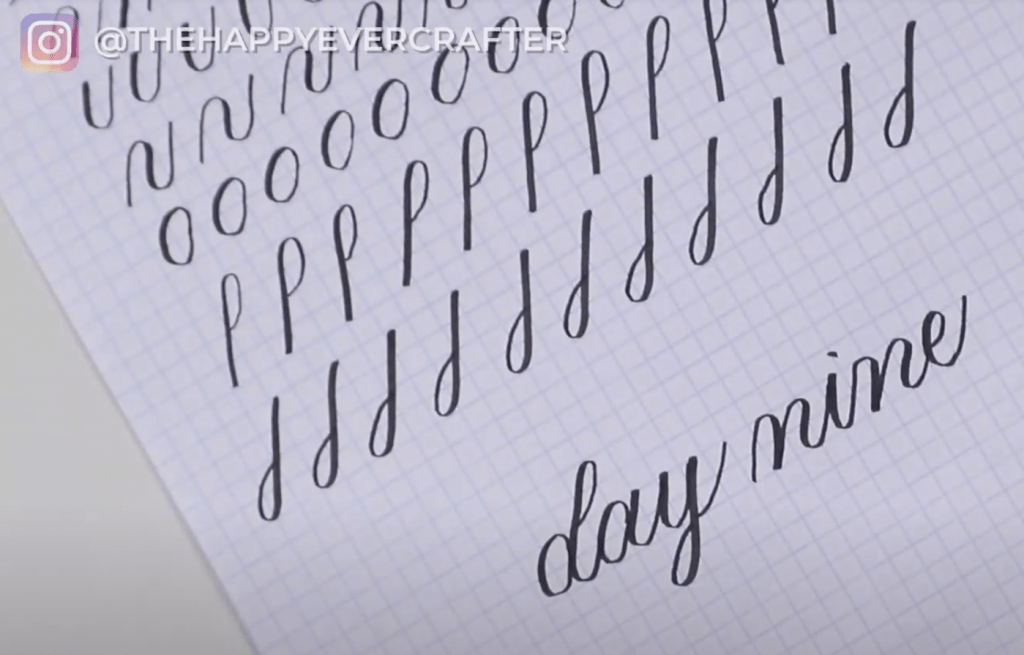
Day 9 I felt like was my absolute best day. I was feeling super consistent and started getting matching downstrokes and soooorta lighter upstrokes. I was also feeling like I needed less pressure to avoid shakiness.
Something else I noticed was that I felt like I was more consistent when I started working mid page (not at the top or bottom of the page). I decided to move my page around a bit more instead of trying to keep it in the same spot.
DAY TEN
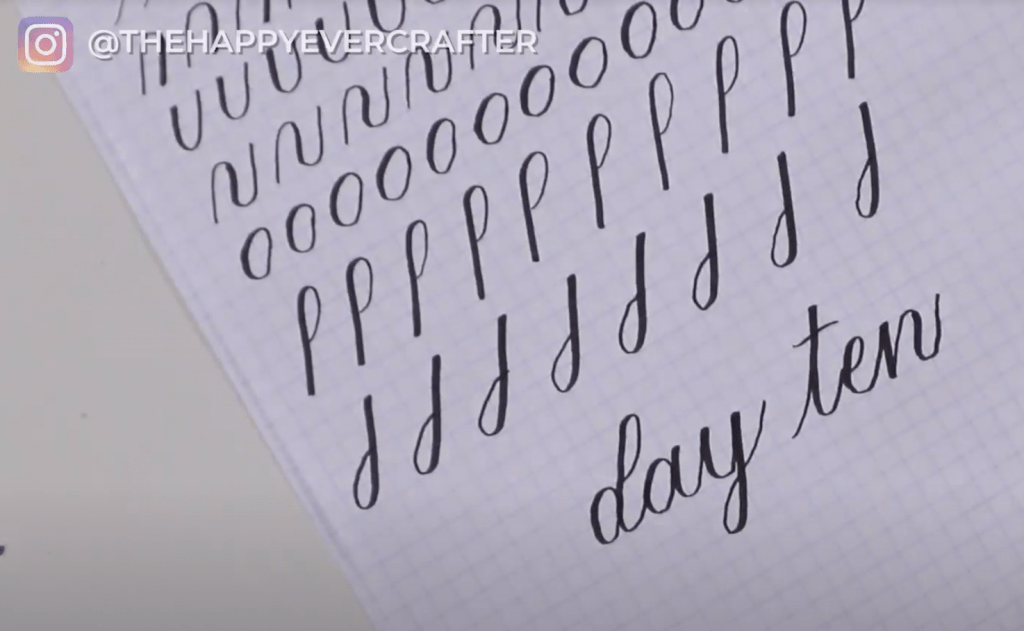
And lastly, Day 10! I honestly felt like day 10 was worse than day 9 because I was rushing and excited to finish! HAHA!
Overall though, when I look at day 10 to day 1, it’s a biggggg improvement! Might not look like it to an untrained calligraphy eye, but it’s definitely a big improvement when you know what the strokes should look like! And how they were shaky and all over the place on day 1.
THE REEEEEAL TEST: WORDS!

The real test was writing some actual words! I wrote out some basic words on the right hand side with my right hand, and I wanted to duplicate them with my left hand!
They’re definitely not perfect, but they’re PRETTY DARN GOOD, amirite?!?! Especially for a left handed calligraphy job in ten days. I’m pretty proud of myself honestly.
I will accept clapping in the form of hitting the like button on my YouTube video. 🙂
Key Takeaways…
All in all, my strokes still weren’t anywhere near perfect. But I did what I set out to do – I taught myself left-handed calligraphy from zero to calligraphy in ten days. I gained some serious muscle memory in my left hand too. I feel like if I come back to this in a few months, I’ll still have that muscle memory. I didn’t have any of that before!
This is what I’ve been teaching beginners for years. It’s not natural to have your hand do light upstrokes and hard downstrokes without being shaky or rough. It’s going to be shaky and rough! It takes building muscle memory. It also takes learning and adjusting – rotate the pen, rotate the paper, move the paper around, adjust your pressure, adjust your grip. All these slight adjustments build up over time to improve your skills BIG TIME.
I still need a lot more practice to get the skill level I want in my left hand. Even if you’re learning calligraphy with your dominant hand, it takes A LOT of practice to build up those skills – more than just ten days. That’s why my beginner course is four weeks long.
Wait. What beginner course? Happy you asked.
Show Me Your Drills is my signature beginners course. I teach you all of the basics. What pens you need, how to hold them, all the basic strokes, all the tweaks you may need to make on your grip and angles, how to put everything together, and more. You can sign up at showmeyourdrills.com
If I can teach myself calligraphy with my non-dominant hand, I can teach you with your dominant hand. Trust me. Join us for the next semester at showmeyourdrills.com
And that’s a wrap!
Learning calligraphy is a ton of fun! If you’re just starting out and aren’t quite ready to enroll in Show Me Your Drills, no worries! I have a full playlist on YouTube specifically for beginners. Check it out here.
And finally, your dad joke…
What’s ironic about having a left handed pen?
It’s for right-ing.


Great work!