I’m going to show you how you can create your own unique wrapping paper with some eco-friendly Kraft paper and hand lettering!
Not only is creating your own wrapping paper WAY more fun than buying it from the store, but it’s also so much more eco-friendly than plastic-coated shiny christmassy papers.
In this tutorial, I’m going to show you:
- how to write one quick & easy calligraphy word that’ll make you look pro
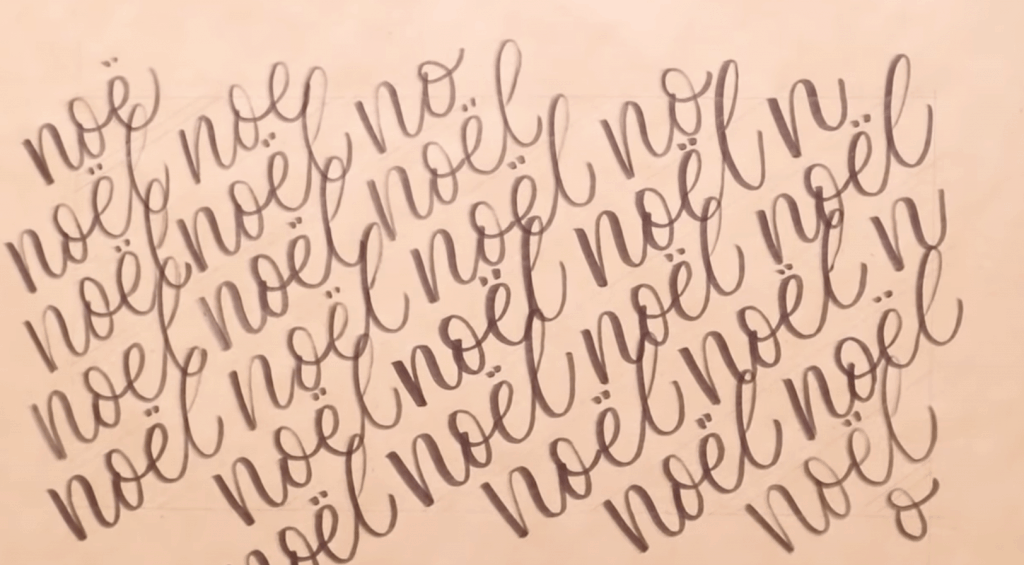
- how to flawlessly fill up your wrapping paper to the edges
- an easy way to make your lettering pop
- AND…drum roll…my secret weapon for making wrapping gifts a breeze! ?
First Things First…
The links below may be affiliate links where appropriate. This means that your purchase through these links may result in a few cents in payment to me, to support creating further resources like this one! That being said, I will never suggest supplies that I do not personally use and fully recommend.
Tools
- Pencil
- Black Brush Pen (any one with a large tip will do)
- Molotow Liquid Chrome Marker
- Ruler
- Brown Kraft Paper
- Scissors
Now let’s get started!
Prefer watching over reading? Feel free to skip right to the video and see these in real-time! ??
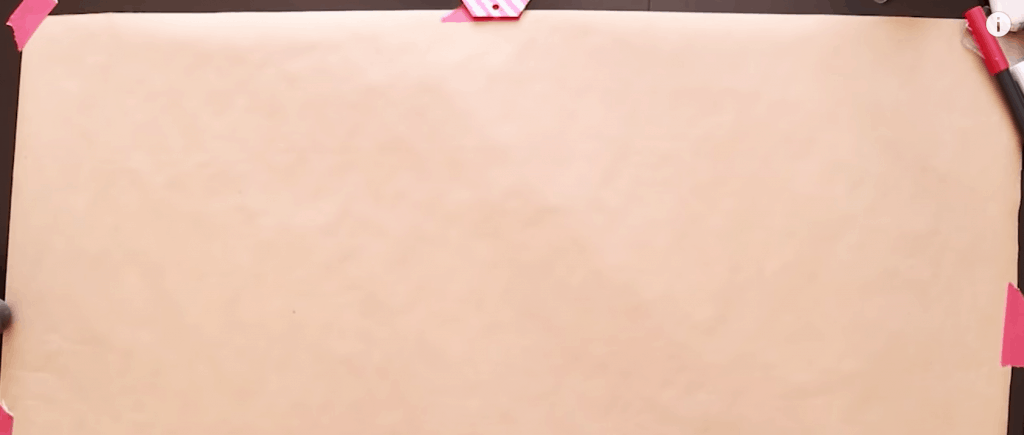
Step 1: Roll out and tape down your Kraft Paper
Tip: Cut your paper a bit bigger than what you’ll need to wrap your item because we’re going to letter off the edges to give it that run off look.
Step 2: Use your pencil and ruler to mark out the size you need for wrapping
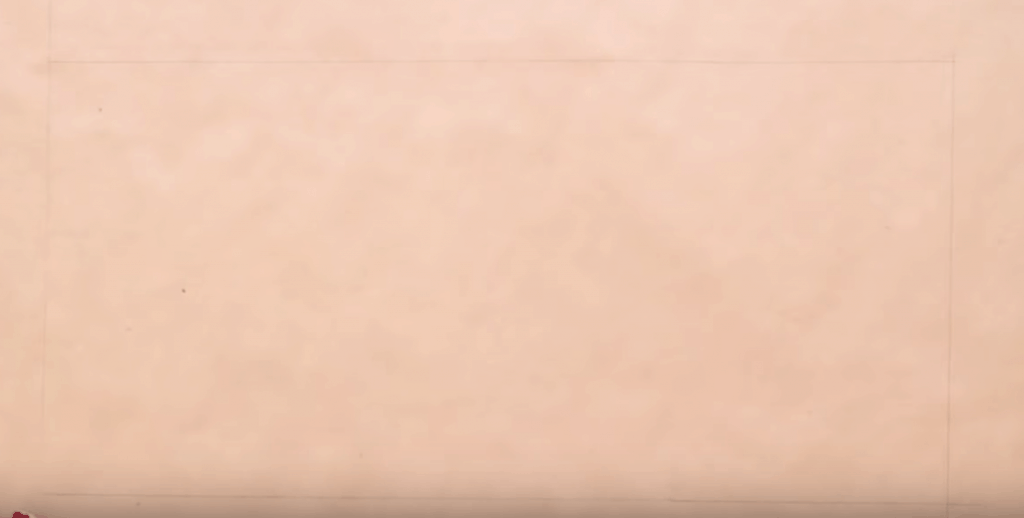
Step 3: Draw diagonal guidelines for your lettering
Note: You can totally do this straight, I just personally prefer the lettering to be at an angle.
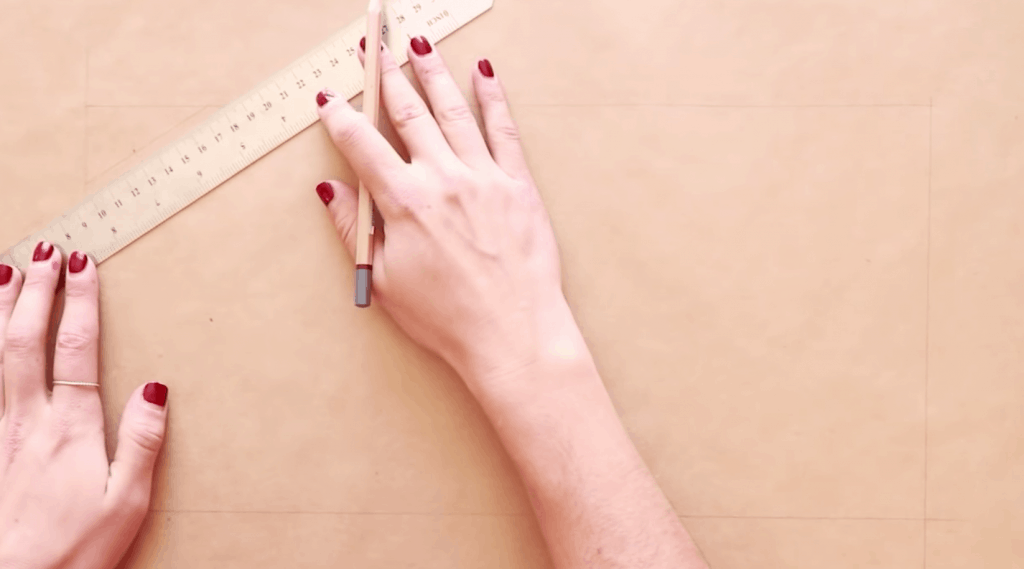
Keep your lettering height about the width of the ruler!

Remember: Make your lines as light as possible because you will be erasing them!
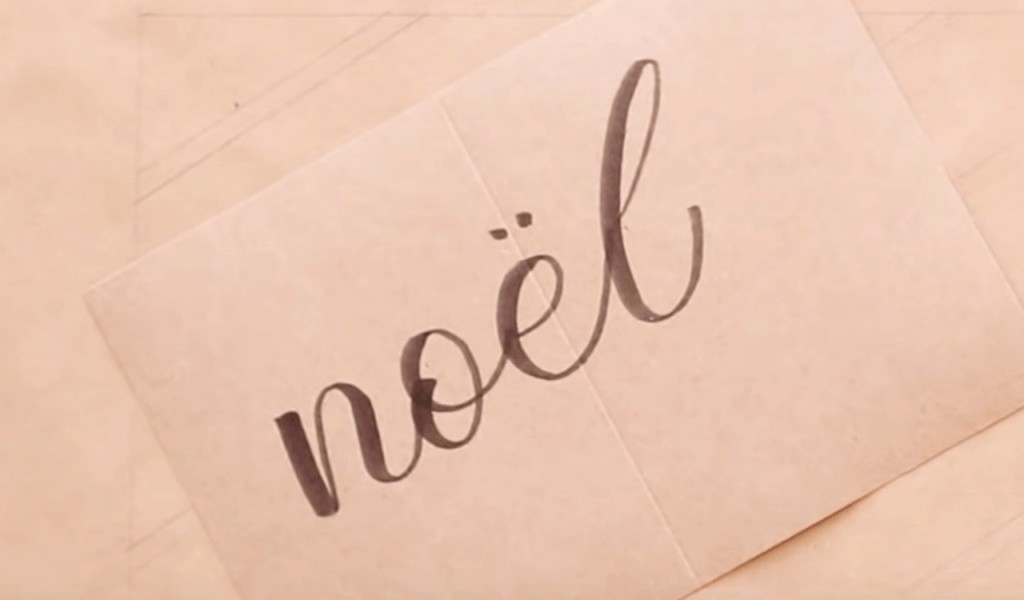
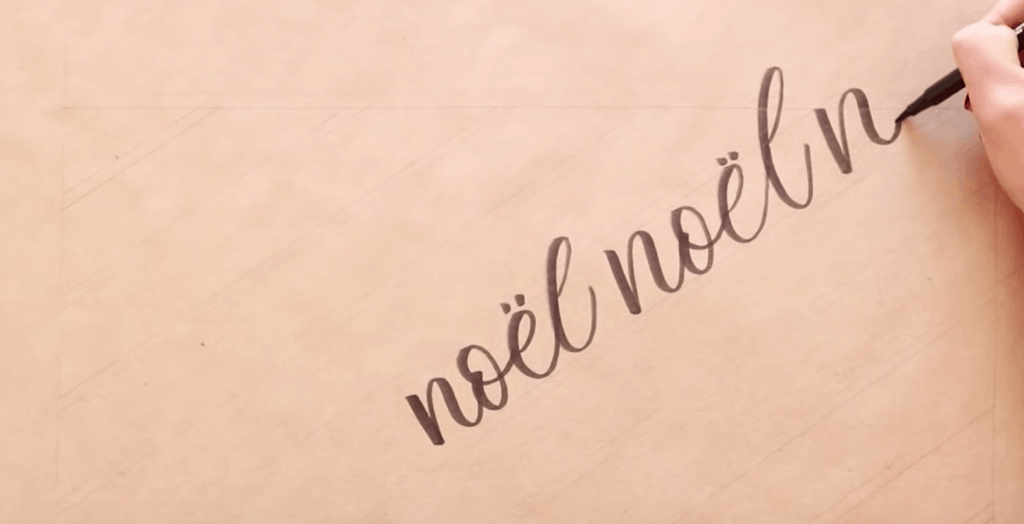
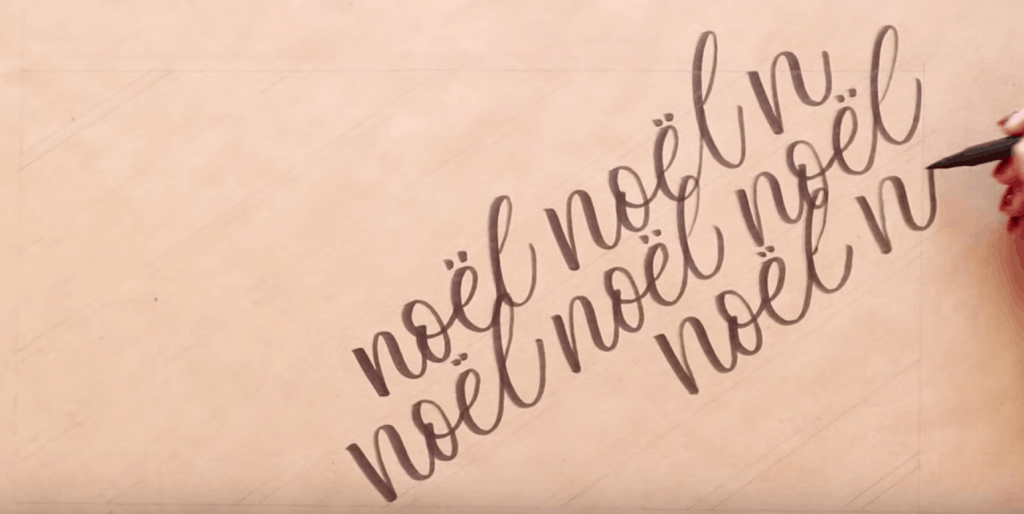
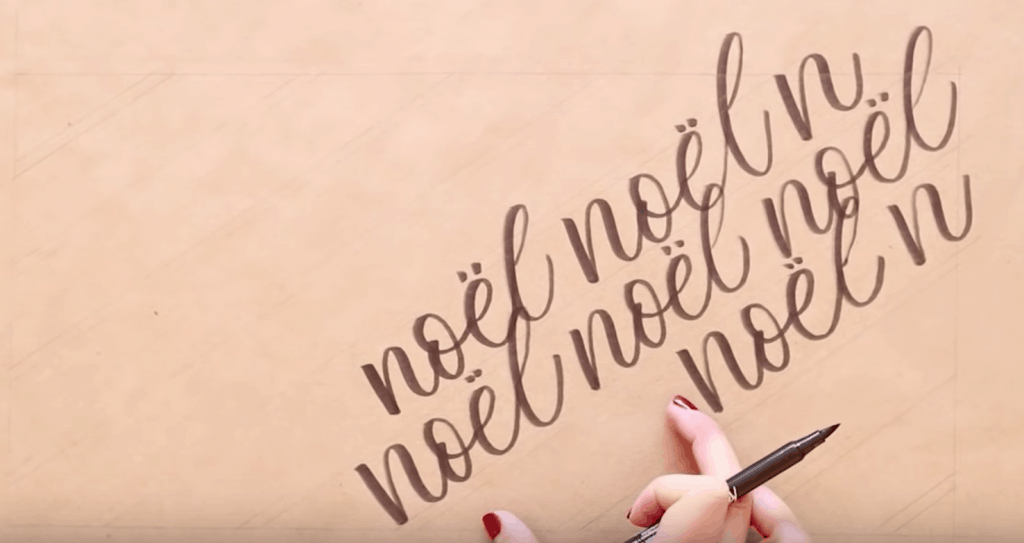
Step 4: Begin your lettering!
Starting somewhere in the middle of your sketched lines, start your lettering.

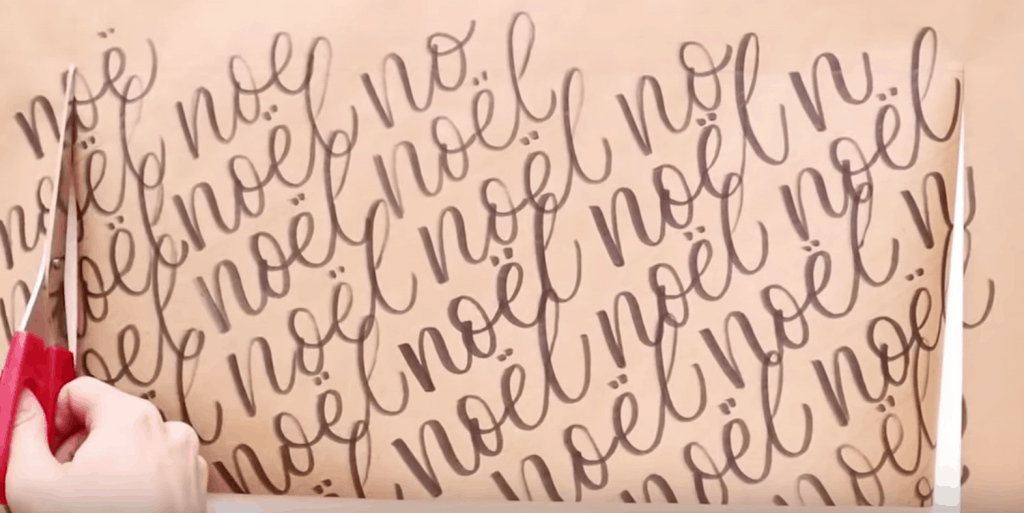
Step 5: Cut out your wrapping paper along your pencil border
Step 6: Erase your pencil lines
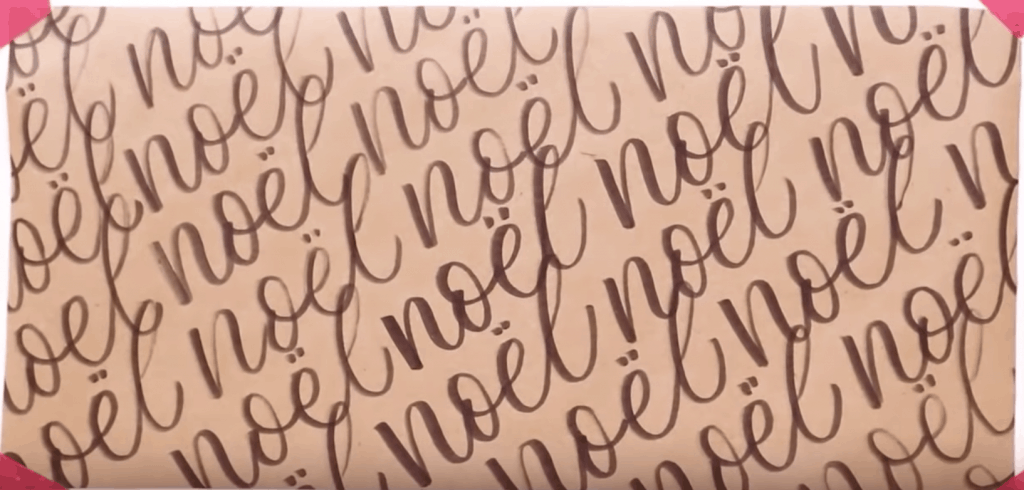
Tape down your cut out piece of wrapping paper, and go through and erase all of those pencil lines.

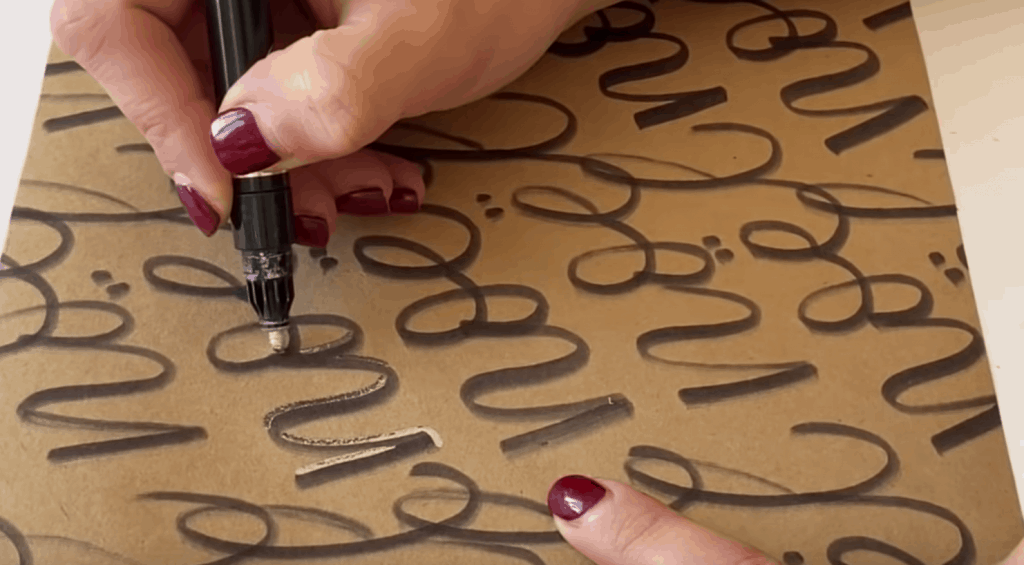
Step 7: Embellish some of the words with your gel pen
A good rule of thumb is to do this treatment over every couple of words, and not every single one, to give it that extra pop.

Ta-da!
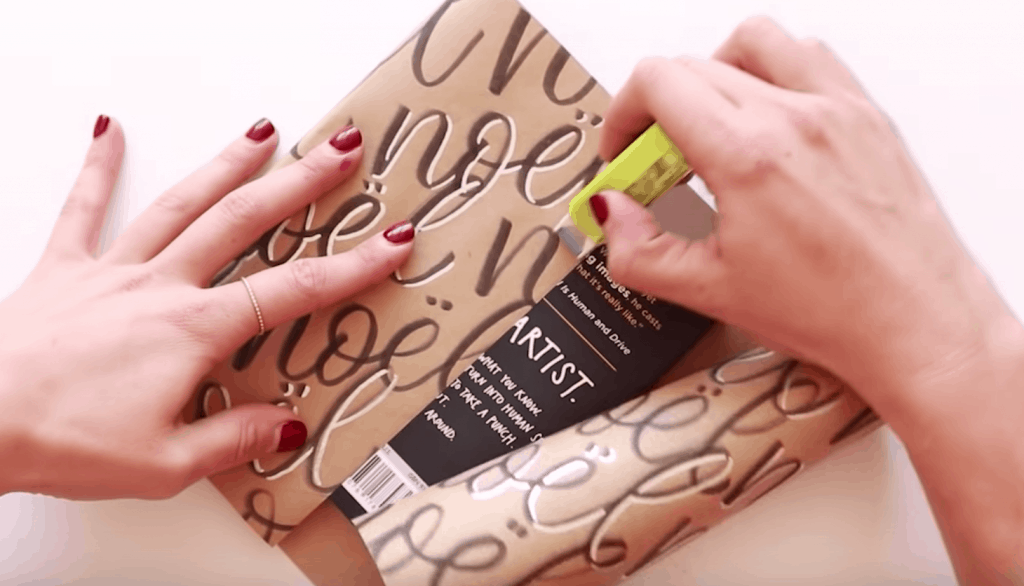
Step 8: Wrap it up!
Flip your paper and start the wrapping.
Tip: For fancy wrapping paper like this, I like to use invisible adhesive tape.

Step 9: Use your gel pen to create little snowflakes for nice added touch
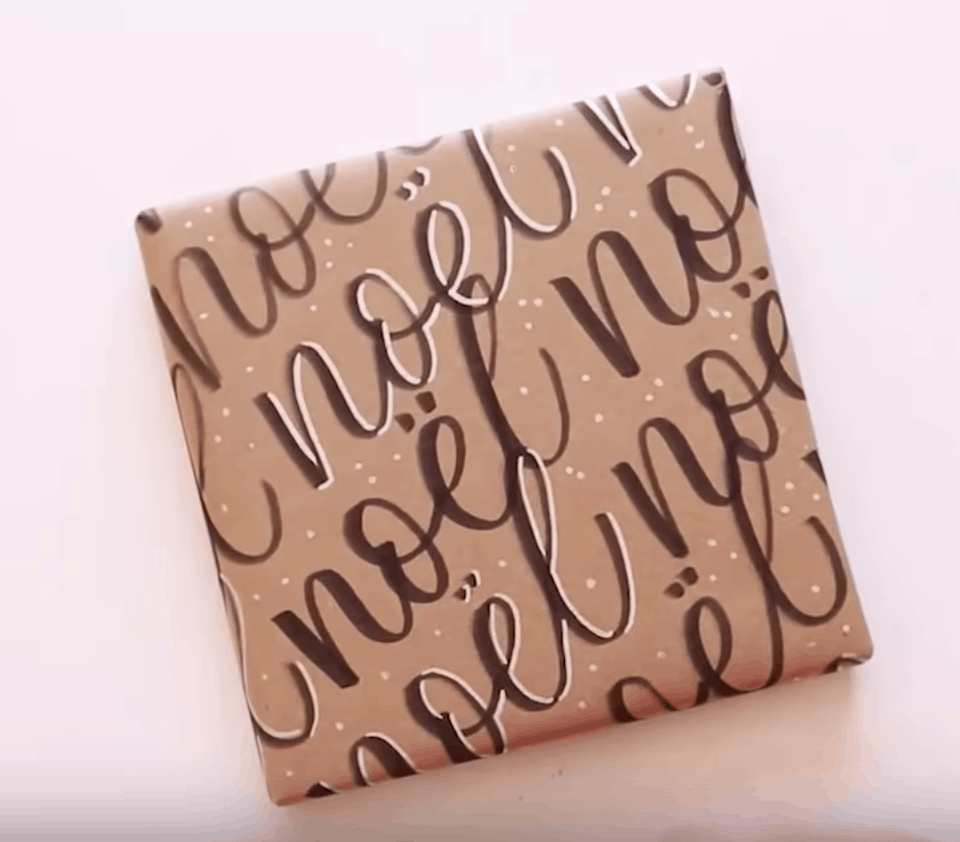
And that’s a wrap!
There are a bajillion other ways you can make your own wrapping paper. Check out this video, where I show you how to make 4 Easy Hand-Lettered Holiday Greeting Cards!

Love this idea and will definitely try it for birthdays and other celebrations. Thank you.