

My #1 most requested tutorial is always birthday cards!
This tutorial is quick. It’s easy. It doesn’t require fancy supplies. And it is easily customizable.
Supplies Used
- A card (I’m using a piece of watercolor paper folded into card shape)
- Markers (they do not have to be brush pens)
- One black fine liner or felt tip pen
Rather watch than read? Check out the full tutorial by clicking the video below!
Let’s Get Started!
This is such a fun and super simple technique that literally anyone can do. You do not need hand lettering experience to do it and it just looks so fun and cute.
Note: You can use ANY markers for this card design. I’m using Tombow Dual Brush Pens because I like the colors, and for the black one – I’m going to use the thinner end of it, the felt tip side, to do the outline.
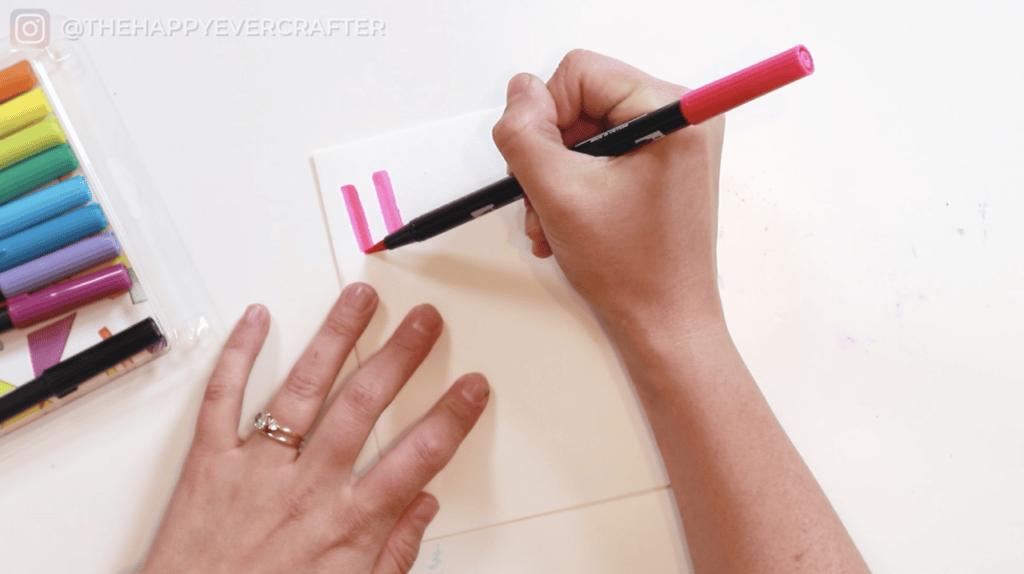
Step #1: Start Writing Your Letters for “HAPPY BIRTHDAY”
Due to the shape of my card, I’m doing “happy birthday” in three lines, but you can lay this out however you want. I’m going in casually, not overthinking it. And I’m not trying to make them straight on the page. I’m laying them out all over the place to make them whimsical.
The only thing I try to think about is making the thicknesses of my letters pretty standard so they match a bit. They do not have to be perfect. The more imperfect and whimsical they are, the better the card ends up.

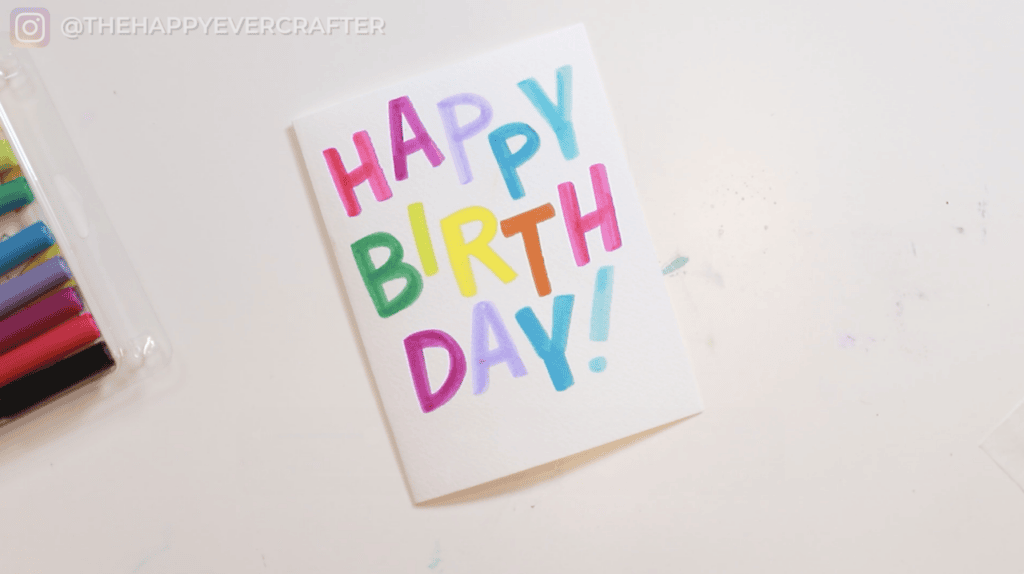
Tip: You can also add an exclamation mark to fill up space.
Overall though, I don’t worry about perfect centering (and you shouldn’t either!). If you have a ton of extra white space leftover on the edges, you can trim with a paper cutter later.
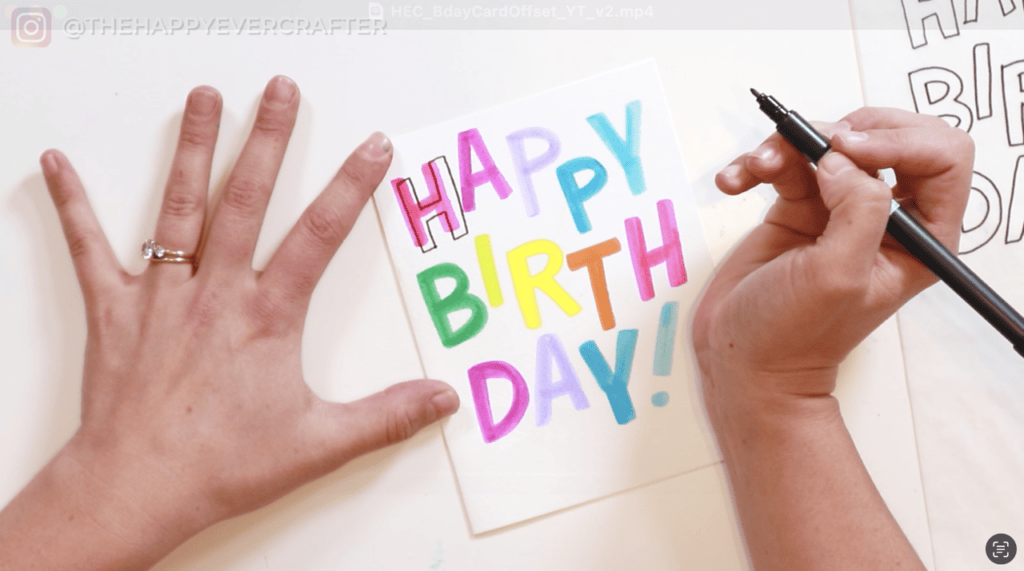
Step #2: Creating the Offset Lettering Effect
For the offset lettering technique, I’m using tracing paper to show you the concept (you don’t need to do this part though).
First, I’m going to trace the outline of all the letters.
Then, I move the tracing paper down and to the right a little bit. This creates a little bit of white space with the outline offset from the background of the letters, adding dimension and making them look fun and whimsical.


You can do this without tracing paper too – just draw the outline by hand. For each letter, draw its outline slightly down and to the right of the colored letter. Again, it doesn’t have to be perfect. Just create the outline of each letter, but positioned down and to the right. It might take concentration at first, but don’t overthink it.
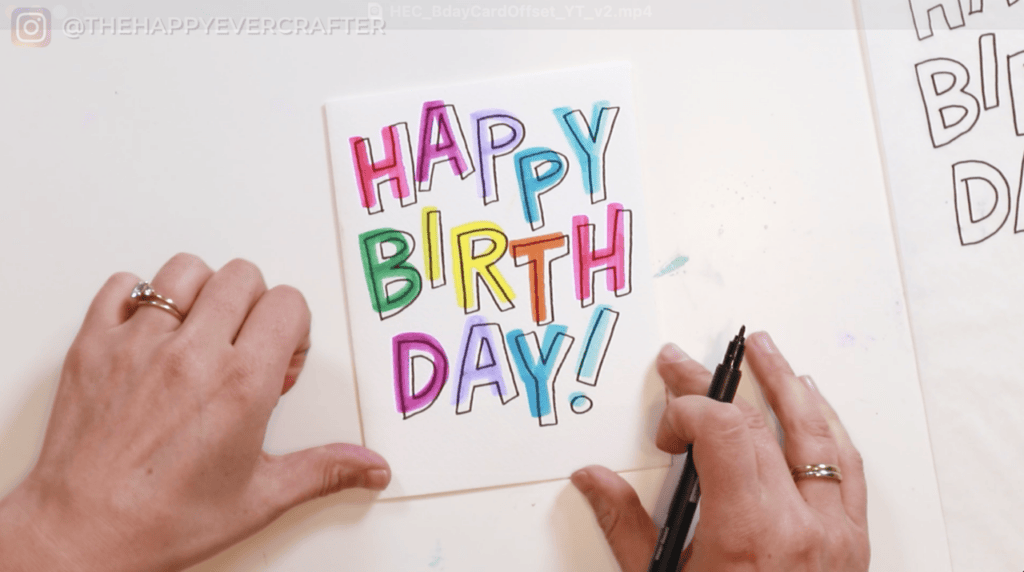
Mine are pretty aggressively offset, but you can make it more subtle if you prefer. This fun addition makes your letters really pop.
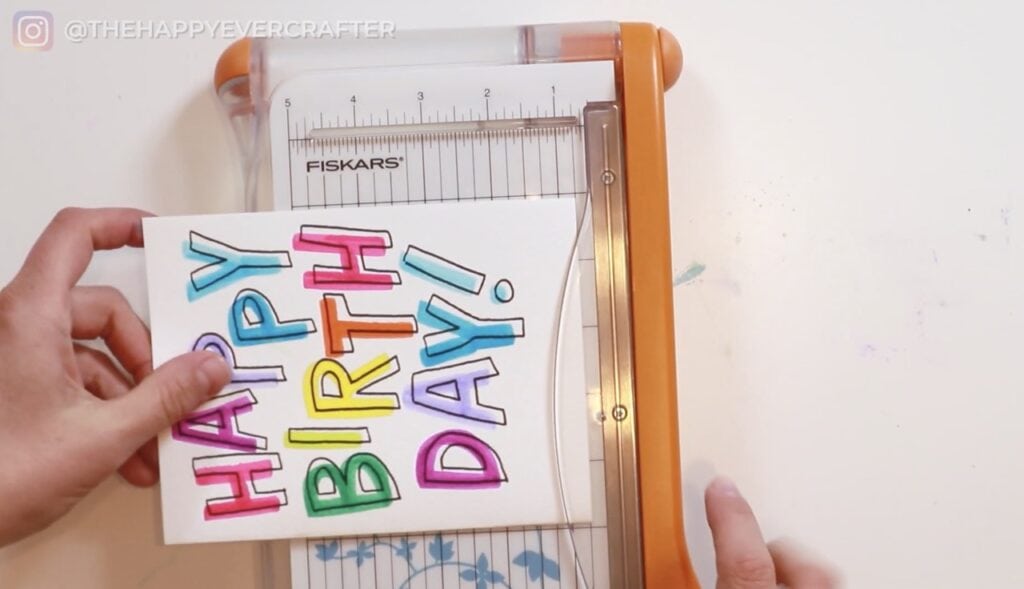
Step #3: Trim
Finally, I’ll just cut the bottom off my card, and there you have it – a cute and simple happy birthday card!
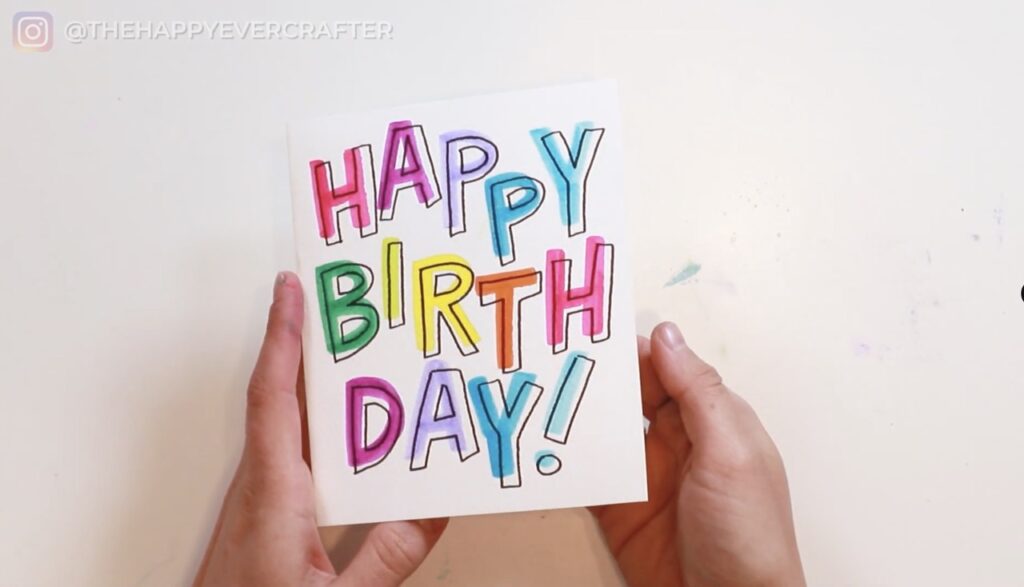
And That’s a Wrap!
This card turned out so cute! It’s super fun and will be sure to make someone’s day.
I’d love to see your creations too! Be sure to tag me on Instagram!
Looking for more birthday card tutorials? Check out this one!
And finally, your dad joke…
A few years ago, I was attacked my cameras.
I still have flashbacks.


Comments