So there’s this one moment in every in-person calligraphy course I teach where I can literally SEE the lightbulb turn on above people’s heads.
Okay, okay… not LITERALLY, but you know what I mean.
But really though. It happens in EVERY. SINGLE. CLASS.
Think you know what it is?
First Things First…
The links below may be affiliate links where appropriate. This means that your purchase through these links may result in a few cents in payment to me, to support creating further resources like this one! That being said, I will never suggest supplies that I do not personally use and fully recommend.
Supplies Used/Mentioned
Rather watch than read? No problem! You can watch the lightbulb moment in real-time by clicking the video below!
Let’s Get Started!
Since you’re not sitting through a 3-hour in-person calligraphy workshop, I’ll skip ahead to the lightbulb moment for you.
Since I’m skipping ahead (I don’t want this video or post to be 3 hours long), I’m skipping some details and nuances as I explain this really top-level. So don’t come at me in the comments saying I’m skipping details or over simplifying… I know I am. If you want a deep dive in the basics, I’ve got an entire month-long free course that covers the calligraphy basics (find that here if you need it). Aaaaand like I said, this is usually a 3-hour workshop.
But for the sake of this post, again, I’m giving you the top-level skim of all of this so you can see the big picture and how it all comes together.
Alright so first thing I’ll say is this: Calligraphy is NOT based on your handwriting. It has NOTHING to do with your handwriting.
Why?
The Basic Strokes!
Because calligraphy is broken down into what we call “strokes”. Aka little weird squiggles.
First, you learn these squiggles – the basic strokes. Here’s what they look like.
And let’s be honest, this photo might make \ these look much simpler than they are. These take lotsssssss of practice.
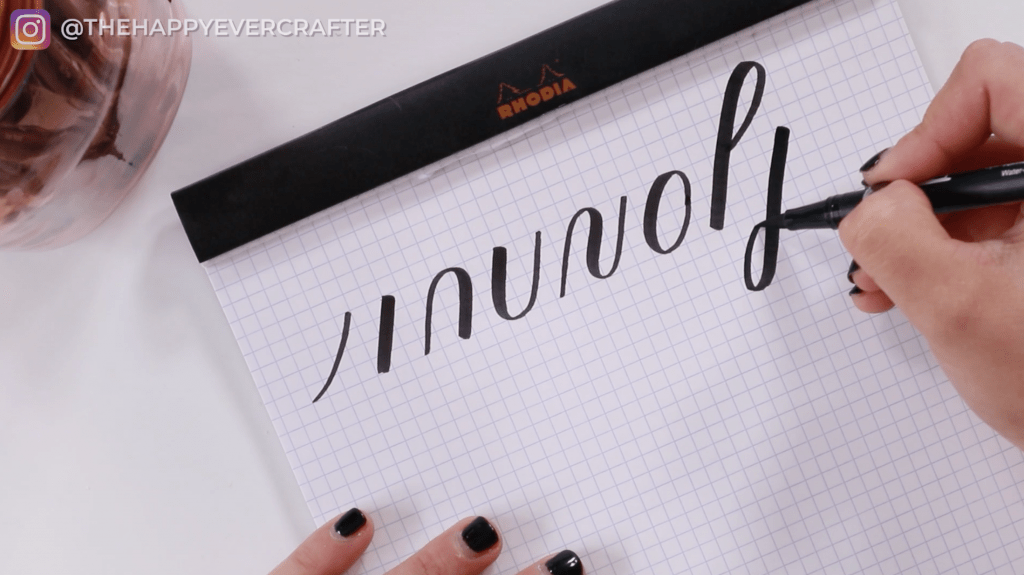
But for the sake of this post, let’s pretend you now know these strokes (which you actually do know if you’ve taken my free course!)
So you’ve got these basic strokes. Great. Now what?
The Letter “h”
Well, let’s say you want to create the letter “h”.
K but just before we get to that, lemme set the scene of my 3-hour in-person workshops… by this point, we’ve been practicing these basic strokes for about an hour. People are starting to question why they came and paid for this workshop just to do these weird squiggles all night. This isn’t what they expected, they’re not learning letters, they’re not making pretty lettering – what’s the point?
Then BOOM, I’m about to hit them with that lightbulb moment.
You ready for this?
Okay so we wanna create the letter h.
Back to those strokes. Letters are creating by using these basic strokes – the basic strokes are essentially just pieces of broken down letters.
Using three different brush pens in various colours, I’m going to demonstrate the h.
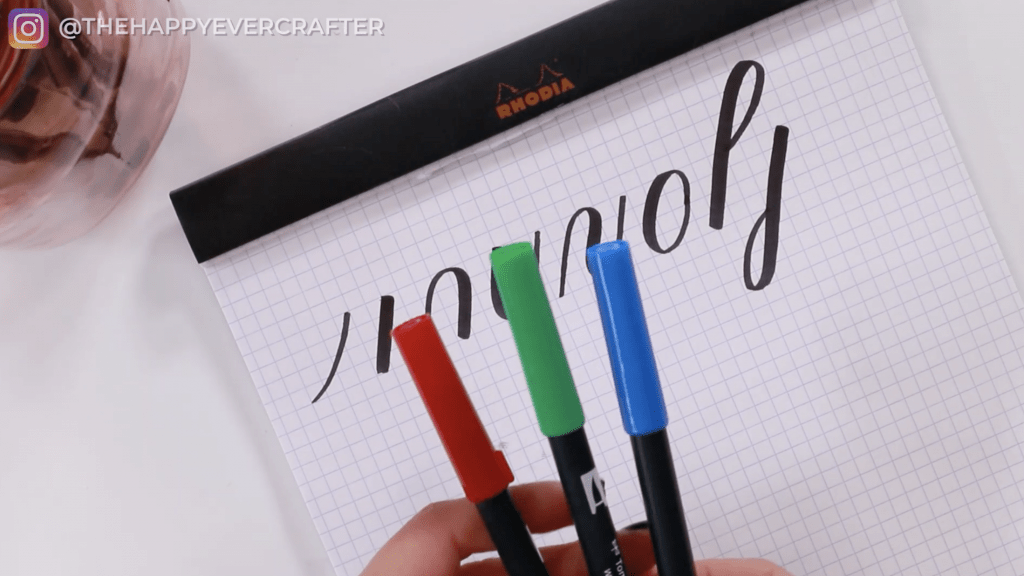
Basically, all you’re doing to create the letter h is you’re taking…
This stroke…
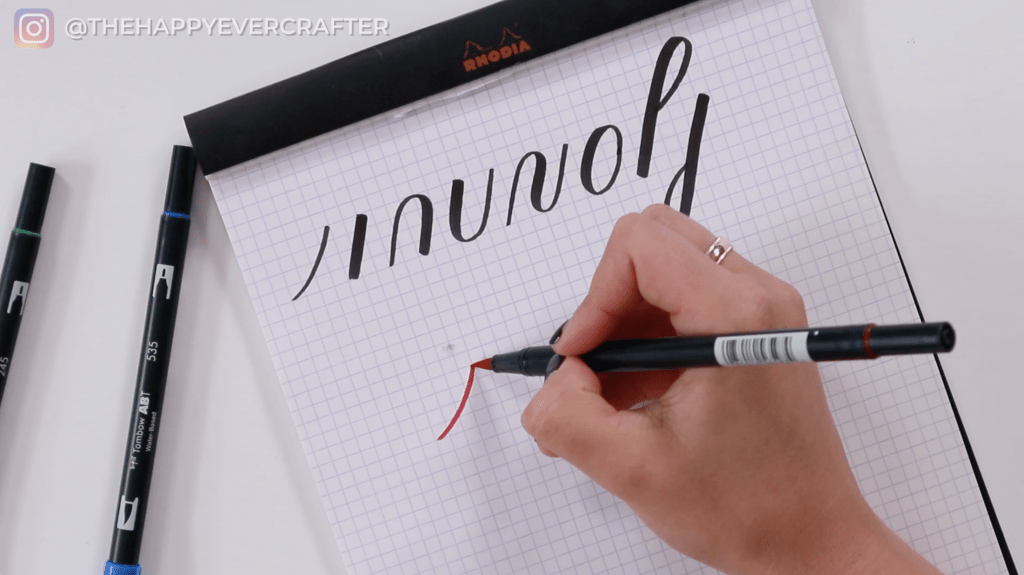
Plus this stroke…
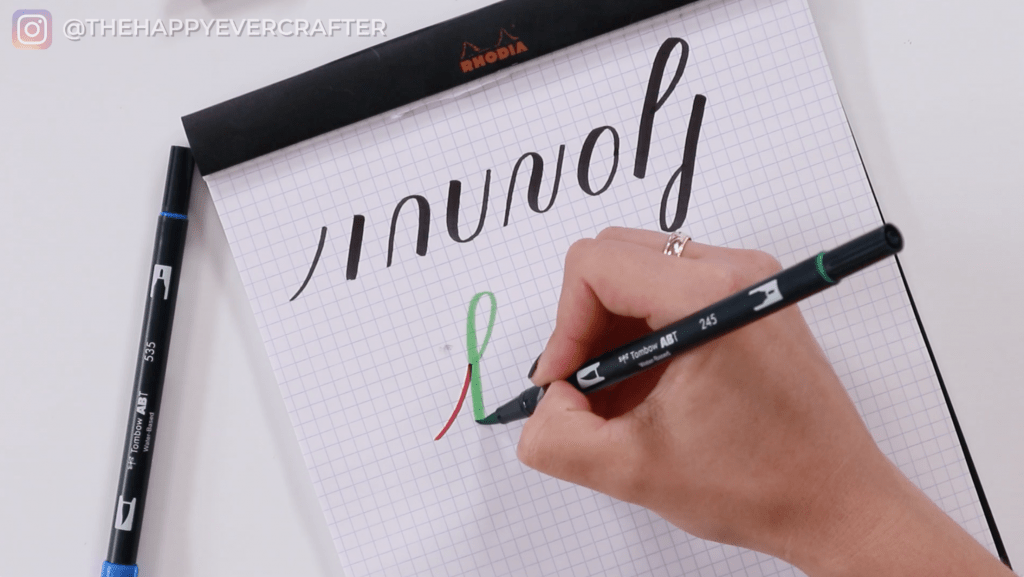
And lastly plus this stroke…
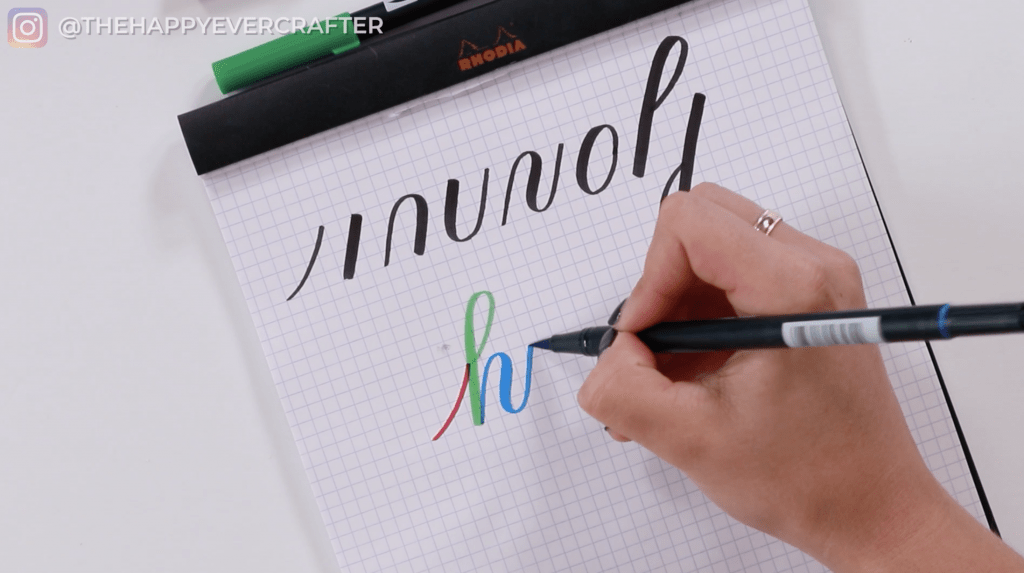
And BOOM. You have a letter h.
It’s much easier once you know all of these basic strokes. You just stick them together to build an entire letter – kind of like math!
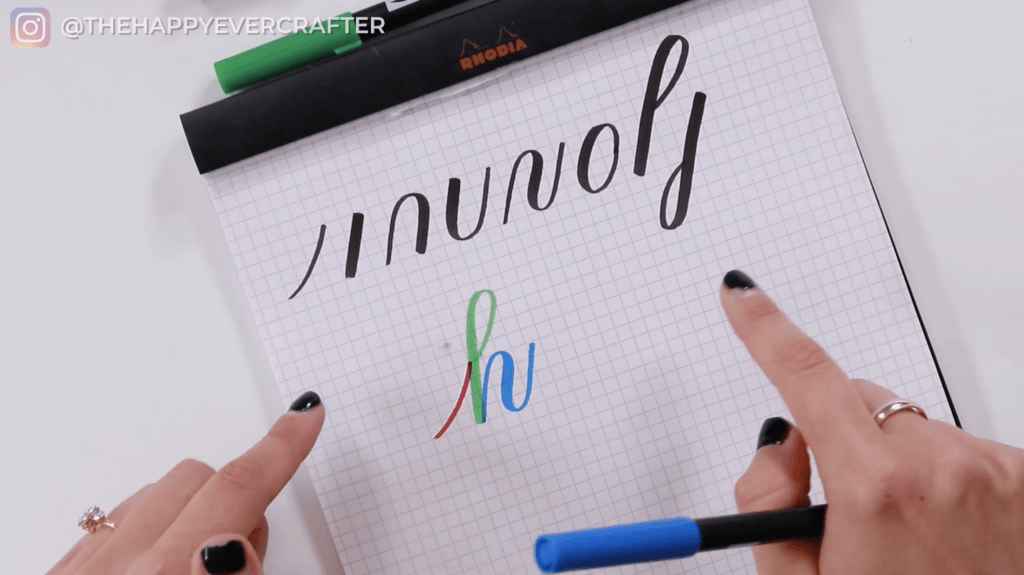
THIS is the step that soooo many people are oblivious to when it comes to calligraphy. They think it’s just their handwriting but with a fancy tool.
Nope! You just learn these squiggles, then you put them together, and you have letters.
The Letter “m”
Let’s do another one. The letter “m” for example.
You want to start with this stroke…
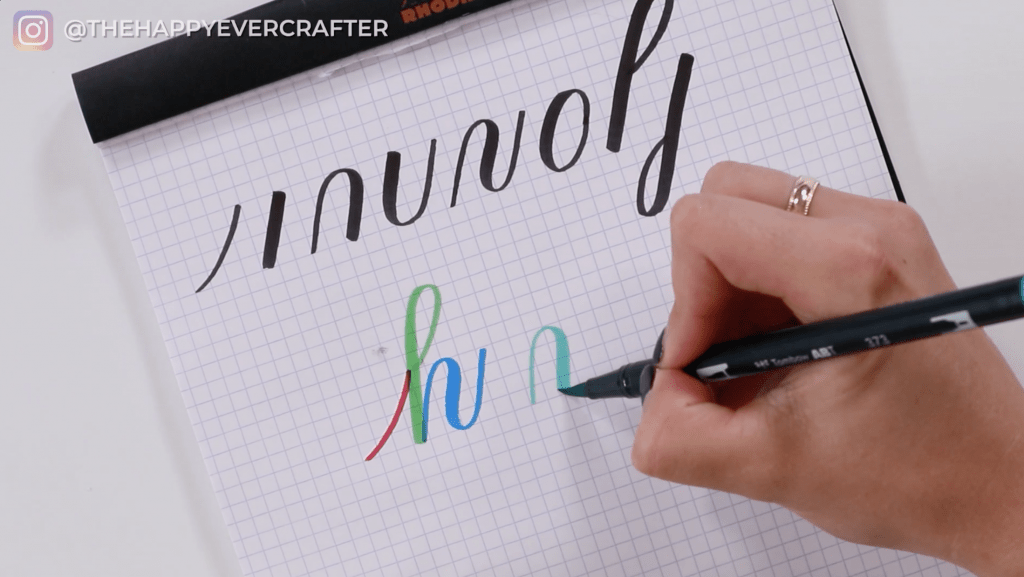
And then add that same stroke again…
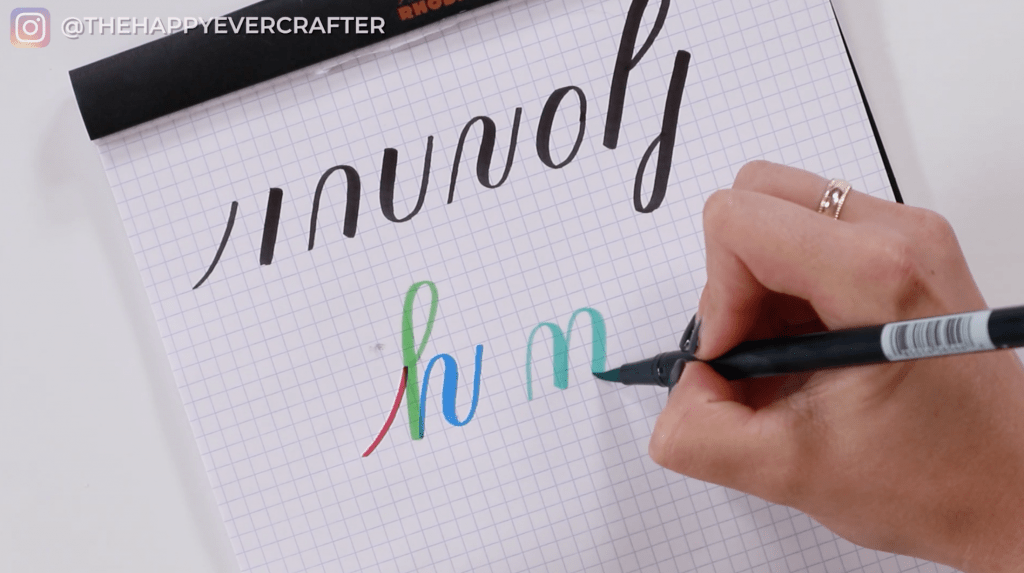
And then finally this stroke (the same final stroke you used for your h).

BOOM! You have a letter m.
And you may be sitting over there going…. okay… but what about weird letters like “r”?
And you’re right, they don’t all PERFECTLY break down into these exact strokes. Sometimes, you have to modify them a little…
The Letter “r”
Okay let’s talk about the letter “r”.
You want to start with this stroke…
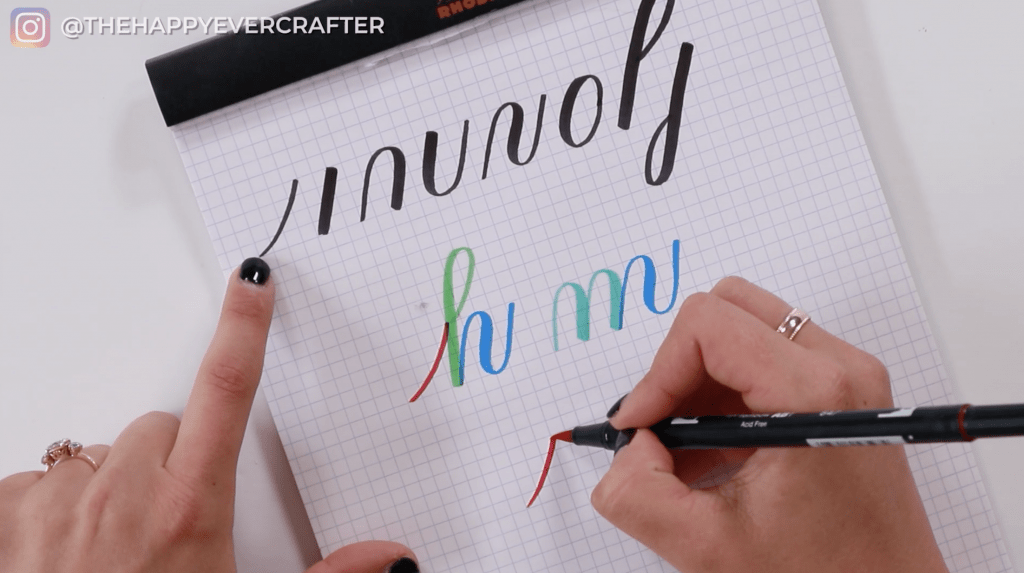
And then you’ll want to add another stroke that we haven’t talked about yet. It’s not one of the “basic strokes”. It looks like this…

And finally you’ll use one of the basic strokes to finish the letter.
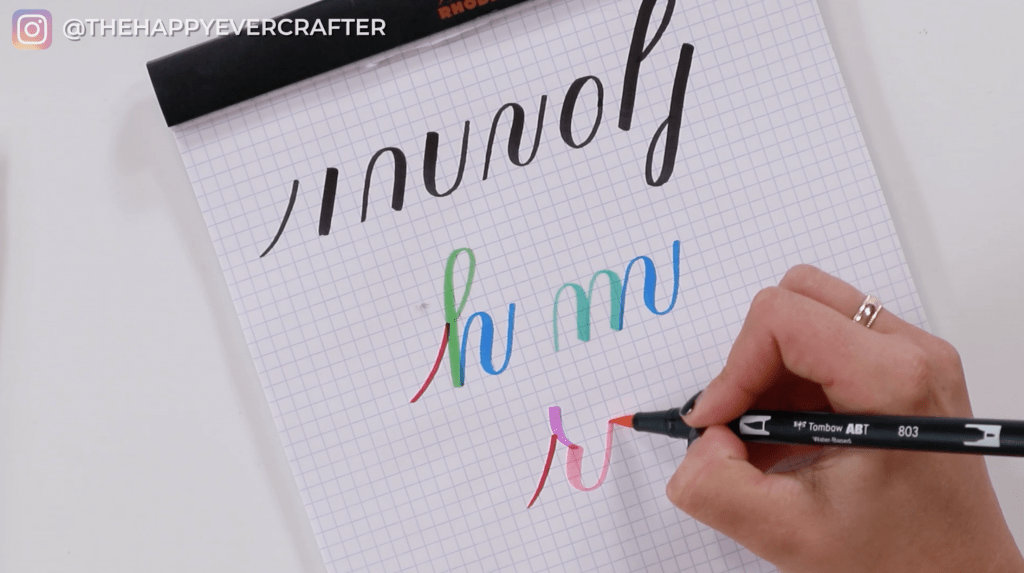
It’s modified a bit from the version I have at the top of my paper – it’s just shortened. If I extended it on my “r,” it would be the exact same stroke. The only difference is it’s started a little letter.

This happens sometimes – at times, you need to modify existing basic strokes just a little bit to make them work for your letters.
There are definitely letters of the alphabet that are trickier than others, but for the most part, these basic strokes are the backbone. And once you’ve got them, you just need to learn how to combine them properly. It’s actually pretty simple!
Is this you right now?

And That’s A Wrap!
So two quick things…
1- If you DON’T know the basic strokes, I have a full free course at www.showmeyourdrills.com. It’s totally free, and you can come join me to learn all of the basic strokes!
2- If you DO know the basic strokes and now you want to learn how to turn them into a full alphabet, I have a workbook all about how to now turn them into letters! It’s called Minuscules! It goes through the entire lowercase alphabet, page by page. And by the end of it, you’ll know exactly how to turn your strokes into all the letters you need. You can find that at www.thehappyevercrafter.com/workbooks.
There are also a bunch of other more advanced ones there too, but I suggest you start with this one. It’s the one with the green cover and is a great starting point.
And with that, I’m gonna link you next to another beginner calligraphy post you might like!
And finally, your dad joke…
Why did the monster eat a lightbulb?
He needed a light snack!

Literally today I had a wedding invitation come through the post and as I was reading it I looked at the writing and thought, overturn, descending loop, upstroke, and then thought wow it’s not just writing it’s all the strokes I have been practising. Like you say a literal lightbulb moment. Becca you have made me see this, thank you!! X