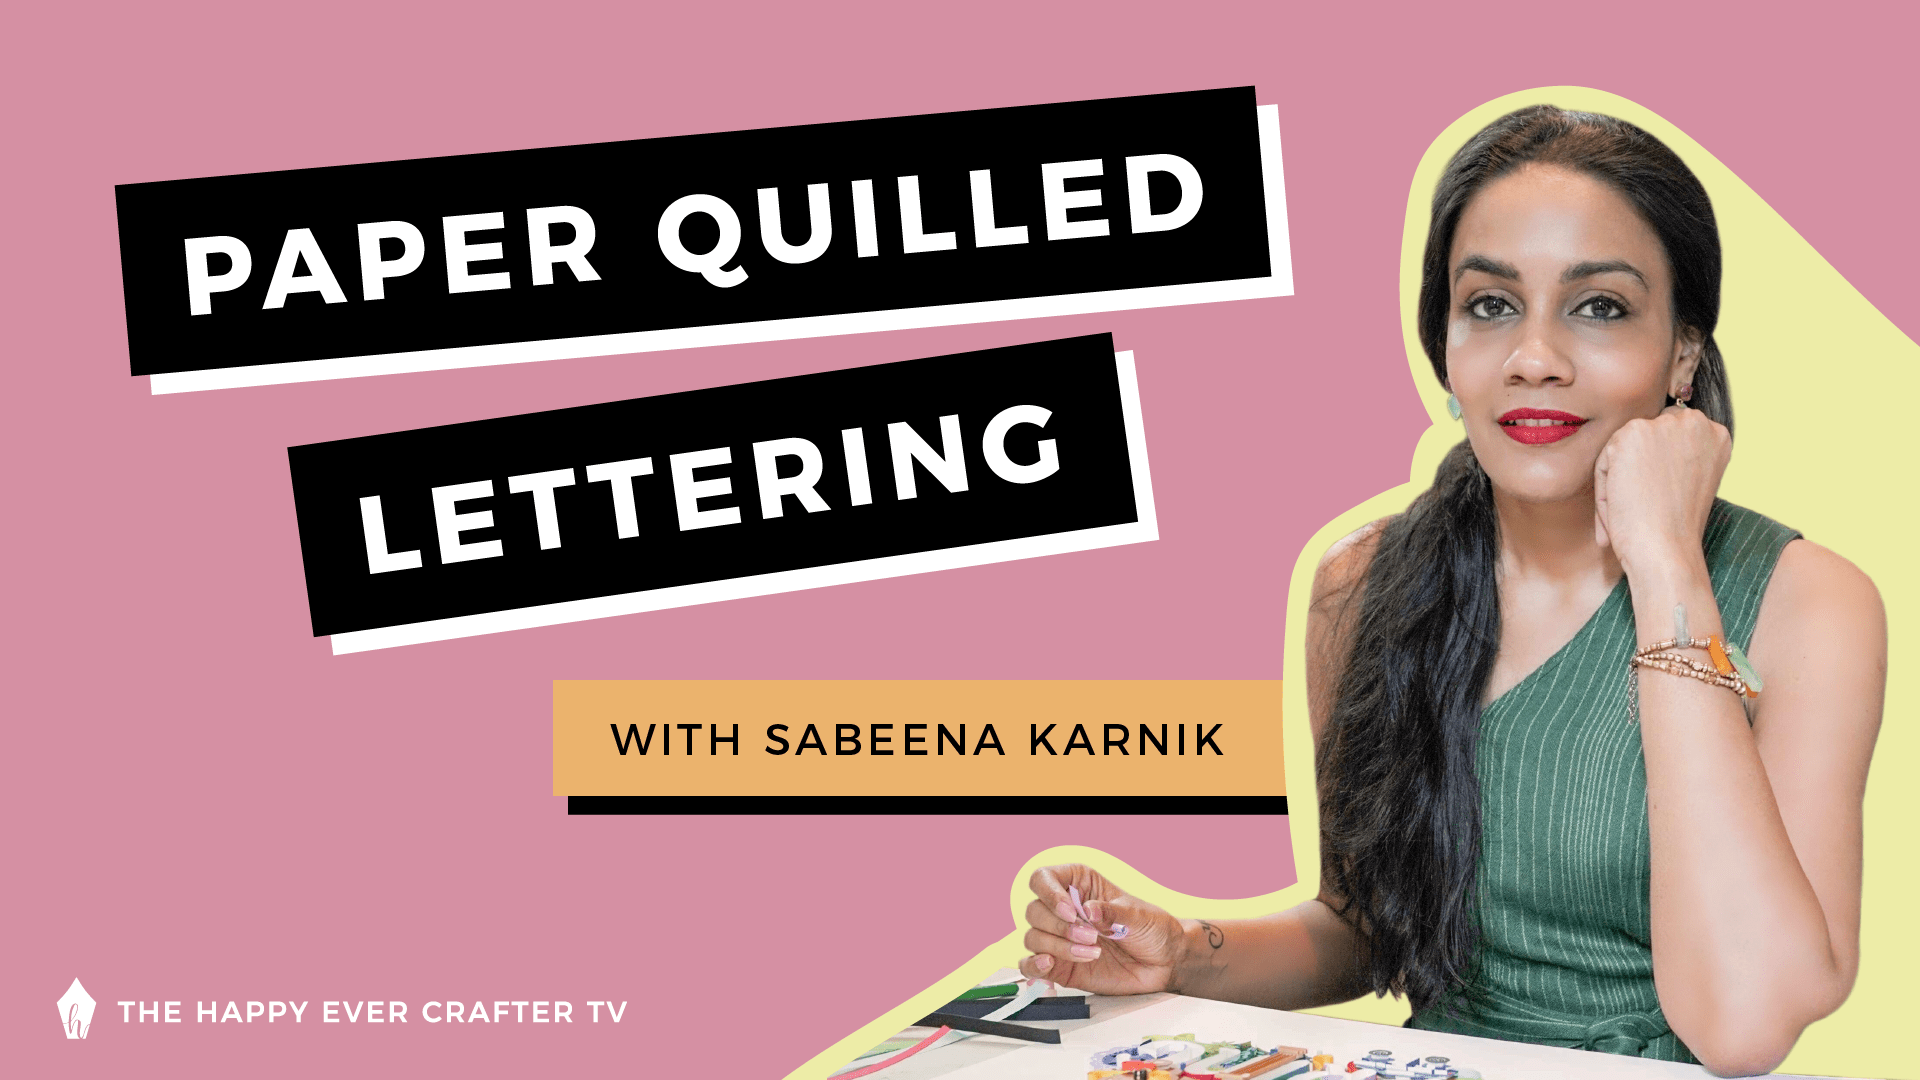
Sabeena Karnik (aka one of my FAVOURITE artists) is showing us how to get started with paper quilling.
Prefer to watch? Click below and see the artist I’ve been obsessed with for the past five years!
In this episode, you’ll learn:
- What you need to get started
- How to plan your quilling layout
- How to add a 3-D pop to your layout
- How to make easy paper flowers
- How to achieve different effects with your quill
- AND SO MUCH MORE!
Key takeaways from this lesson:
- Use a cocktail skewer to curve your paper strips using a swift motion
- Sketch your design out on paper first
- Use the quilling needle to make tight paper curls
- When applying glue, use minimal amounts – an X-Acto knife is a great tool for applying tiny dots of glue to hard to reach areas
- No matter WHAT you do with this technique, it will look cool, so be as creative and non-restrictive as you want!
Tools used in this video:
- Pencil
- Quilling Needle
- X-Acto Knife
- Cocktail Skewer
- Tweezer
- White Glue
- Cutting Mat
- Coloured Cardstock
Resources we mentioned:
- Liked the lesson? Find Sabeena on Instagram!
- Visit Sabeena on Facebook!
Like what you see? Don’t forget to comment on the video and let me know!

Comments