
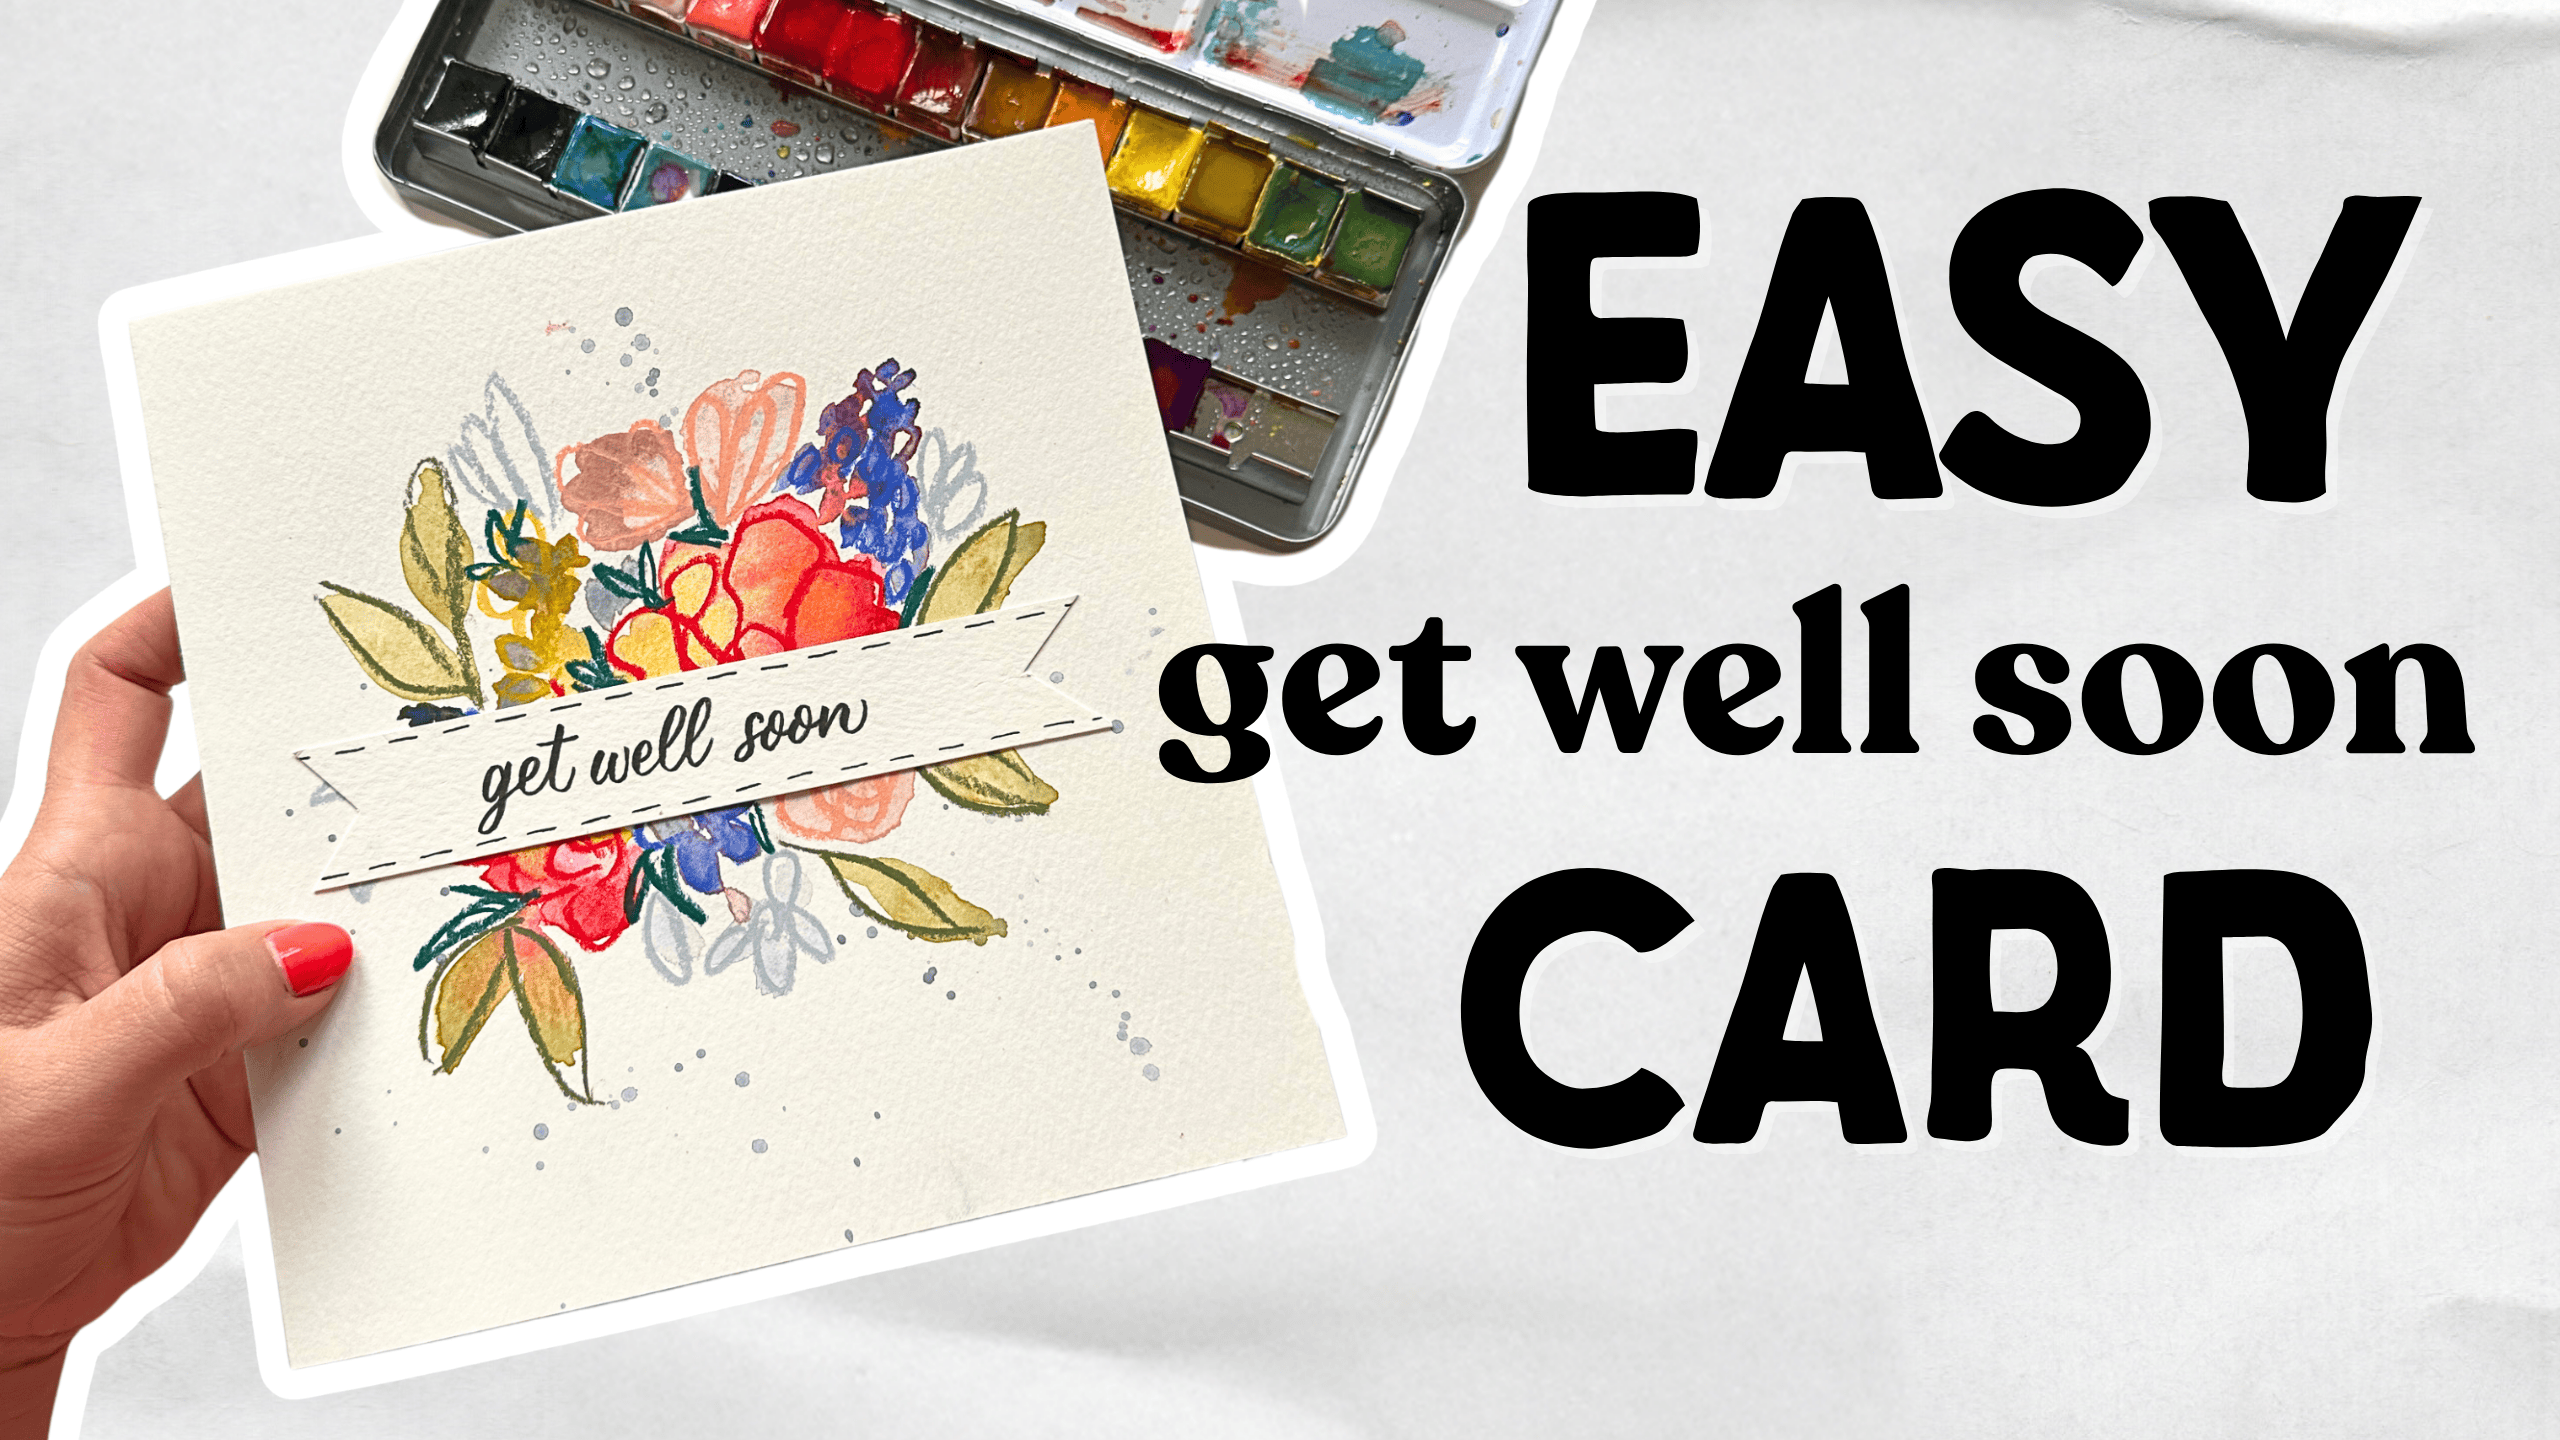
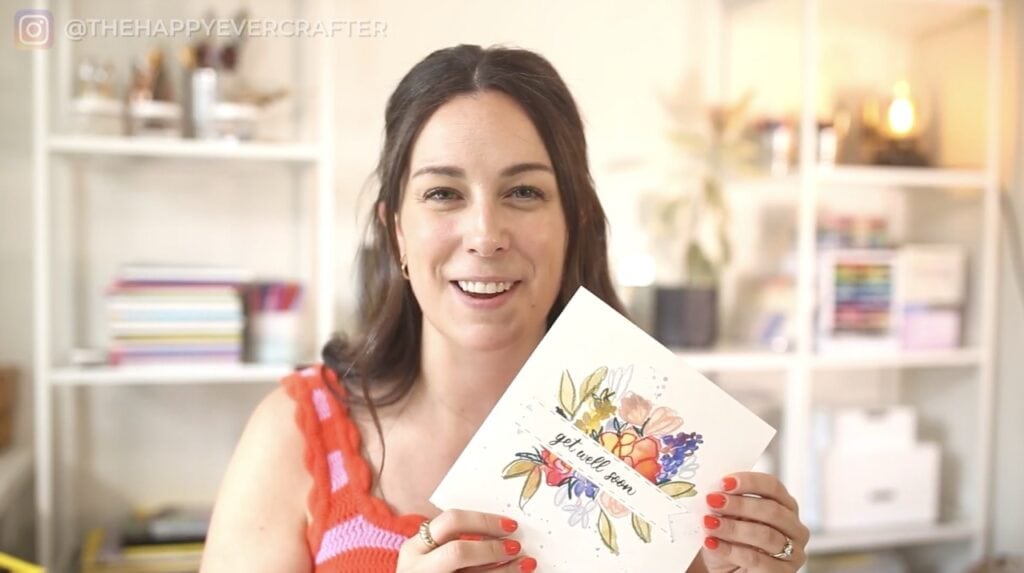
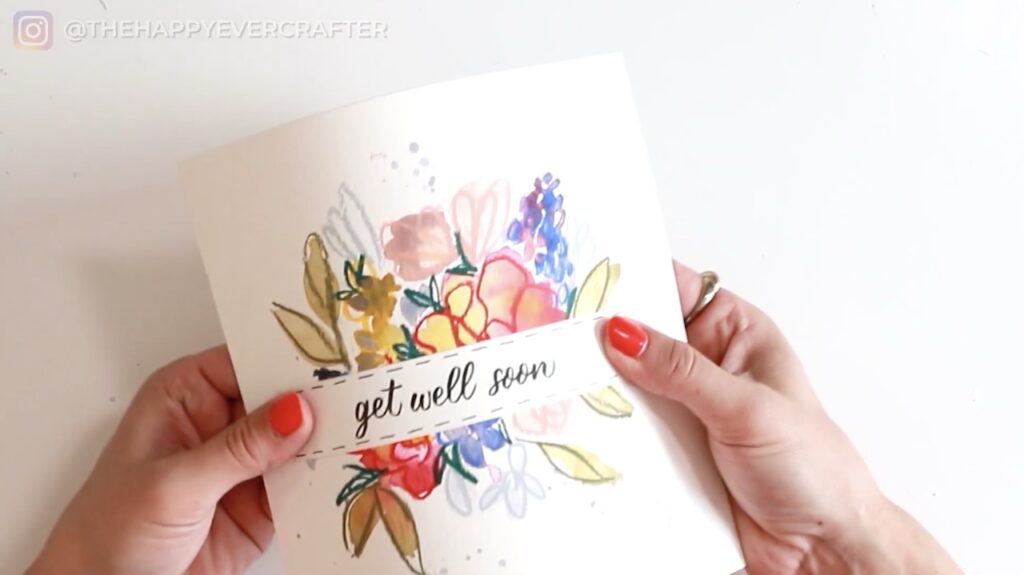
This Get Well Soon card came together in the most wonderfully chaotic way, and I think that’s part of its charm. It didn’t turn out how I’d pictured it when I started, but I’m happier with where it landed. The whole point is to stay loose, play with colour, and let the paint do what it wants to do – watercolour looks gorgeous no matter what you do.
Supplies Used
- Watercolour paper or cardstock
- Watercolour paints (I used a pan set)
- Watercolour brush
- Caran d’Ache Aquarelle Pastels (or any water-soluble coloured pencils)
- Craft paper for the card interior
- Paper trimmer or scissors
- Adhesive
- Spray bottle with water
Rather watch than read? Check out the full video by clicking the video below!
Let’s Get Started!
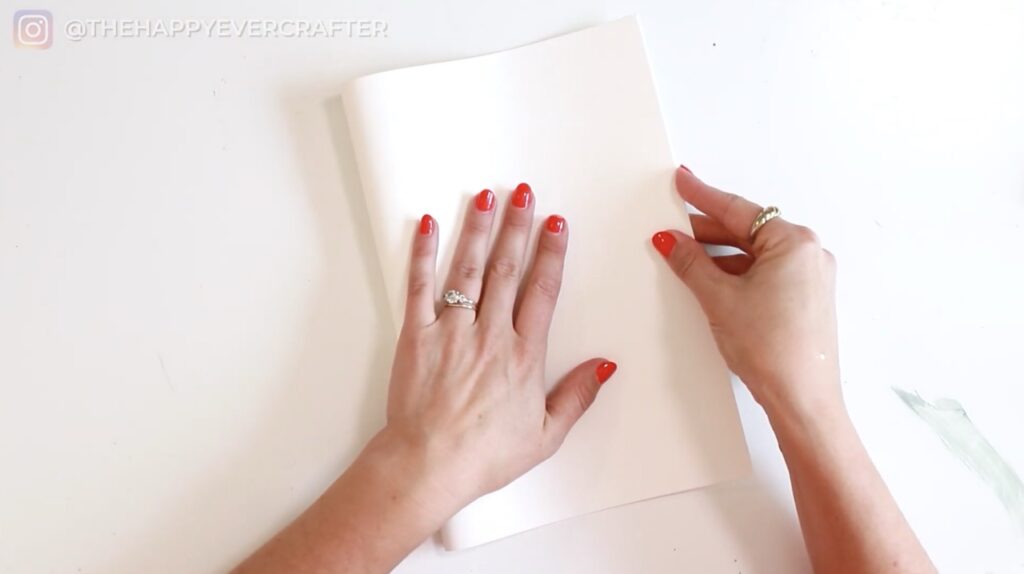
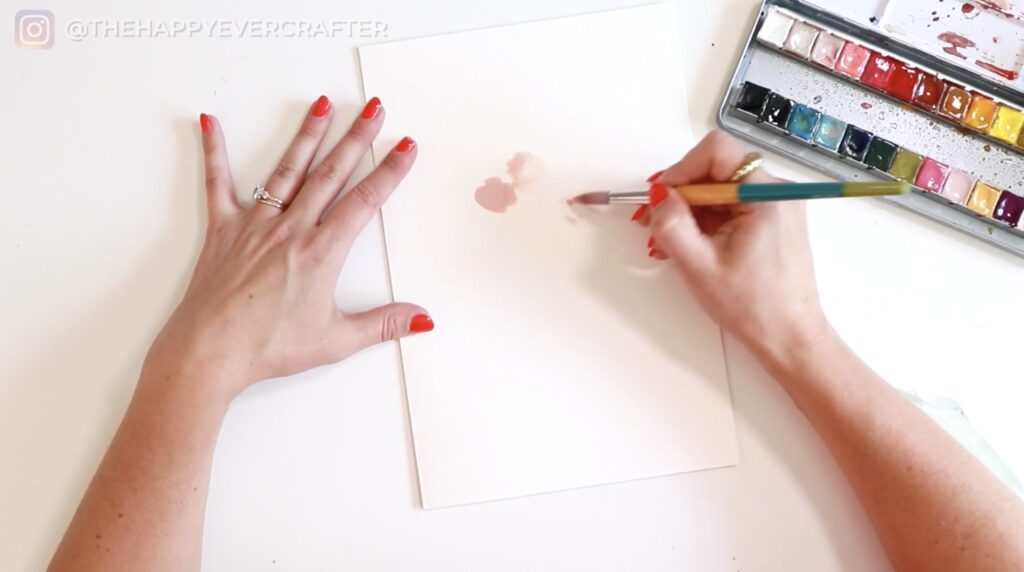
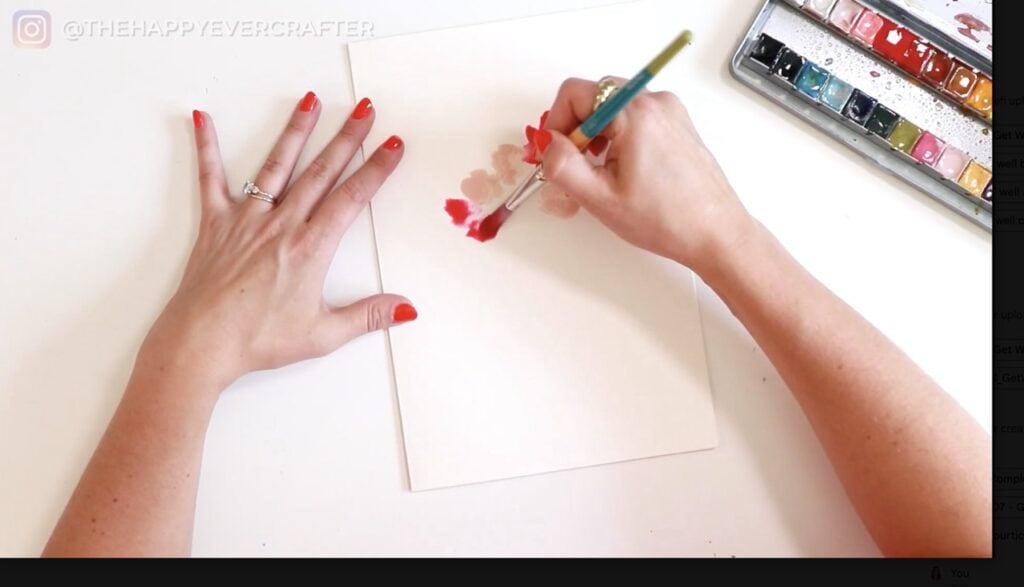
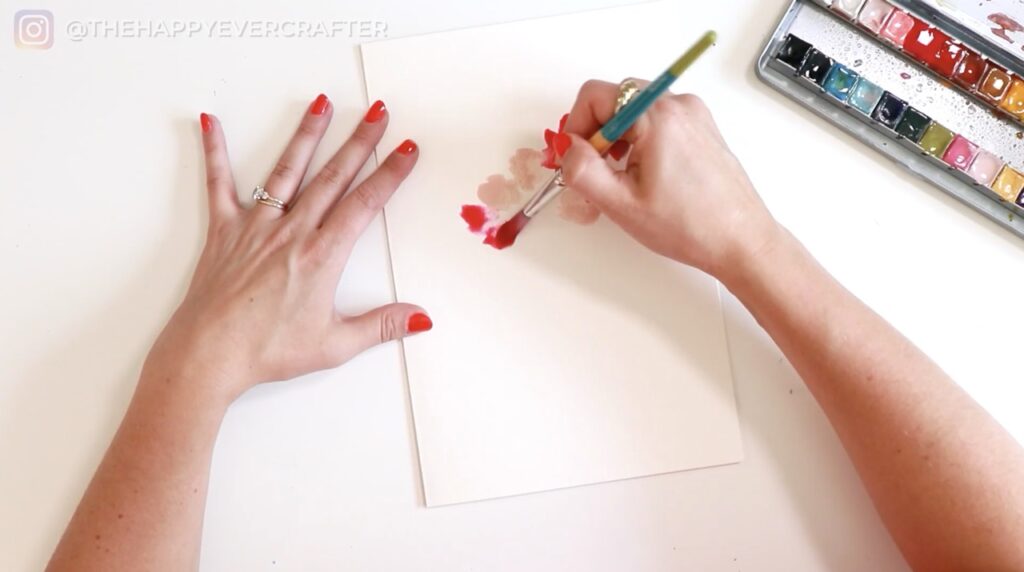
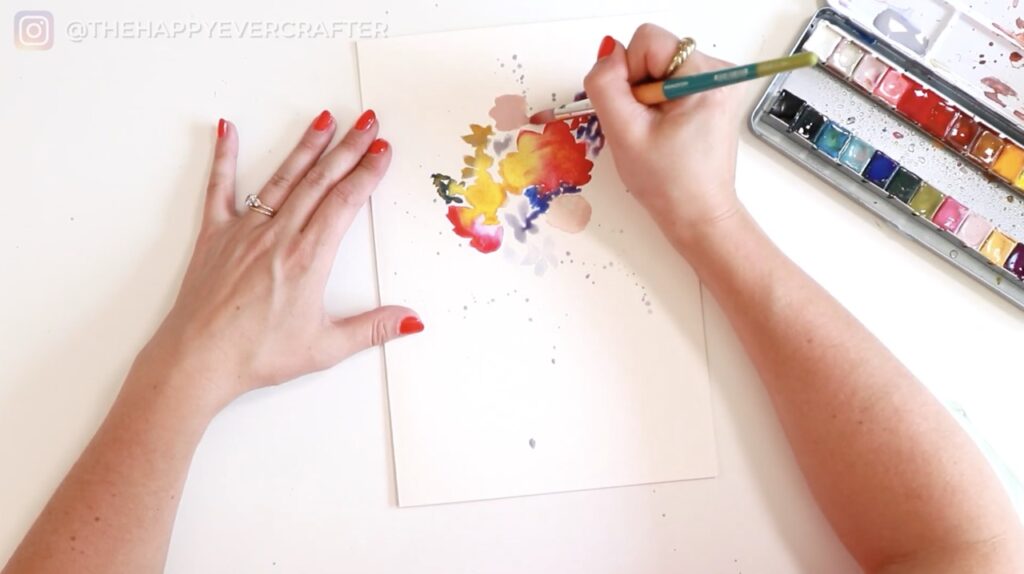
To create the card’s base, I folded the watercolour paper first, then decided I’d paint in the middle and cut the card based on whatever size the painting ended up being. After spritzing my paints with water to activate them, I wet my brush and got ready to paint a very loose bouquet of flowers. No plan here, just play.
Painting the Loose Bouquet
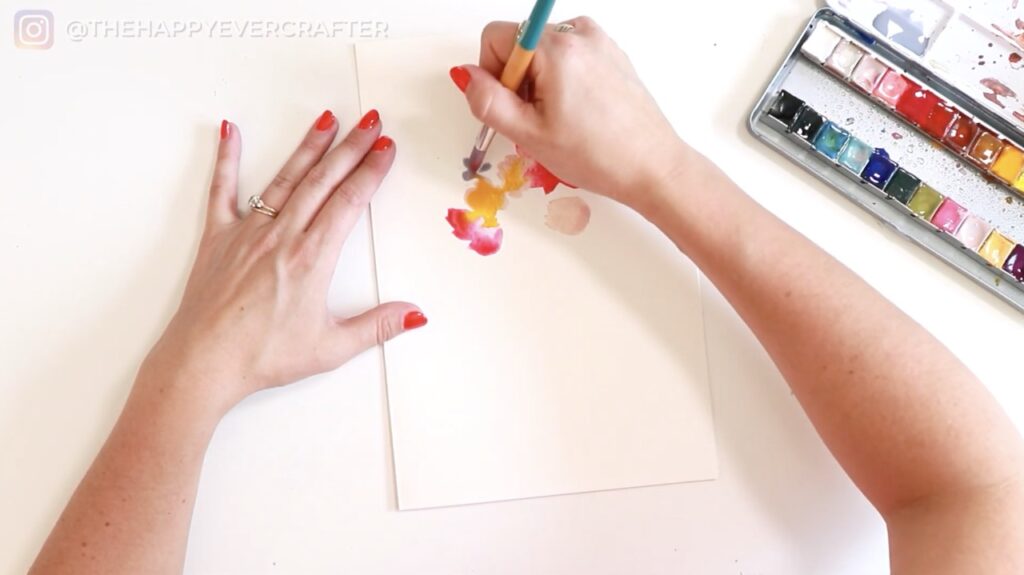
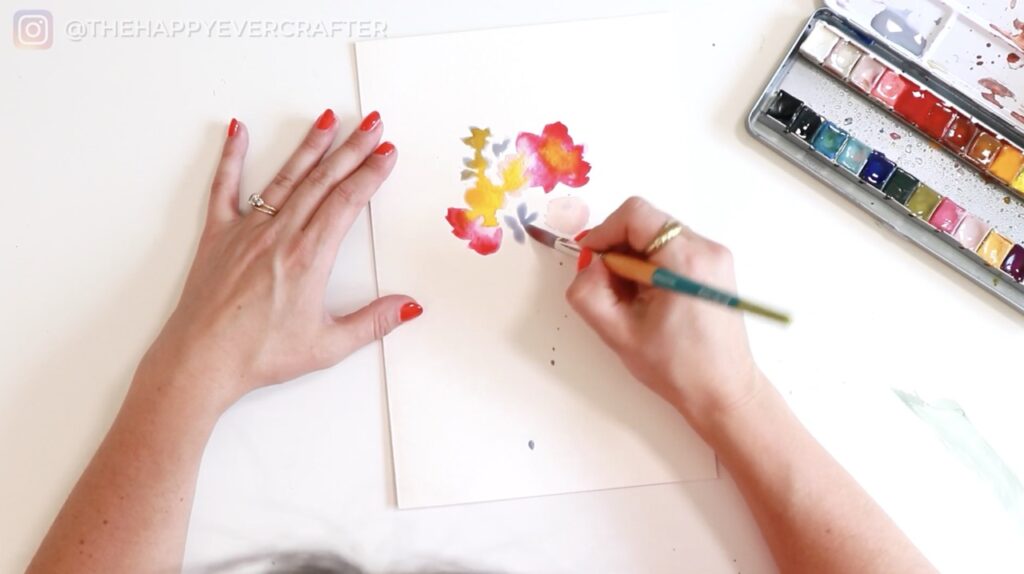
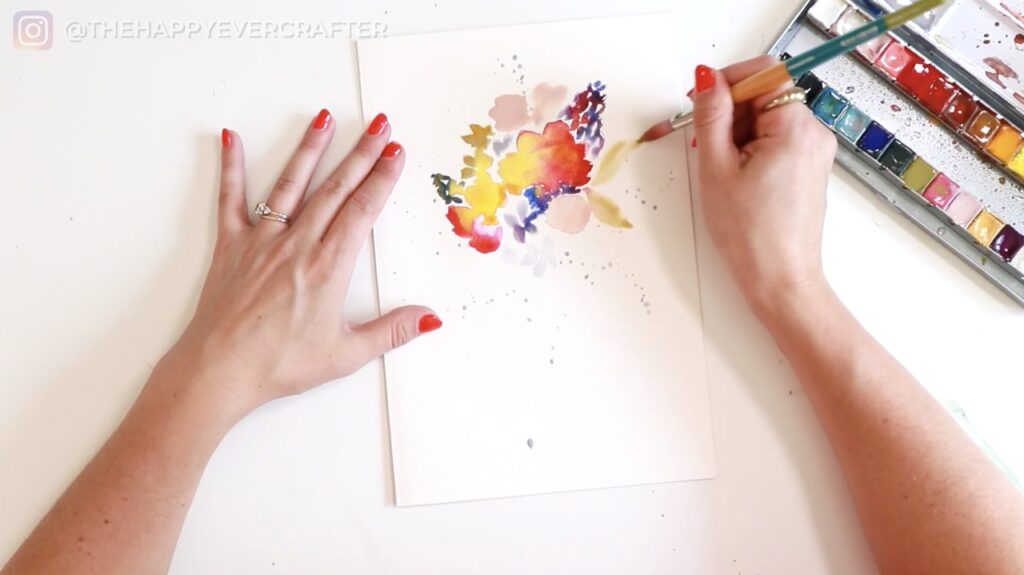
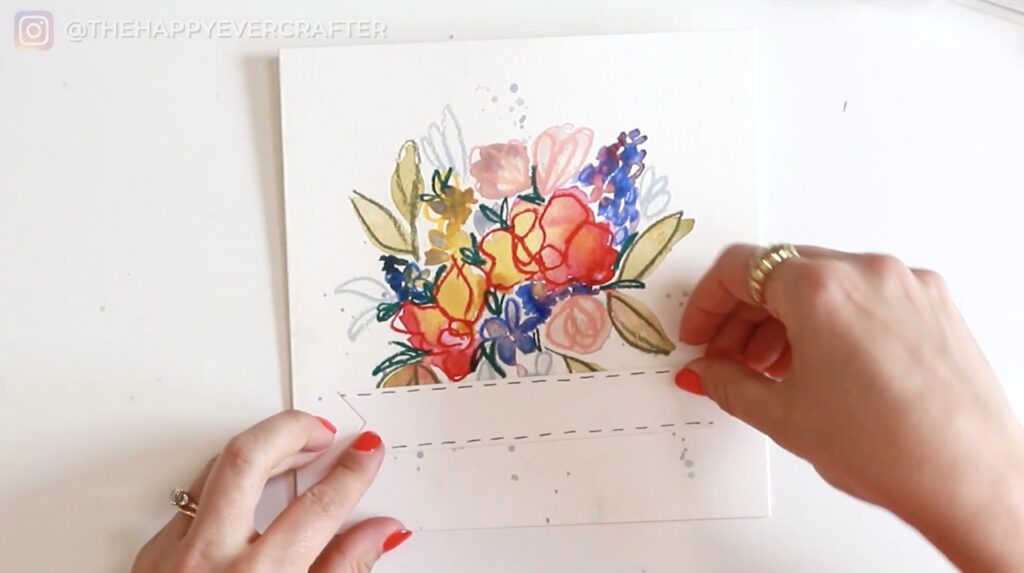
I started with light pink blooms, adding plenty of water and dabbing colour here and there. Yellow centres spread into the flowers in unexpected ways, but that was going to be fine. Then came little blue flowers scattered around, and an accidental splatter that I turned intentional by adding more.
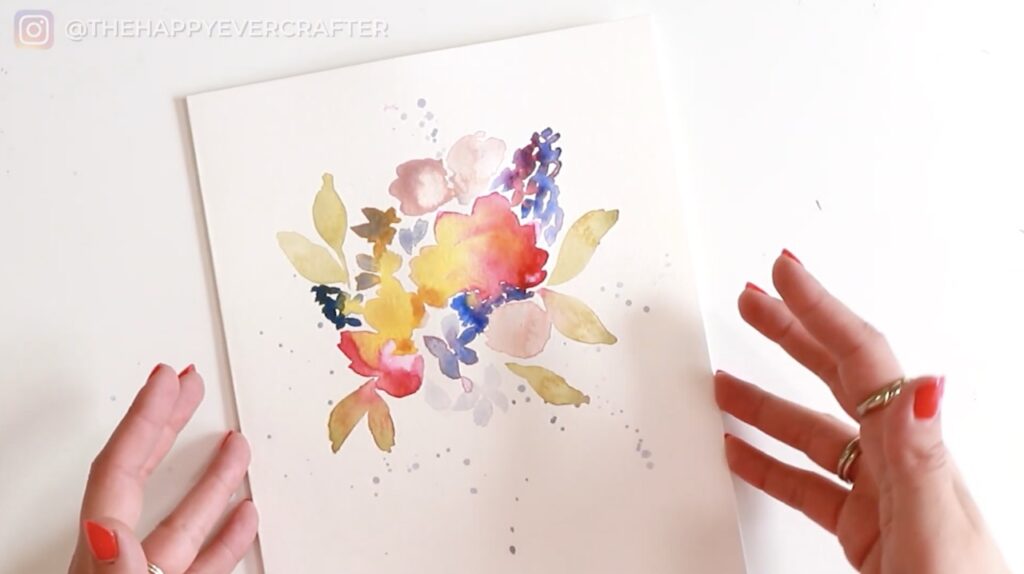
I threw in some foxglove-ish shapes at the top and tried adding ochre for flower centres, but it disappeared into the wet paint. Probably should have waited for things to dry first, but patience isn’t my strong suit. The colours bled and blended, and I just kept rolling with it, adding layers without overthinking.
The Big Card Problem (That Became a Solution)
Once everything dried, I realized the painting was way too big for a standard card. But then I remembered – this needed to be signed by a big group. So I leaned into it and cut the paper to create a large square card. It’s pretty big, but it actually works perfectly.
Adding Texture with Aquarelle Pencils
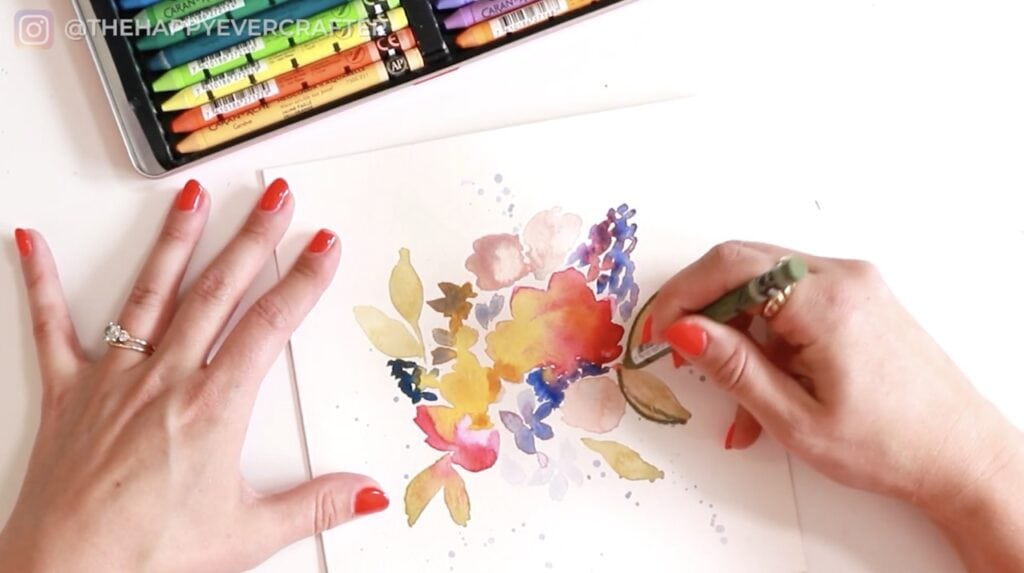
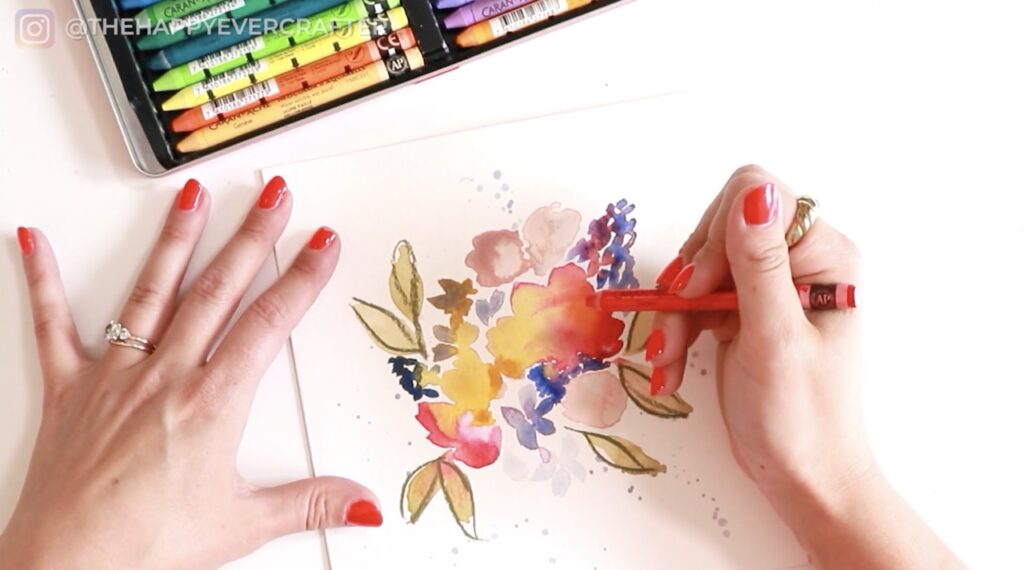
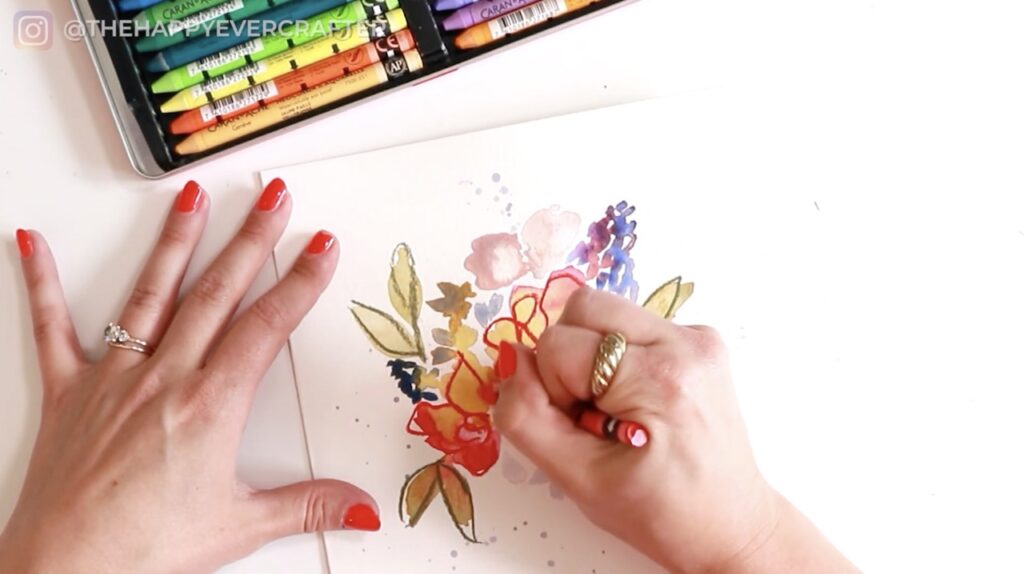
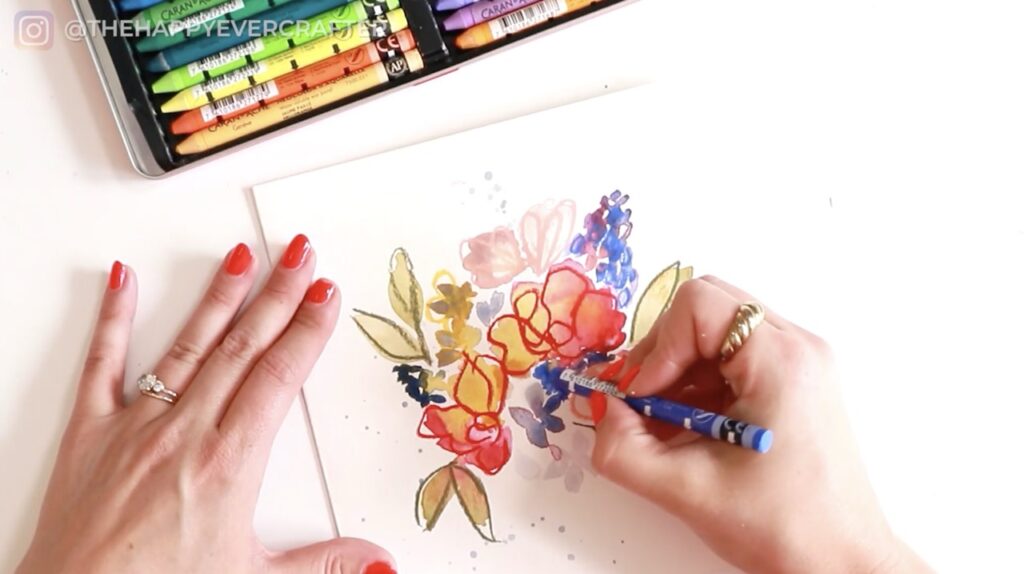
To bring back some of the bright pinks that had gotten lost in all the wet blending, I grabbed my Neocolor Aquarelle pencils. I loosely doodled a flower shape on top of the dried watercolour and added yellow dots where I’d wanted flower centres. Does it make that much sense as a flower? Not really. Is that fine? Absolutely. It ended up looking a bit messy and funky, and I was completely okay with that.
Finishing Touches
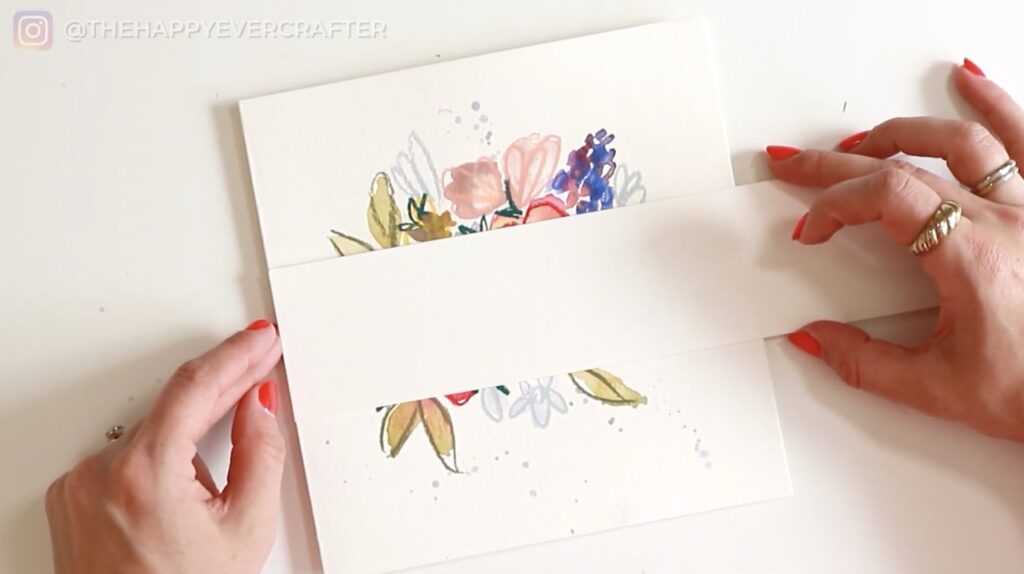
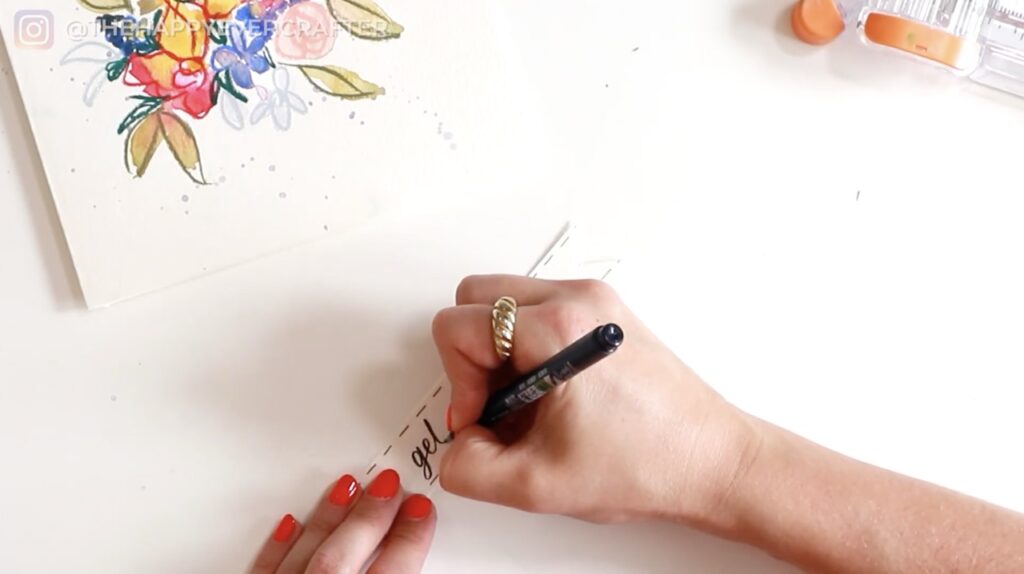
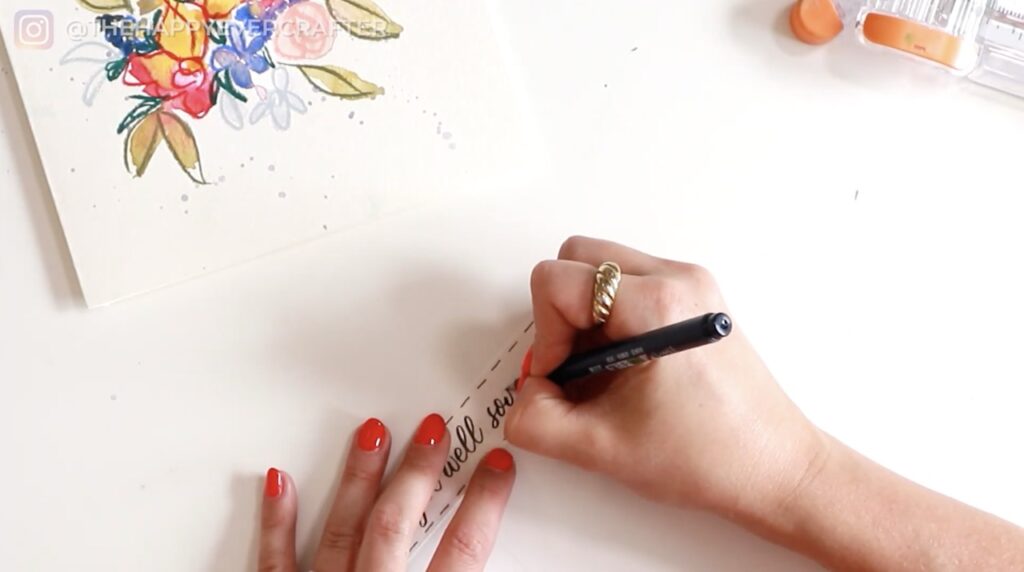
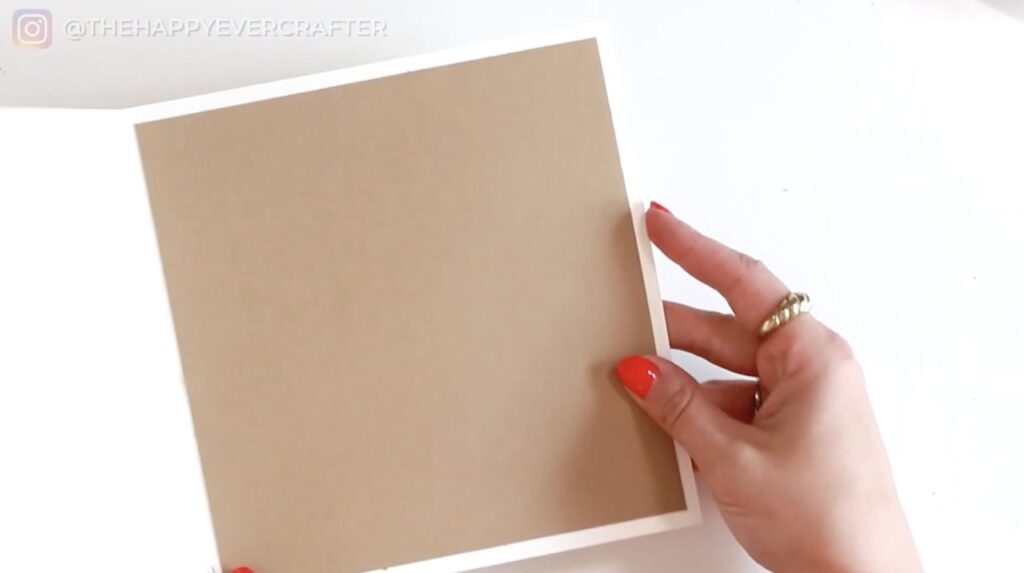
For the “Get Well Soon” greeting, I made a little banner piece that felt balanced with all those loose blooms. The inside of a watercolour card can feel very blank, so I added craft paper where everyone could write their messages.
That’s a Wrap!
This card turned out a little chaotic, but that’s part of what makes it special. When you stop trying to control every detail and just let things unfold, you often end up with something more interesting than what you’d planned. There’s real magic in something made by hand, especially when it’s headed to someone who needs a little brightness in their day.
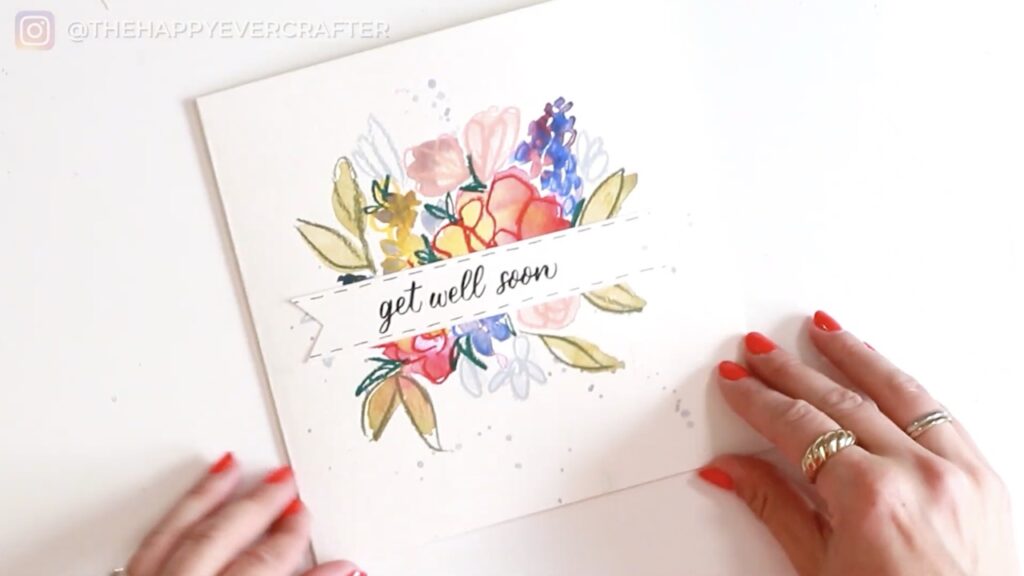
Looking for more card ideas? Check out this one!
And finally, your dad joke…
Time flies like arrows…
Fruit flies like bananas… 🍌


Comments