
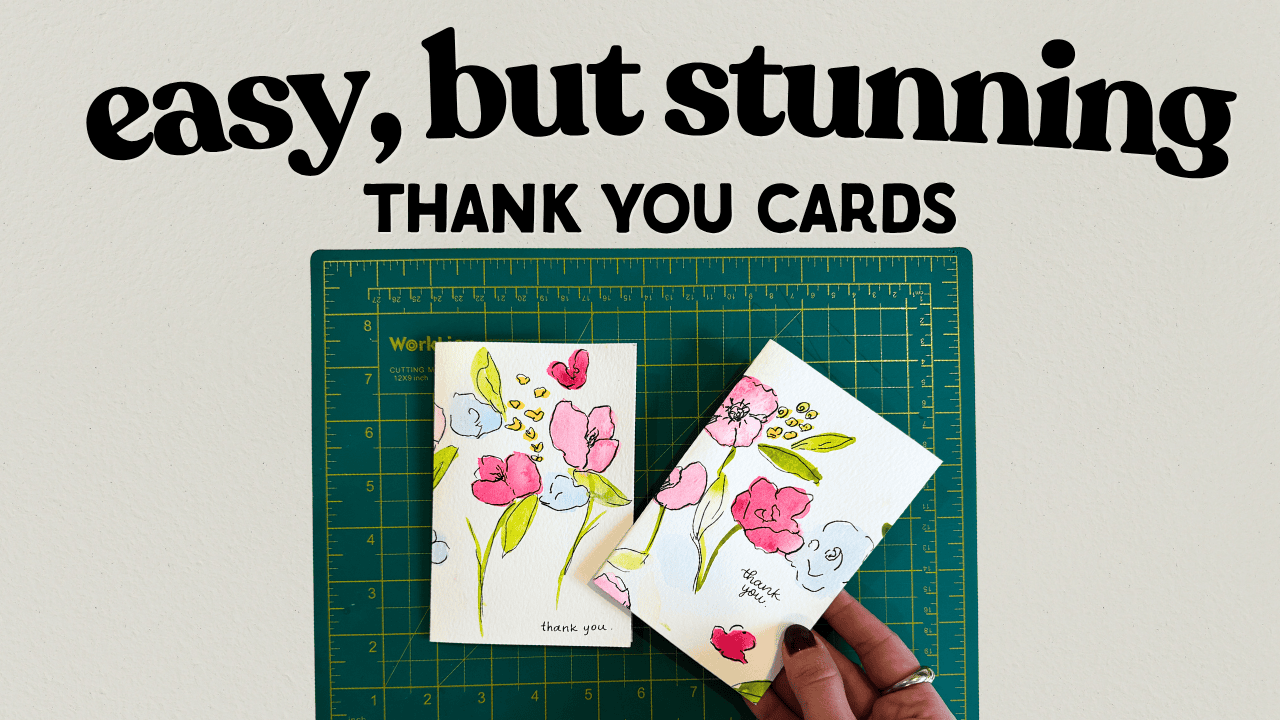
I needed to make thank you cards and had just received this all-in-one watercolour set from Grabie to try. Perfect timing. Zero plan, just watercolour paper and a willingness to experiment.
If you’ve been here a while, you know I’m not a technical watercolour artist – I just like to play. So let’s see what happens when someone like me opens a kit like this and just goes for it.
Supplies Used
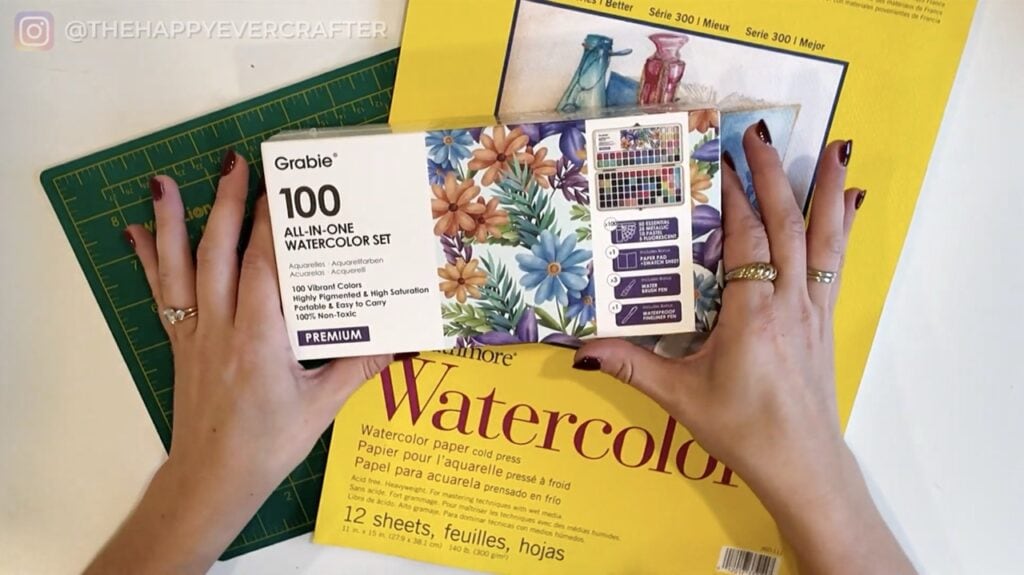
- Strathmore watercolour paper
- Grabie all-in-one watercolour set (or any watercolour pan and brushes)
- Water
- Fine liner or brush pen
- Ruler and cutting tool
Rather watch than read? Check out the full video by clicking the video below!
Let’s Get Started!
The Grabie kit comes in a cute tin with paper, water brushes, a colour pan (sparkly colours on top, regular on bottom), and a size 3 fine liner. I used my own Strathmore paper since I wanted to fold cards in half and the kit paper was too small.
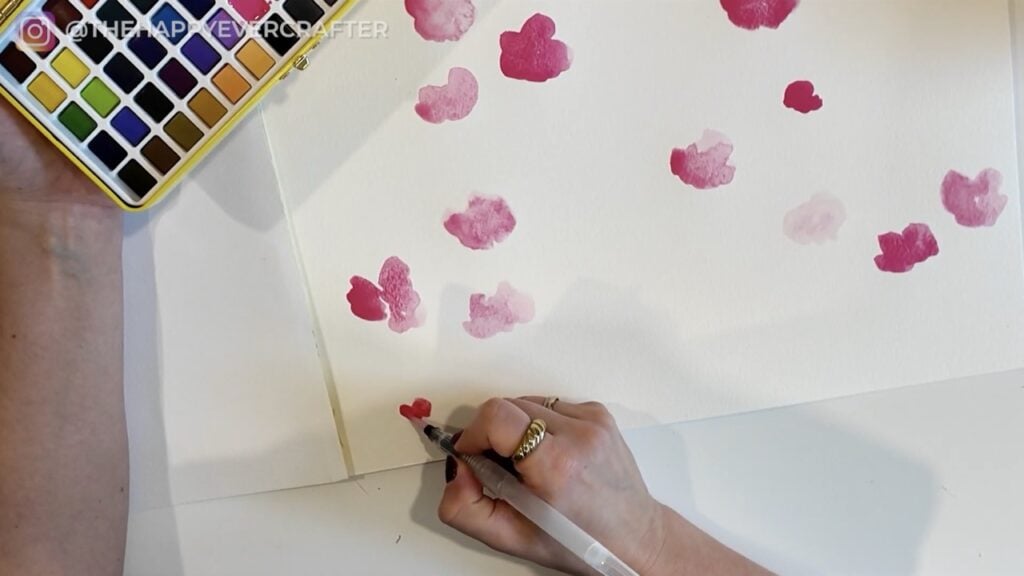
Making the Watercolour Blobs
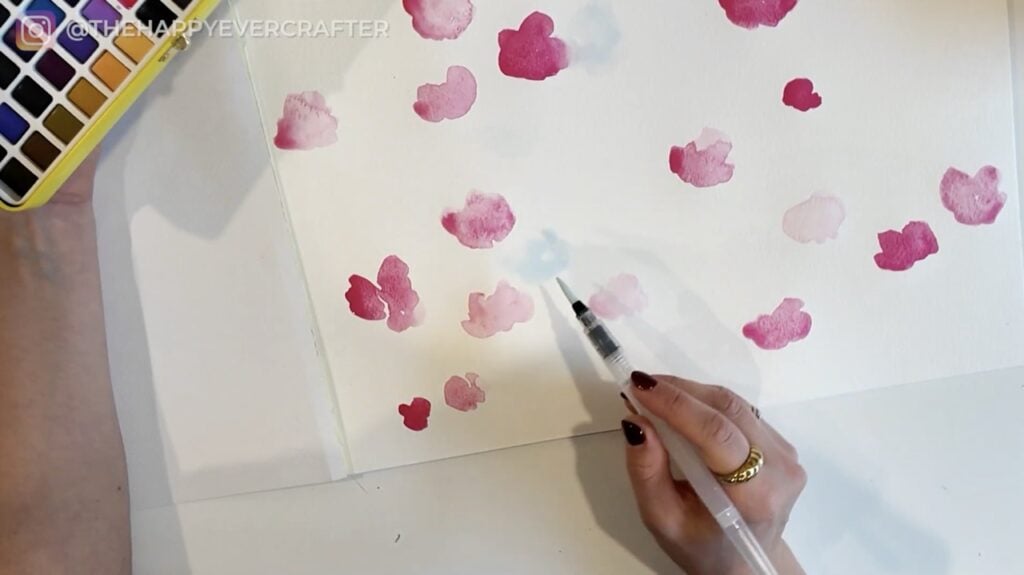
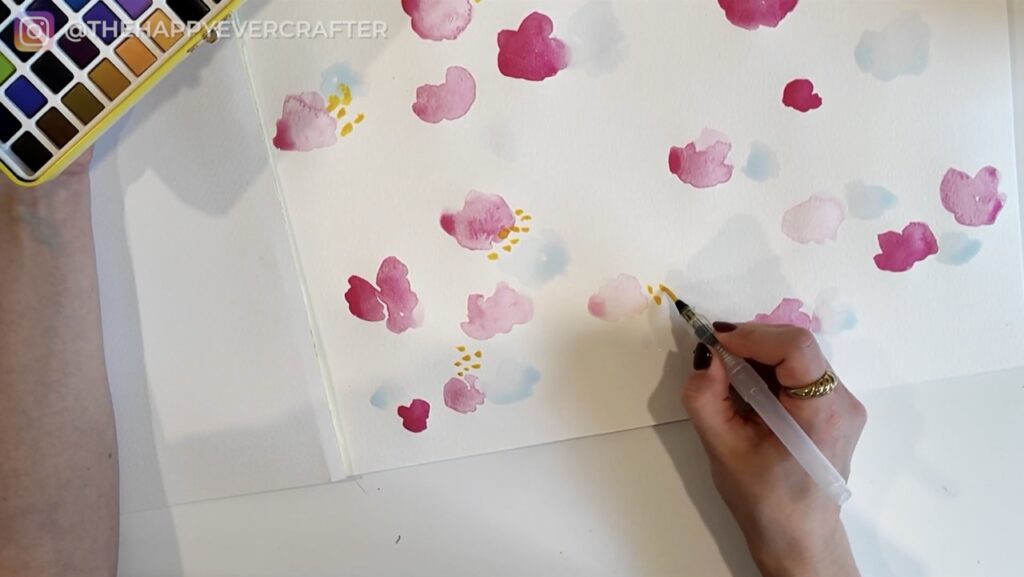
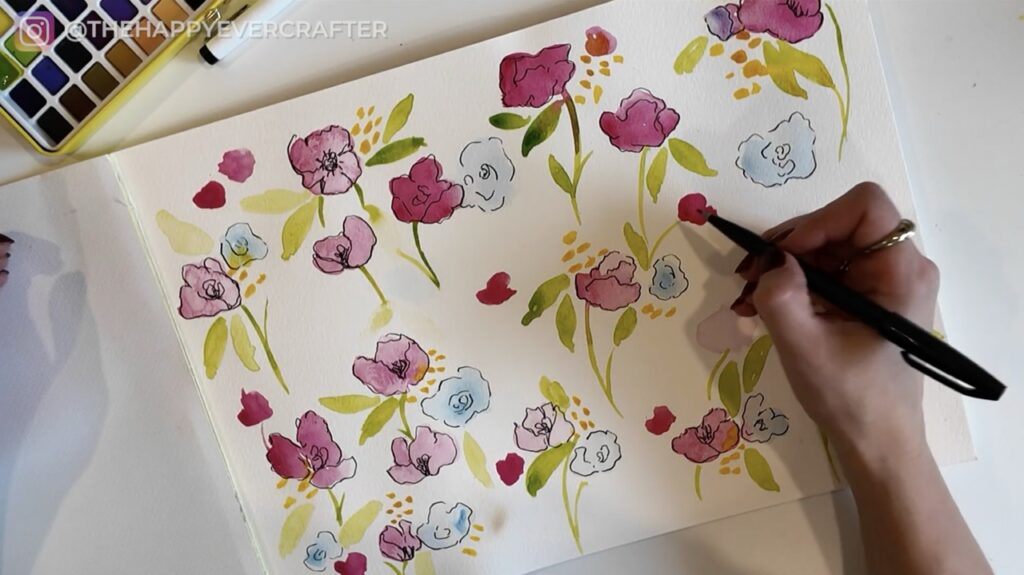
I picked blues, pinks, and greens, skipping the sparkly row. Then I just started making blobs on the page – some light, some dark, some barely visible, others saturated. No plan, just water and paint meeting paper. If you feel intimidated by watercolour, I hope this helps, because I’m literally just scribbling.
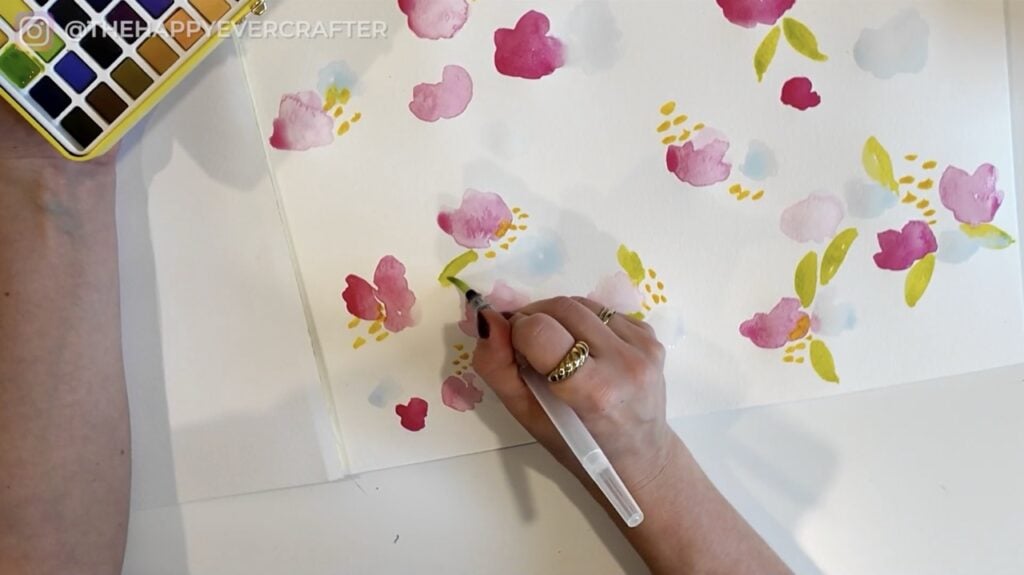
I started with pink, then added a really light blue that bled together in a soft, cloud-like way. Next came tiny clusters of ochre-yellow dots with a smaller brush (wasn’t loving the colour, but I kept going). Finally, bright green leaves and random stems. The colours bled and blended as they dried.
Here’s the thing – you don’t have to know what you’re doing. Just toss colours in and trust you’ll figure it out later. I call this the “future me problem” approach. What’s the worst that happens? You chop it up into smaller bits. You’re not seeing all these blobs together in the end anyway, so why overthink it?
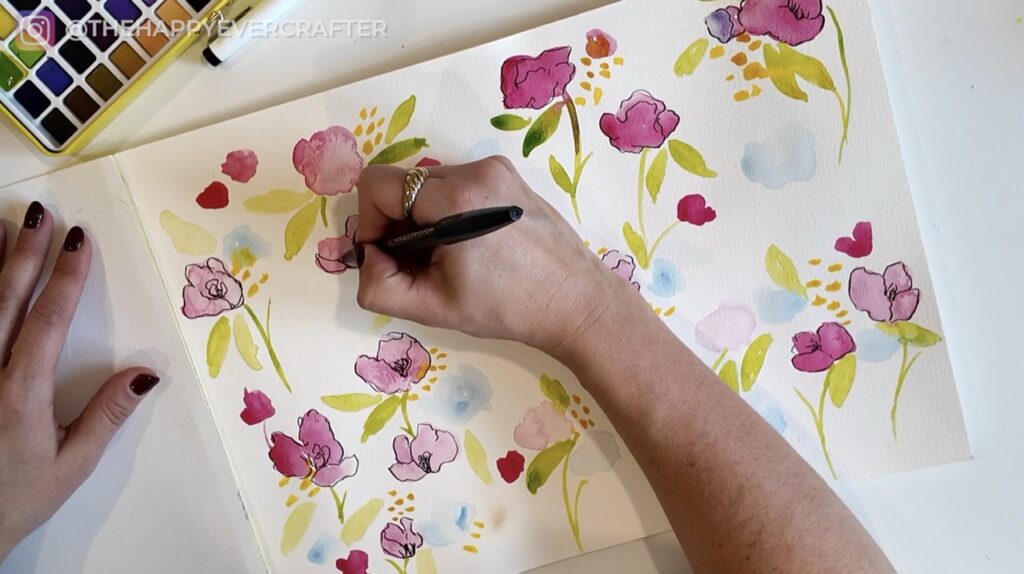
Adding Details
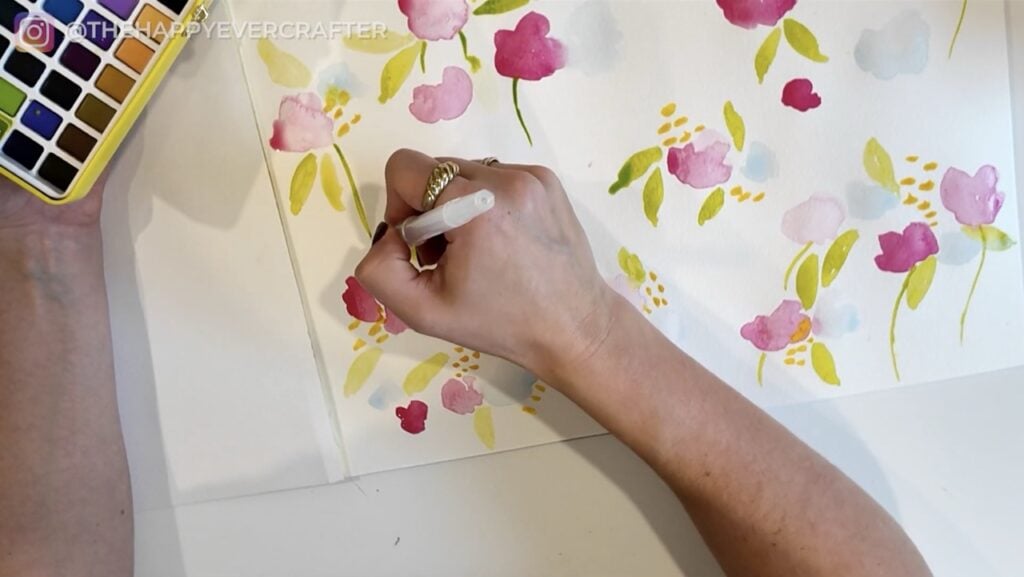
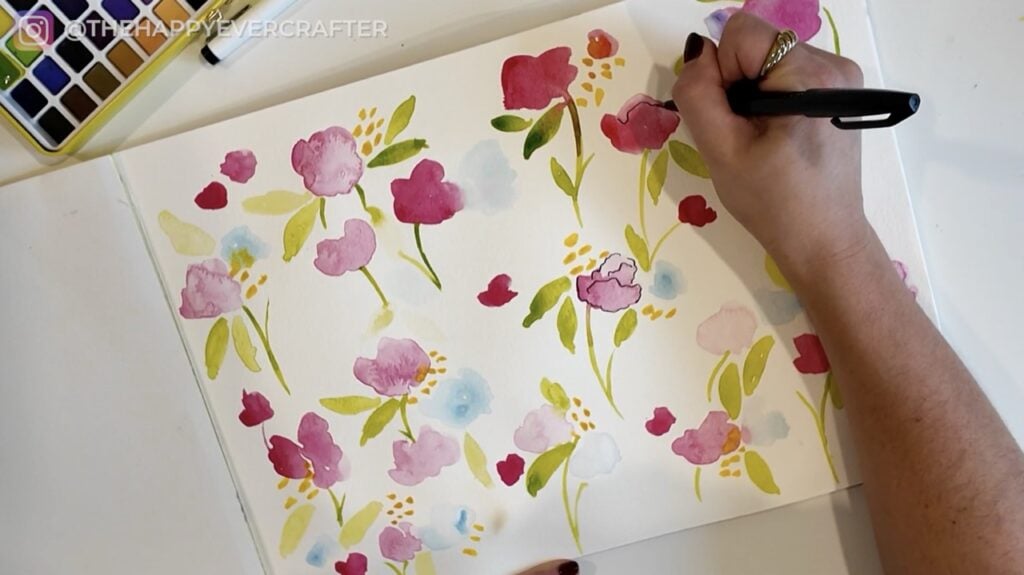
Once mostly dry (I was impatient), I grabbed a brush pen to add definition. I followed the watercolour shapes loosely, giving them jagged petals and scribbly outlines. Just enough to suggest petals, nothing fancy. I worked fast on purpose so I wouldn’t overthink.
The blue flowers got slightly less definition than the pink ones. The yellow dots got spirals, though I scrapped the first couple and just scribbled. I love when the ink line sits just outside the watercolour – it adds satisfying contrast.

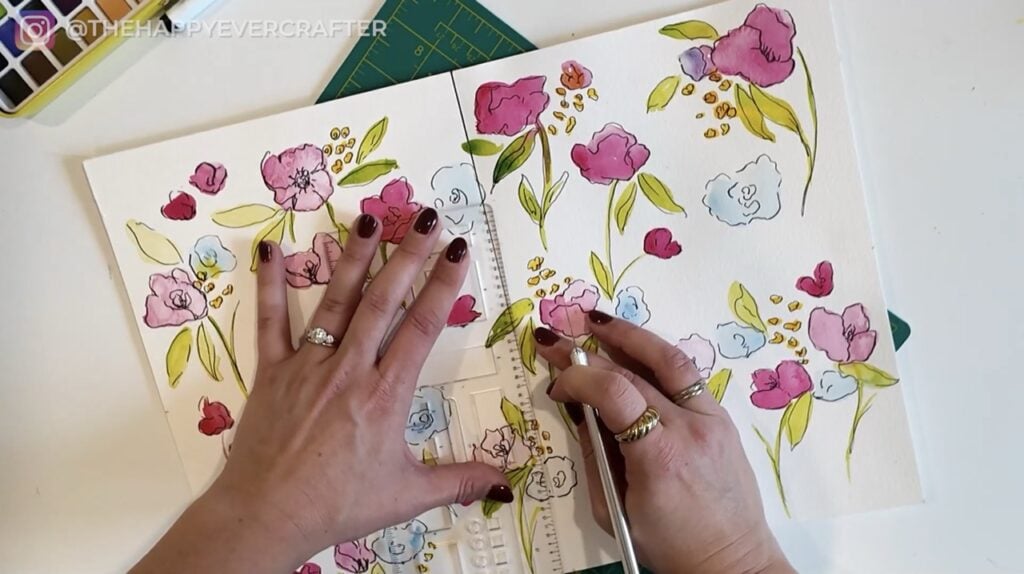
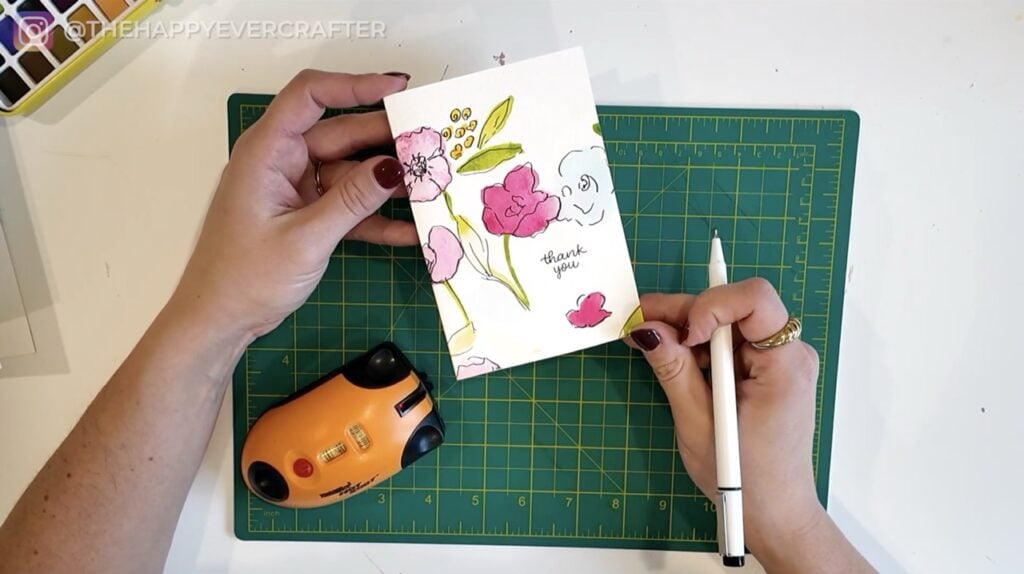
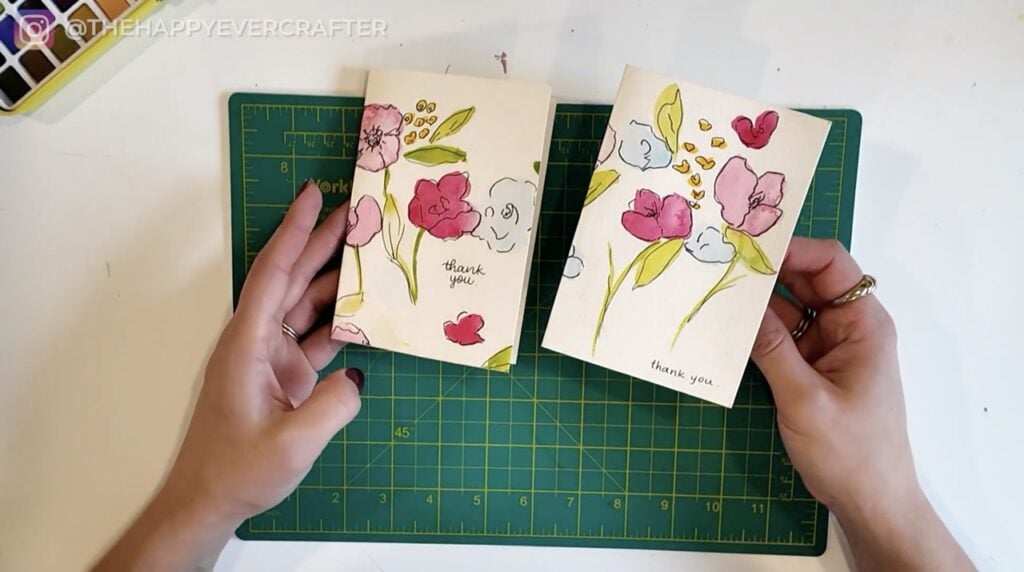
Cutting and Finishing
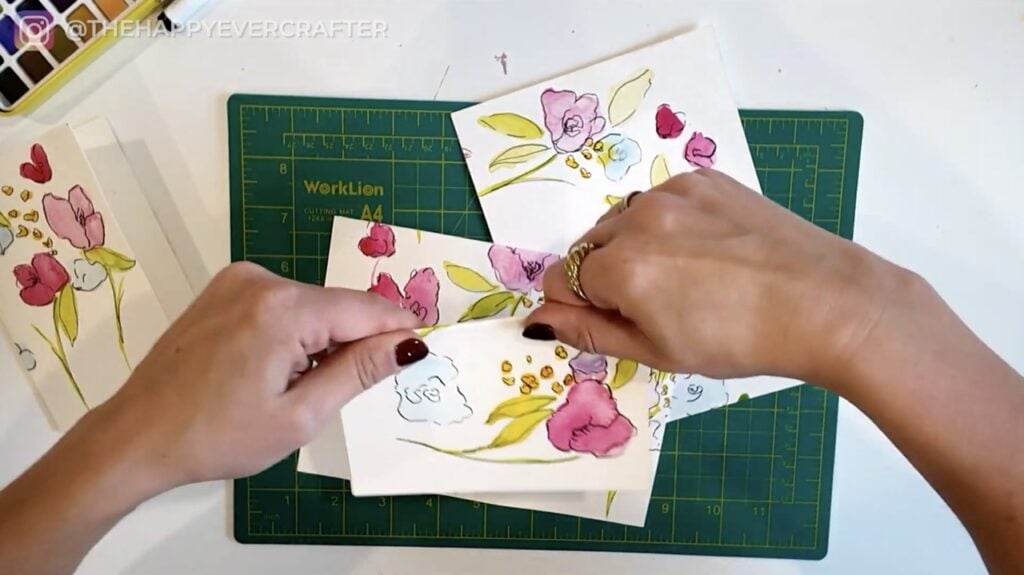
I measured halfway down, cut the paper into four pieces with a ruler and exacto knife, then folded them into cards. Each one turned out slightly different, which I love.
I wrote “thank you” on two cards using Grabie’s fine liner, finding little blank spots on the front. The bonus? I only needed two, so I saved the other two blank for future cards.

That’s a Wrap – Quick Review
This wasn’t sponsored, but Grabie did send me the set. Honest review? I liked it. The water brushes were surprisingly pleasant (I’m usually picky), the colours were vibrant, and the kit felt approachable for someone who just wants to play.
I had no vision when I started, and it turned out way cuter than expected. What’s your go-to for quick handmade cards?
Looking for more card tutorials? Check out this one!
And finally, your dad joke…
Fireworks have been really popular this year.
Sales have skyrocketed.


Comments