
One of the questions I get asked most often from people who’ve recently learned calligraphy or lettering is: “How do I do my lettering without guidelines??”
The answer is…. You don’t. EVER.
Let me explain.
First Things First…
The links below may be affiliate links where appropriate. This means that your purchase through these links may result in a few cents in payment to me, to support creating further resources like this one! That being said, I will never suggest supplies that I do not personally use and fully recommend.
Supplies Used
- Rhodia Paper
- Tombow Fudenosuke Brush Pen
- Laser Level
Rather watch than read? Check out the video by clicking the video below!
What you need to know…
When you’re practicing, it’s a no brainer to use paper with guidelines, like Rhodia paper, or putting tracing paper overtop of a workbook. (If you’ve ever been confused about paper for calligraphy, go check this out).
BUT, once you start doing calligraphy projects and you want them to be pretty and not show guidelines, what do you do?
You don’t ever just go rogue and don’t use guidelines. A lot of people think that they’re just supposed to get good enough at calligraphy that they don’t need them. And that’s nooooot the case.
However, there are ways around it. I have 5 options for you, to be exact.
Option 1: Use a lightbox when working with paper.

Option 2: Use a laser level
Laser levels work great for both paper and larger surfaces, like chalkboards or wood.
The main downfall is that it only shoots across one line, so you only really have a baseline to work off of (I typically recommend having a baseline and a waistline).
Overall, this isn’t ideal for big long pieces of writing or things that need to be super precise.

Option 3: Use the chalk transfer method
If you’ve written out a big calligraphy piece on a paper using guidelines to get it all perfect, you can do this to transfer it perfectly onto another surface – no measured guidelines needed!
If you’re going from paper to paper, I recommend graphite.
If you’re going from paper to another surface, I recommend chalk!

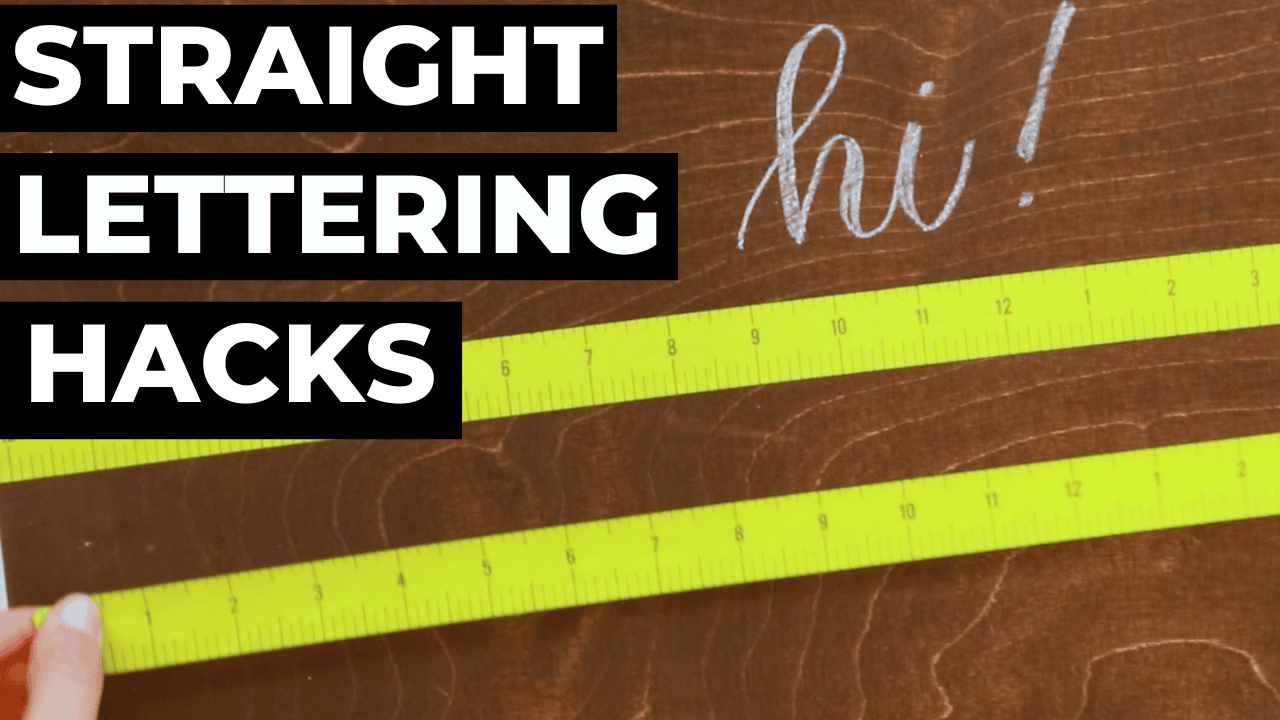
Option 4: Use tape
This option is definitely more for bigger pieces you’re writing on, like signage.

You can measure out where your guidelines should be, and then use tape as your baseline and your waistline.
Option 5: Use chalk or chalk markers to draw guidelines
For bigger signage projects, you can use chalk or chalk markers to draw your guidelines then erase it afterwards.
If you’re working on a piece of wood with a paint pen, for example, you could use chalk to draw in guidelines super lightly, then write with your paint pen, then erase off the chalk.
You could do the same on a surface like a mirror, but with a chalk marker. The marker will wipe off but the paint pen won’t.

That’s a wrap!
I’d love to see your finished cards. Tag me on Instagram at @thehappyevercrafter
So to recap, my top five options for lettering straight without guidelines are:
- Lightbox
- Laser level
- Chalk/Graphite transfer
- Tape
- Chalk/chalk marker line
All good options!
Let me know in the comments below if you’ve ever used any of these hacks, which one is your go-to, or if you do anything different that I didn’t even mention here!
In the meantime, check out this tutorial all about my favourite signage project tools! You’ll find a few of the items above on the list.
And if you want allllll my best signage tips, tricks, and hacks, check out my full signage course: Signing Up!
And finally, your dad joke…
What is the coldest type of person?
Snowmen!


Comments