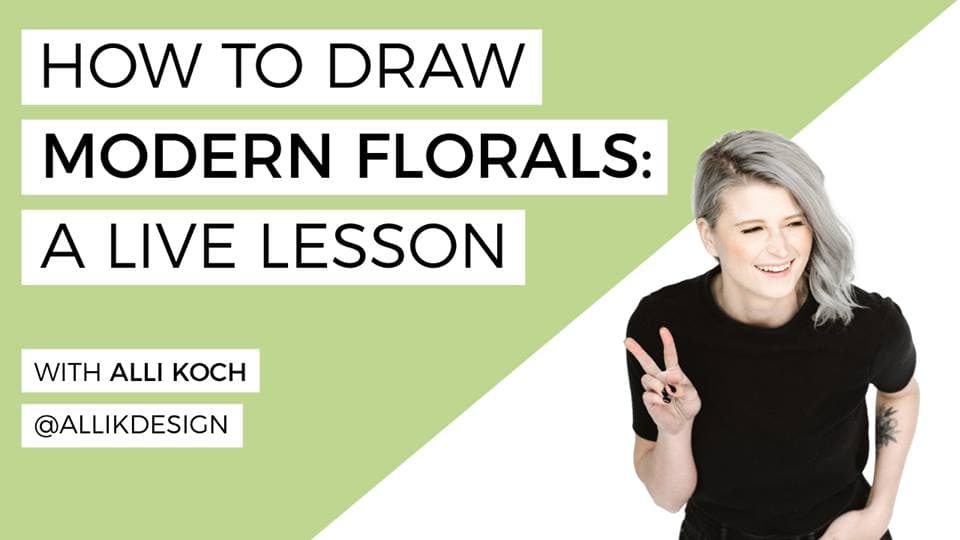
You know all those pretty modern floral illustrations you see on Instagram? The ones that everyone seems to be drawing? Well, we can all thank Alli Koch for that.
Alli is that hands and heart behind Allikdesign out of Dallas, Texas and the author of How to Draw Modern Florals, a widely known (and beautifully made) book on how to draw florals, cacti and more. As though that wasn’t cool enough, she also co-hosts a weekly mentoring podcast with her dad and paints some pretty sick murals. If you want to take a look for yourself (you do) you can check out her work on Instagram or on her website.
Her book is really a wonderful starting point for anyone interested in learning how to draw florals, and is often promoted by fellow artists hosting floral challenges such as @floralsyourway and #WTFlorals on Instagram, because of its step by step breakdown.
The links below may be affiliate links where appropriate. This means that your purchase through these links may result in a few cents in payment to me, to support creating further resources like this one! That being said, I will never suggest supplies that I do not personally use and fully recommend.
In the interview, Alli showed us step-by-step how to draw her favourite go-to flower, the poppy. You can grab a pen (scroll down for a list of her favourite brands!) and paper and follow her through each step, but if you’re short on time, I tried it myself and broke it down for ya WITH PHOTOS!
How To Draw a Poppy – A Step by Step Guide (with photos!)
You’ll need two different sized pens and a surface to draw on.
Step 1: Using your largest sizes pen, draw a “c shape” or dome. Draw a few “short curved lines” following the shape of the dome.

Step 2: Draw little ovals, straight lines and circles around the dome. This step is turns out best when you don’t overthink it.

Step 3: Time for petals! Draw a wavy line turns towards the dome, and connect the fold.

Step 4: On the opposite side of your first petal, draw a second petal. Try not to make the edges too perfectly smooth!

Step 5: Draw two (or three) more petals on either side of the second petal, so that the petals look like they are overlapping.

Step 6: Add a small folded flap to a petal (or two) to add dimension to your poppy.

Step 7: Change pens to a smaller size if you have one! Starting in the centre of each petal, draw various lengths of shading lines starting from the base of the petal. Again, don’t overthink this step. On outer petals and at the top of petals the shading lines will be smaller ticks. If you want your petal to look like it’s bending backwards, add a dip at the end of the shading line.

Step 8: Add some more depth at the bottom edges of the petals if you need to to create some differentiation between petals.

Tada! You now know how to draw a poppy!
Alli finds most of her inspiration from REAL flowers. She explains that if you break a flower down, even the most complicated ones, they all come down to simple shapes. Nature is not perfect, so it’s ok if your flowers are not perfect, giving you a little loophole when it comes to “mistakes”.
“Just go with it.” – Alli Koch
Alli’s Favourite Pens:
- Micron Pens in two sizes (03 and 01 or 01 and 005). Alli’s go-to pens. She uses these pens for drawing, doodling and notes.
- Kelly Creates Fineliner Pens
- The Pigeon Letters Monoline Pens
I really hope you enjoyed this interview! Make sure you’re subscribed to The Happy Ever Crafter TV to catch the rest in the series! And one last HUGE thank you to Alli!
Interested in more of these interviews? You can also join the Facebook group, where these Q&A’s are hosted LIVE, and submit your own questions for future guests.

Just bought your book…. love, love, love it!
So nice to see Alli in person. I just received her book a few days ago. Love the style and I’ll be looking forward to her second book.
It’s soooo interesting. I really had a great time.
I really enjoyed this demonstration, and I will be purchasing the book. Thanks for sharing this.