Today I’m teaching you three different techniques for incorporating embossing powder into your calligraphy work or craft project! It is super simple to do and can add huge impact to your lettering.
The links below may be affiliate links where appropriate. This means that your purchase through these links may result in a few cents in payment to me, to support creating further resources like this one! That being said, I will never suggest supplies that I do not personally use and fully recommend.
Supplies Used: Zing! Embossing Powder | Versamarker Pen | Emboss It Pens | VersaMark Stamp Pad | Clear Embossing Ink | Princeton Snap Round Brush Paint Brush | Heat Gun 
Want to see this in action? Make sure to watch my video so you can see just how great these turn out!
Technique #1
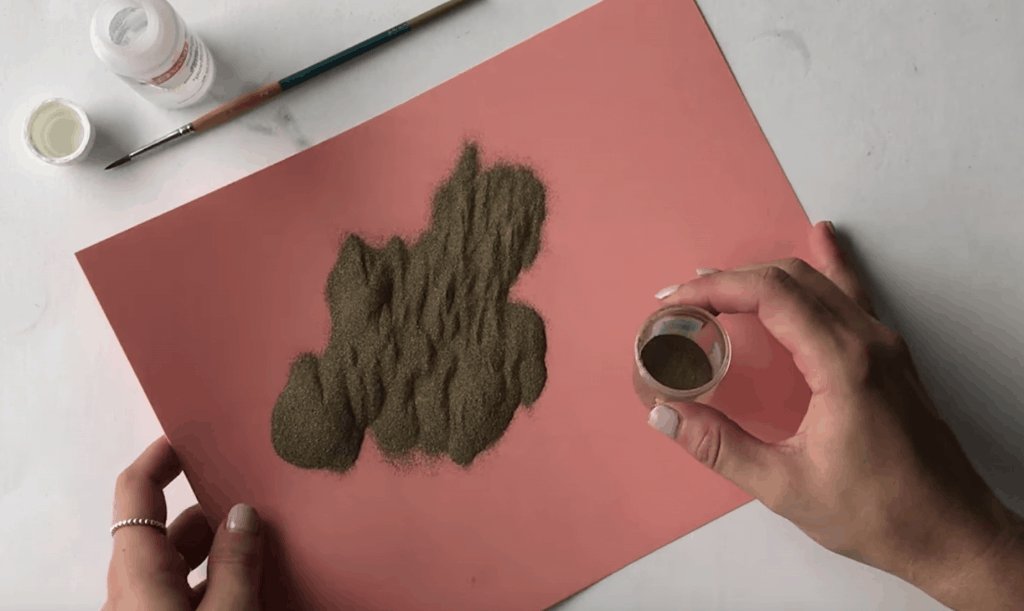
For this technique I wanted to give examples of both black embossing powder on black paper as well as gold embossing powder on white paper! Both give a great but totally different effect. Personally I love the black on black for something a bit different! 1. Take your embossing marker pen and write your word or phrase on your piece of paper  2. Dump your embossing powder overtop of your word ( don’t worry about using to much powder because it will go back in your jar afterwards)
  3. Depending on your paper – if it’s not super flexible you can grab something like printer paper to put underneath and shake off the excess powder to then put back into your jar. **NOTE: Make sure you use a surface that you are okay getting messy! This powder is very fine and typically gets everywhere!!! 4. If you notice there is remnants of powder you can go through with your finger or a paint brush to clean it up. 5. Turn on your heat gun and go overtop of your writing. Don’t stay too long on each part as it might burn too much which will then cause bubbles. 6. Make sure not to touch it until it has fully dried!
Technique #2
1. Dip your stamp in the stamp pad and make sure to get good coverage on all the pieces of your stamp 2. Stamp on the page making sure to press firmly 3. Place the gold embossing powder overtop of the design PRO TIP: Find stamps are more forgiving in terms of the pattern or design on them. If places get missed the first time around you can go back in with your marker and then repeat process with powder.  4. Clean up and excess powder with your paintbrush 5. Use heat gun to go overtop of the design or stamp and voila!
Technique #3
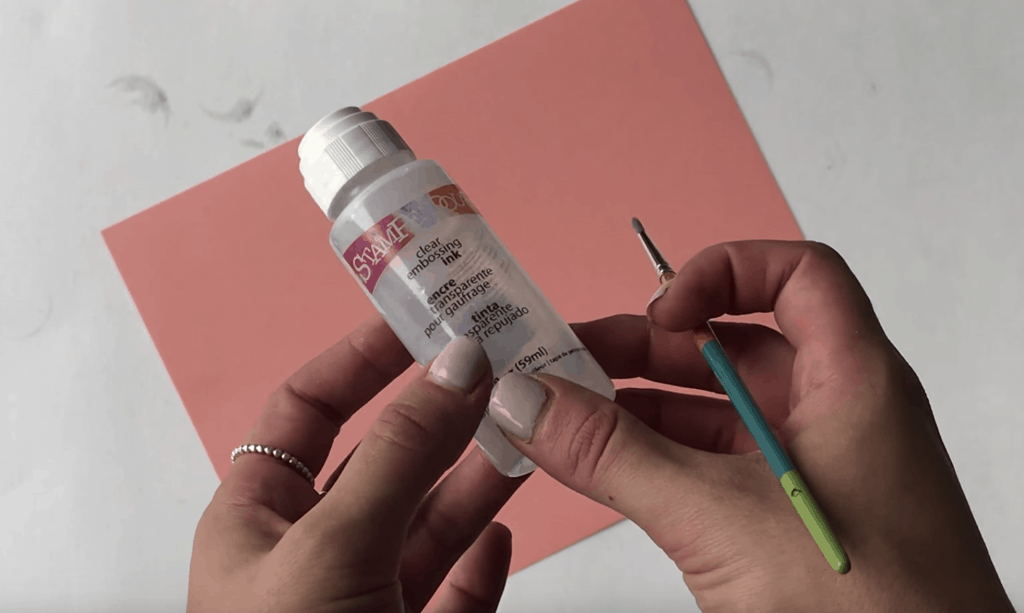
For this technique you will need more knowledge on how to do your lettering with a paintbrush VS a pen or marker.  1. Dip your paintbrush into the clear embossing ink and write out your phrase on your word on your paper.
  2. Pour your embossing powder overtop and use your paintbrush again to get rid of the excess powder
  3. Use the heat gun to heat up the embossing powder and that’s it!
  There you have it! My three easy embossing techniques you can use for your next craft or project!
Want to know all my go-to supplies for projects just like this one?
I’ve spilled all of my favourite supplies into this guide for you.


Comments