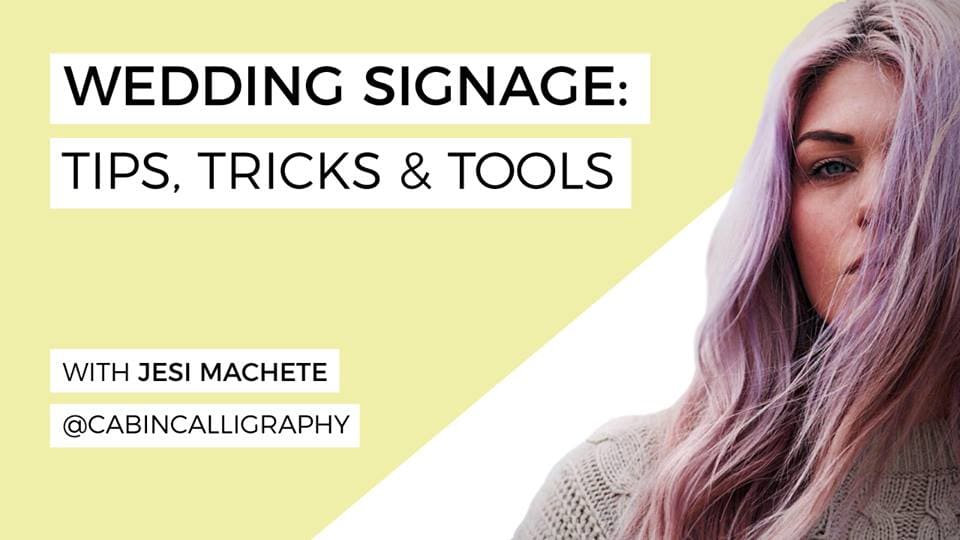
What is more Canadian than a person wearing a toque (pronounced “touk” for all you non-Canadians) indoors? TWO people wearing toque indoors!
There is a whole lot of Canadian going on in my interview with Jesi Machete, the ultra Canadian chick behind Cabin Calligraphy.
Jesi Machete is the QUEEN of wedding signage. She works on a number of surfaces with an array of tools, and her style is so unique that I KNOW it’s her work while scrolling through Instagram before I even see who the poster is. (Check out @cabincalligraphy and see for yourself!)
Her main tell: she is AMAZING at blending colours. From the classic chalkboard welcome sign to an elegant mirror seating chart, Jesi does it all, and she does it all VERY well.
Check out the interview here to see her live demonstrations (and it is so. darn. educational!) and get some of your most popular questions answered.
And yes, that does include “what pen is that”?
The links below may be affiliate links where appropriate. This means that your purchase through these links may result in a few cents in payment to me, to support creating further resources like this one! That being said, I will never suggest supplies that I do not personally use and fully recommend.
Now I know you are all DYING to find out what tools Jesi uses most….
Favourite “Core Tools”:
Glass + Mirrors:
Bistro Chalk Marker – For sketching out lines
Stabilo All Aquarellable Pencil – For sketching out lines
Oil-Based Paint Pen – Craft Smart (Premium*) or Sharpie – For the final piece
Chalkboards:
Regular Chalk – For sketching out lines and/or design placement
Molotow Acrylic Paint Pens – Favourite paint pen, used for the final piece
Sharpie Water-based Paint Pens – A good “stand-in” marker
Stabilo Carbothello Pastel Crayons – like a pastel, add a good pop of colour
Posca Paint Pens – very easily available
(And no, you do NOT see chalk markers on the chalkboard list. Jesi never uses chalk markers on chalkboards!)
Wood:
Regular Chalk – For sketches
Acrylic Paint + Brush
Water-Based Paint Pen – Sharpie (stand in if the above is not available)
(To note: When it comes to wood signs, Jesi goes back and forth between paint pens and acrylic paint and pens, depending on the project.)
Extra Favourite Tools:
Scotch Masking Tape with Ruler Lines
“KISS – Keep it Super Simple” – Jesi Machete
Jesi did three live demonstrations in her interview, but the very first one she covers, SEATING CHARTS, really breaks down the many steps in an easy to understand fashion.
How to Letter a Seating Chart:
The very first step you need to do is plan out your layout and figure out how many columns you will need to fit everyone on your surface space. Jesi likes to keep each name/line at ½ of ¾ of an inch depending on the size/layout of the design, and she likes to do it the old fashioned way….with straight up math.
- Draw out all the guidelines first. Use the Stabilo Aquarellable pencil or the Bistro Chalk markers. Make sure to use a ruler to ensure that your lines match up and are straight.
- If you are centering the names, make sure to draw a centre line so that everything is even.
- If you need to, sketch out the names with a chalk marker
- Use an oil based paint pen to letter each name.
- Wipe away the chalk marker/stabilo aquarellable lines using a microfiber cloth.
Among her awesome live demonstrations, Jesi also dropped some super awesome tips. Here are a few that really stood out.
Pro Tips:
- If you don’t have a microfiber cloth on hand, coffee filters make an easy alternative.
- Erase chalk lines on wood using an eraser (Jesi showed us a quick example on HOW WELL the eraser works!)
- Always (always) sharpen your regular chalk using a (large hole) sharpener.
- Florals and foliage turn out best when freehanded.
- Always keep balance in your signage.
- The longer chalk sits on a (wood) board, the longer it takes to come off.
- Have a price list – even if it’s not one that you give to clients. Make one for yourself for reference.
You can find more of Jesi’s valuable tips, tricks and thoughts in the video, including a few more business related topics like why she NEVER sends her clients proofs (sketches) of the designs first, how she deals with other artists who undercut, and her thoughts on copying another artist’s work!
Huge thank you to Jesi for taking the time out of her busy schedule for this interview!
Want to check out some of the other past interviews? You can find them on my YouTube channel (The Happy Ever Crafter) or you can read the overviews on my blog!

Hi !
In her Chalkboard’s tools, is there a pen that she is using for outside boards, that is water resistant ?
Unfortunately chalkboards are a super tough surface to make water resistant and still have them be reusable. I’ve used sharpie oil paint or acrylic paint in the past, but then you need to re-paint the chalkboard after to make it reusable!