
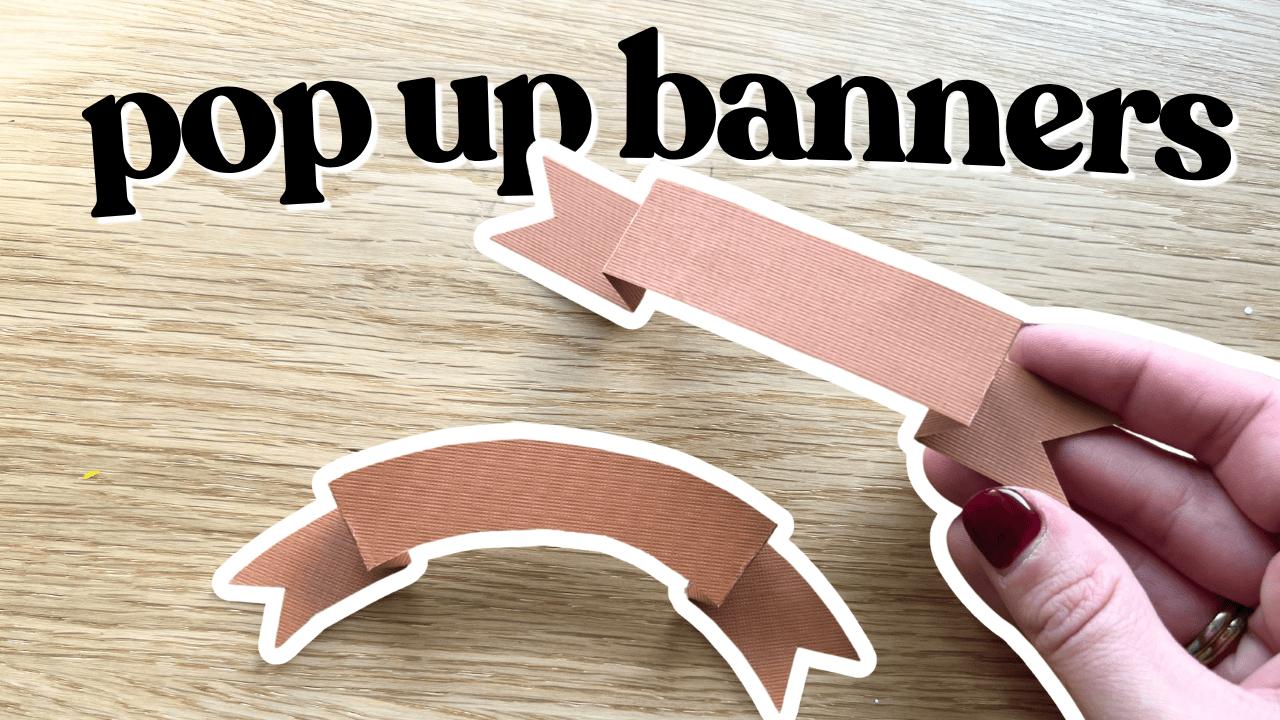
If you’ve been around here for a while, you already know I will put a banner on basically anything that sits still long enough. So when I started thinking about Thanksgiving table details, it felt inevitable that banners were going to show up there too.
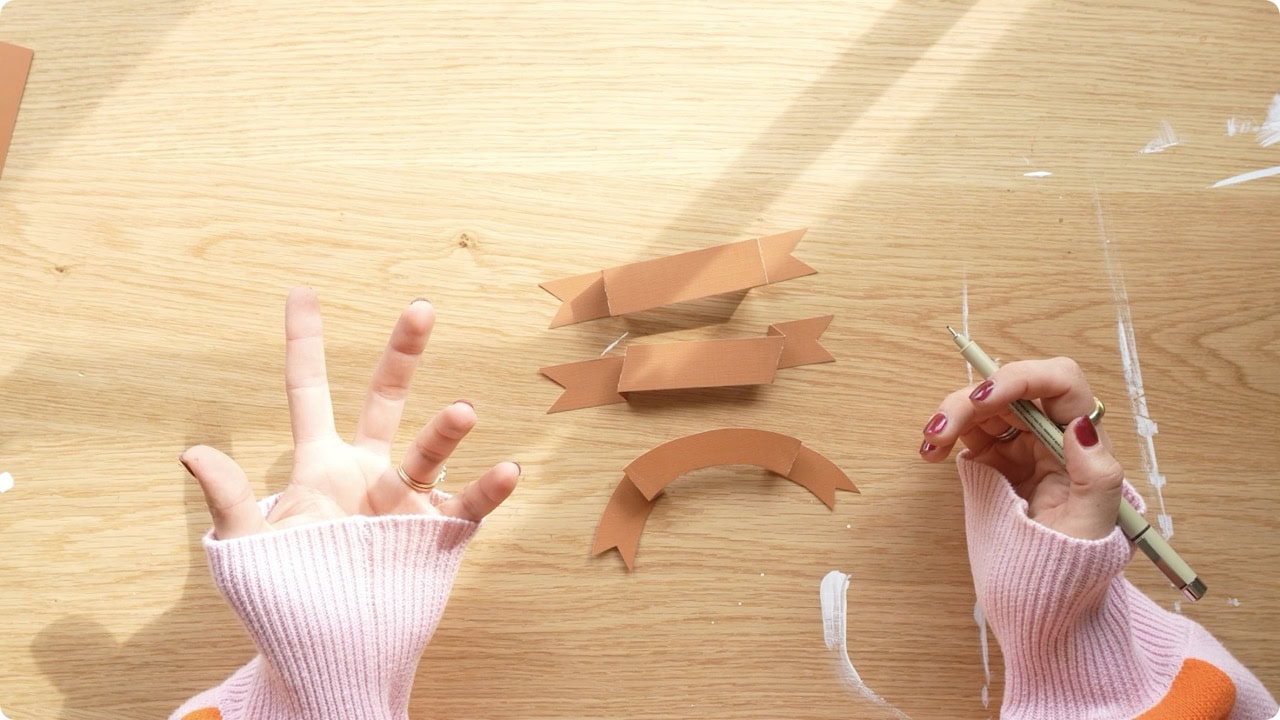
This little project turns a simple hand-drawn banner into a pop-up place card, and honestly, they’re ridiculously cute sitting on top of a napkin. You can use a printable template if you want to make life easy, or you can make them by hand with cardstock, scissors, and a bit of eyeballing.
Supplies Used
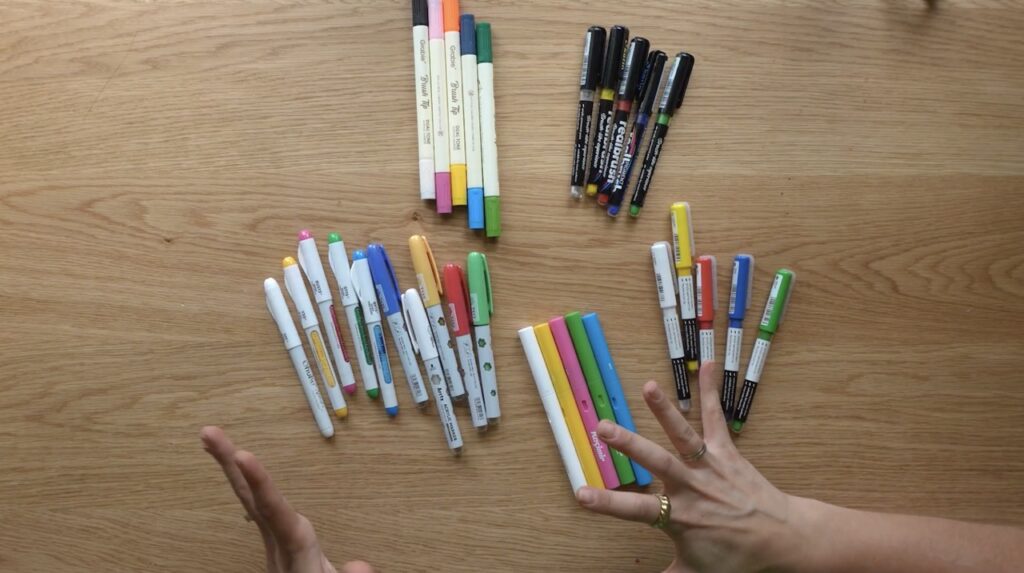
- Cardstock or thicker scrapbook paper
- A pencil
- A ruler
- Scissors
- A paper cutter, if you have one
- A pen or marker for lettering
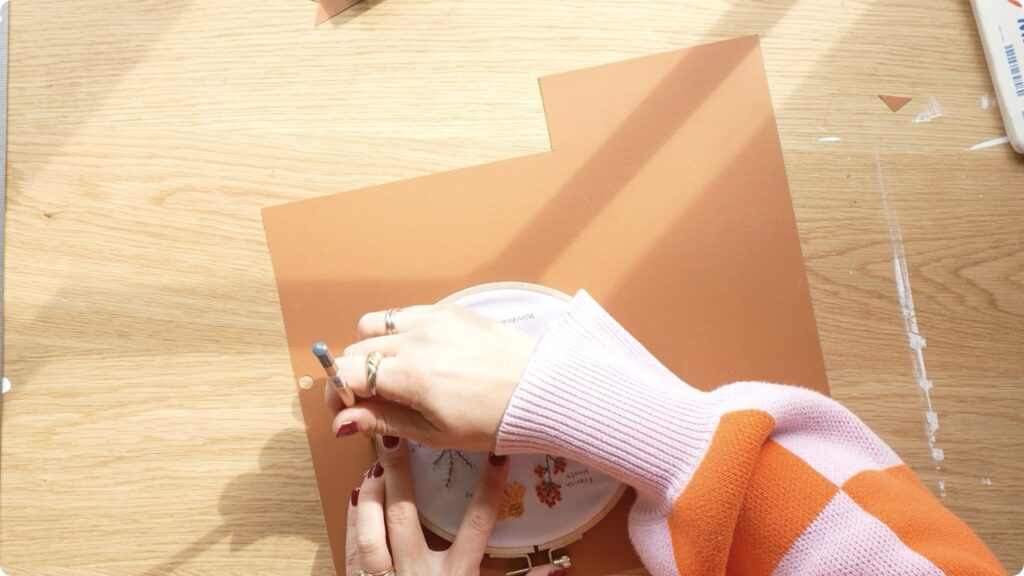
- Something round to trace for the curved version, like an embroidery hoop or small plate
Rather watch than read? Check out the full video by clicking the video below!
Let’s Get Started!
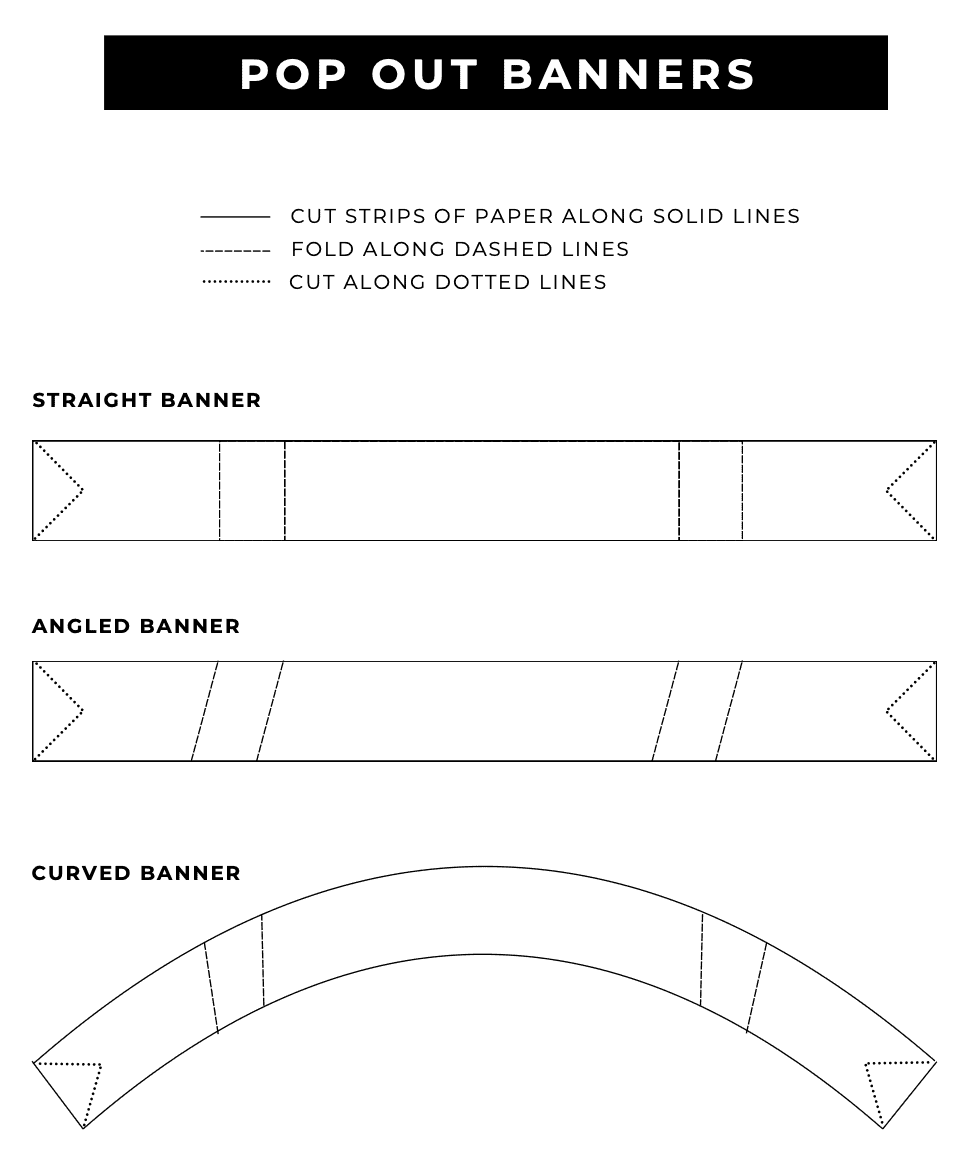
I tested out how I wanted these to work before filming to make sure everything worked the way I wanted it to. If you prefer a template over complete DIY, you can find a free download at the bottom of this post.
Make the Basic Banner Shape
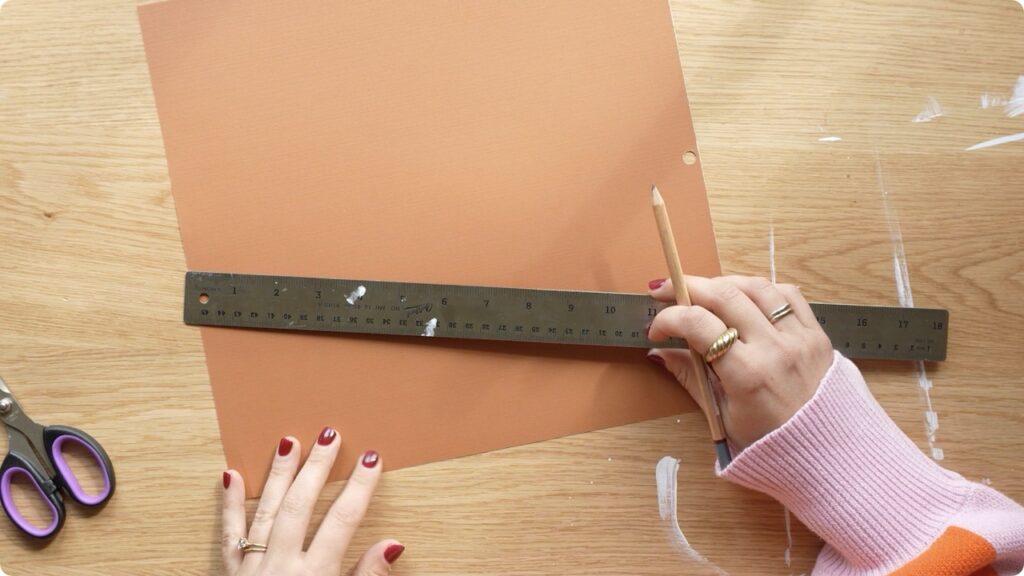
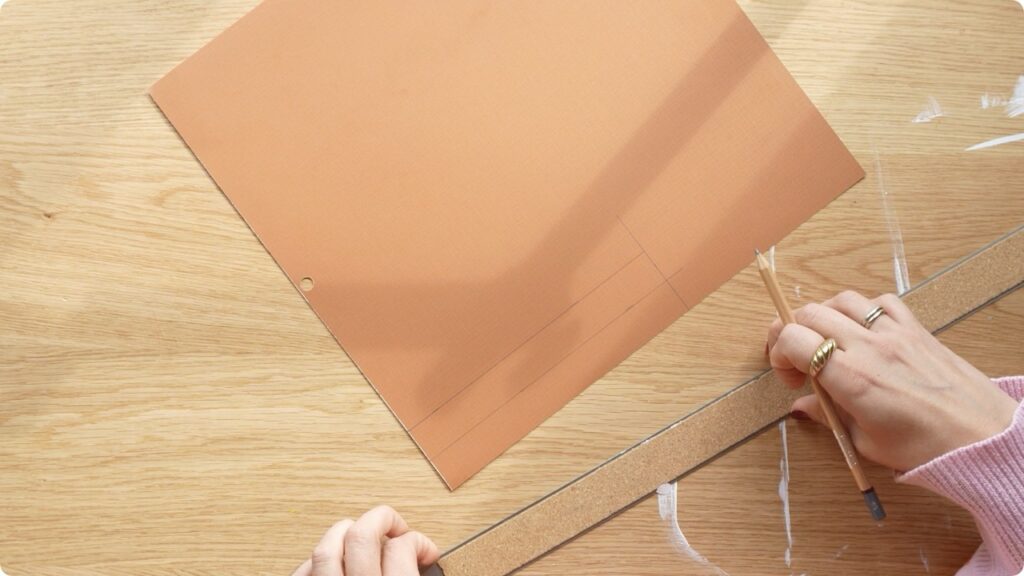
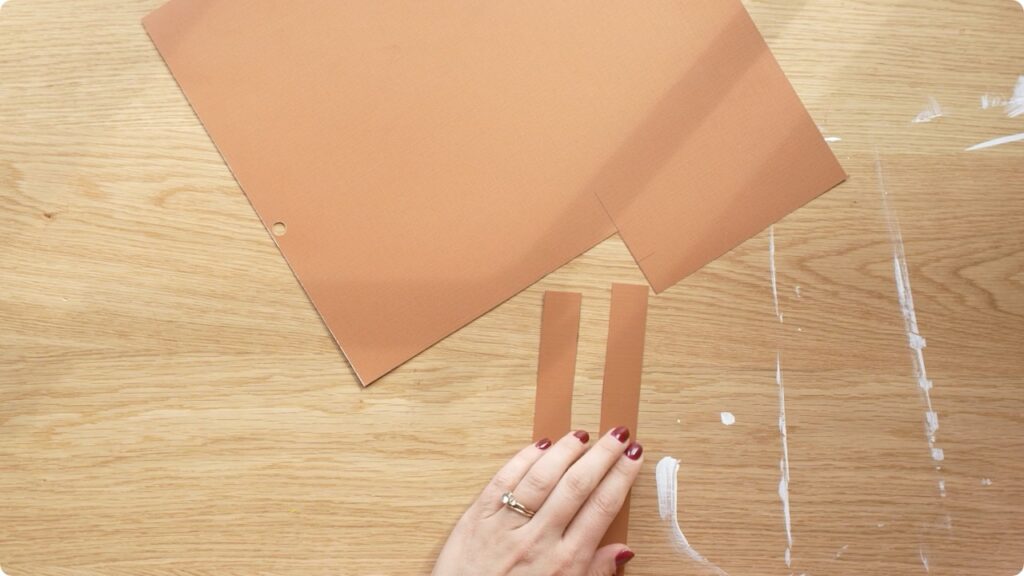
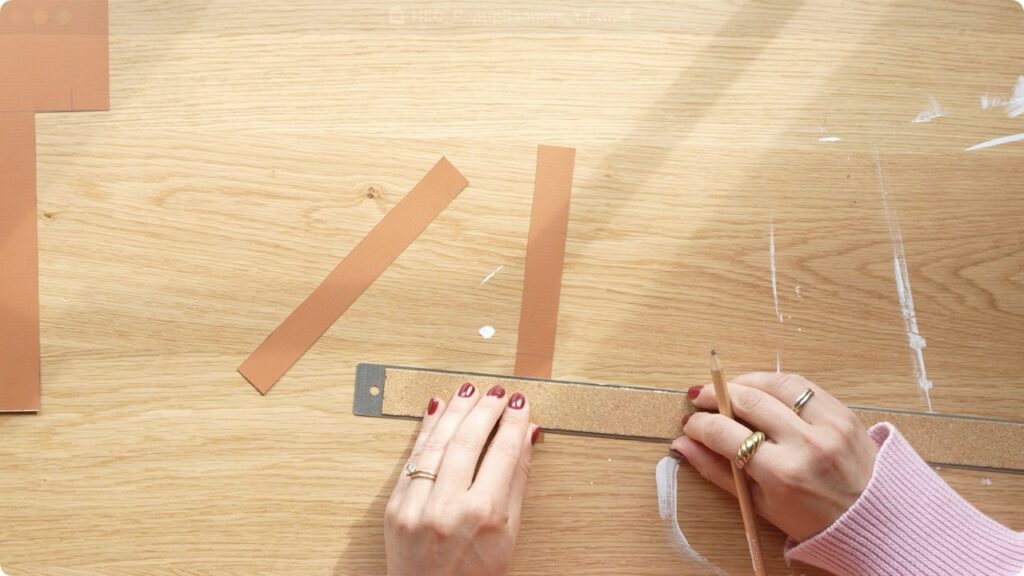
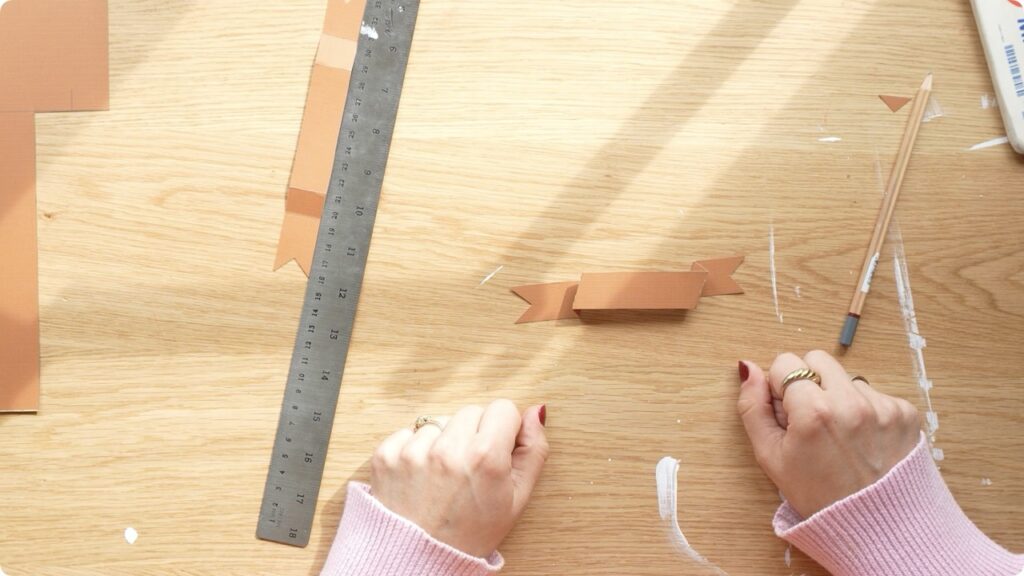
For the straight and angled versions, cut a strip of cardstock about seven inches long and roughly three-quarters of an inch tall.
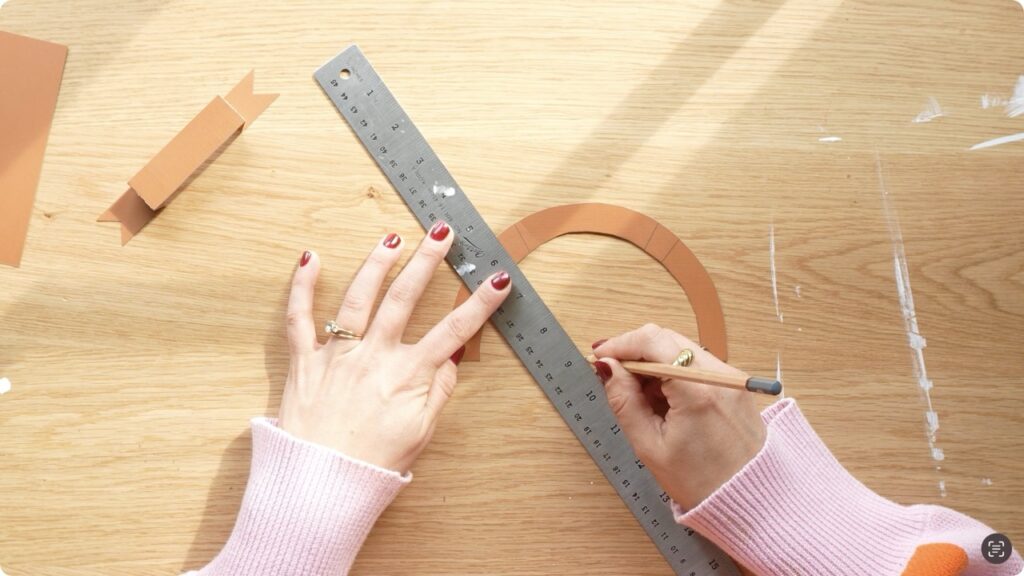
Mark two inches in from one end, then measure a three-inch middle section, leaving about two inches on the other side. From those lines, mark about half an inch over on each side for your folds.
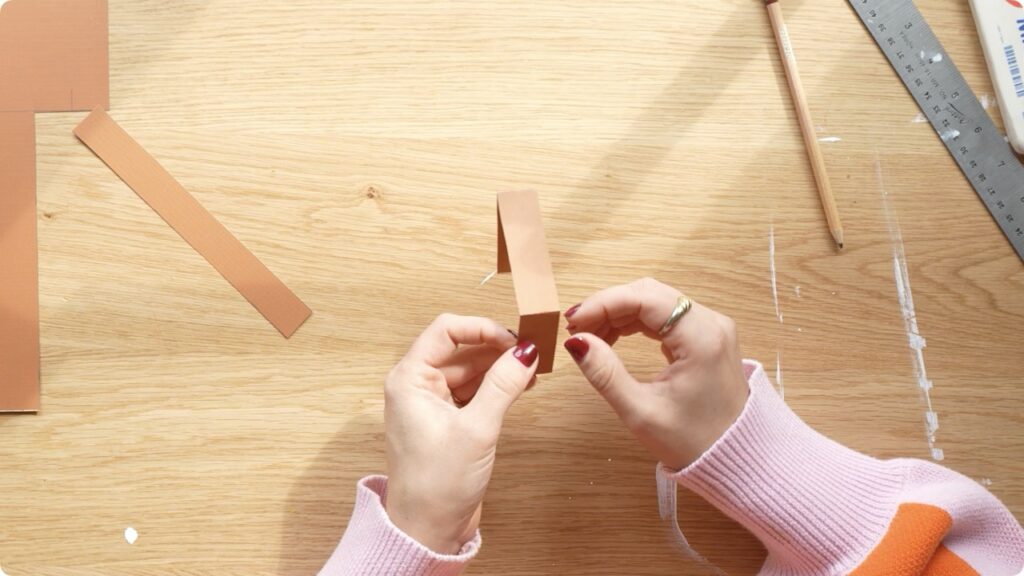
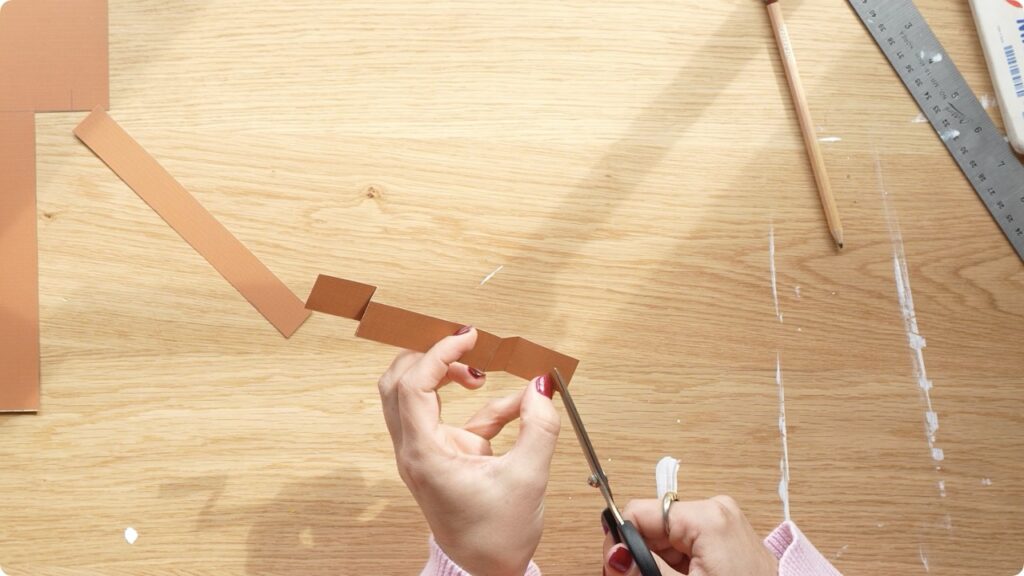
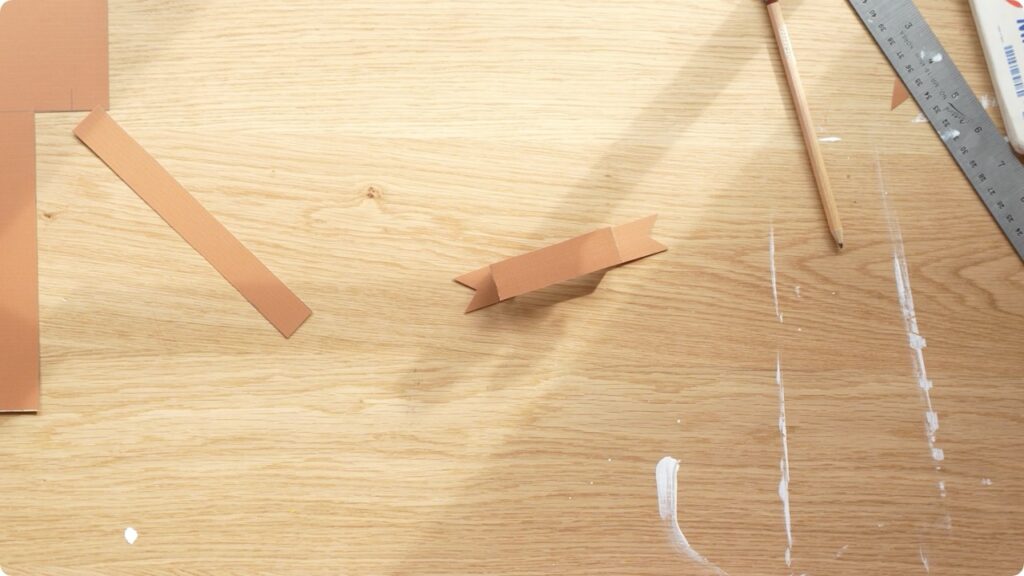
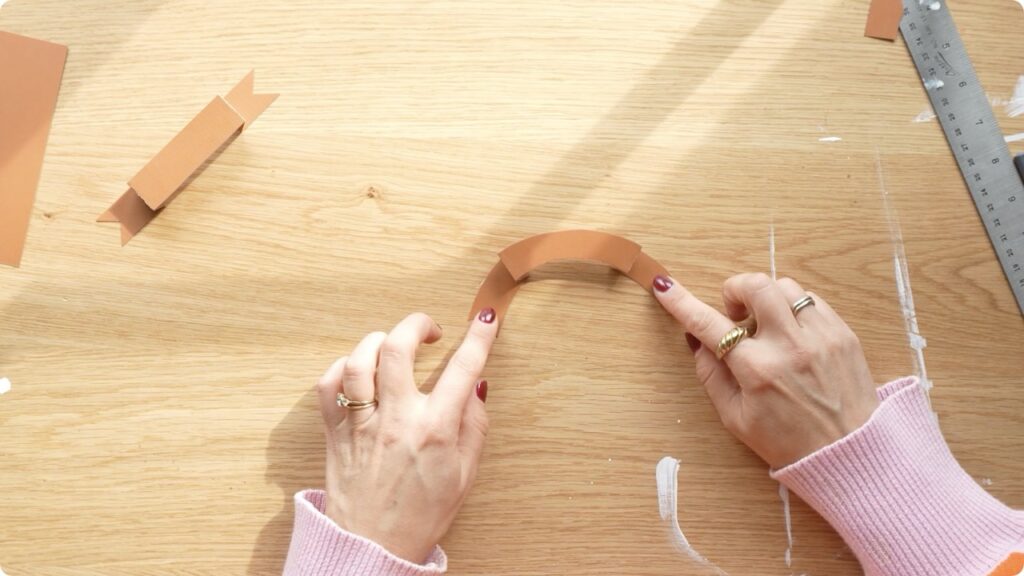
Fold the outer sections inward and the centre section outward. That creates the little pop-up banner shape. Then trim the ends into banner points by cutting in from the corners toward the middle.
Try Three Different Styles
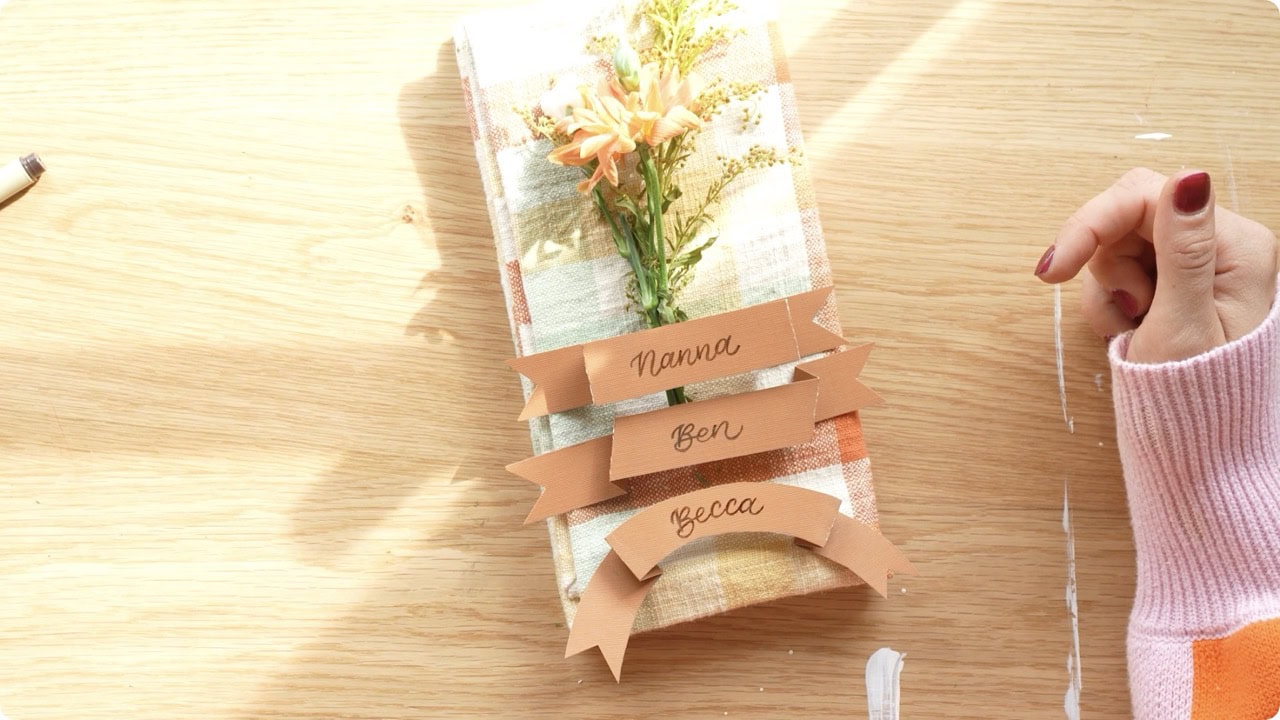
The straight version is the simplest and gives you that classic banner look.
For the angled one, follow the same process but draw your fold lines on a slight slant instead of straight up and down. It doesn’t need to be exact – just enough to give it a bit more movement.
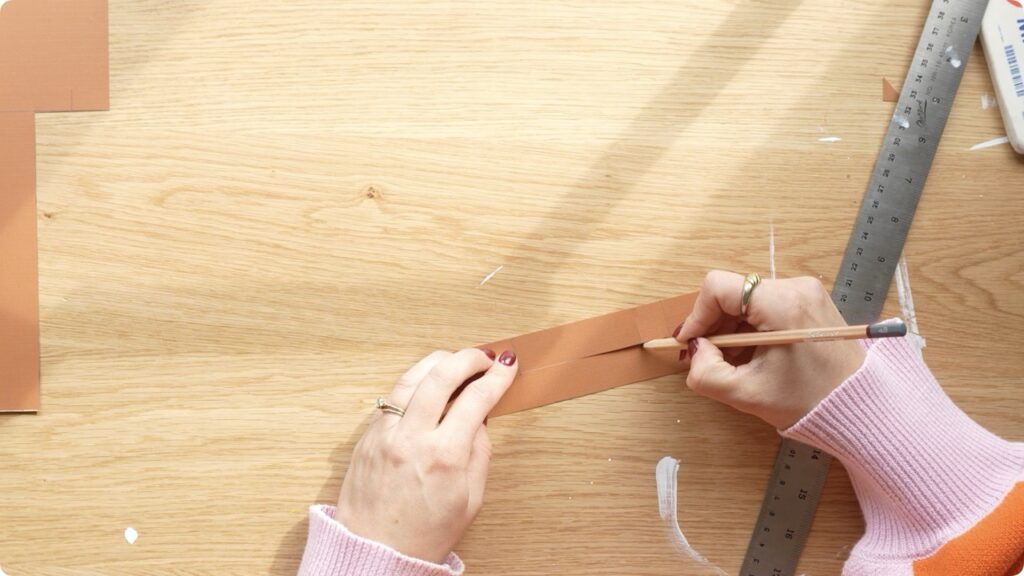
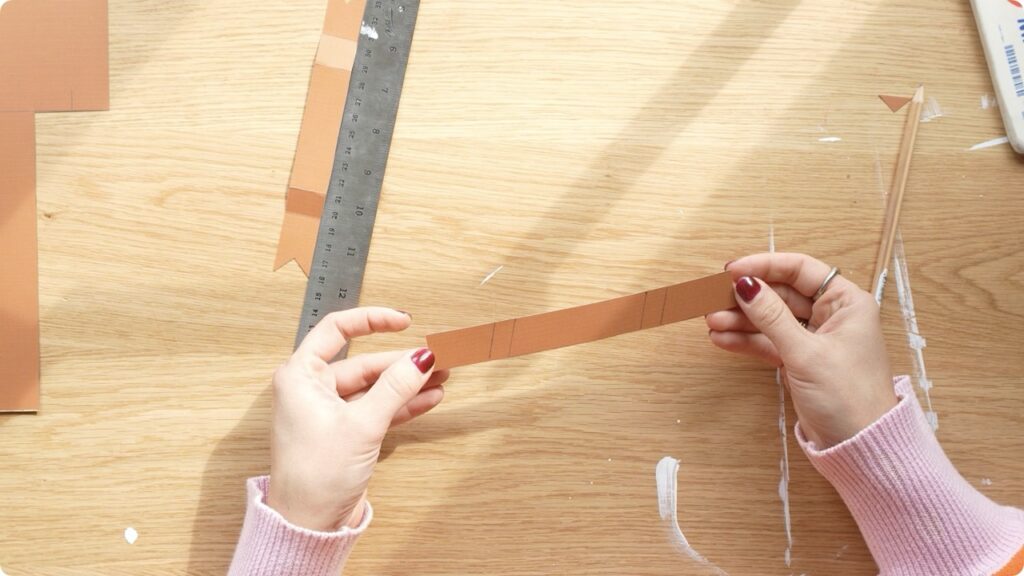
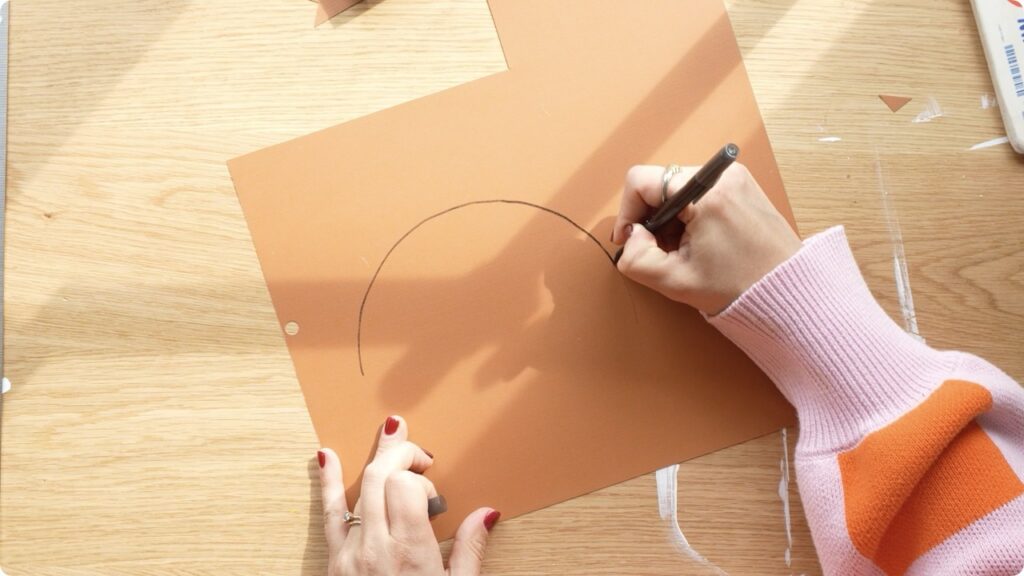
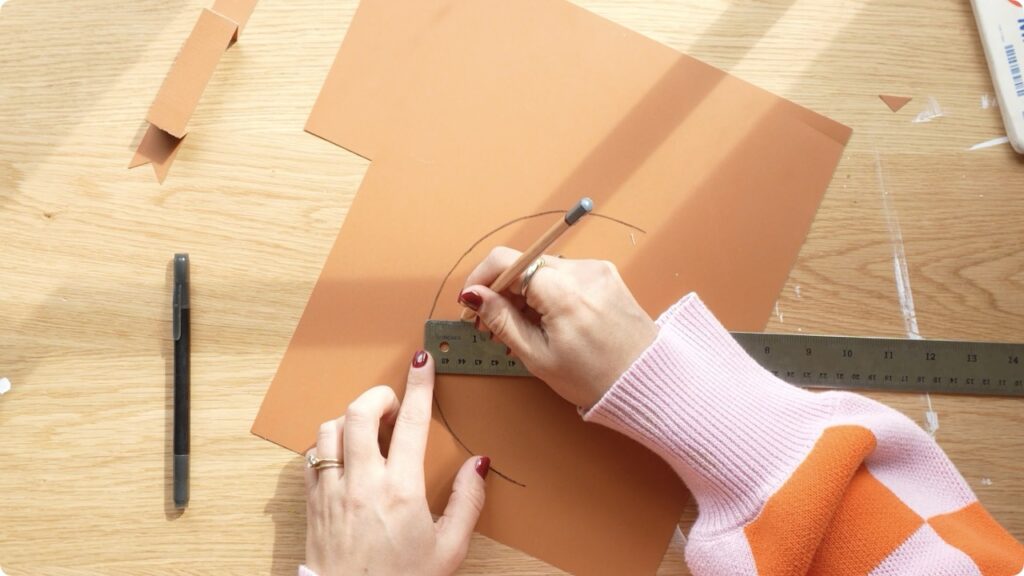
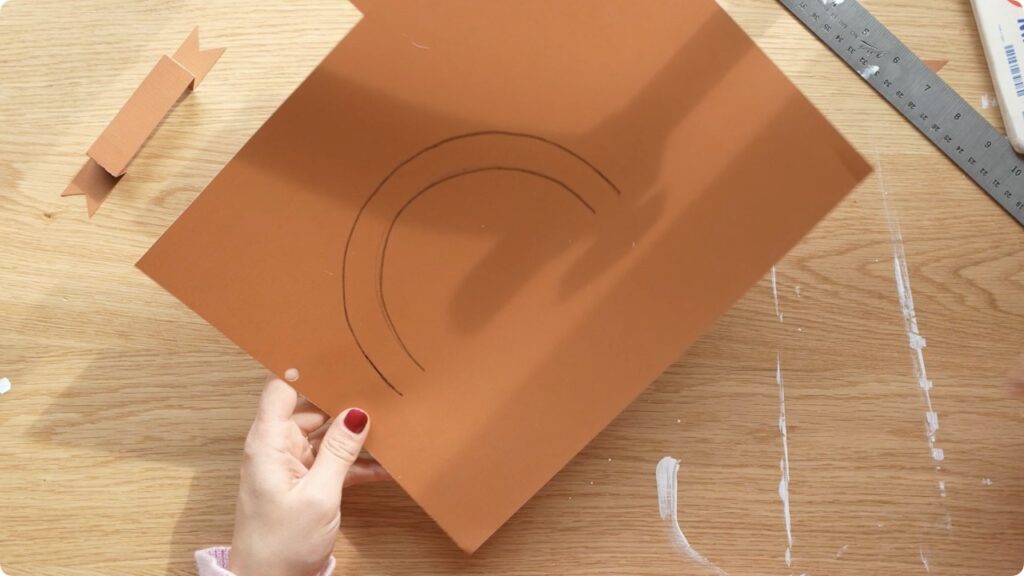
For the curved version, trace part of a circle, then freehand a second curve below it so the banner keeps a fairly even width. Add the folds on either side of the writing area, then trim the ends to whatever length looks right.
None of these need to be mathematically perfect. In fact, I think they look better when they feel a little handmade.
Add the Names and Style the Table
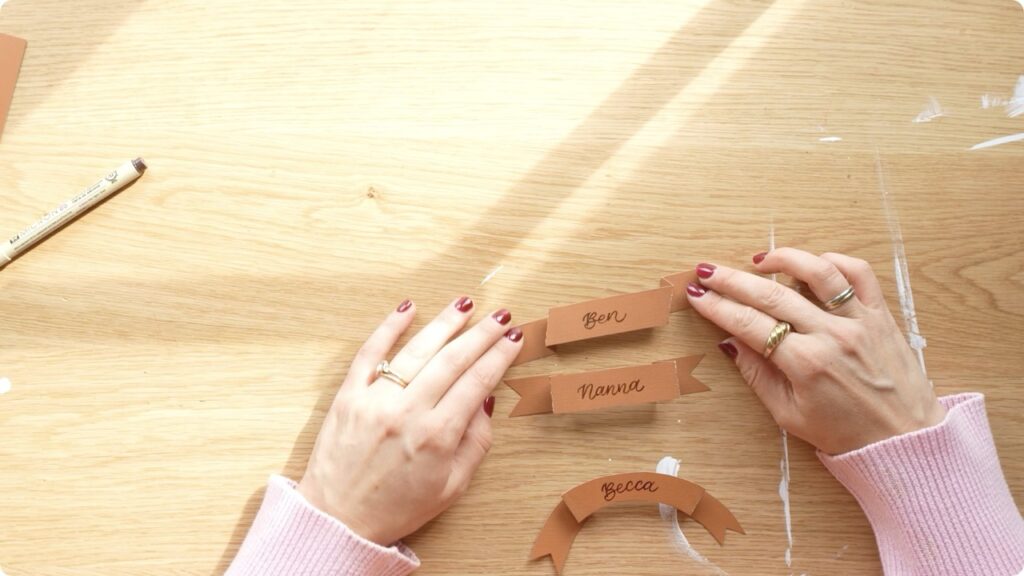
Once your banners are folded and trimmed, write the names in whatever style suits you – script, monoline, block letters, whatever feels right.
Then place one on top of a folded napkin and tuck a small bundle of flowers or greenery underneath. It’s such a simple detail, but it makes the whole place setting feel thoughtful and special.
They’re perfect for Thanksgiving, but you could also use this idea for birthdays, showers, dinner parties, or even on the front of a card.
That’s a Wrap!
If you want a place card that feels handmade, charming, and a little bit different, these 3D banner place cards are such a fun option. They’re easy to customise, simple to make, and just imperfect enough to feel extra lovely.
And if you’d rather skip the measuring and make things easier on yourself, a printable template is a very good plan too.
Download your FREE Pop-Out Banner Template!
Looking for more banners? Check out this one!
And finally, your dad joke…
Every machine in the coin factory broke down all of a sudden without explanation…
It just doesn’t make any cents.


Comments