
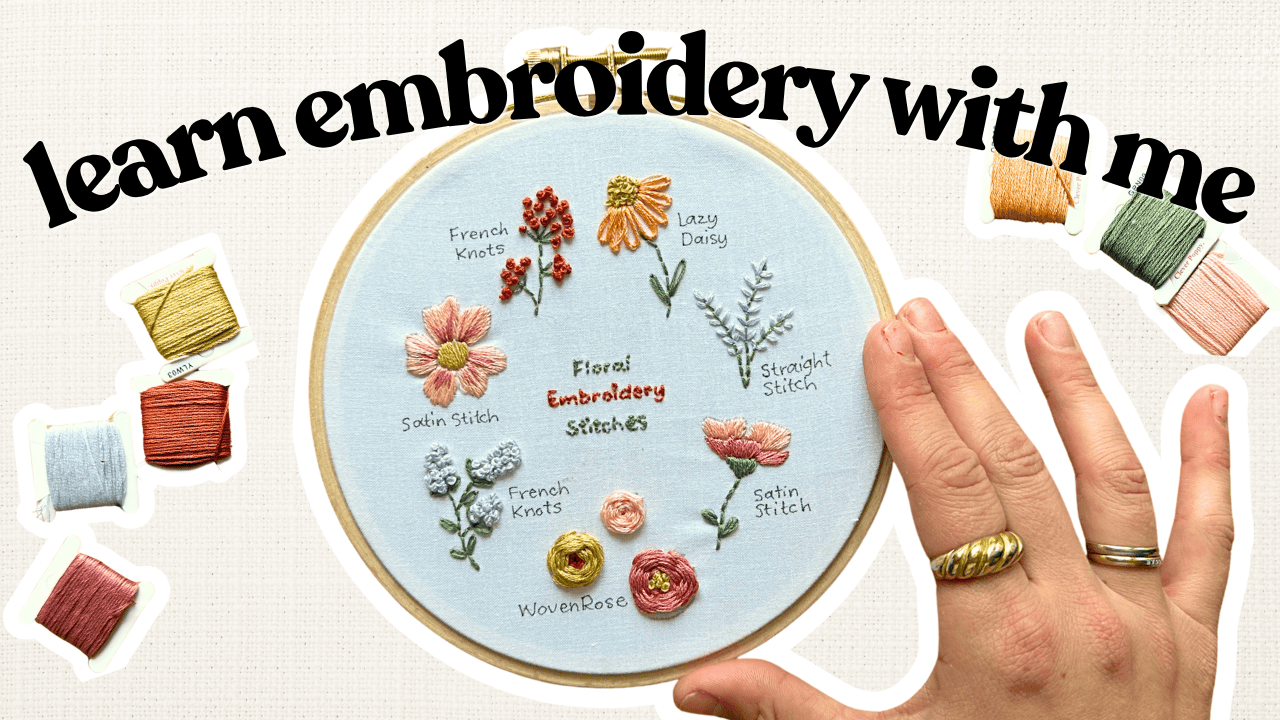
I’ve been on a bit of a mission lately to add embroidery to my crafty skill set. It’s one of those techniques that feels essential, you know? And I’ve been seeing Clever Poppy kits all over – people stitching these gorgeous designs that somehow manage to be both teaching tools and finished art pieces. So when they offered to send me one, I jumped at the chance.
I chose the floral embroidery stitches kit, and honestly, I was hoping it would become something I could hang on my wall as a visual reference. A cheat sheet, basically, for when I inevitably forget which stitch does what. But it turned out to be so much more than that.
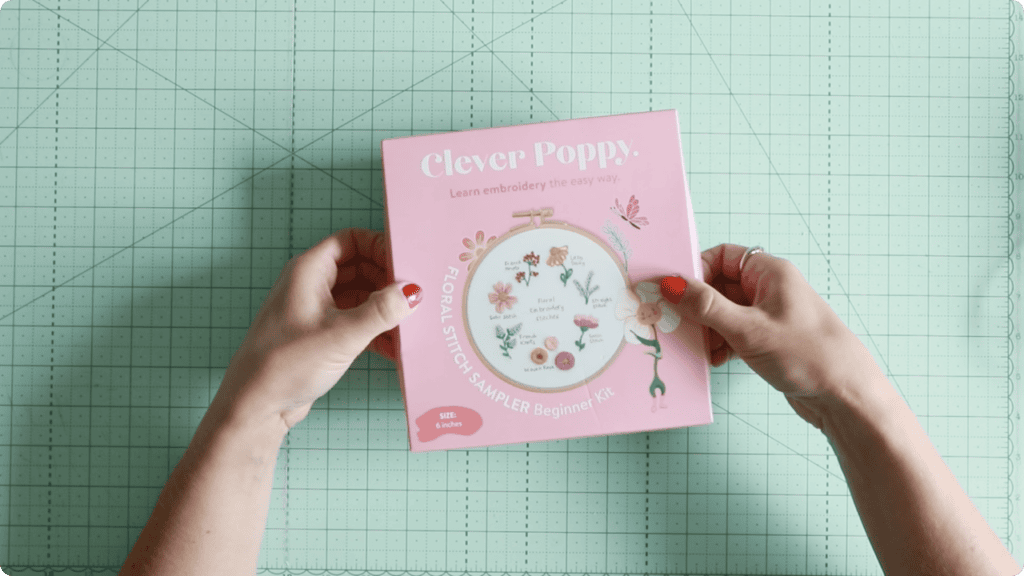
Supplies Used
- Clever Poppy Floral Stitch Sampler Beginner Kit
- This all comes in the Clever Poppy kit:
- – Embroidery hoop
– Fabric to stitch on
– Thread in all the colours you’ll need
– Needles and small scissors
– Heat-erasable pen for tracing
– The design template and a finished reference image
– QR code access to step-by-step video tutorials
- – Embroidery hoop
- This all comes in the Clever Poppy kit:
Rather watch than read? Check out the full video by clicking the video below!
Let’s Get Started!
I was really impressed with how comprehesive the kit is.
Having everything arrive in one box was genuinely such a relief. I can tell you from experience that walking into a craft store and trying to buy embroidery supplies when you have no idea what you’re doing is overwhelming in the worst way. Too many choices, too many unknowns.
This kit had everything sorted – the right fabric, the right threads already matched to the design, tools that actually work. It took all the guesswork out, which meant I could focus on learning the stitches instead of second-guessing my supply choices.
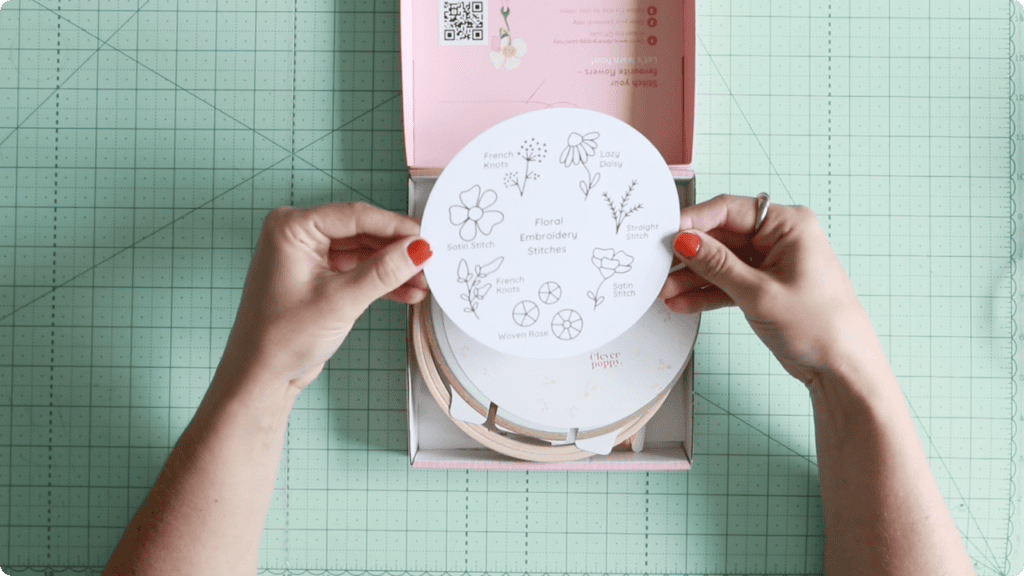
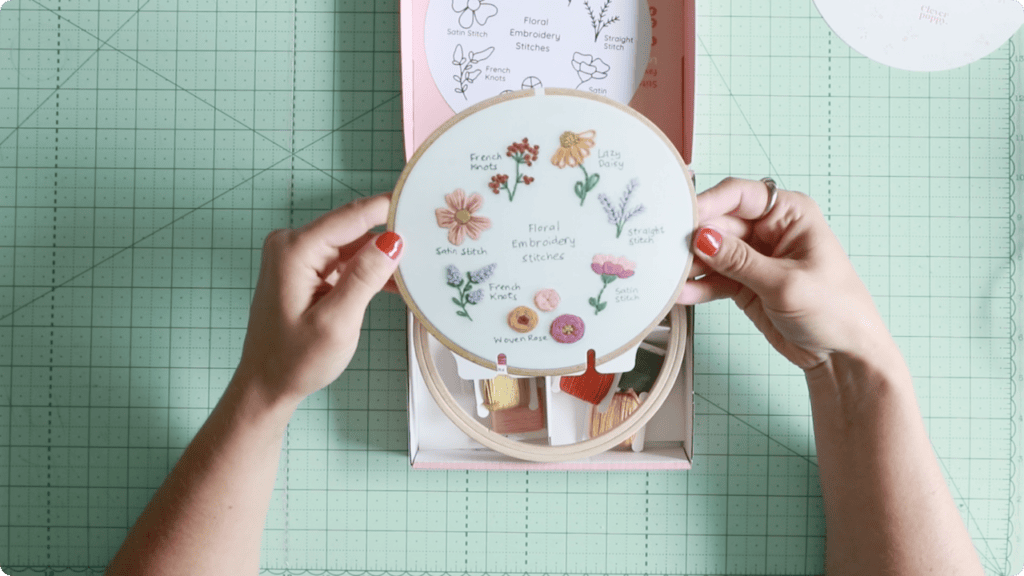
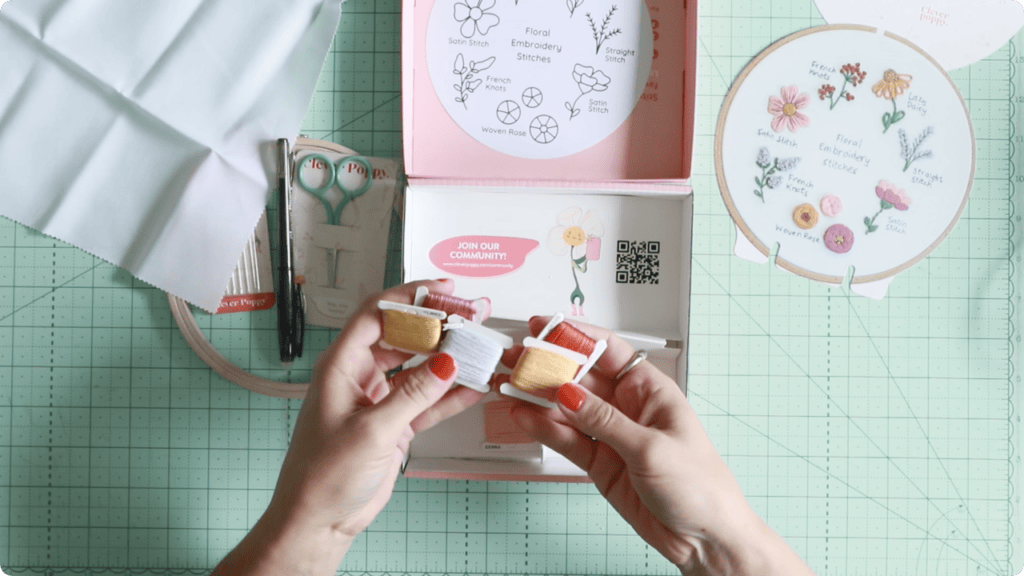
Inside the kit, there’s a QR code that opens up a portal to all the instructional videos for your specific project. I scanned it and started working through the setup videos right away.
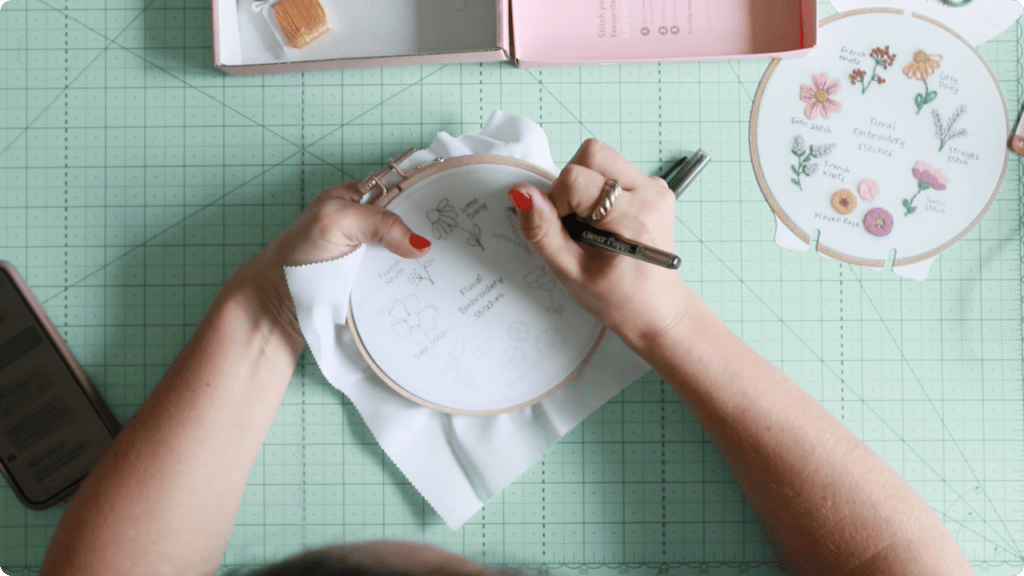
The first steps covered how to mount the fabric in the hoop and get the tension right. That tension piece was actually really helpful – I think I’d been missing that detail in previous projects, and it made a noticeable difference this time. The fabric sat flat and taut, which made stitching so much smoother.
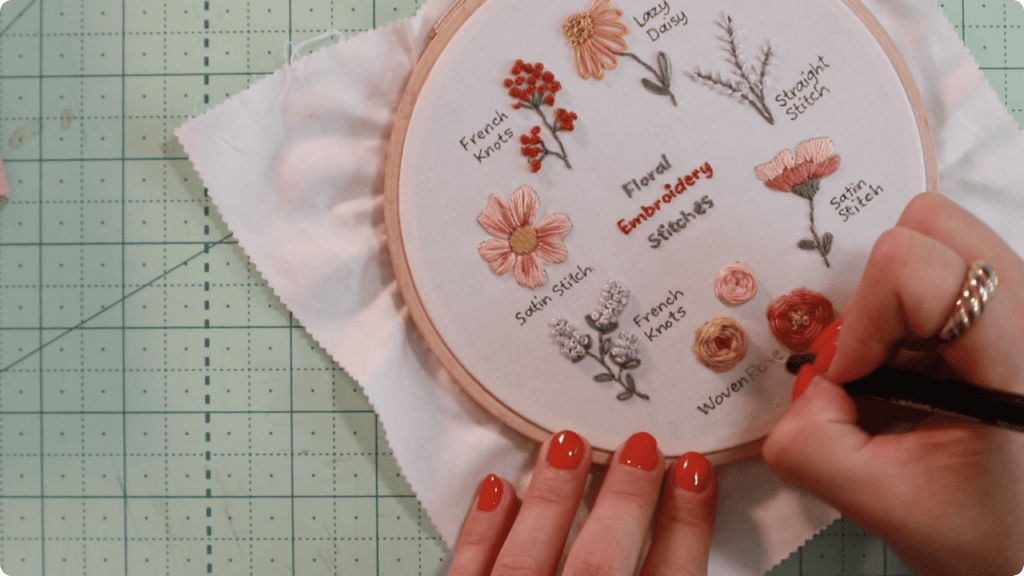
Next came tracing the design onto the fabric using the heat-erasable pen. They showed a clever trick for making the template brighter so you can see through the fabric more easily, which I’d never thought of before. Then it was on to separating the embroidery floss – honestly, threading the needle might have been the hardest part of the whole project, but once I got past that, I was off.
Working Through the Stitches
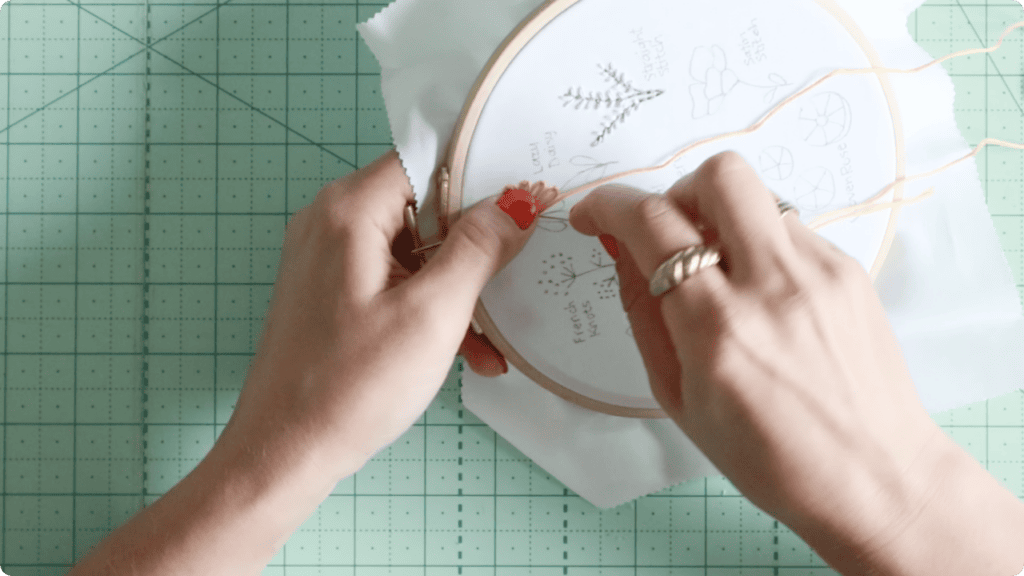
I worked on this in bits and pieces. A little stitching, then some work, then back to stitching. Even though I’d technically done most of these stitches before, I learned so much from the way the kit broke them down.
The French knot, especially. If you’ve ever tried embroidery, you know the French knot can be a real pain. But the tips in this kit finally helped me nail it in a way I never had before. It felt like something clicked, and suddenly I wasn’t fighting with the thread anymore.
Once I got comfortable with the rhythm of it, I brought the project to the couch, turned on the TV, poured a glass of wine, and settled in to finish the rest. That part was lovely – except that being distracted by the TV meant I ended up with a couple of truly messy knots that I had to either untangle or cut out and restart. But that’s part of the learning process, isn’t it? I got better at troubleshooting on the fly.
Finishing Touches
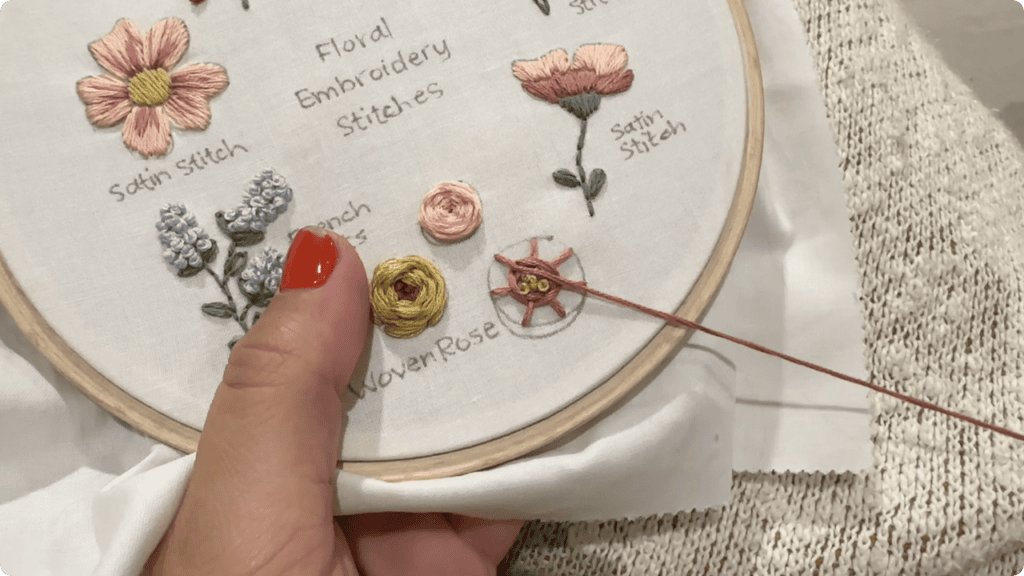
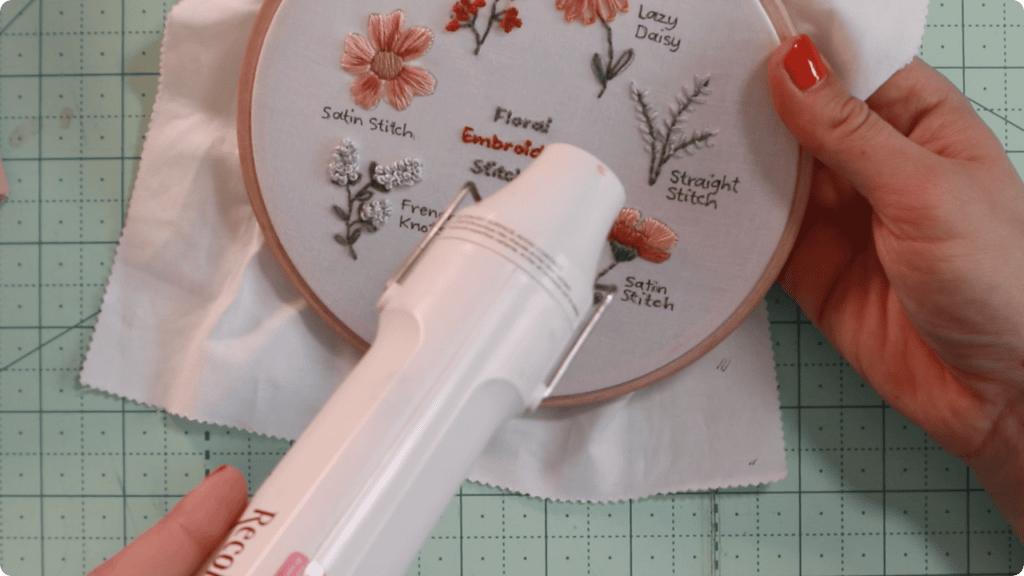
I brought the piece back to my desk to finish up. I’d traced the words with the erasable pen initially, but I wanted them permanent, so I went over them with a fineliner. Then came the most satisfying part – using a heat gun to erase all those traced lines from the erasable pen. It was like magic watching them disappear. I wish it showed better on camera, but in person, it was so cool.
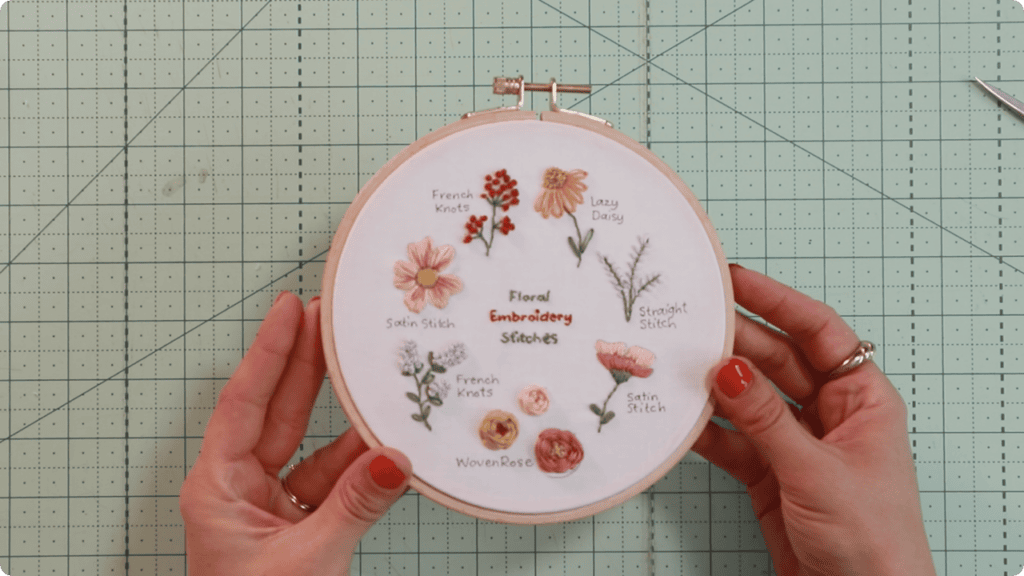
After that, I trimmed the excess fabric, and it was done.
That’s a Wrap!
I’m really thrilled with how this turned out. It’s exactly what I wanted – a visual reference I can hang on my wall when I forget the best way to stitch something. But it’s also just a cute little piece of art in its own right.
I’d give this kit a solid ten out of ten. I had so much fun that I’ve already got another Clever Poppy kit queued up to try next. I’m even thinking about making a tote bag covered in these little floral stitches – how cute would that be?
If you’re trying to learn embroidery or just want a relaxing project that doesn’t require hunting down supplies, I can’t recommend these kits enough. They take all the stress out and let you focus on the actual stitching, which is really what it’s all about.
Looking for more craft ideas? Check out this one!
And finally, your dad joke…
What kind of tree grows fingers?
A palm tree! 🌴


Comments